How To Use a Classroom Teaching Station
Push-Button Controller
This is a tutorial on the classroom teaching stations. Teaching stations have a standard control interface, which are a series of buttons and a knob which control the audio visual system in the meeting space. Other teaching stations have touch panels, discussed below. This page discusses how the teaching stations may be used, and will go through a series of troubleshooting techniques. If there are any other questions please contact the support center for more help.
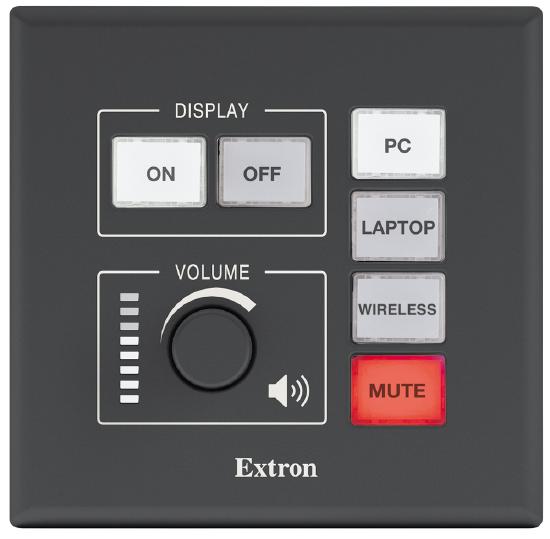
Press the button corresponding to the source you want to display. Source options include desktop PC, LAPTOP (sometimes labeled HDMI).
Optional sources, found in some but not all classrooms, include WIRELESS casting from a mobile device, BLURAY DVD player.
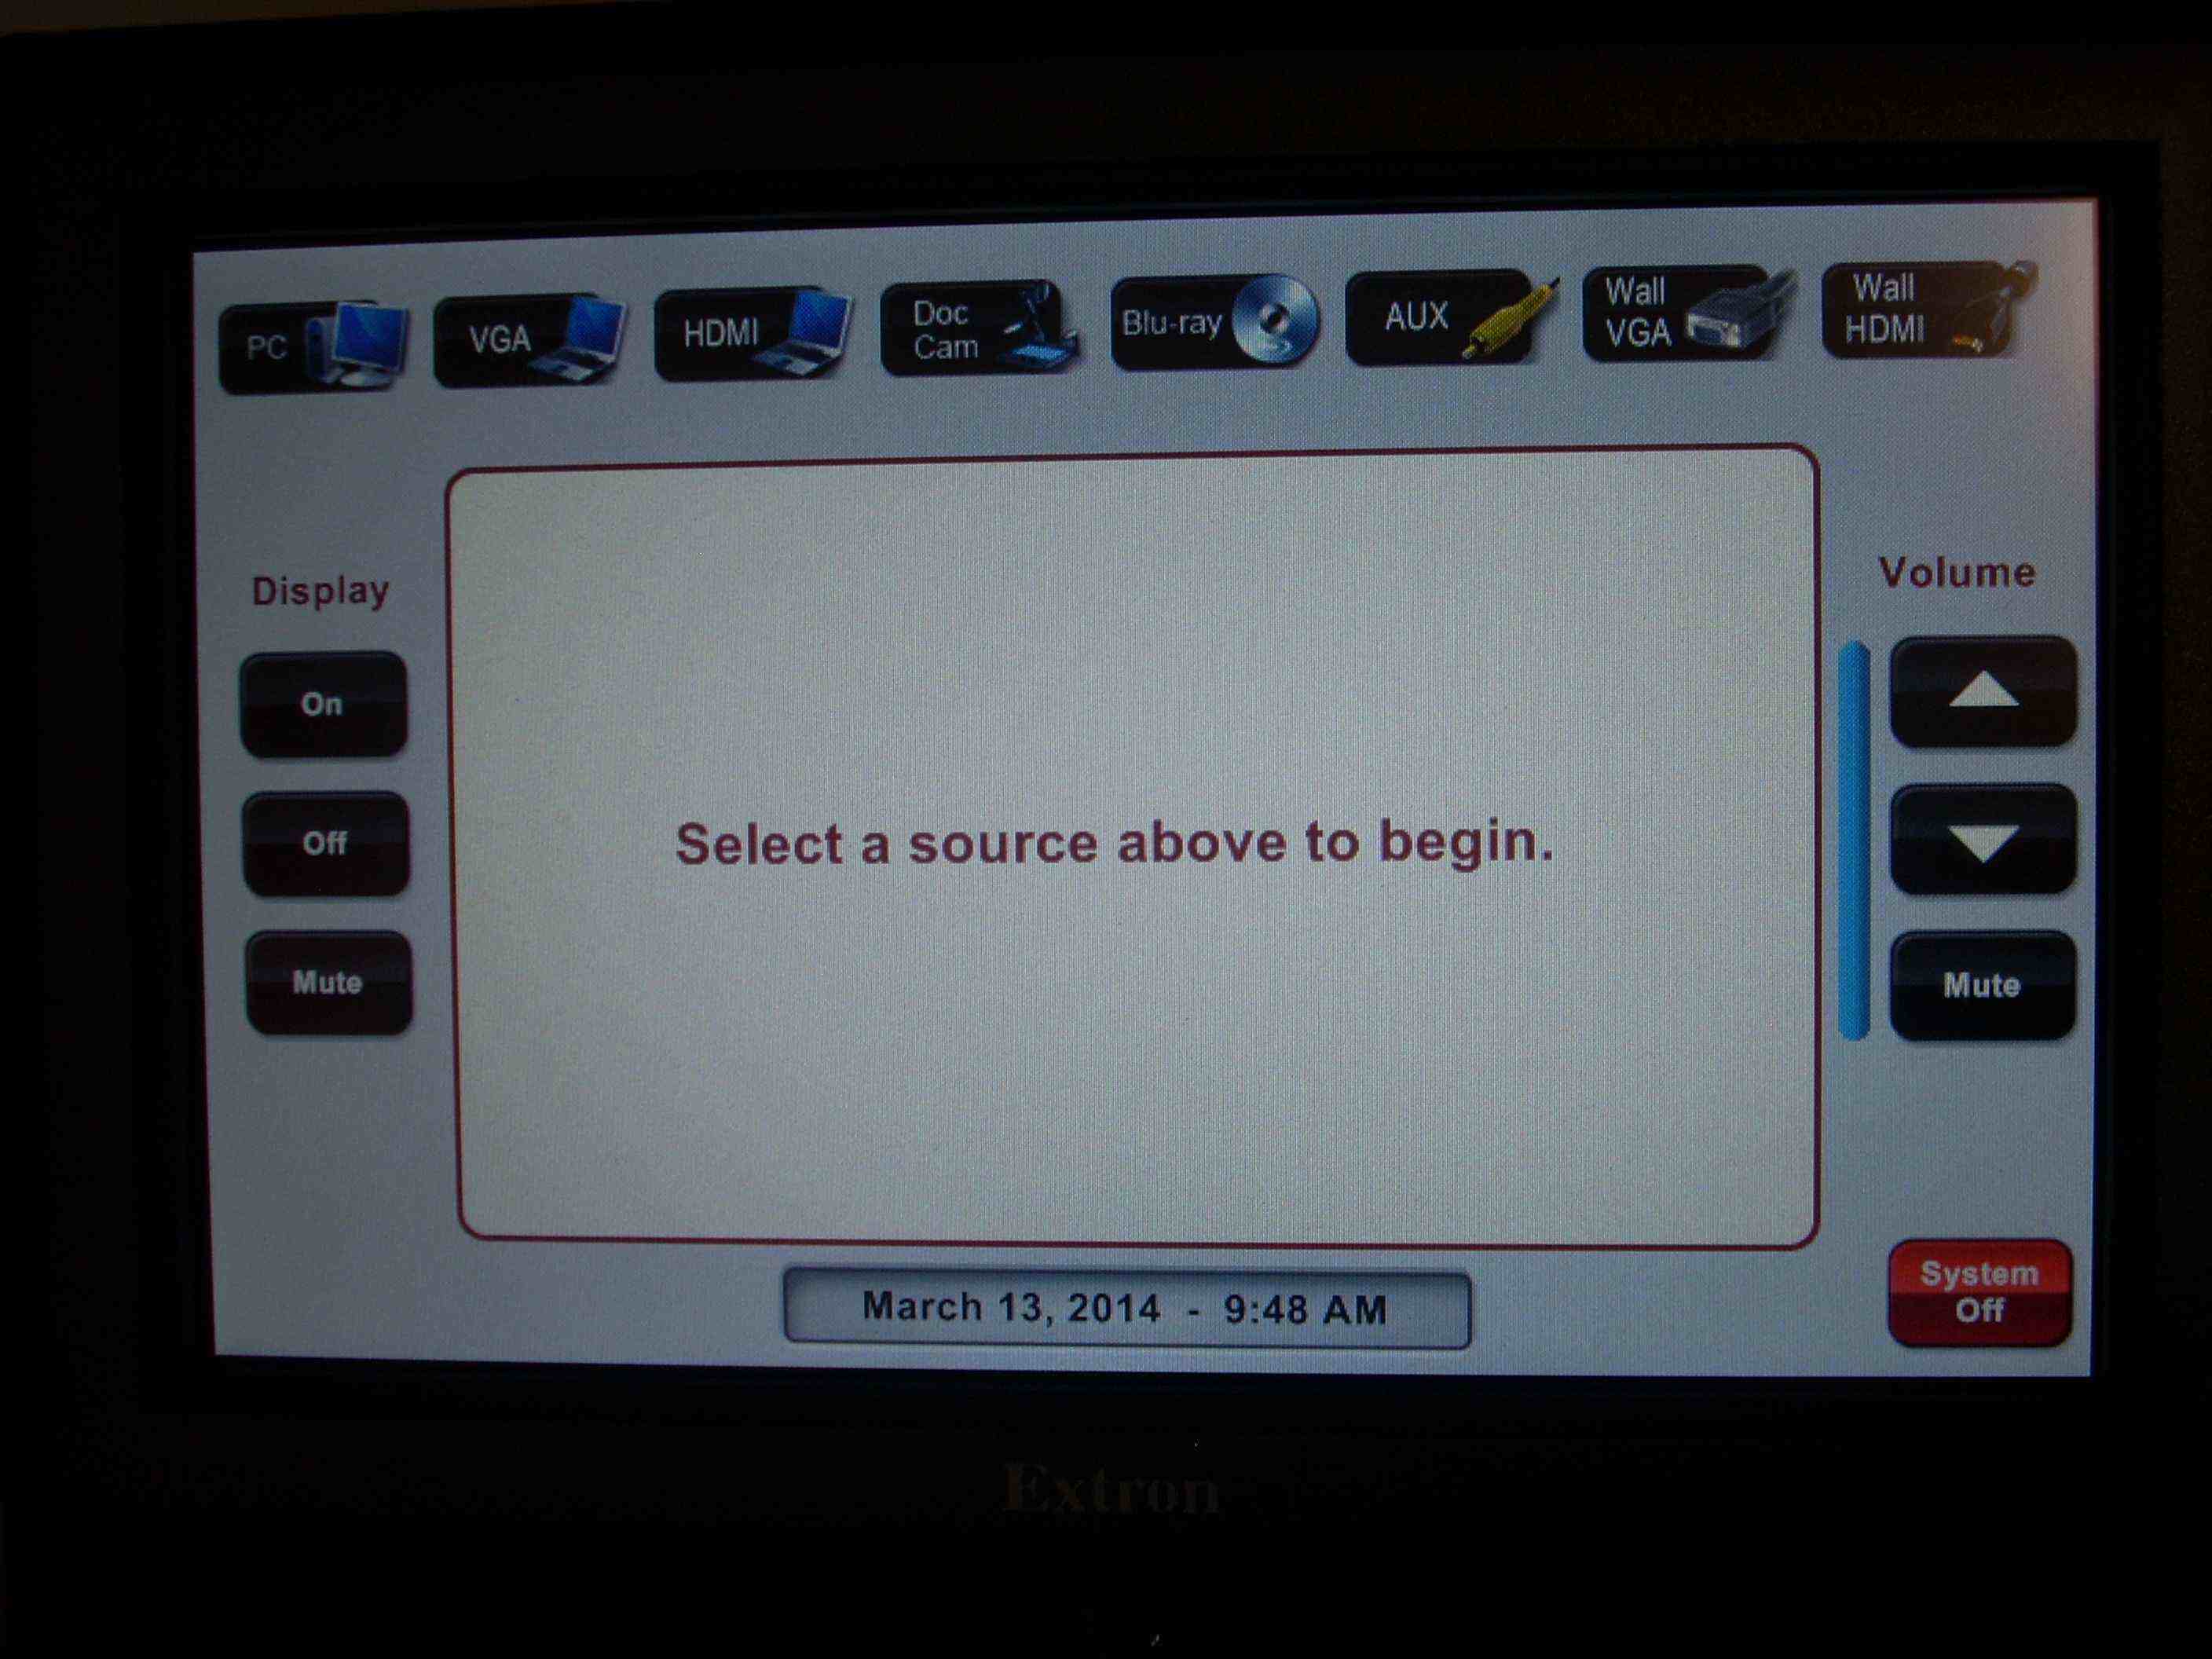
The selected source will appear on the preview monitor, on top of the teaching station.
To turn on the Projector or TV, press the ON button, located in the display section of the control panel. Be sure to press the OFF button when you are through.
What are the functions of the control panel?
Please reference the image of the control panel at the top of this page.
1. ON and OFF: Press the ON button to turn the display (projector, and/or flat panel display) on. Press the OFF button to turn the display off, to conserve energy and extend the life of the lamp and projector.
2. DISPLAY MUTE, or PIC MUTE, or AV MUTE: This lets you temporarily black-out the image on the projector screen.
3. BLU-RAY, or DVD: Some teaching stations have a Blu-Ray player while others have just a DVD player. This source allows you to play various types of optical discs: audio CDs, mp3 CDs, photo CDs, DVDs, limited file types on data DVDs. Only Blu-Ray players are capable of playing Blu-Ray discs.Use the remote control for additional browsing options when navigating the disc's menu screen.
4. PC: This allows you to use the desktop personal computer (PC) installed in the teaching station. Plug a flash drive into the USB jack, insert a disc into the disc drive, or log into your favorite network or cloud resources to locate files that you wish to display. These are typically located inside the front of the teaching station, near the top. You may need to power on the computer. Please Restart the computer, and leave it powered on when you are done using it. The monitor on top of the teaching station will allow you to preview the PC prior to powering on the display (Projector or flat panel).
5. HDMI or LAPTOP: This lets you plug your own device into the HDMI cable. If your teaching station has a HDMI, and you plug your laptop (or phone) into HDMI you will press HDMI (or LAPTOP) source. You may need to use an adapter for the HDMI source.
6. DOC CAM: This source allows you to connect to the doc cam located on or by the teaching station. This allows you to show items that are put under the document camera to the audience viewing the projector screen. In a few regional education center rooms, the Document Camera can function as a webcam, but microphones are required for this function.
7. VOLUME KNOB: This controls the volume of the teaching station no matter which source is selected. The volume knob controls the sound being sent to the ceiling or wall-mounted speakers throughout the classrooms. In some smaller classrooms, study rooms, or conference rooms, this volume knob controls the sound being sent to the flat panel display's internal speakers. The illuminated LEDs beside the knob are an approximate estimation of the volume level. Keep turning the knob RIGHT until it is loud enough, even if the LEDs are indicating RED. Keep turning the knob LEFT until it is quiet enough for the audience, no matter how many LEDs are illuminated.
Touch Panel controller
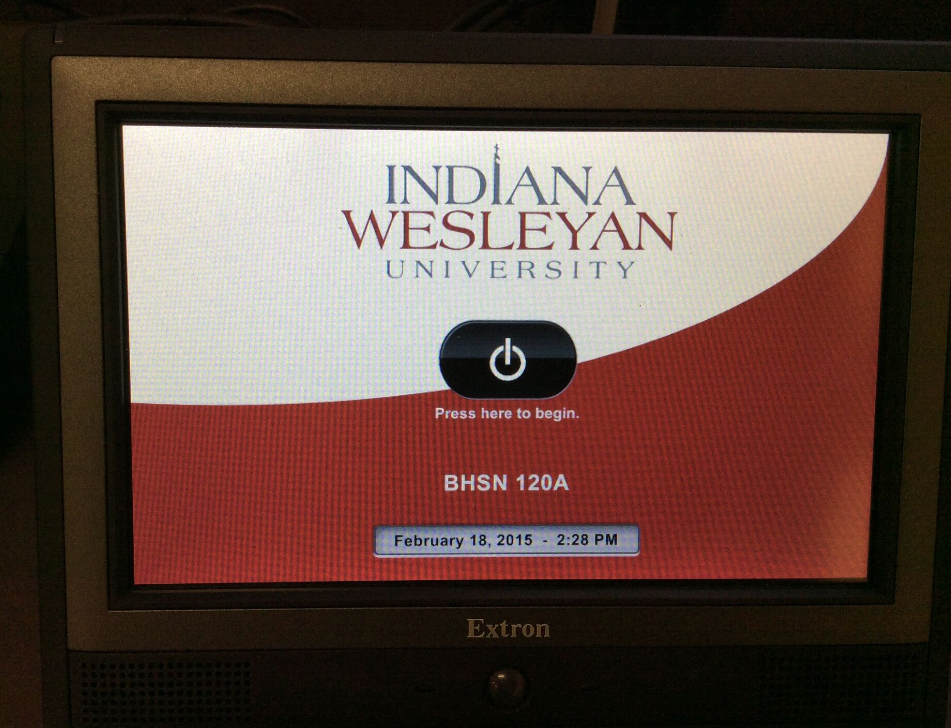
1. Walk up to the system's touch panel and it will illuminate when you approach.
2. Press the center button that has a power logo to turn on the system.
3. Wait for the system to turn on fully before switching any of the sources.
Last steps
These are important final steps when using the teaching station. Doing this extends the life of the projector, conserves energy, and helps maintain the room's correct temperature. It is important that they are not constantly running, and that they are being turned off each day. Equally important is the need to reset the control system to a default state, so that the next user can start the system with one obvious ON button, or press no buttons at all if they don't want to use the display technology.
Press the OFF button on the Push-Button controller, to power down the display.
If a projector remote control is placed on the teaching station, you may alternatively use this to power down the projector. Point it at the projector, and slowly press the OFF button twice (2x).
In classrooms where there is a touch panel controller, there is a two step process of powering down the system.
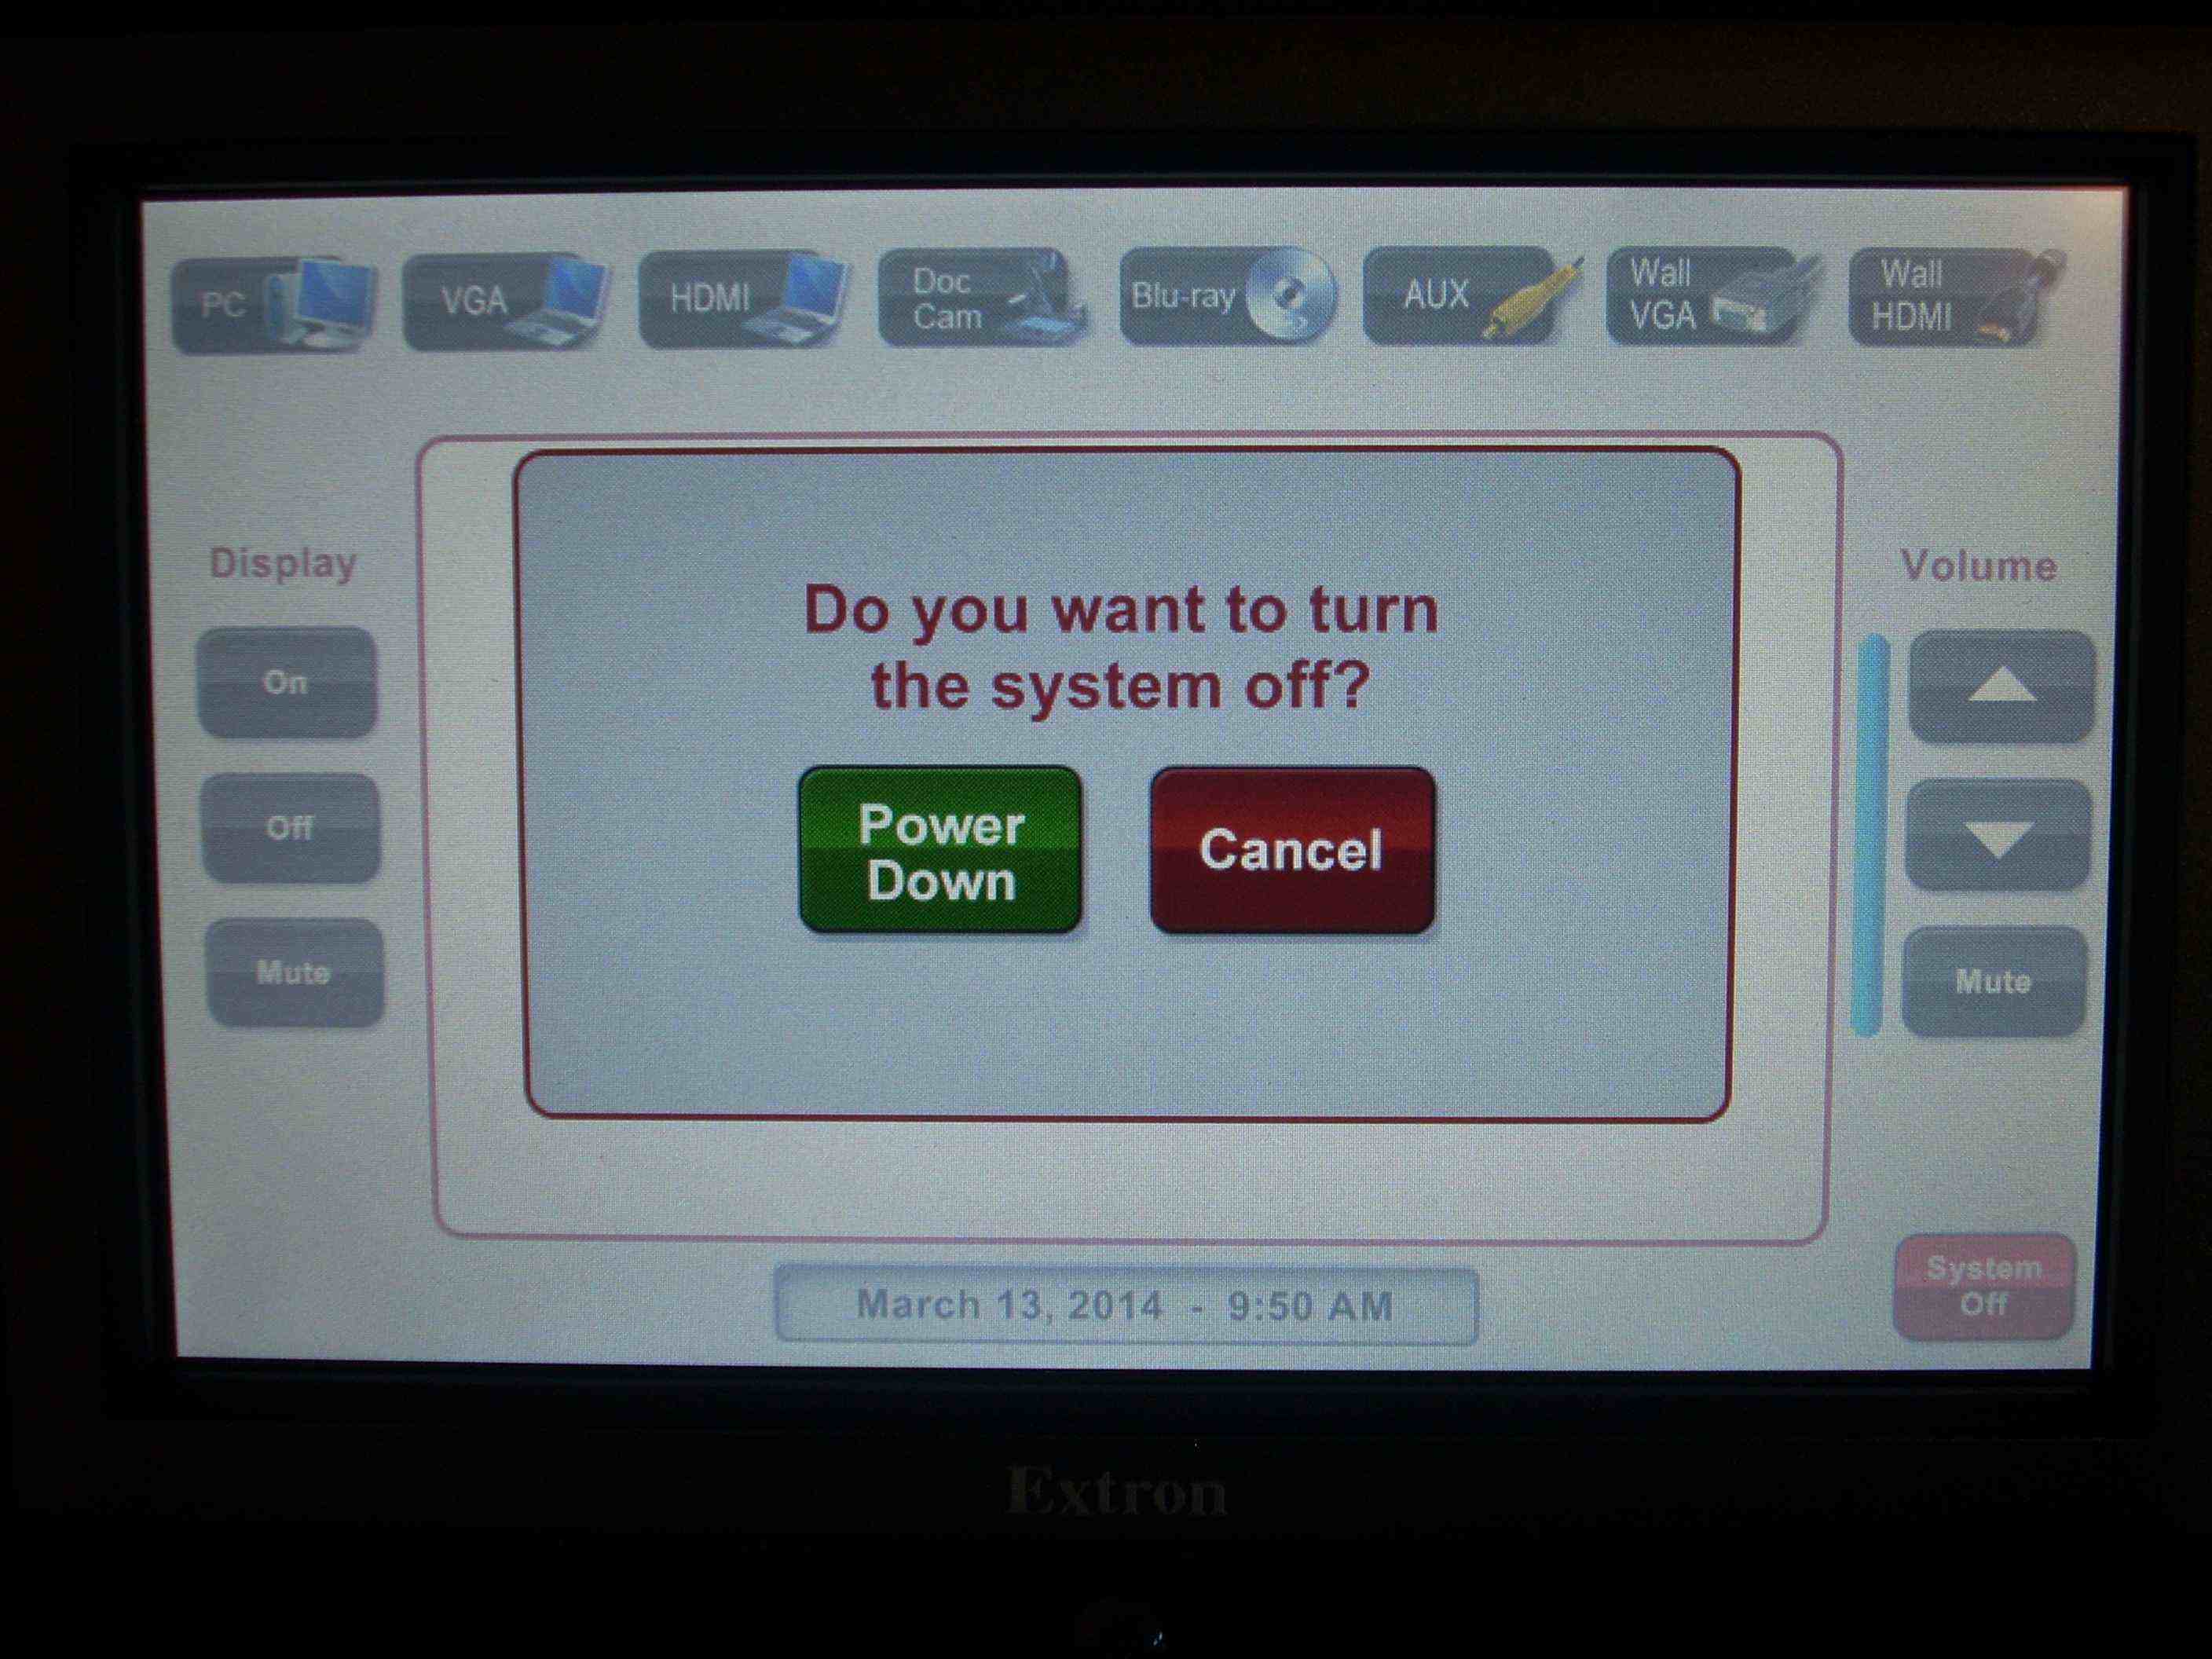
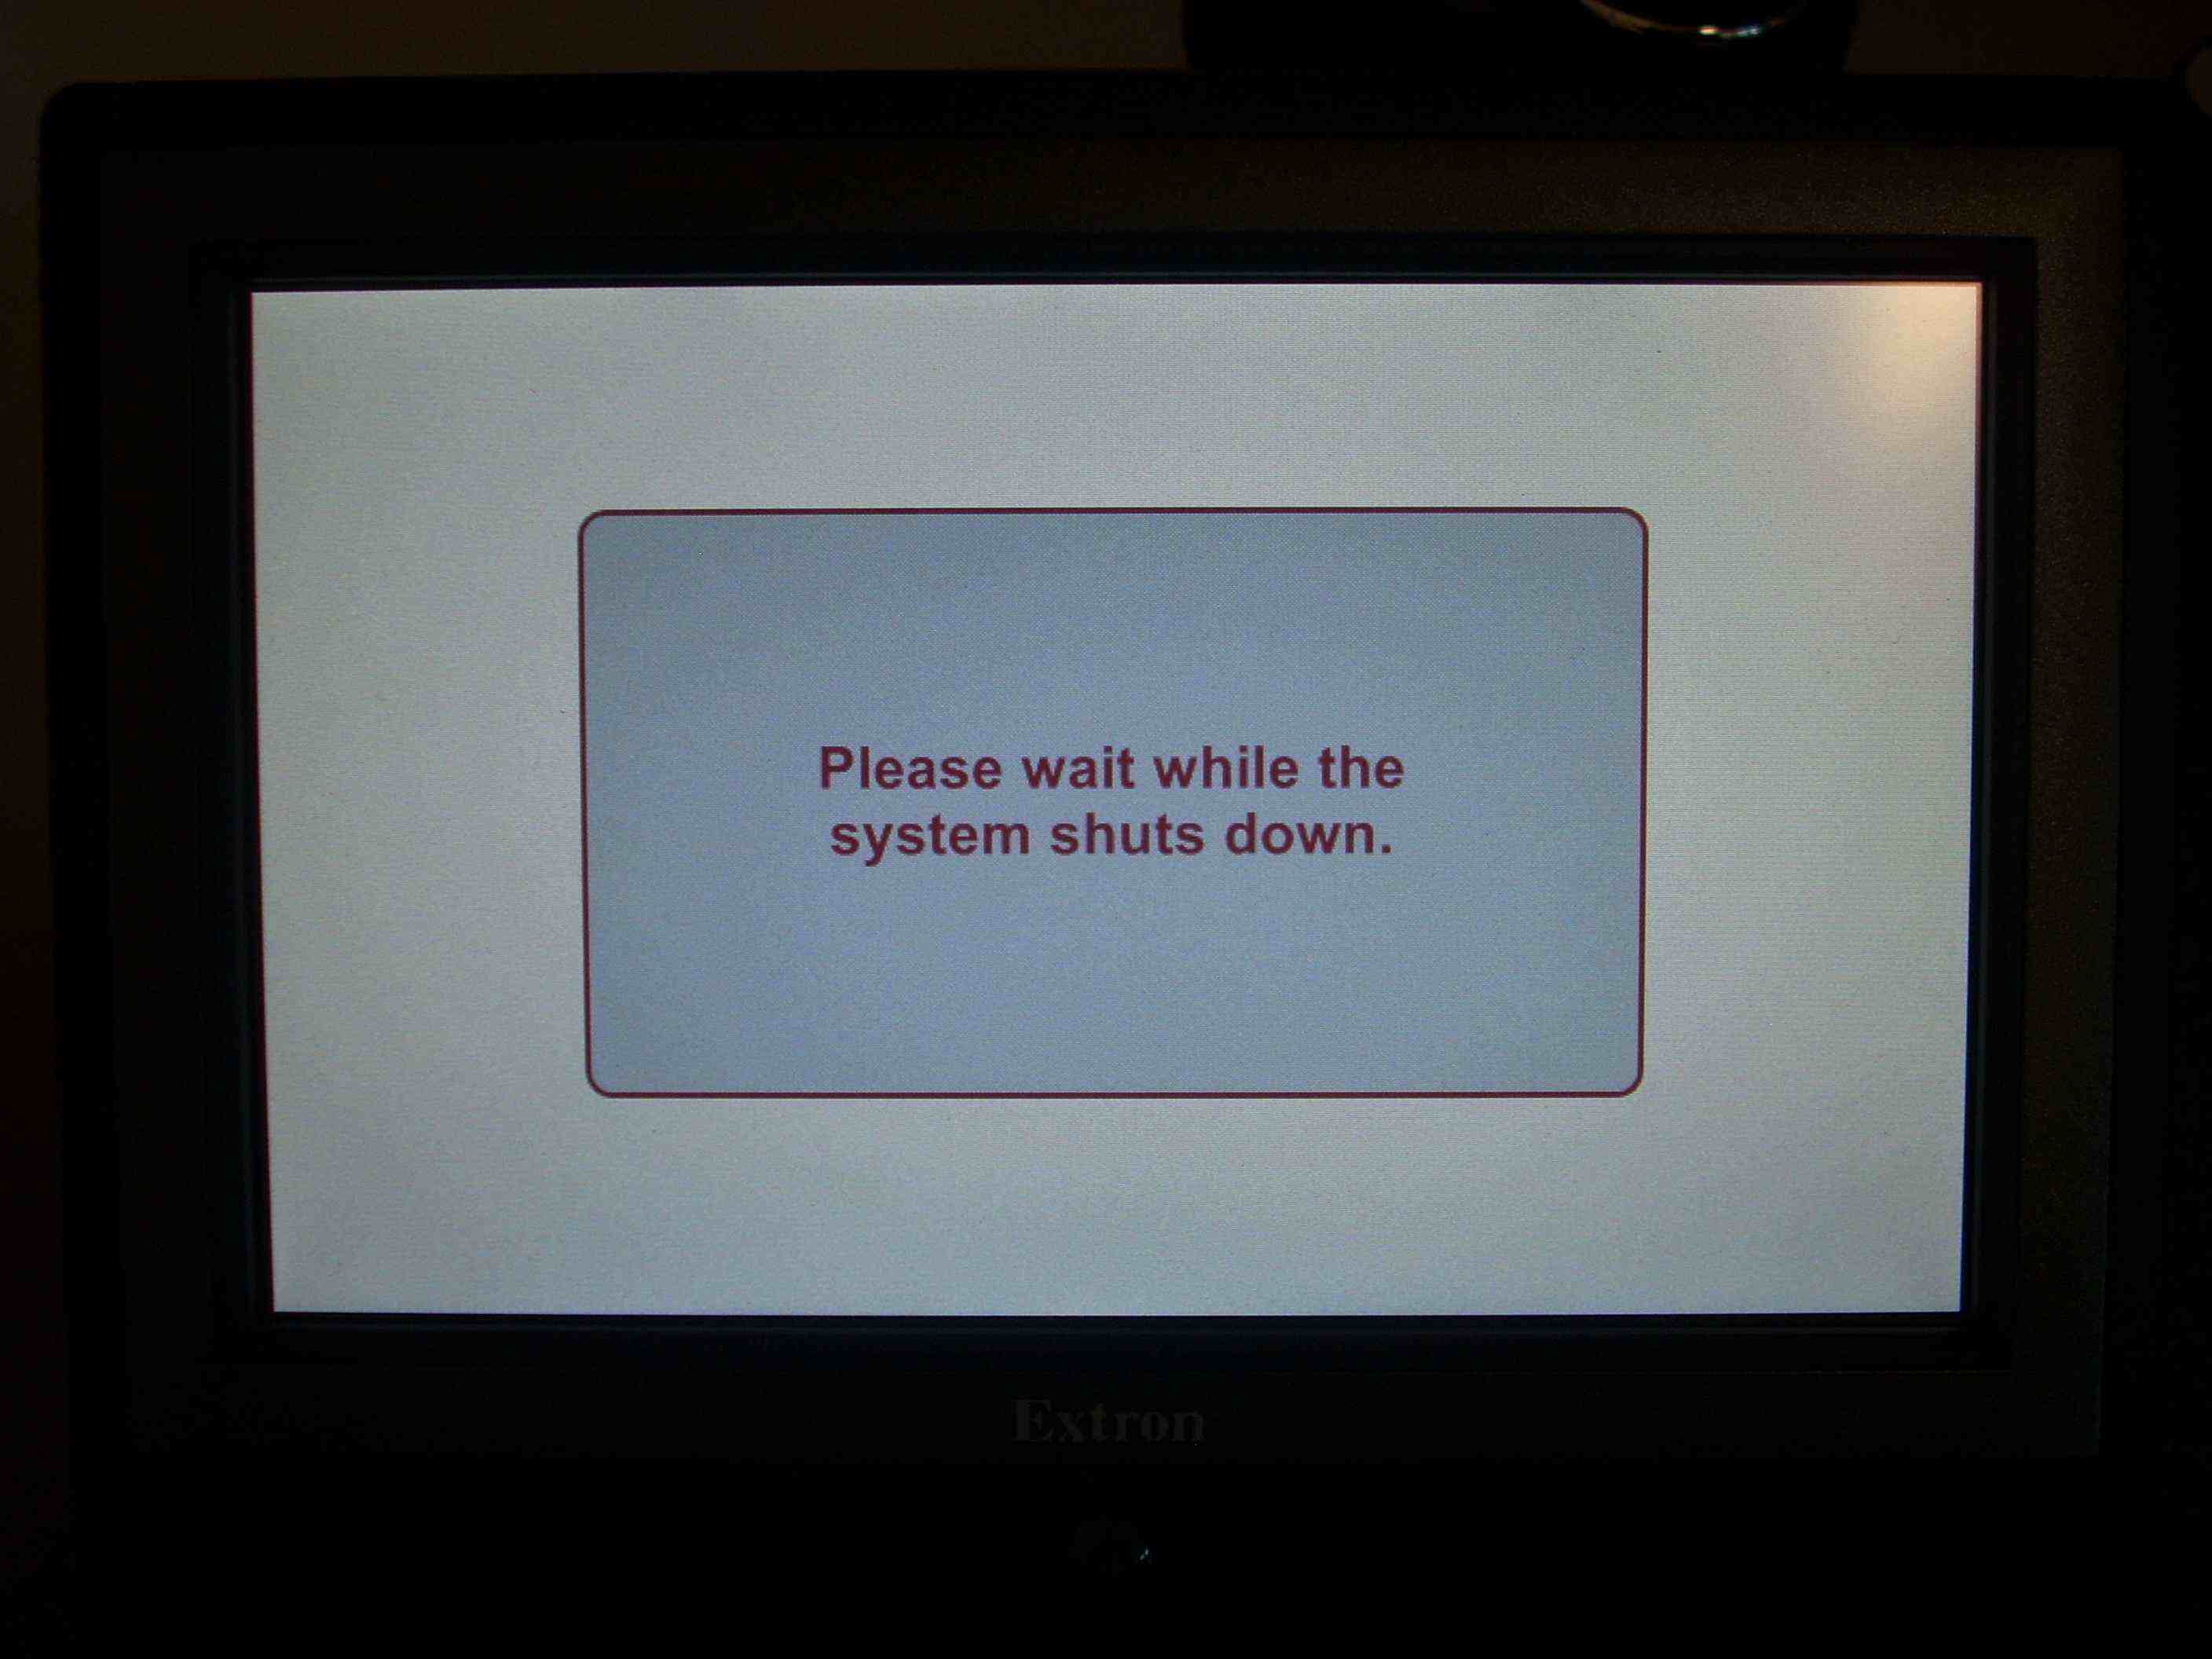
- Press the red SYSTEM OFF button. The SYSTEM OFF button is typically located on the right side, or at the bottom of the panel.
- From the pop-up menu that appears, press the CONFIRM, or POWER DOWN button to confirm the power down process, which takes several seconds.
- Pressing the CANCEL button will return you to the main menu.
Troubleshooting
If you are having trouble with any of the technology in the teaching station, please contact the support center at extension 2209, option 9.
You can find more detailed troubleshooting help here:
- 1. Sound not working.
- 2. No signal or image not being projected.
- 3. Laptop connection troubleshooting.
- 4. If experiencing other problems, please contact the support center at x2209 for more help.