How to Create a New Course Announcement
Goal
After completing this how-to you will have the knowledge needed to create a new announcement in your course. Announcements can be used to communicate important course information. Announcements should be short and concise as any new announcement added pushes older announcements further down the page. For more information on other Brightspace tools, review the Tools topic page.
Navigation
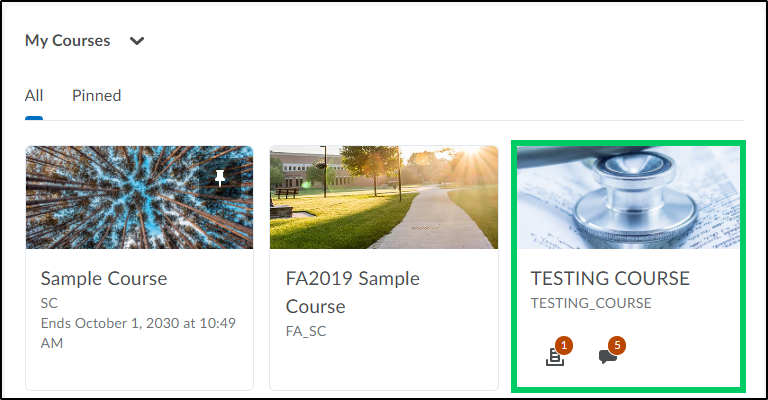
1. From the Brightspace main landing page, navigate to your course by selecting it from the "My Courses" widget.
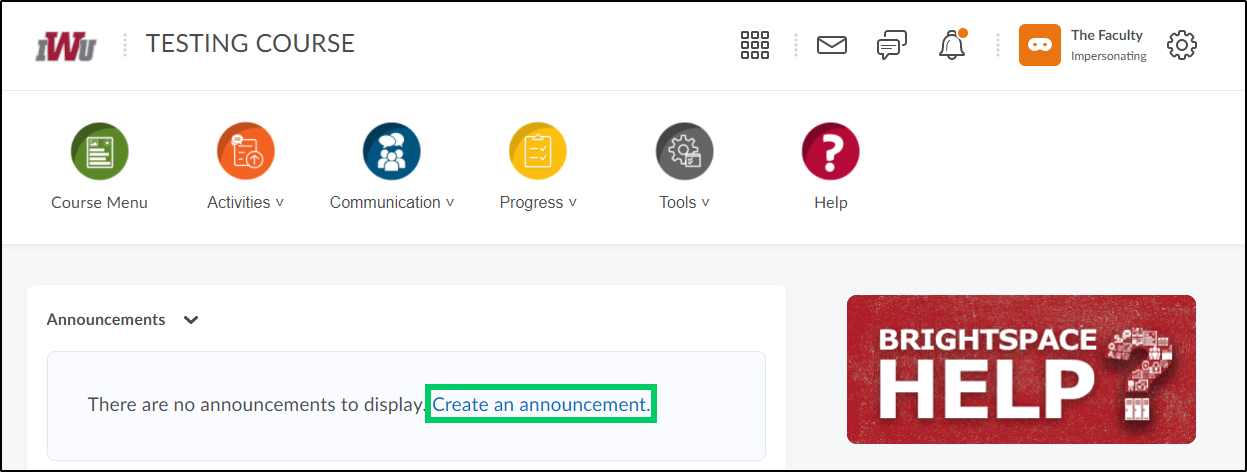
2. To create a new announcement, select the "Create an announcement" link.
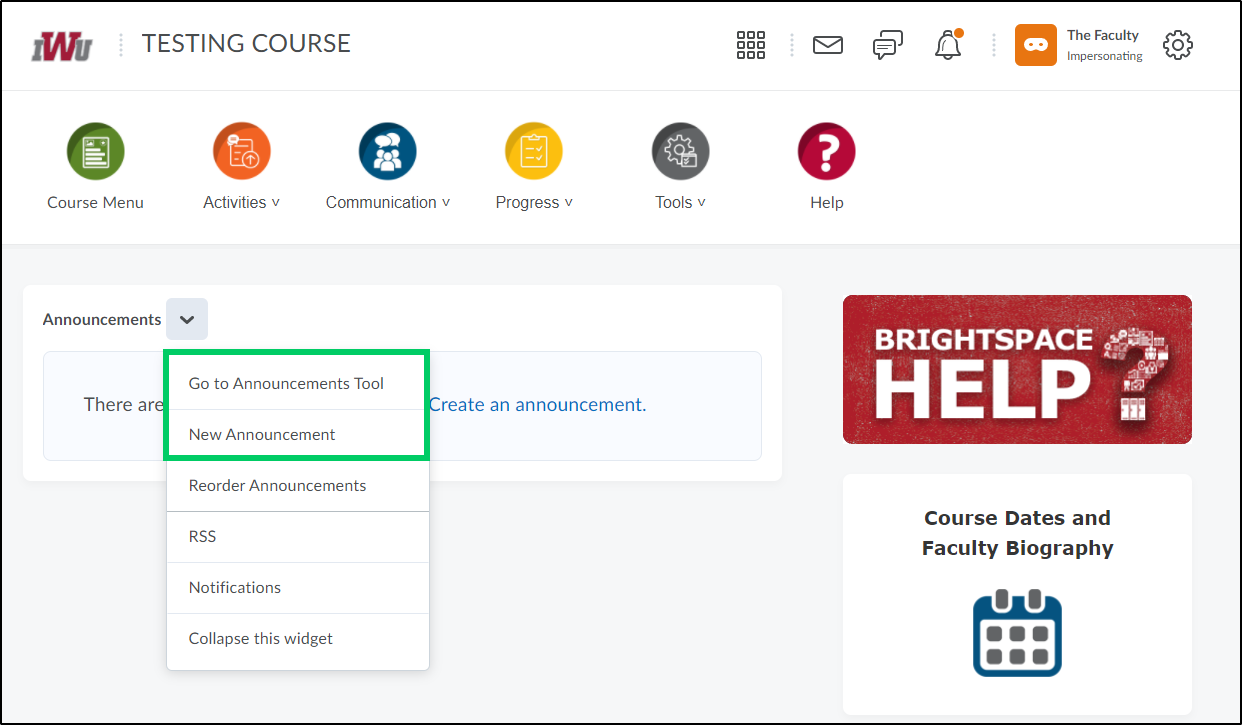
2a. You may also select the Announcement dropdown menu and choose "New Announcement" or "Go to Announcements Tool" and selecting the "New Announcement" button.
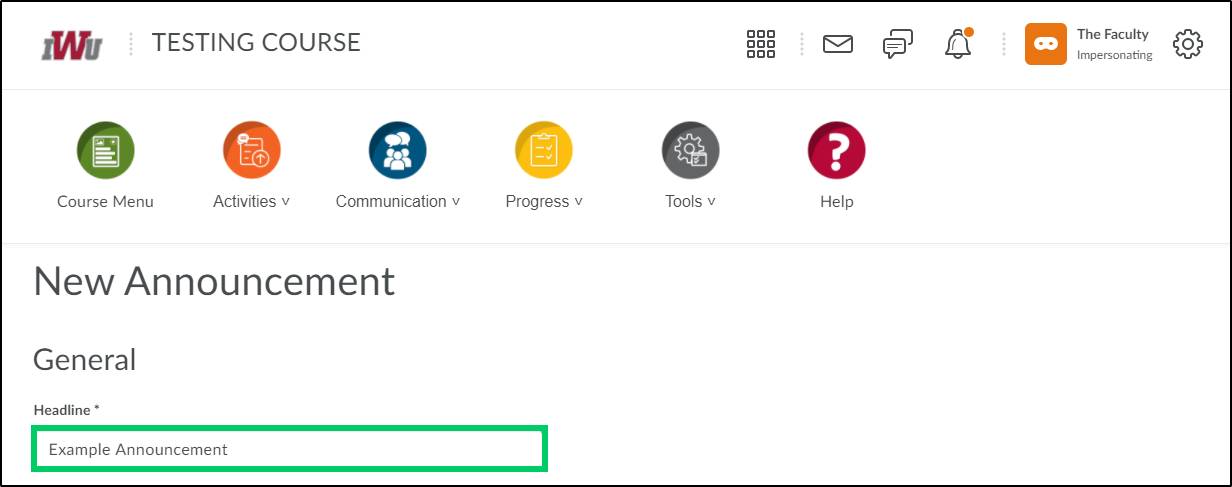
3. On the "New Announcement" page, enter a name for the announcement into the "Headline" field.
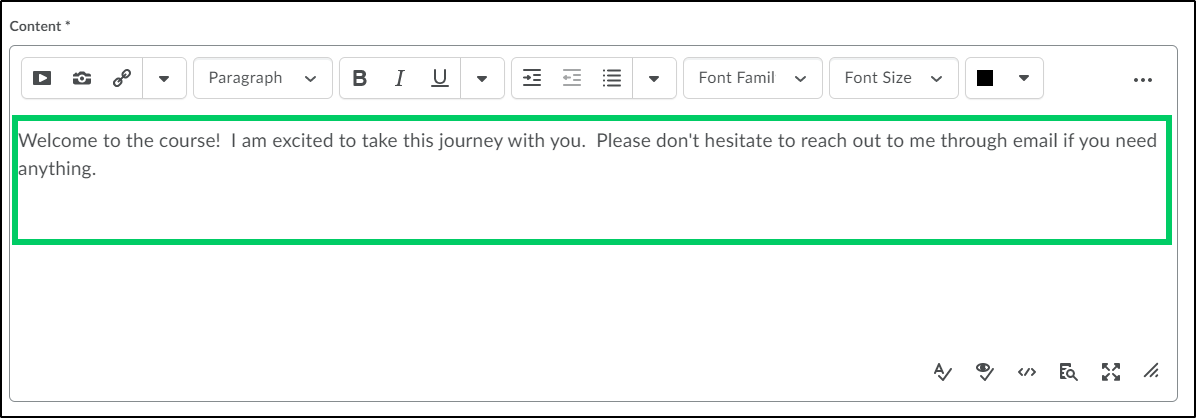
4. Enter the content of the announcement into the "Content" HTML editor. Announcements can contain links, pictures, videos, etc., however keep the length of the announcement in mind when adding these elements.
5. In the "Availability" section, a start and end date can be set.
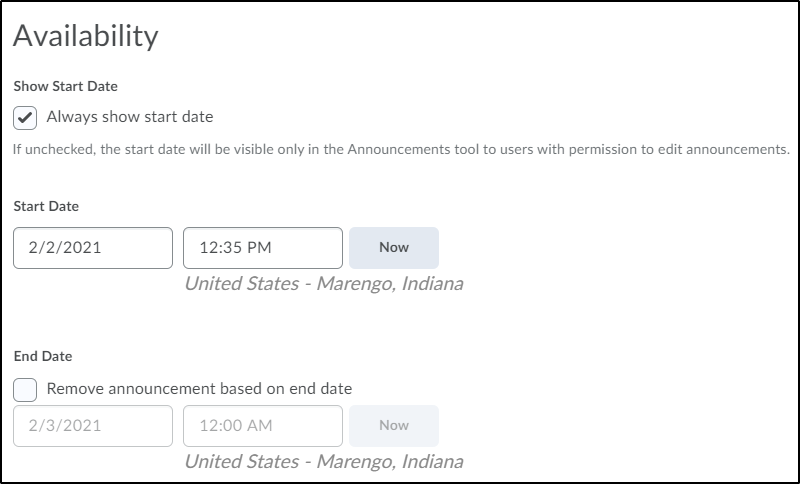
5a. The default is to always show the start date that the announcement was posted. To remove the start date, uncheck the "Always show start date" checkbox.

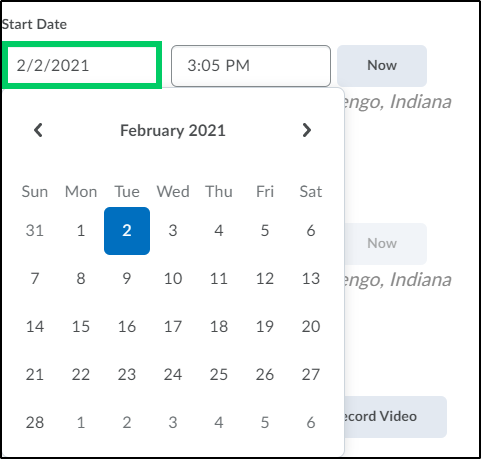
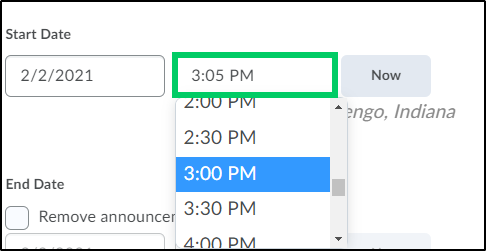
5b. To set a start date and time, select the date field and choose a date from the date picker tool, then select the time field and choose a time. It is important to set a start date if you want the announcement to appear on a specific date.
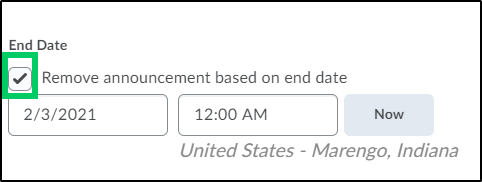
5c. To remove visibility of the announcement based on specific end date, select the "Remove announcement based on end date" checkbox.
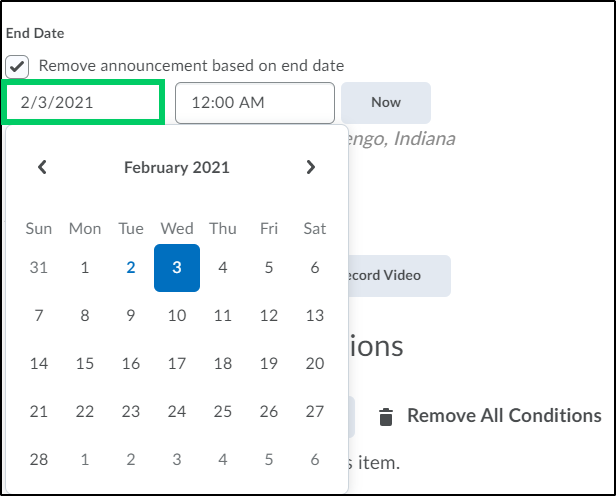
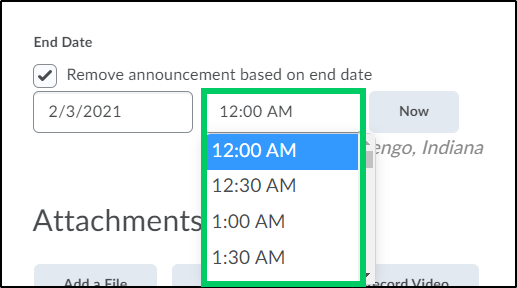
5d. To set a end date and time, select the date field and choose a date from the date picker tool, then select time field and choose a time.
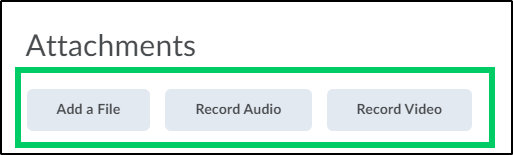
6. In the "Attachments" section, you can attach a file or record an audio or video by selecting the applicable button.
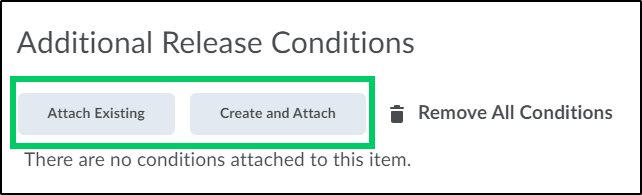
7. In the "Additional Release Conditions" section, you can attach an existing release condition or create a new existing release condition. Review the Release Conditions guide for more information on this feature.
8. To create the announcement, select the "Publish" button. If you want to save your progress and come back to the announcement at a later time, select the "Save as Draft" button.

9. To view the announcement within the course, select the course title to navigate back to the course homepage.

10. The most current announcement created will appear at the top of the course announcements.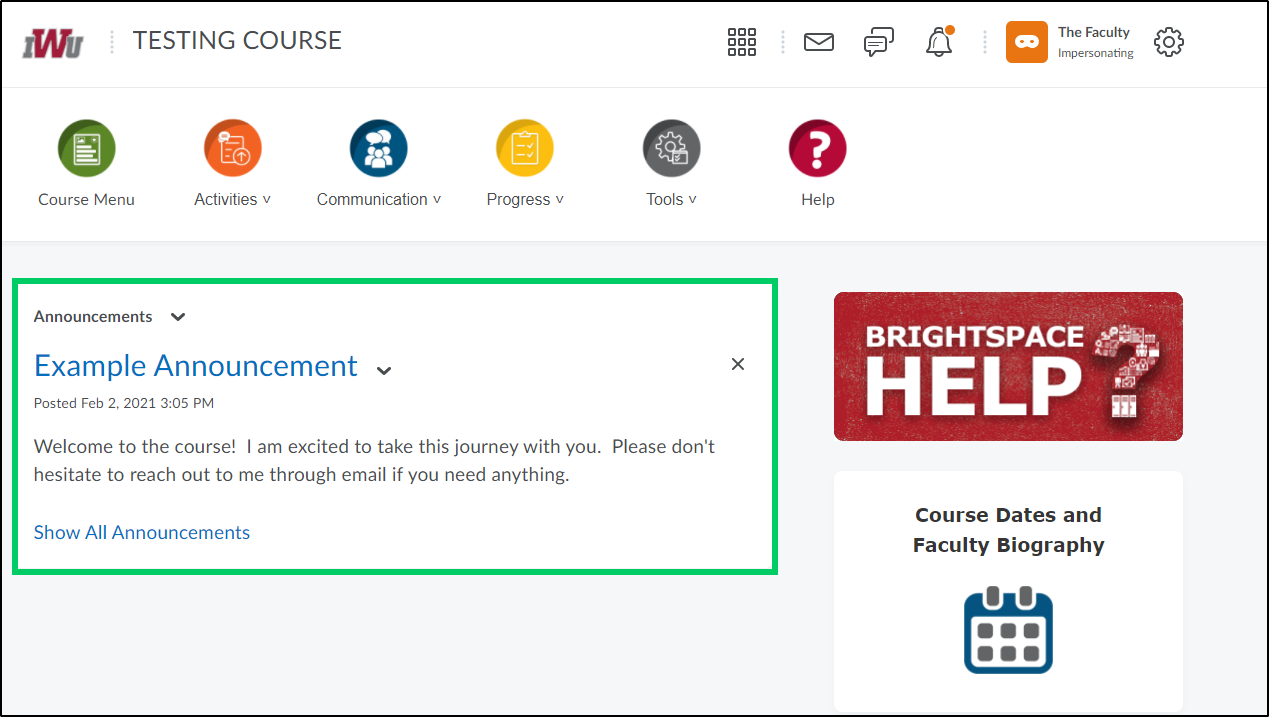
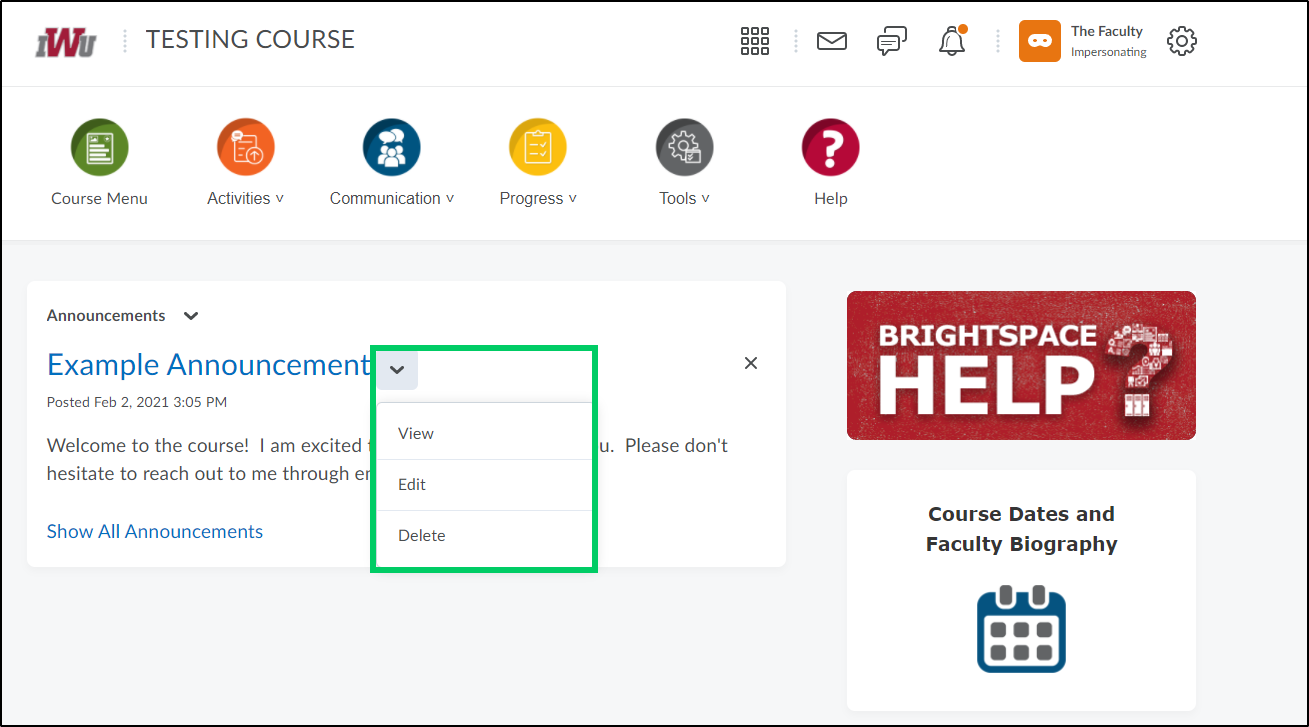
11. To edit, view, or delete the announcement, select the dropdown menu next to the needed announcement and choose the appropriate action.