Installing Adobe Acrobat
Overview
Adobe Acrobat allows users to create and edit PDFs as well as e-sign documents. This is an instructional on how to install and license it.
Installing Adobe Acrobat on a Windows computer
Adobe Acrobat is in the Application Catalog for those who have purchased it. This is the process of installing it.
- Open the Application Catalog, search for "Acrobat Professional", then click the install button. If it does not appear, click the sync button next to "Last Sync:". If it still does not appear, contact the Support Center at x2209 for further assistance,

- The installation will take at least 30 minutes as it is a large program. We recommend running this installation while on campus using an ethernet connection to ensure it installs correctly and the install time is as short as possible.
Licensing Adobe Acrobat
- Once Adobe Acrobat has been installed, open the program by double-clicking on the desktop icon or clicking the icon in the start menu.
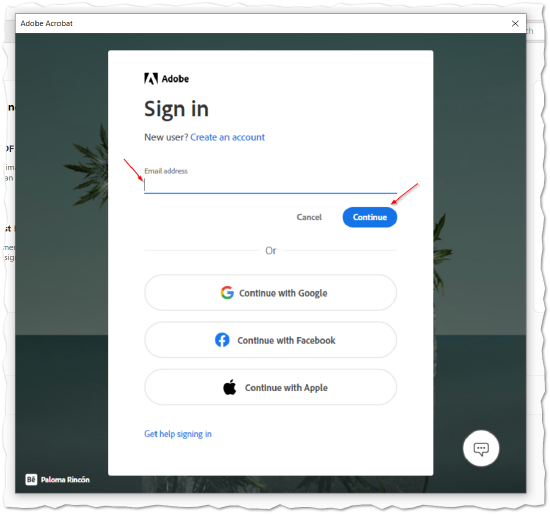
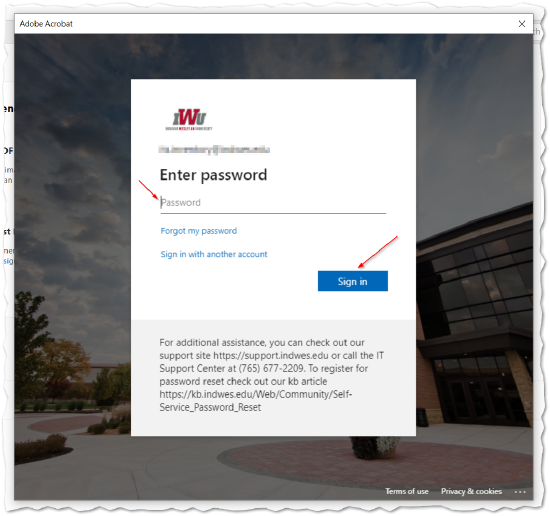
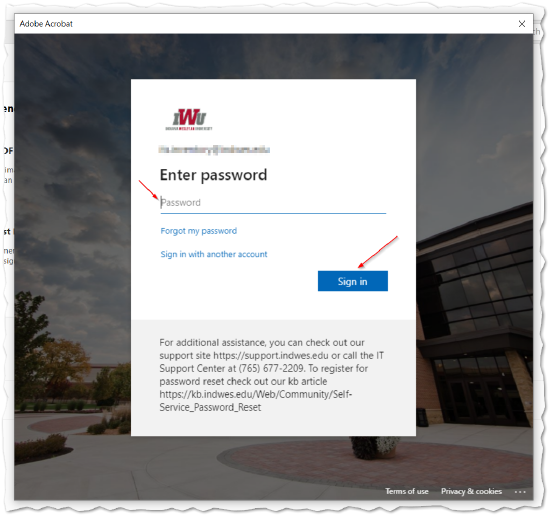
- When the software opens, you'll be prompted to sign in. Please use your IWU credentials (i.e. john.doe@indwes.edu) for this login.
- Click the checkbox next to "Don't show this again" and then click the Yes button.
- Adobe Acrobat will now be licensed.
Setting Adobe Acrobat As Default
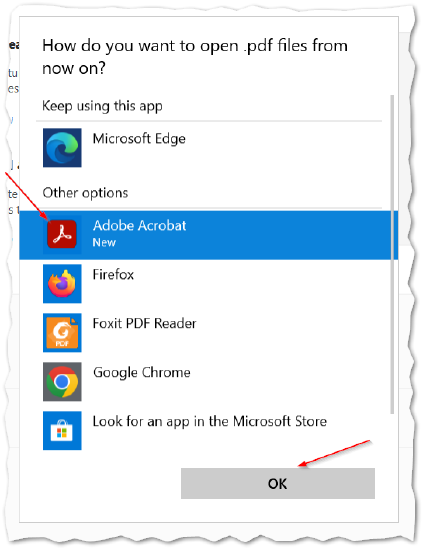
- You will see a pop-up the first time you use Adobe Acobat. This is for setting PDFs to always open in Adobe Acrobat. We recommend setting this to Yes.
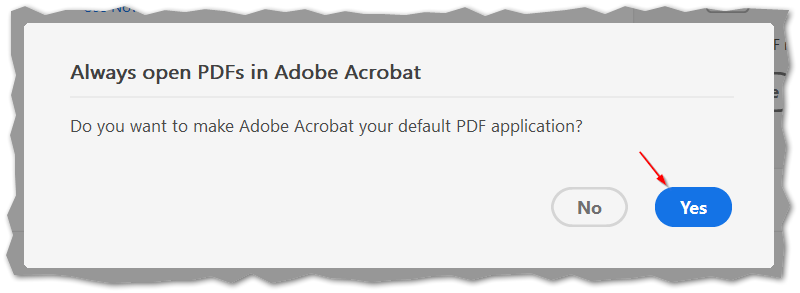
- If you chose Yes on the above pop-up, you will see one more pop-up to confirm you want to set PDFs to always open in Adobe Acrobat. Click on Adobe Acrobat and then click on OK.
Adobe Acrobat Setup Is Complete
That's it! Adobe Acrobat is now installed and ready for use. If you have any questions, please contact the Support Center at x2209 or support@indwes.edu. If you are looking for assistance in using Adobe Acrobat, please see Adobe's User Guide. You'll find many useful articles and a search if you aren't able to find what you are looking for.
