Meeting Owl
The Meeting Owl is a video conferencing solution that simplifies collaboration meetings, interviews, huddle rooms, and small classes. It is a USB device providing both audio and video for a Zoom or Teams meeting on your computer.
Steps
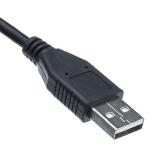
1. Connect the USB cable to your computer
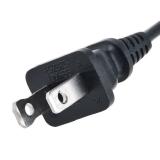
2. Connect the AC power cable to a power outlet
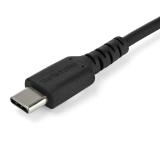
If you are taking the owl out of the its box or case, you will also need to connect the power and USB cables to the bottom of the owl.
3. The Owl will hoot, and LED rings will illuminate, appearing like eyes on the Owl
4. A voice will say "Hi, I'm Meeting Owl. To get started download the app on your mobile device." Downloading the app is unnecessary for standard meeting functions.
5. Launch your video conferencing application (Zoom, Teams) and select the Meeting Owl in any or all of the following settings options:
Microphone
Speakers
Video Camera
Note: Each time you select the Meeting Owl as your camera, it will display a grey splash screen with the Owl logo until it finishes booting up. The text of this image may appear backwards, like you are viewing it from the back, or in a mirror. This does not mean that the camera will have a mirror effect.
6. To get the Owl to focus on you, keep talking. The Owl is listening for speech.
Considerations
The Meeting Owl is best suited for groups of 2 to 8 people, although it may still work with larger groups.
For best results, keep all participants in the room within 12 feet of the Meeting Owl.
Position the Meeting Owl in a location where all of the participants will be looking toward the Owl while they conduct the class or meeting. For instance, place the Meeting Owl near the display (like a TV, laptop screen, or projection screen), where the image of the video conferencing participants will be viewed by the people in the room.
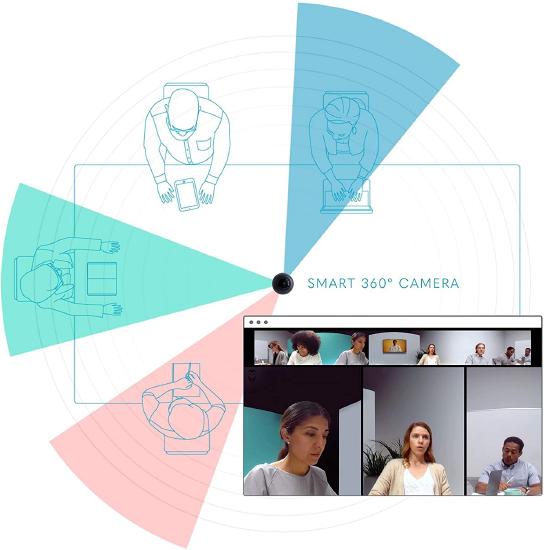
The image created by the spherical camera lens, is a wide horizontal view of the entire room and all of the people in the room, placed like a banner at the top of your display. Additionally, a single, double, or triple close up view of the participants who are speaking or have most recently spoken, fills up the remaining portion of the screen. The eight microphones listen for and guess who is speaking, and the camera angle shows the view of the direction from which that spoken sound originates.
One potential negative aspect of the Owl's Auto-Focus feature, is that you may not be able to hide from the camera view if you sneeze, cough, or make other involuntary noises. One possible solution to this can be found in the


