Archiving email in Office 365
Overview
Configure Office 365 to archive your email. Archived email does not count toward your 50GB limit, and if you move email from your PSTs to the Archive folder, it may take a while to synchronize depending on the amount of email to be uploaded and the load on the servers.Steps
To configure Archiving in Office 365, first log on to your webmail at http://iwumail.indwes.edu.
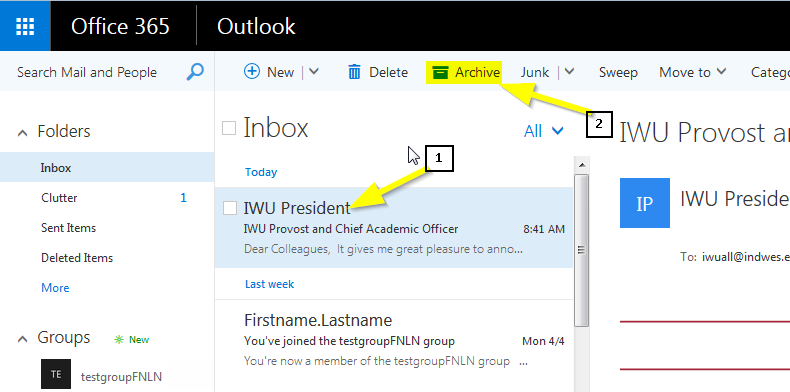
- Select an email that you wish to archive.
- Click the Archive button in the top row of action items.
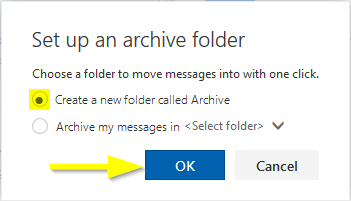
- If this is the first time you have tried to archive an email, A pop-up window will ask you to create a folder called Archive or to choose a folder that will be your archive folder. Choose the first option and click OK.
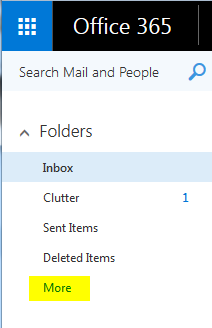
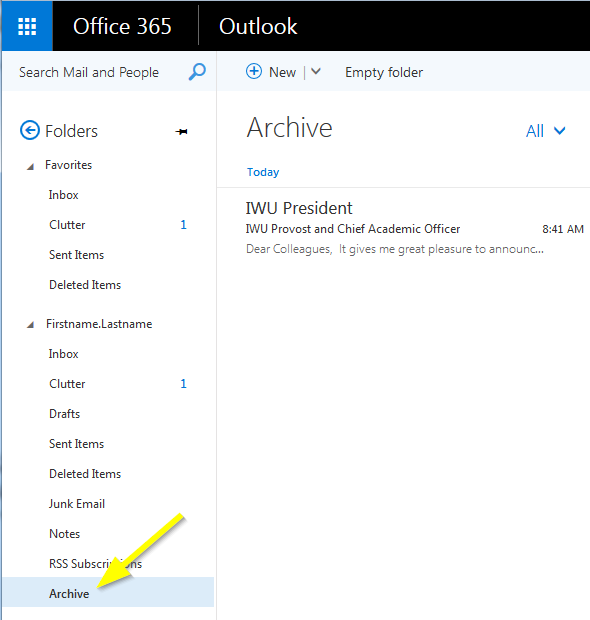
- Your email has now been archived and your account configured to archive email. To see the archived mail on the web, Click the More link under Folders, then click Archive.
Create Archive Quick-Step in Outlook
After setting up Office 365 to archive email, you may wish to have a button in Outlook that will also archive email. Unfortunately, this isn't a default option in Outlook 2013, but you can easily create a quick-step that will function the same way.
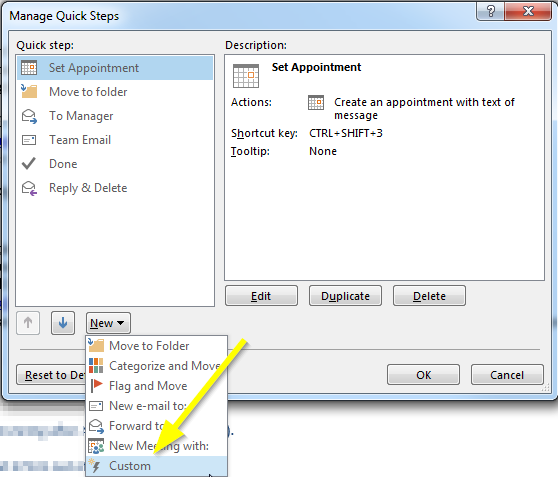
- Click the More Icon in the Quick Steps Ribbon section to open the Quick Steps Menu.

- Click the New button and select Custom.
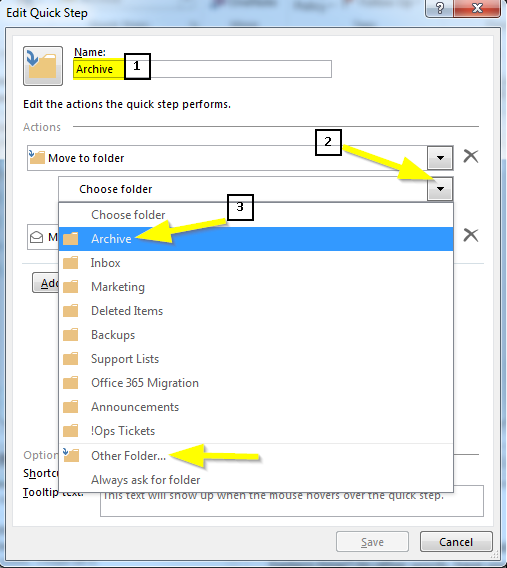
- Type the Name Archive,choose the action Move to Folder, and select the folder Archive. If Archive is not one of the available options and you have already completed the previous steps to configure archiving, then click Other Folder to bring up a list of all folders for your account.
- OPTIONAL: Choose a shortcut. I like Ctrl+Shift+1 to be able to quickly move emails to the archive.
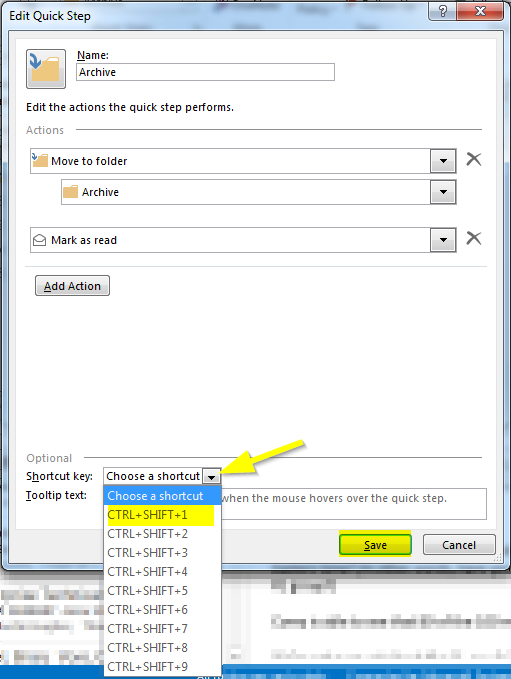
- Click Save to complete the process, then OK to exit the Manage Quick Steps dialogue box.