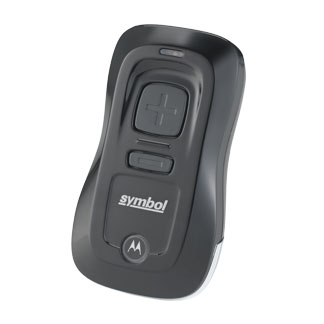
CS3000 Portable Barcode Scanner

Usage
To Scan
Just point the eye at the top at the barcode scanner, and press the '+' button. it will it will then beam a read laser bar, match the bar to the barcode you are scanning and you will hear a beep. See demonstration video above.
The scanner can not be plugged into the computer if you want to scan
To get the barcodes that were scanned
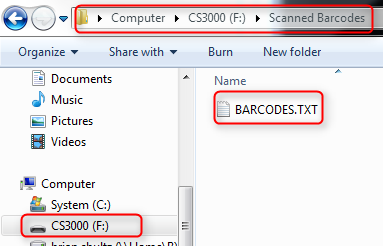
Plug the large side of provided USB cable into PC, and plug smaller side of USB cable into scanner. Choose Open Folder to View Files if prompted. Your barcodes are in the file called BARCODES or BARCODES.TXT in the 'Scanned Barcodes' folder, this is a plain text file. See demonstration video above.
To delete barcode data
Delete BARCODES.TXT from 'Scanned Bardcodes' folder on scanner:

OR Scan Clear Data on Pg 3.7 in the manual
Setup
Settings
The easy way
- Connect scanner to computer
- Download config file
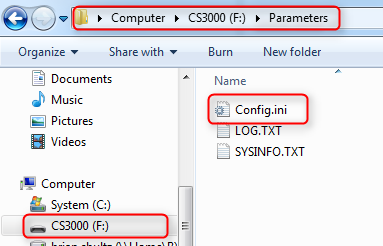
- Copy config file to Parameters folder on the scanner

4. Unplug the scanner
5. Scan Reset code in the manual (Pg 3.4)
* NOT THE Reset Factory Defaults
The Hard Way
Download and print out the manual
Scan the Following codes in order:
- Reset Factory Defaults (Pg 3.4)
- Clear Data (Pg 3.7)
- Disable All Symbologies (Pg 3.14)
- Wide Angle (Pg 3.11)
- Disable No Read (Pg 3.12)
- Linear Security Level 3 (Pg 3.16)
- Enable Bi-Directional Redundancy (Pg 3.16)
- Enable Codabar (Pg 4.39)
- Codabar - Any Length (Pg 4.40)
- Save Configuration (Pg 3.22)

