Extron control for Noggle Teaching Stations
Buttons:
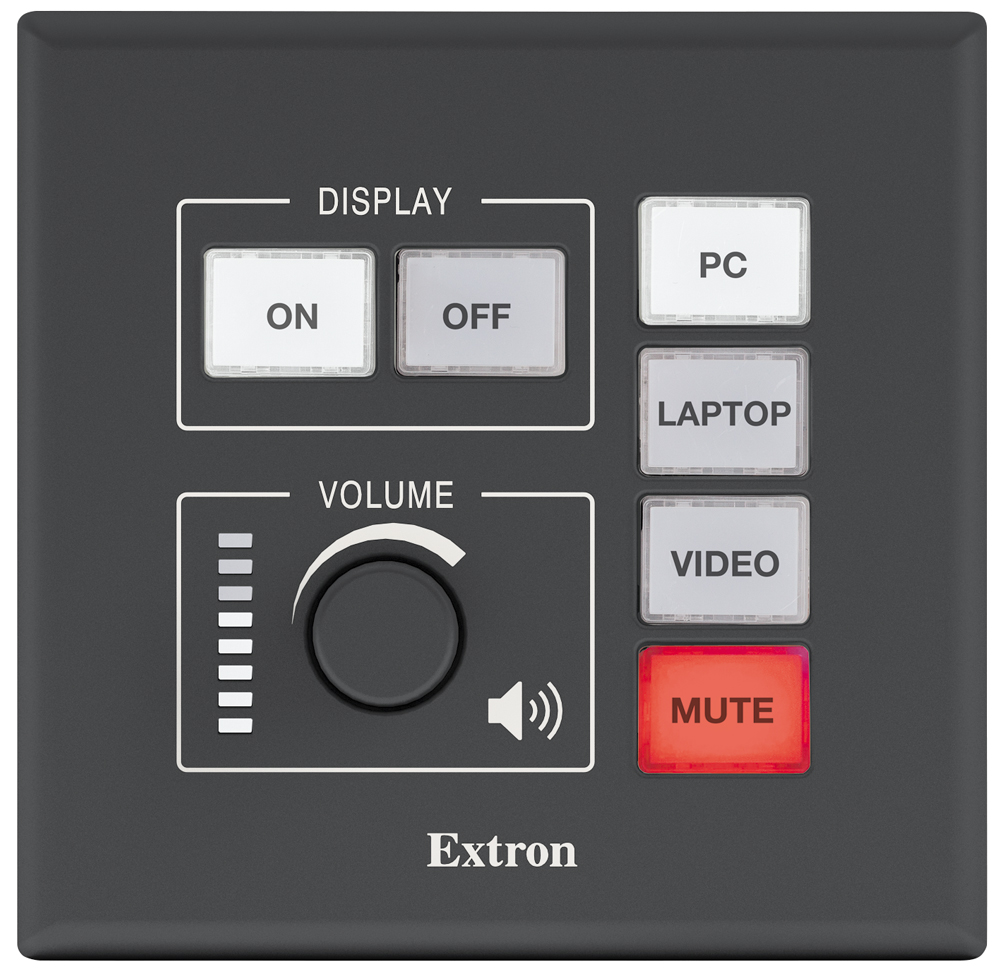
Display On- This button will turn on the display (projector or TV) and show the selected source.
Display Off- This button will shut off the display (projector or TV). Please always press this button at the end of your class, meeting or event.
PC- This button will display the PC that is installed in the teaching station onto all connected displays.
Laptop- Connect a laptop, tablet or phone to the provided HDMI cable, with optional adapters.
Mute- This button will temporarily black out the projector or TV, without shutting it off. Please always press the Display Off button at the end of your class, meeting or event.
Knob:
Volume- Turn this knob clockwise to increase volume through the ceiling speakers, or counter-clockwise to decrease volume.
The LED status indicator to the left of the knob are meant to be a general approximation, not an indicator of a reference level.
Instructions:
1. Press the "Display On" button and wait for the projector to display the source that was most recently selected. Make sure that the source and the preview monitor are both powered on.
2. Once the monitor and projector are powered on, press the button corresponding to the source that you would like to display. If selecting the laptop source, make sure that the cable and any adapters are securely connected.
3. To adjust the volume from the PC or mobile device, turn the volume knob on the controller clockwise until the audio is the desirable volume. Make sure the audio is also adjusted correctly on the PC or mobile device.
4. After you are finished using the teaching station, press the Display Off to turn off the projector or TV. If you used the PC, please restart it (instead of logging out or powering it off). Please leave all other devices powered on.