
Ott Hall Classroom 262
OHSN Classroom 262
Display

These classrooms have a fully equipped teaching station, sound system, and two displays.
- A - Short Throw Interactive Projector
- Mounted on Wall above the Whiteboard
- Mounted on Wall above the Whiteboard
- For optimal results, please set your laptop's resolution to 1280x800. Aspect Ratio is 16:10.
Audio
- Ceiling Speakers (main system)
-
Volume control at the Touch Panel
Control

• 22" Touchscreen Monitor, located on top of teaching station
Equipment Location
• Spectrum Compact Presentation Lectern
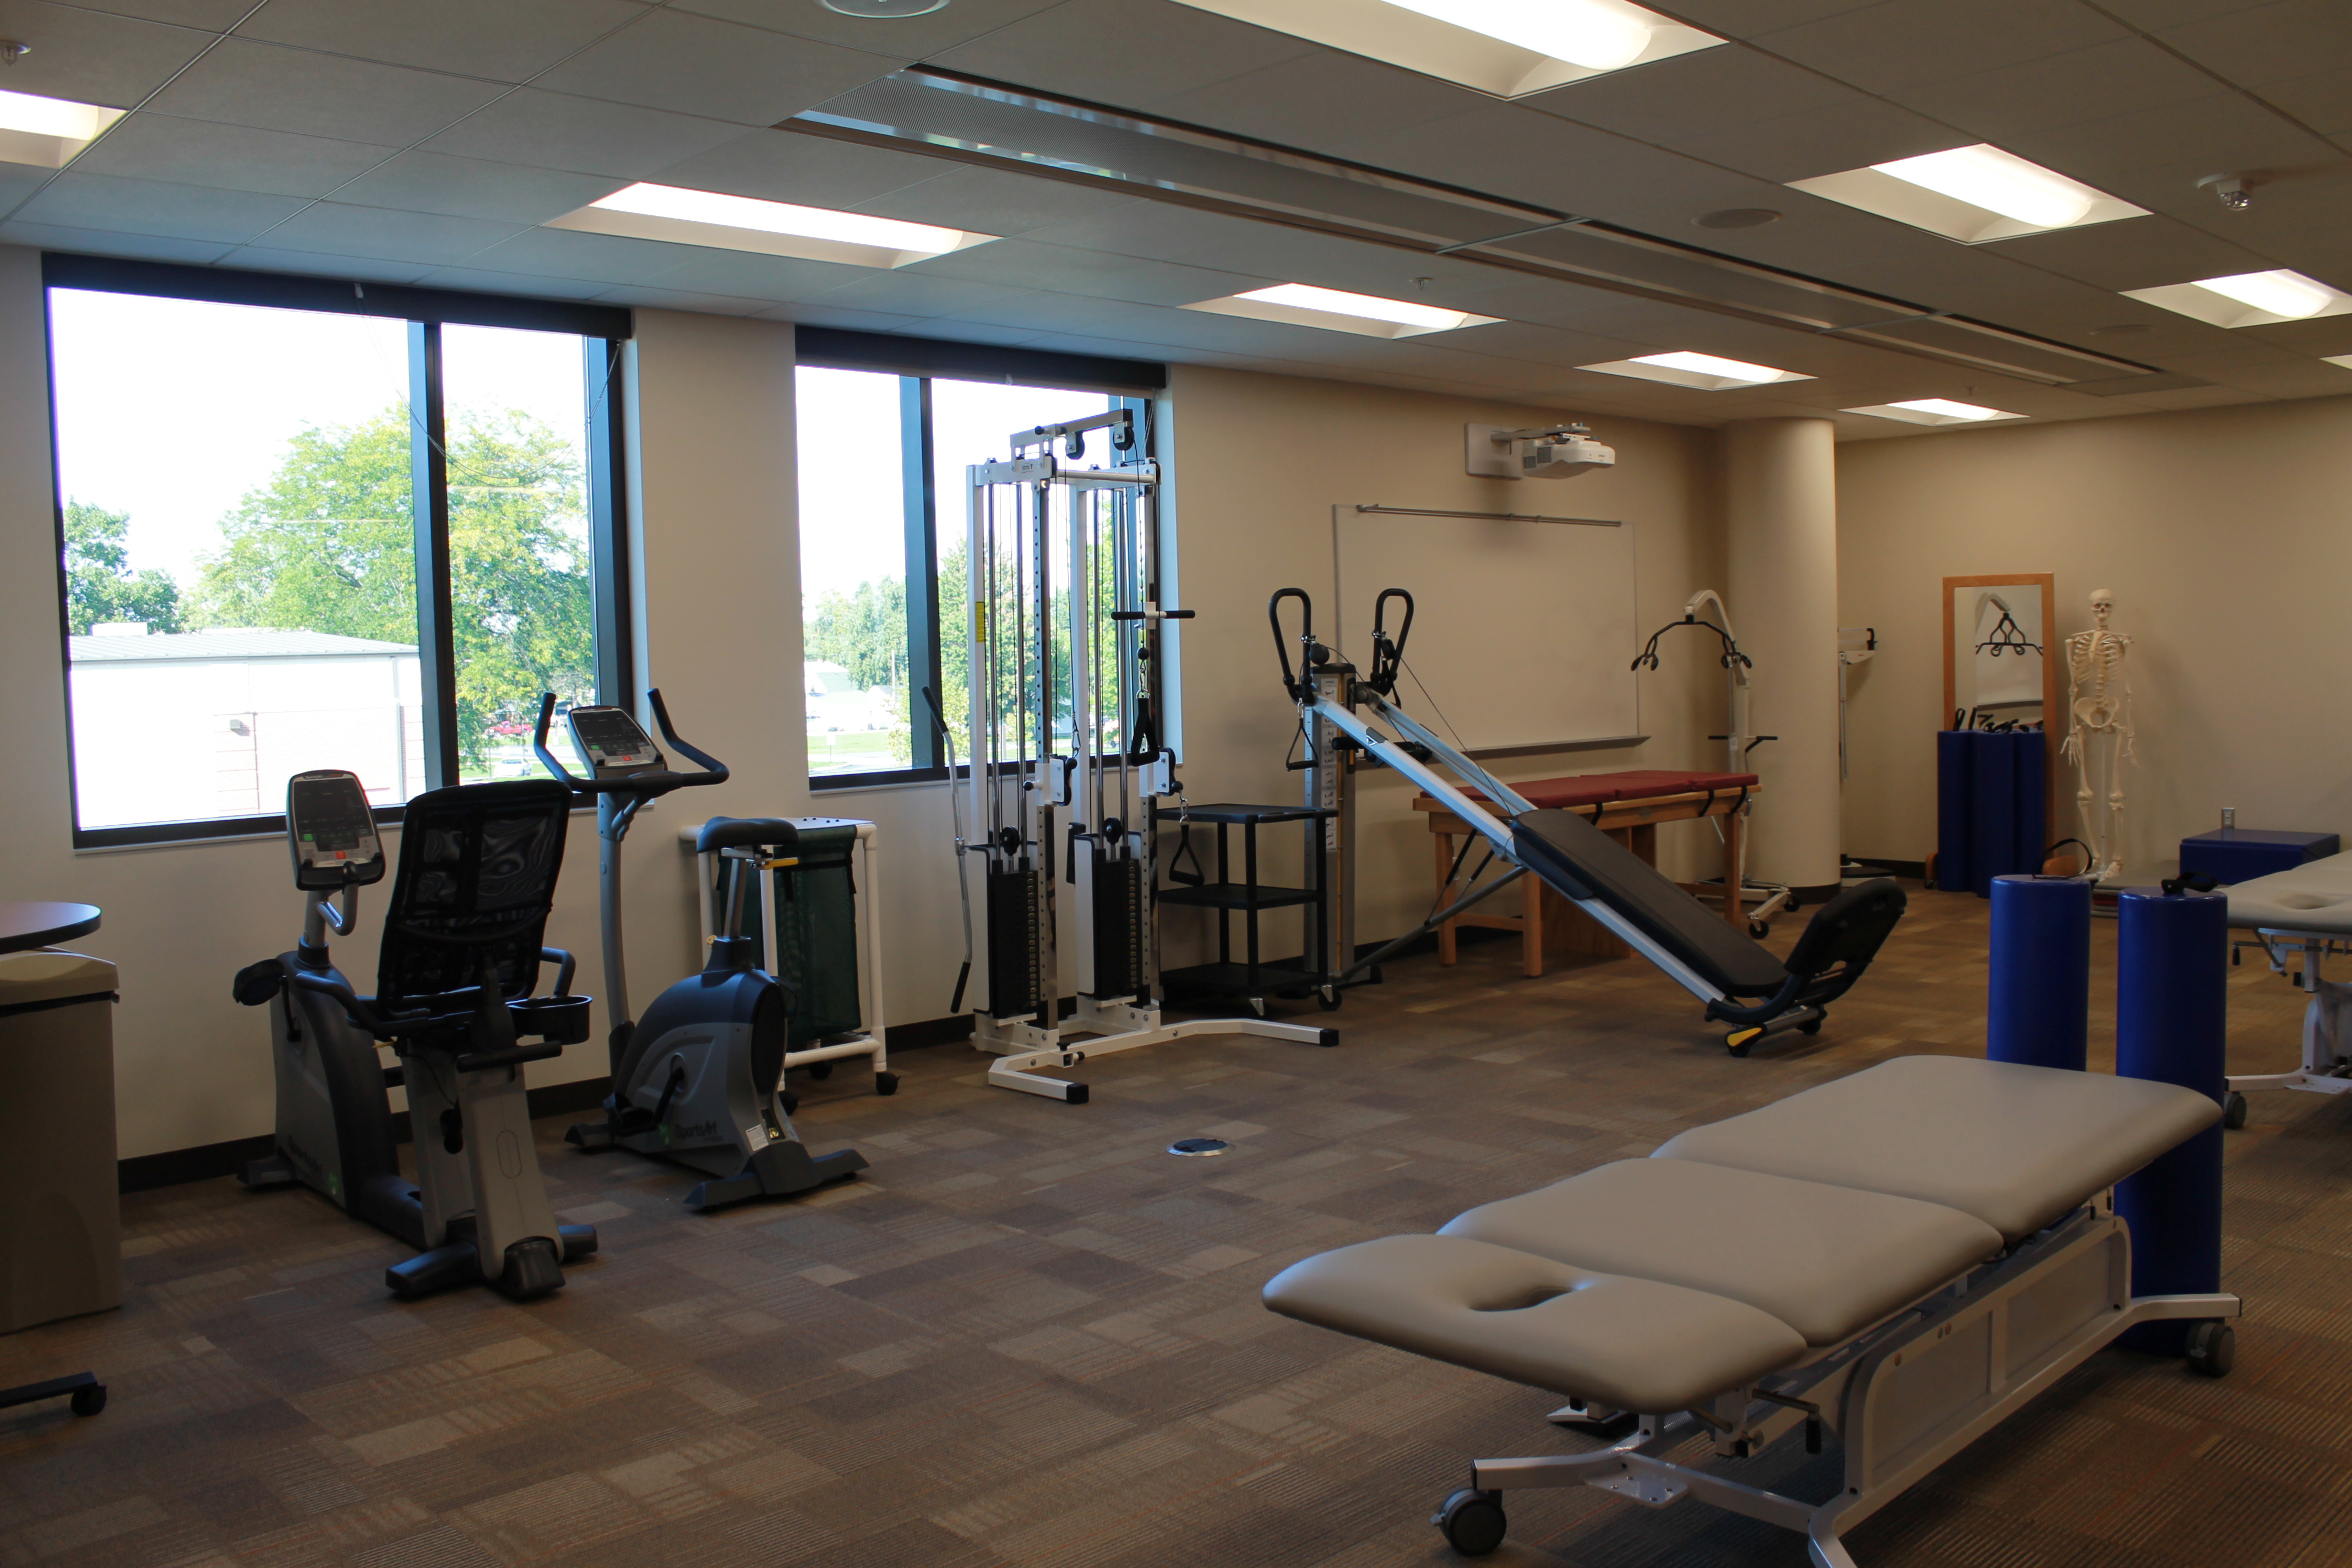
Classroom View
Instructions
Turning on the System
- If the monitor is turned off, tap the screen to wake up the system and turn the projector on.
- If the monitor and projector do not turn on, open the front door of the cart and press the green power button on the Cynap device.
- Turn on, and connect your desired Source using the HDMI cable or wirelessly connect.
- If you want to use the provided desktop PC, wiggle the mouse, or press a key on the keyboard to wake the PC from sleep mode.
- When the PC is on and awake, it will automatically appear on the display.
- When the laptop or tablet is connected to the teaching station's HDMI cable, it will automatically appear on the display
- If you want to select a new source, Tap the screen to show the control ribbon; then tap on the yellow [+] button to be able to select the desired source.
Can I show different sources on different displays?
To show content from two different sources, tap on the monitor and then, within the control ribbon beneath the desired source, select the UP Arrow, to send that content to the ceiling projector, in the corner.
Turning off the System
- To turn off the system:
- Tap the screen and click on the [...] icon in the bottom right corner.
- Tap the End Presentation button and choose Screensaver from the options.
- On the push-button controller, Press the Off button to turn off the TVs.
- Please leave the PC, monitor and control system powered on. This way, it will enter sleep mode, and receive any necessary security updates, and a simple tap to the monitor will allow the next user to quickly start up the system again.
Microphone
- Microphone options within a video conference or lecture capture include the HoverCam or Logitech Brio webcam. In Zoom or Teams, select one of these microphones.
Camera
- Document Camera: Connect the Hovercam to the computer's USB cable. Use the buttons on the base of the HoverCam to Zoom in or out. Open the Camera app on the PC, maximize the window.
- Webcam: Connect the Logitech Brio webcam, with USB extension cable to the front USB jack of the PC. Open the Logitech software on the computer, and position the microphone boom stand with gooseneck. Use the Logitech software to Zoom the camera in or out.
- Also in Zoom or Teams, the Hovercam and the Brio can be selected as a microphone input.