Video Conferencing in a Classroom using the Newline Interactive Flat Panel
Locate a Newline Interactive Flat Panel (IFP)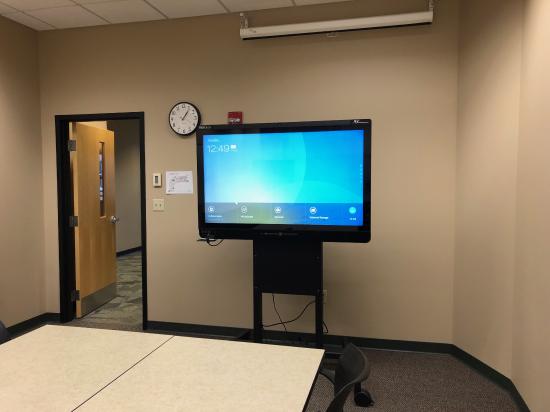
- Roll the Newline Interactive Flat Panel (IFP) into the classroom where it will be used, or schedule your meeting for a classroom which already has a Newline IFP.
- Newline IFPs are available in these education centers:
- Greenwood
- Cleveland
- Merrillville
- Newline IFPs are available in these Marion academic buildings:
- Elder Hall 232,
- Elder Hall 351,
- Goodman Hall,
- Noggle Christian Ministries Center, 122 & 134
- Wesley Seminary,
- Ott Hall (stored in 580A)

Connect to a classroom teaching station (Large class option)
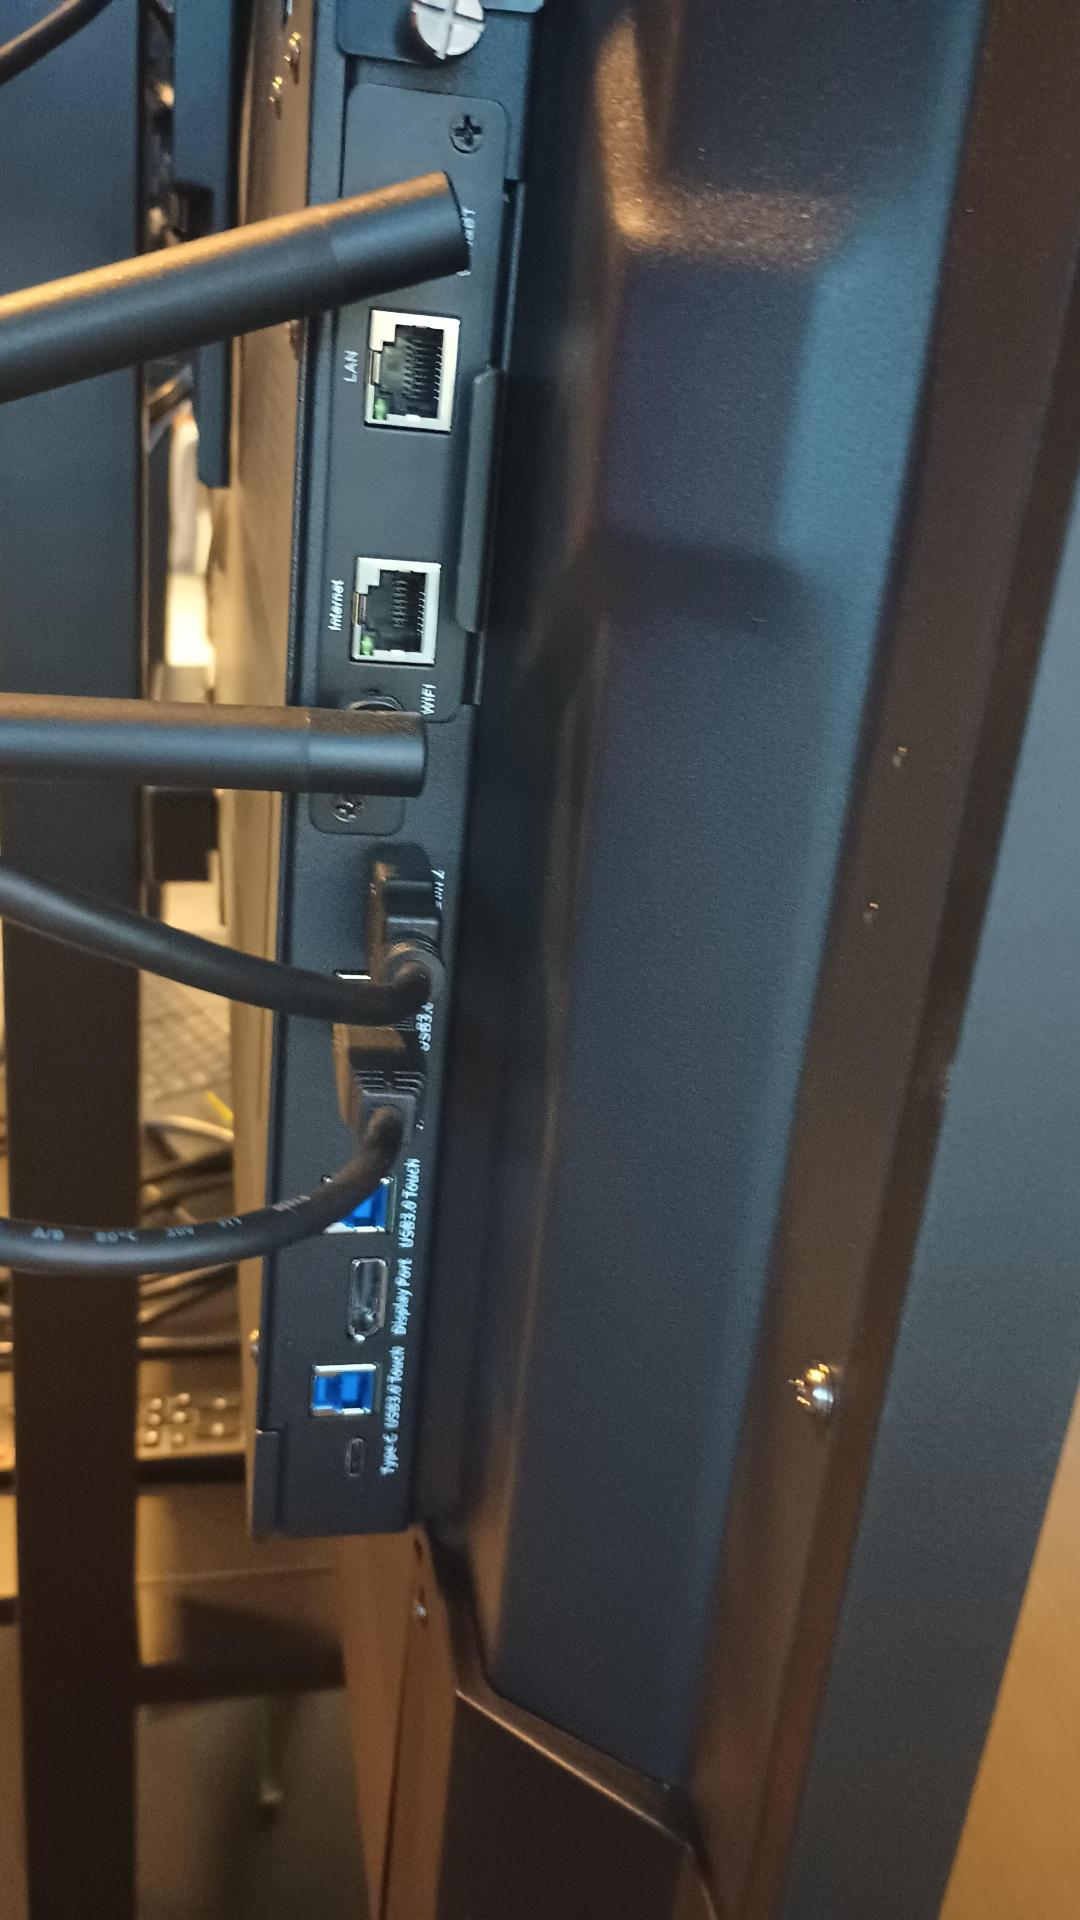
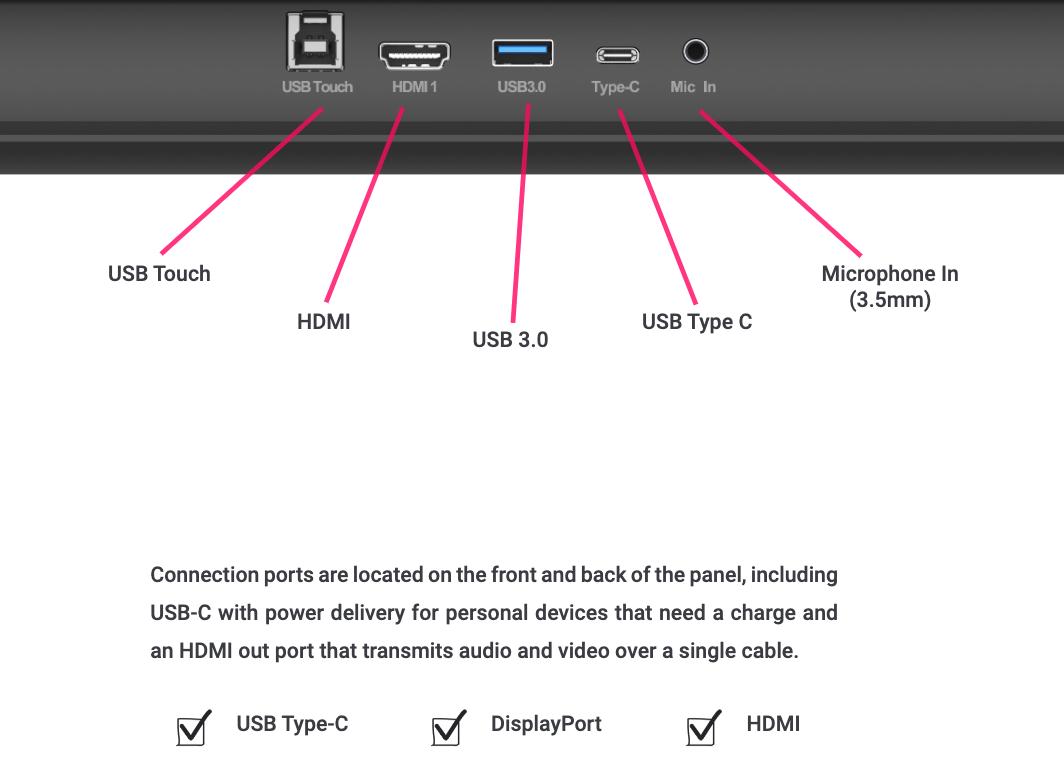
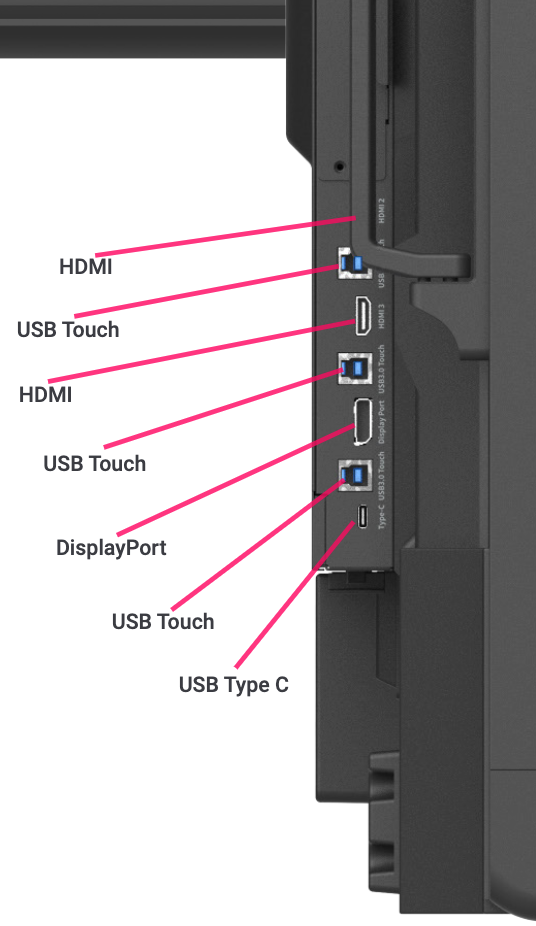
- Connect the Newline, using an HDMI cable from the Newline's HDMI OUT jack, to the HDMI cable where a Laptop would typically be connected, on top of the teaching station.
- On the teaching station's control panel, select the source labeled HDMI, or Laptop 2.
- On the teaching station's control panel, press the Display ON button to turn on the projector.
- Adjust volume of the ceiling speakers by turning the volume knob on the teaching station's control panel
- Connect the Newline's power and network cables to the jacks on top of the teaching station.
- Now you can display the video content of the Newline on the projection screen.
- Now the sound from the Newline will also be heard through the ceiling speakers.
Connect to a video conference (Virtual meeting option)
- Select the internal or connected Windows computer.
- Open a video conferencing application (Zoom, or Teams)
- Select the camera and microphone (and position them to capture and share the in-room meeting participants, or presenter).
- Newline Z-series, in Marion and Florence, KY, have built-in camera and microphone array
- Newline Q-series, in Cincinnati, Greenwood, and Indianapolis have external Logitech webcams that can either rest atop the Newline display or be mounted on a stand
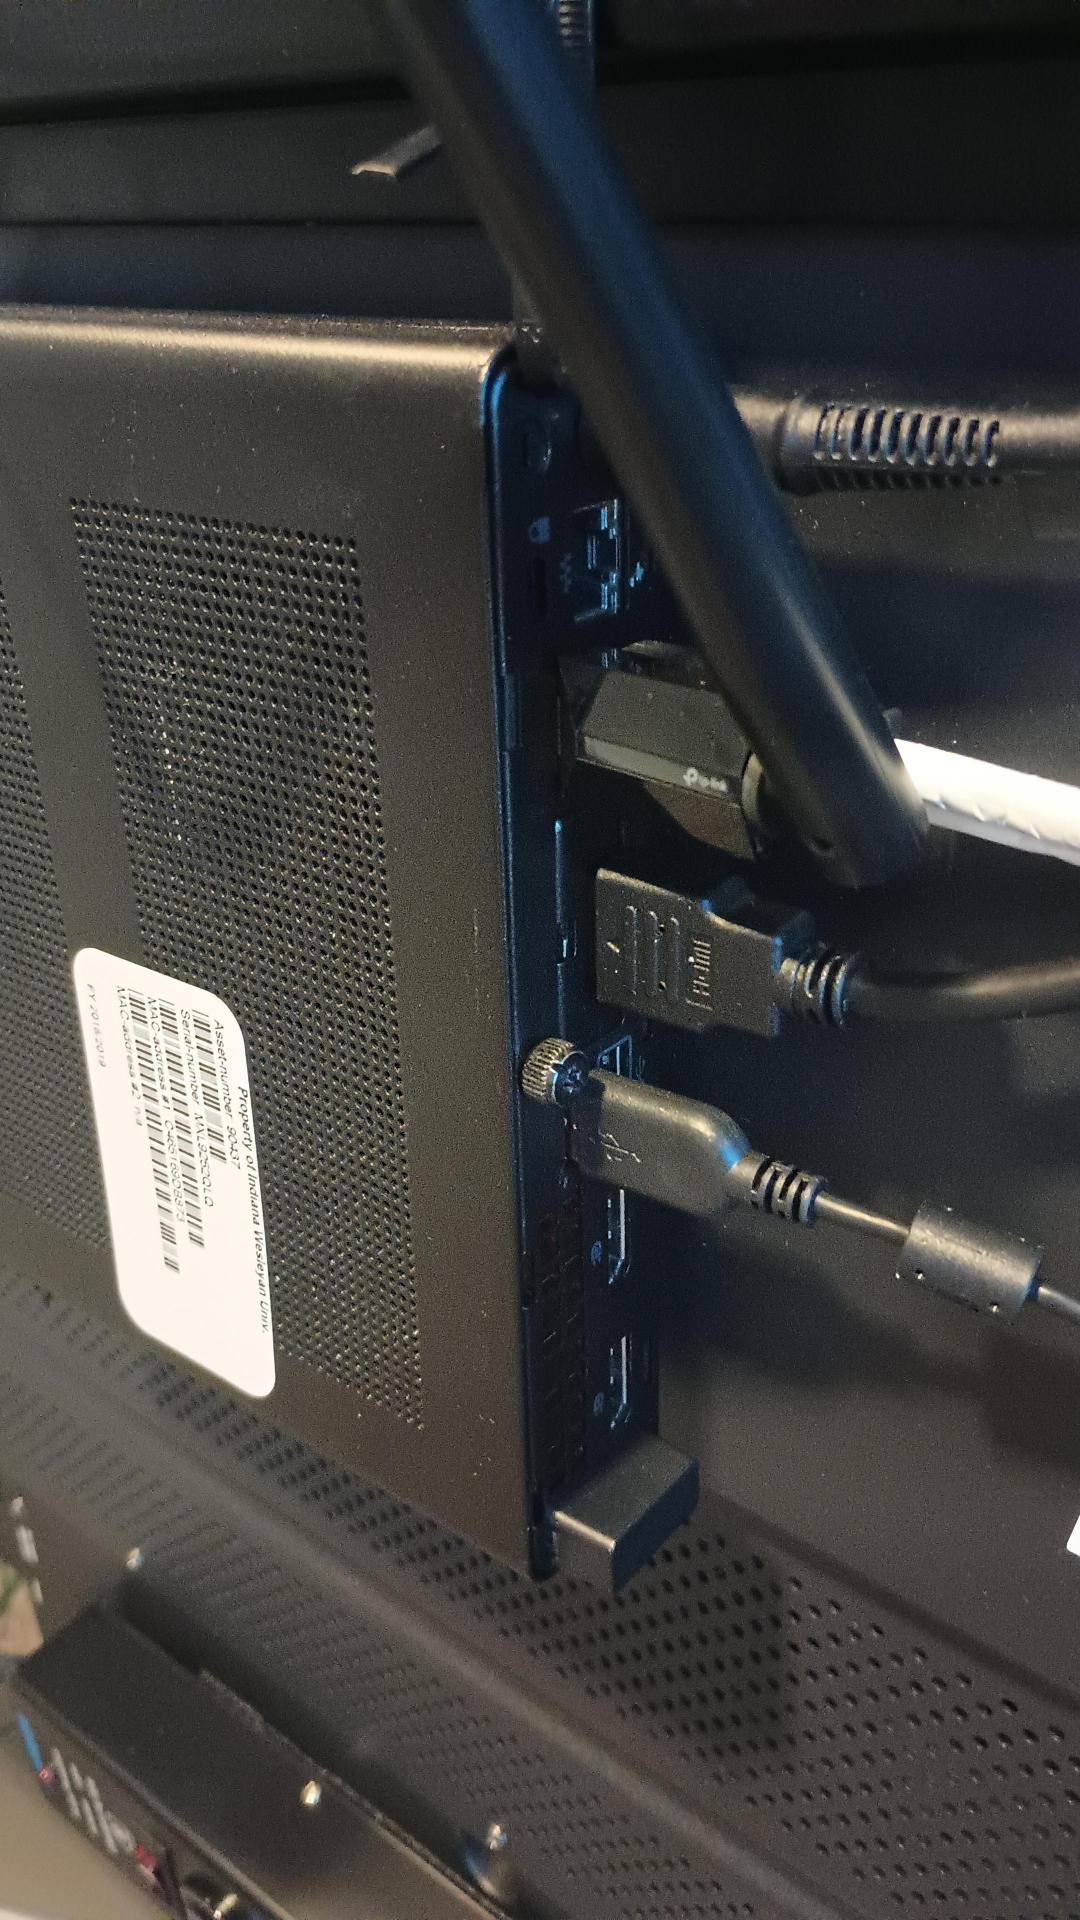
- The Newline's PCs all have USB jacks, to which any webcam can be connected. Connect a Meeting Owl for greater meeting equity.
- Adjust the volume of the remote participants, by changing the speaker level:
- use the Newline's remote control pointed at the Newline display, or
- use the volume knob on the teaching station's control panel.
- Now the camera and microphone from the Newline can 'see' and 'hear' the people in the room, and share it with remote video conference participants who are not in the room.
- Now the entire desktop of the Newline can be shared with the remote video conference participants.
- Use the wireless keyboard with trackpad to advance slides, control application volume, and type in a chat window.
- If you want to collaborate with video conference guests, use the whiteboarding features built into Teams, Zoom, or PowerPoint. Do not use the Newline's whiteboard app, as this will not share with the online conference guests.