Avaya IP phone button labeling instructions
Goal
The steps below will walk the user through the process of editing the button labels on their phone (e.g. changing "Busy 2209" to "Support Center").
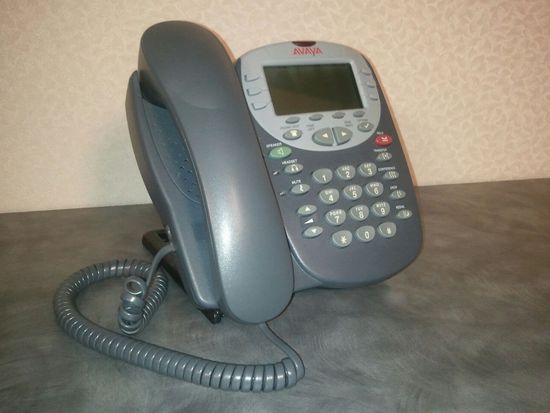
Avaya 4610SW IP and 4620 IP phone models

-
Press the button labeled Options.
-
Push the Page Right button once.
-
Press the gray button on the side of your display corresponding to Feature Button Labeling.
-
Press the gray button on the side of your display corresponding to Relabel Feature Buttons.
-
Use your Page Left/Page Right buttons to scroll through your phone's programmed button list and select the entry you wish to edit.
-
Press the gray button on the side of your display corresponding to the button you want to relabel.
-
Edit the label using your phone's keypad to enter the desired letters, numbers, or characters. Each number key is marked with the letter it provides. The four dark gray soft keys under the display allow you to save the label, change between lowercase and uppercase letters, enter symbols and punctuation, or cancel your changes.
-
Once you have edited the label to your liking, press the dark gray soft key beneath the display corresponding to Save.
-
Push the Phone/Exit button to return to the main phone display screen.
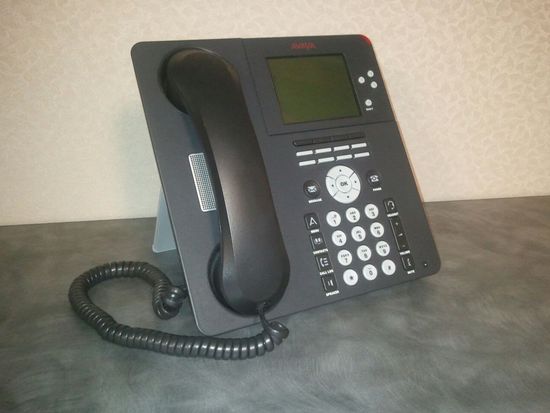
Avaya 9608/9630/9650 IP phone models

-
Press the button labeled either Home (9608) or Menu (9630/9650).
-
Select Options & Settings and press OK.
-
Select Application Settings and press OK.
-
Select Personalize Labels and press OK.
-
Select the label you wish to edit by pressing its corresponding button.
-
Edit the label using your keypad to enter the desired letters, numbers, or characters. Each number key is marked with the letter/symbol it provides.
-
Once you have edited the label to your liking, press OK to save your changes.
-
Once you have edited and saved all of your changes, press the Phone button to return to the main phone display screen.
Questions?
If you have any questions, please contact the Support Center.
