Extron Touch Panel Controller
Overview
This guide shows the pages of the Teaching Station Touch Panel controller.
Purpose
This touch panel is used to turn ON and OFF the projectors and Flat Panel displays, adjust the volume, select the sources to be displayed, or temporarily mute the sound or video on one of the displays.
Location
Look for the Touch Panel on top of the Teaching Station of classrooms and labs, or mounted in a conference table.
How to use the Touch Panel
When you approach the Touch Panel, you will be greeted with this Welcome screen. The Instructions in the center of this screen read: Press here to begin.
After you touch the Welcome screen, a temporary screen instructs you to wait while the system starts up. As soon as the system is on, you will see the following screen:
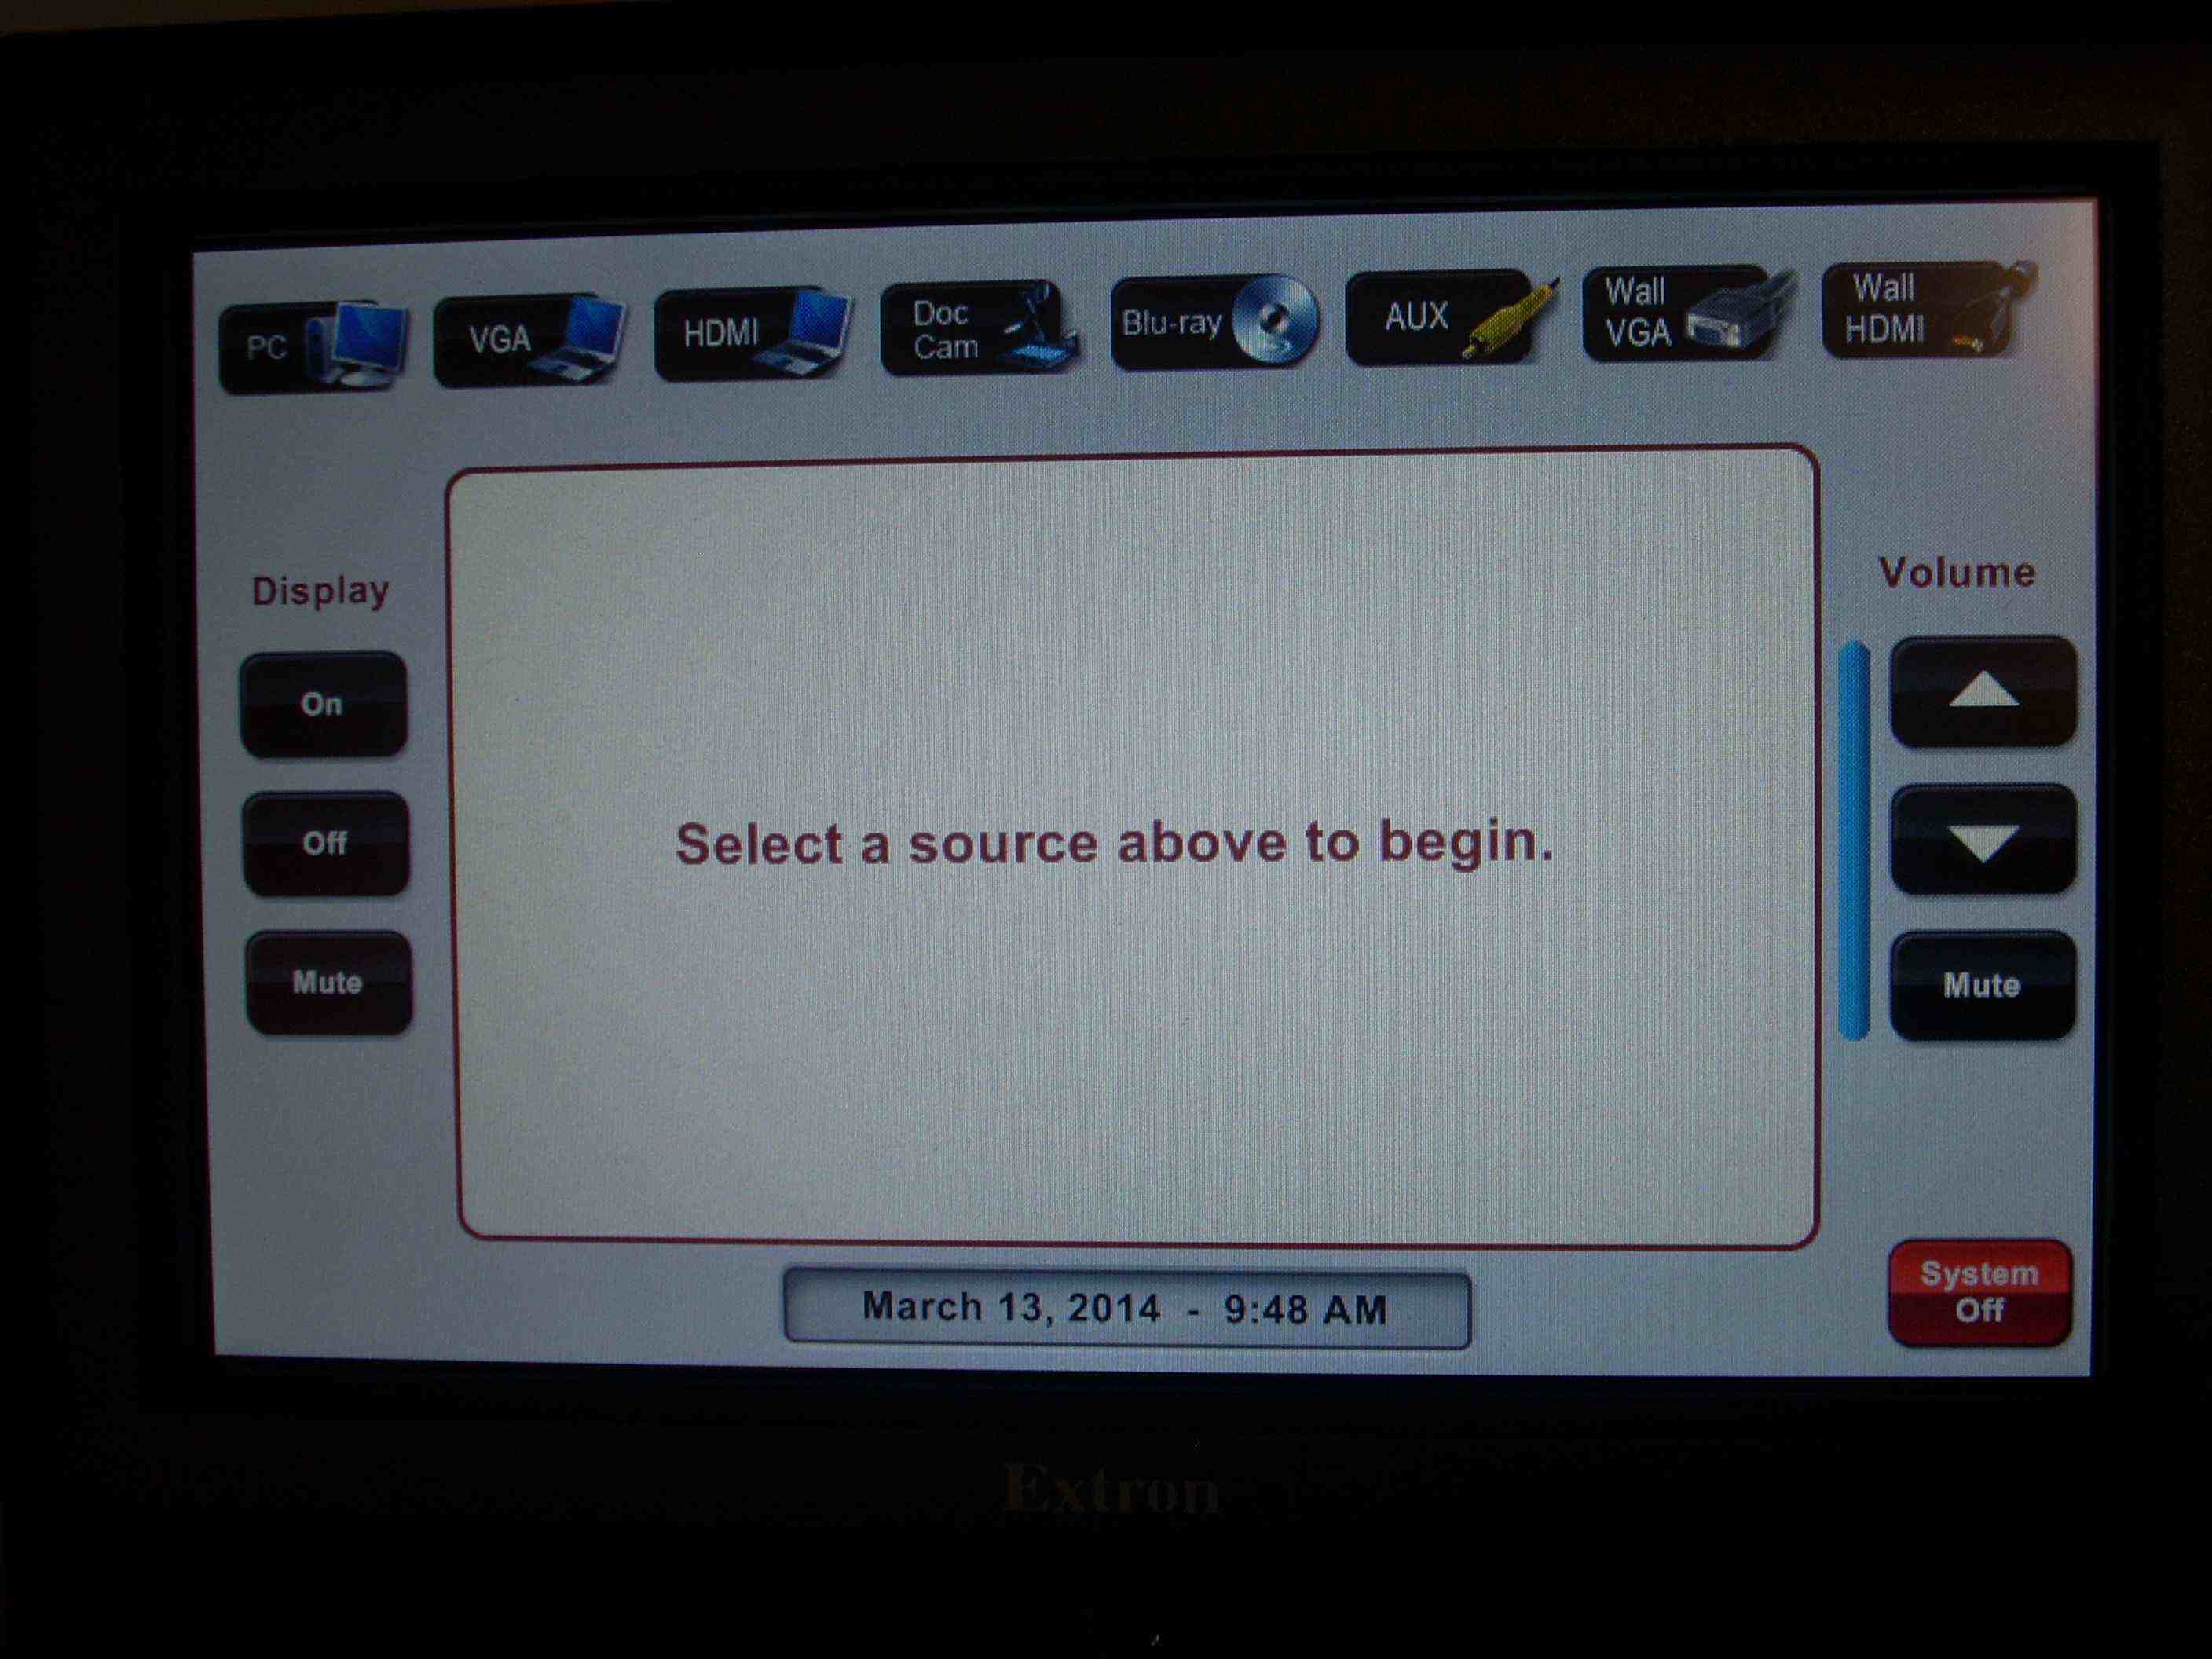
Across the top, the icons represent various sources available in this room.
PC = The Desktop Computer, located behind the door of the Teaching Station
VGA = The laptop connection on top of the Teaching Station
HDMI = The laptop or tablet connection on top of the Teaching Station
Doc Cam = The Wireless Document Camera, located on top of the Teaching Station
BluRay = The BluRay disc player, located inside of the Teaching Station
AUX = The composite video and stereo audio RCA jacks are panel-mounted, either in the Cable Cubby on top of the Teaching Station, or inside the front of the Teaching Station. Connect a VCR, a Camcorder, or Laser Disc player to this connection
Wall VGA = The laptop Audio and Video connection on the wall beneath the front Dry Erase Whiteboard at the front of the room
Wall HDMI = The laptop or tablet Audio and Video connection on the wall beneath the front Dry Erase Whiteboard at the front of the room
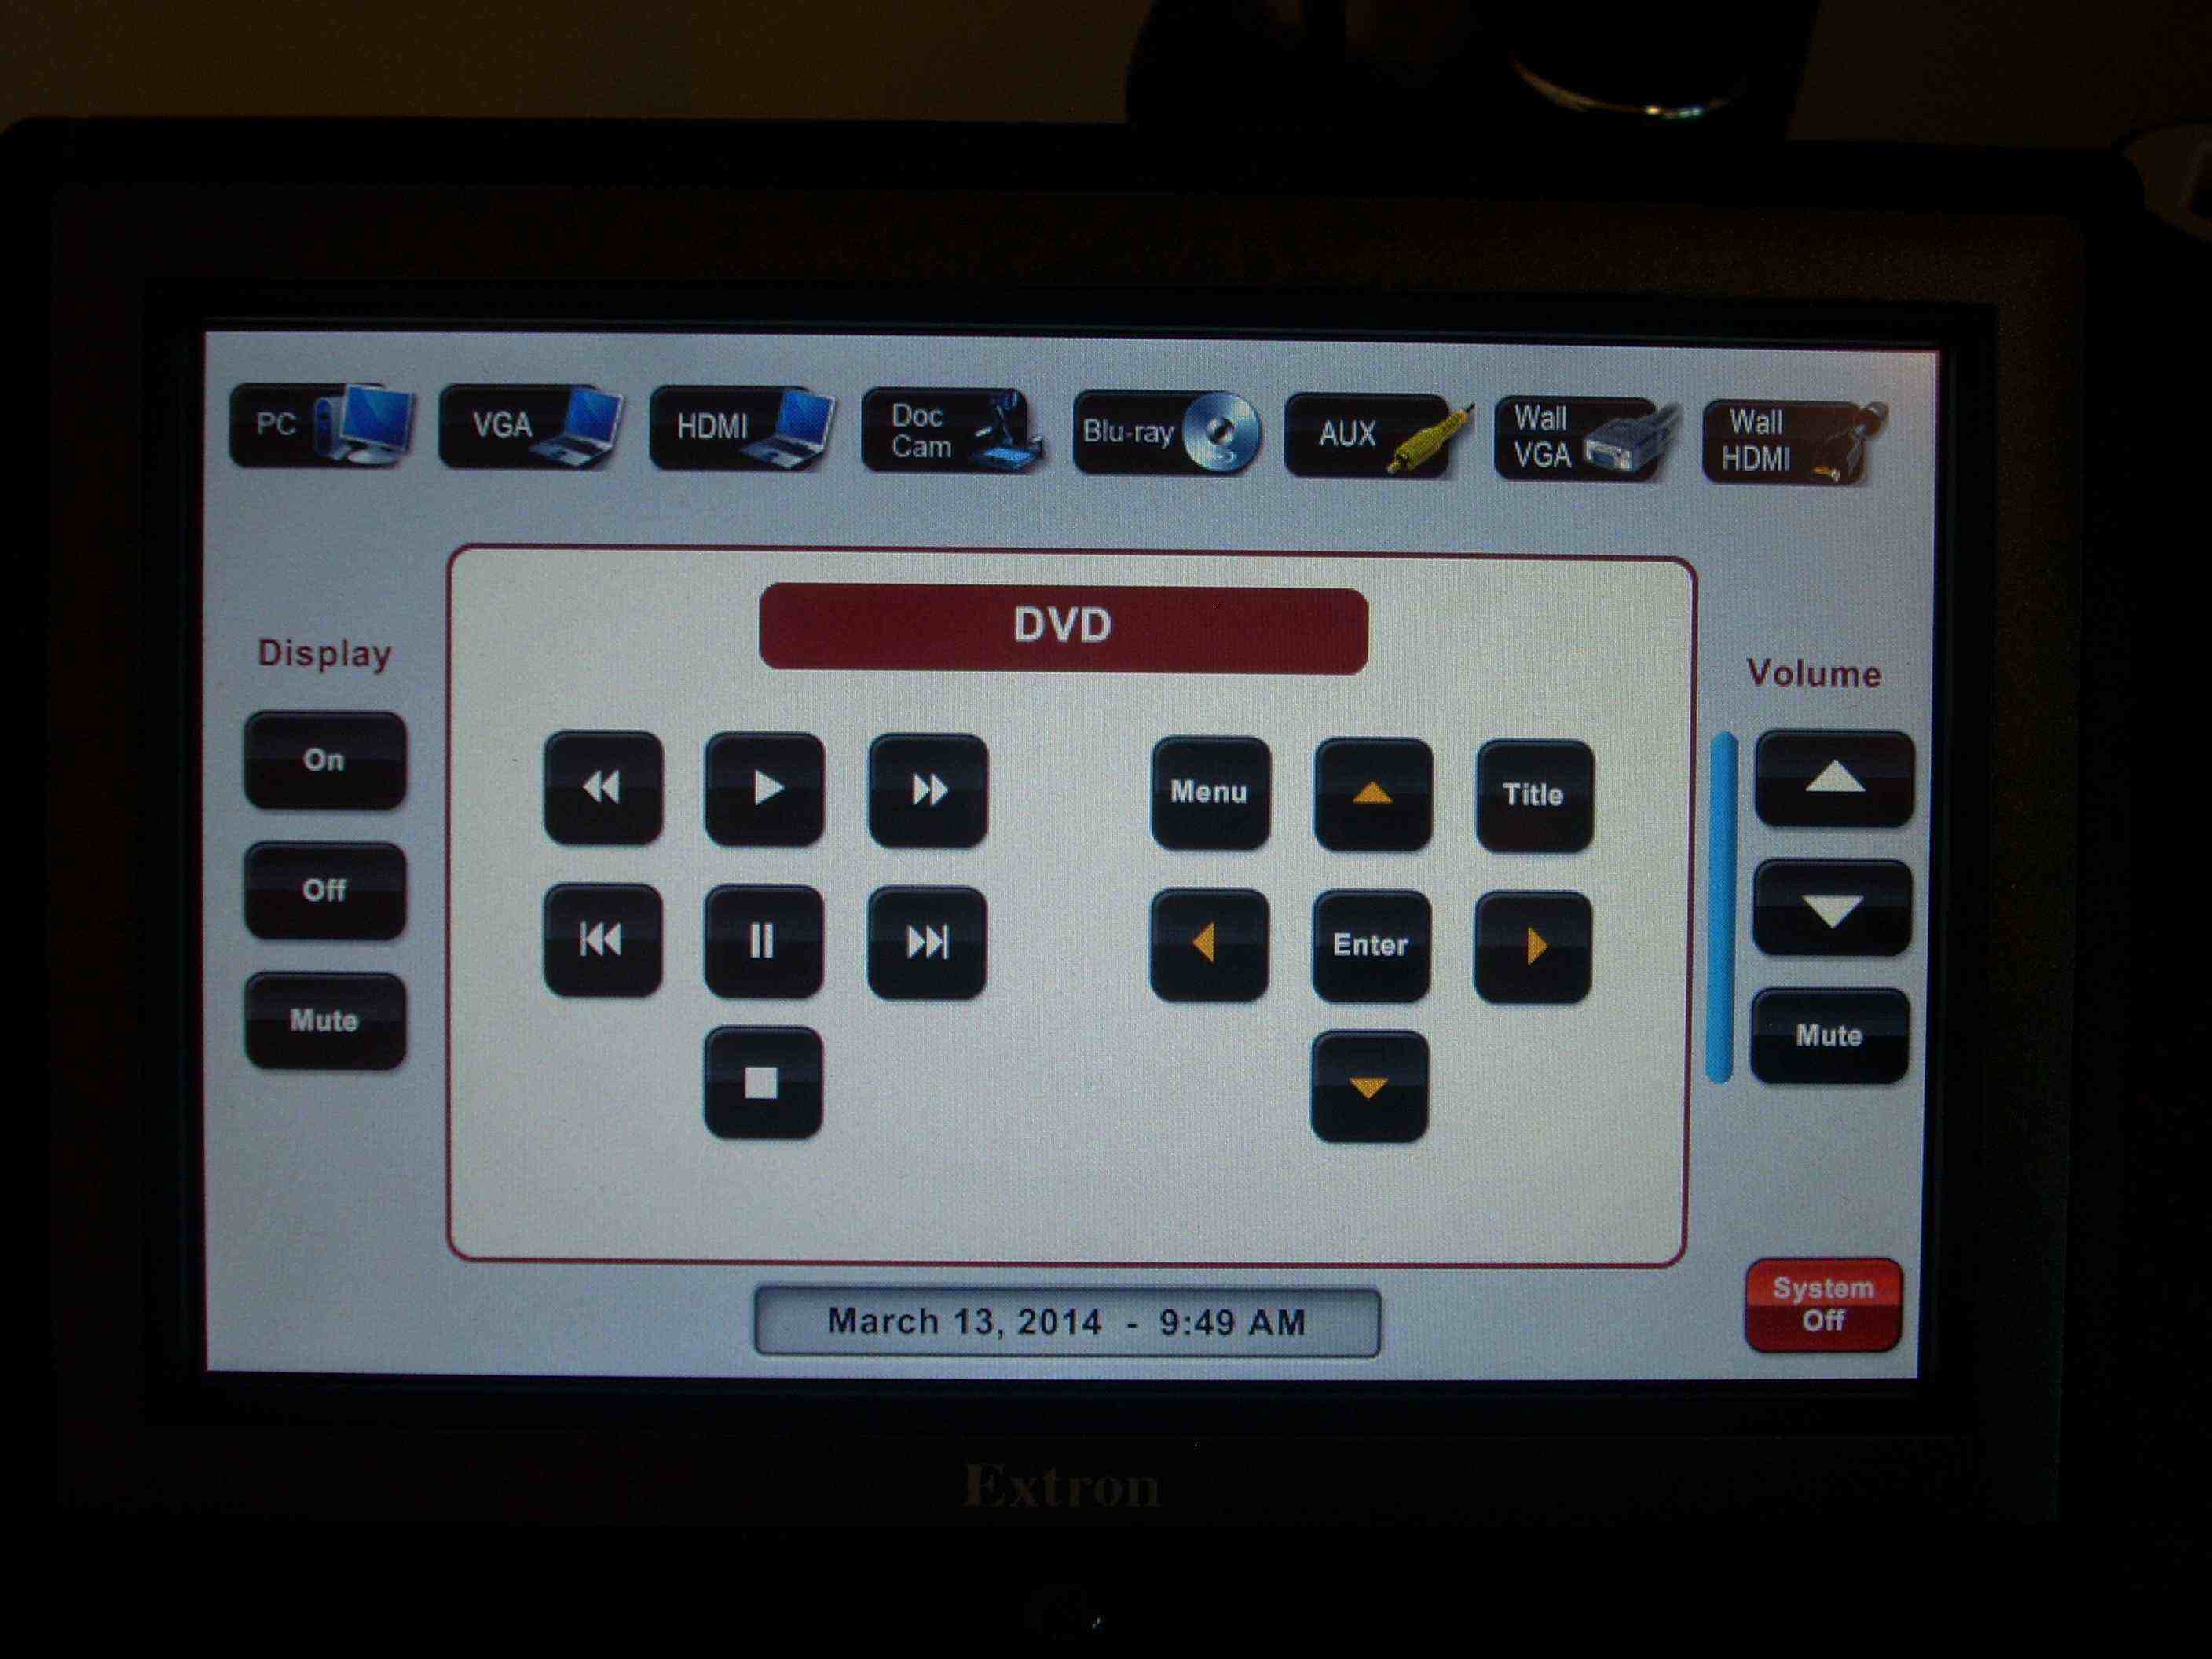
If you press the Blu-Ray button, you will be presented with a screen of further controls to playback Blu-Ray, DVD or Compact discs. With this control, you do not need to use the wireless remote control associated with the BluRay player.
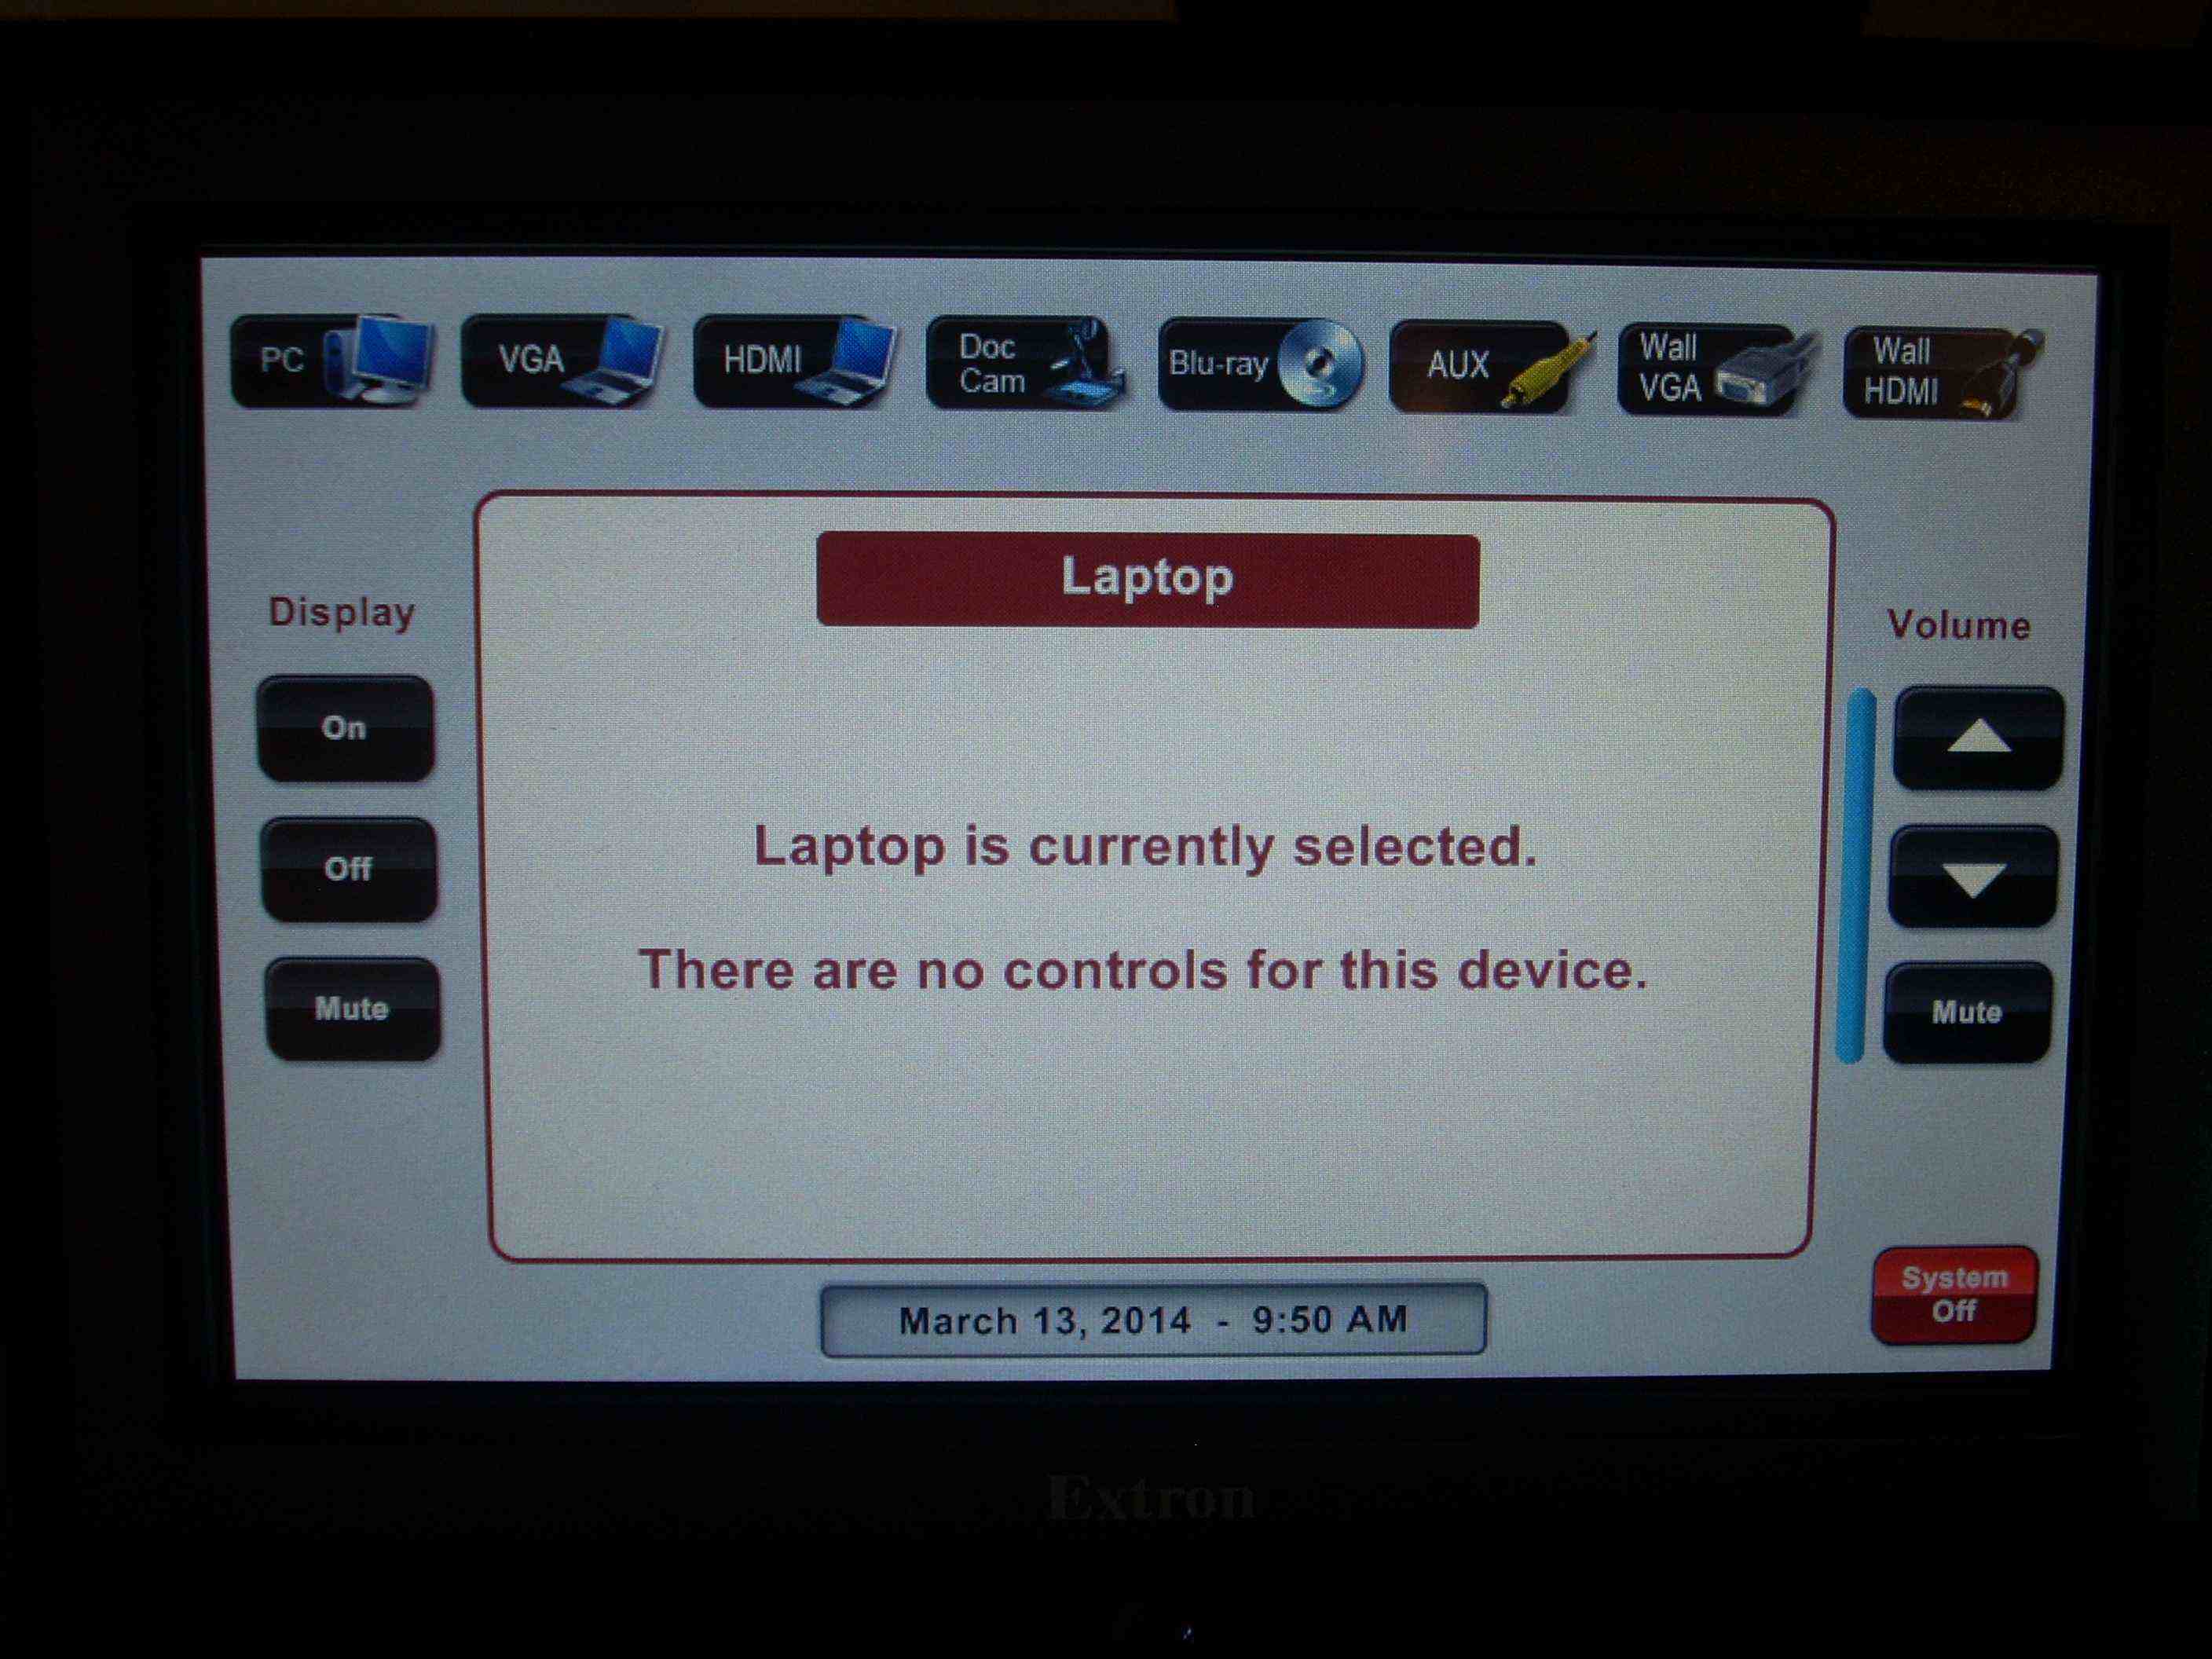
For all of the other source selection buttons, the red banner will confirm your selection, but no further controls appear.
Control the volume by pressing the up and down arrow buttons, located under the Volume column on the right side of the screen. Repeated presses will be confirmed by an incremental increase of sound in the room, and an increase of blue in the volume level indicator bar, to the left of the volume buttons. Repeated presses of the down arrow button will result in a decrease of blue in the volume level indicator bar, and a lowering of the audio level in the room.
The buttons under the Display column should not be used for permanently turning off the projector. That is the purpose of the System Off button (see below).
Use the Mute button when you need to temporarily blank out the image on the projector or flat panel display, but you intend to use it again in a few minutes.
In rooms with multiple displays, use the Display Off button to turn off any secondary displays that are not useful for viewing by students or conference attendees in the room.


Important! When you are done using the display system, please press the System Off button, located in the lower right corner. This is a good practice of stewardship, in saving energy costs, and increasing the lifespan of the projector lamp or flat panel display.
As soon as you press the System Off button, a pop-up screen in the center of the Touch Panel appears, prompting for a confirmation, with either a Power Down button, or a Cancel button.
If you press Cancel, the pop-up screen will disappear, and return you to the previously selected source screen.
If you press Power Down, the screen instructs you to wait while the system shuts down. After the shut-down is complete, the Welcome screen will appear.
Considerations
The Touch Panel has an energy-saving feature that dims the screen when it is not being used. To use the Touch Panel, simply approach the screen, and it will detect the movement of your approaching body, and the screen will activate, showing you the most recent screen, or the Welcome screen, if the system is off.
Some classrooms have multiple displays, which provide additional options for displaying a different source on each display.
Locations of Installation
These touch panel controllers are installed in classrooms and labs in:
- Barnes Student Center Globe Theater
- Football Stadium Press Box and Support Building West Entrance
- Jackson Library 17 Collaboration Room