Managing Distribution List Members as a Distribution List Owner
Page Summary
Details
Which lists can be managed?
Only distribution lists that have been created in Microsoft 365 can be directly managed by the owners. If your distribution list has existed for a number of years then your distribution list may not be eligible. If you find this is the case and need to update memberships or seek to have the group converted so you can manage the distribution list directly, submit a ticket by visiting https://support.indwes.edu/user , sign in and then select "Request an IT Service" then select the "Email Distribution List Update" button.
Members vs. Owners
Members - A distribution list member is someone who is eligible to send to the distribution list email address, and also receives emails sent to the distribution list.
Owners - Owners of a distribution list can adjust the distribution list's settings and add/remove members from the distribution list.
Managing Your Distribution List
Follow the steps below to manage your distribution list members and or owners.
First Step
- Visit the distribution list management page.
- If prompted, sign in with your IWU email address and your IWU password
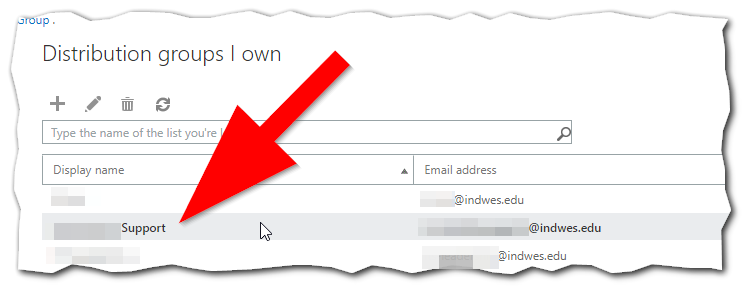
- Locate the distribution list you want to manage in the list on the right
Tip:
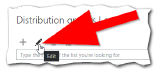
You can use the search bar at the top of the right column to search for the right distribution list if you own a large number of distribution lists
Second Step
- Select the distribution list you wish to edit by clicking on it
- With your list selected, click on the Edit icon
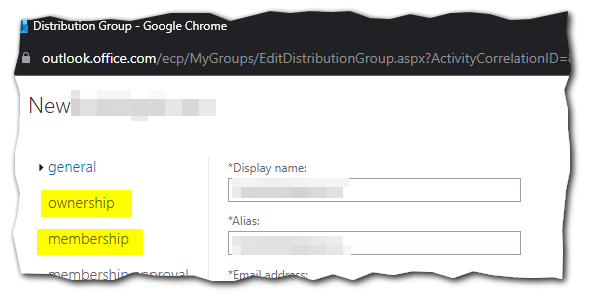
- A new window will pop up
- Select either the Membership or the Ownership option on the left depending on which you wish to update
- Click the + icon to add someone or click on a name in the existing list and click the - icon to remove someone

- Once done with all of your changes, click Save at the bottom of the pop-up window