Network Printer Install Procedures
Details
This article details the procedures for installing a network printer onto any IWU owned computer. This procedure is available to all users and does not require an administrator to enter their credentials.
The Windows Settings page for Devices & Printers will list the available printers, but only the steps below will add them to your computer. If you first tried to add a printer through Settings before reviewing this article, please remove it before following the instructions.
If you try the steps below and are unable to install the printer, please contact the Support Center.
Procedure (PC)
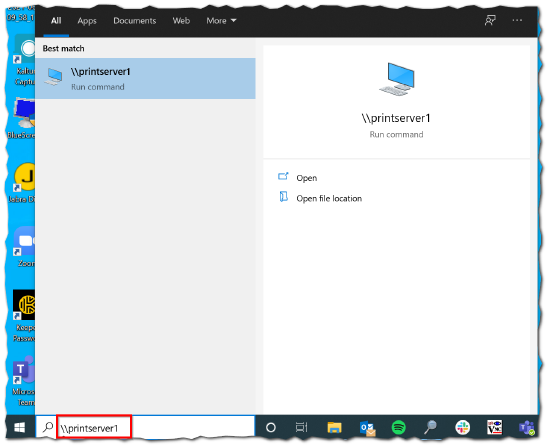
1. Type \\printserver1 into the Windows search box at the lower-left and press the 'enter' key on your keyboard. You can also open File Explorer and type this into the address bar.
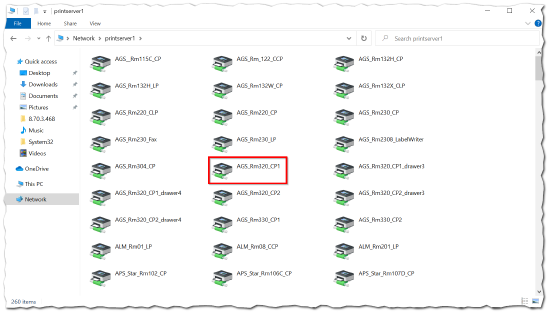
2. Find and double-click the name of the printer. Most often, the name of the printer matches the building and room number the printer is located in.
3. A blank box with the name of the printer at the top will appear if it is installed correctly. In some cases, you may see pending jobs for other users.
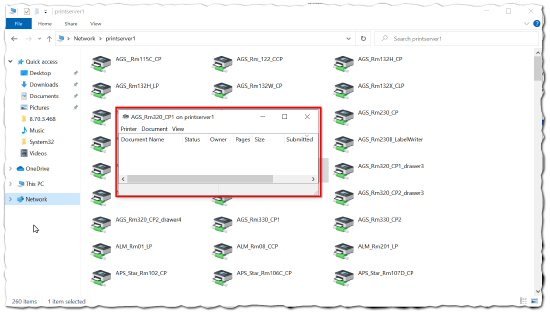
4. To test if the printer is working, you can click "Printer," in the screenshot above and then click "Properties." From the Properties, you can select the option to print a test page.
Procedure (macOS)
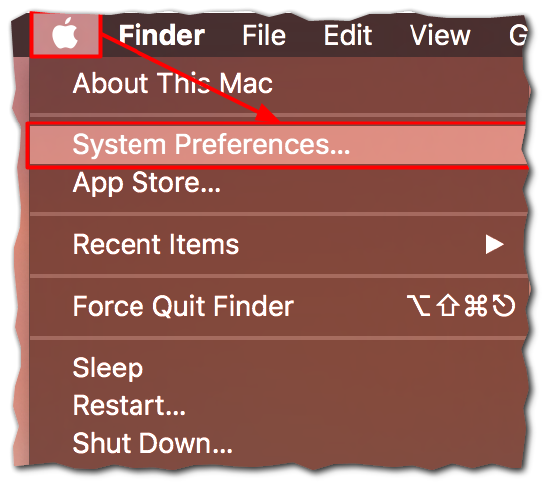
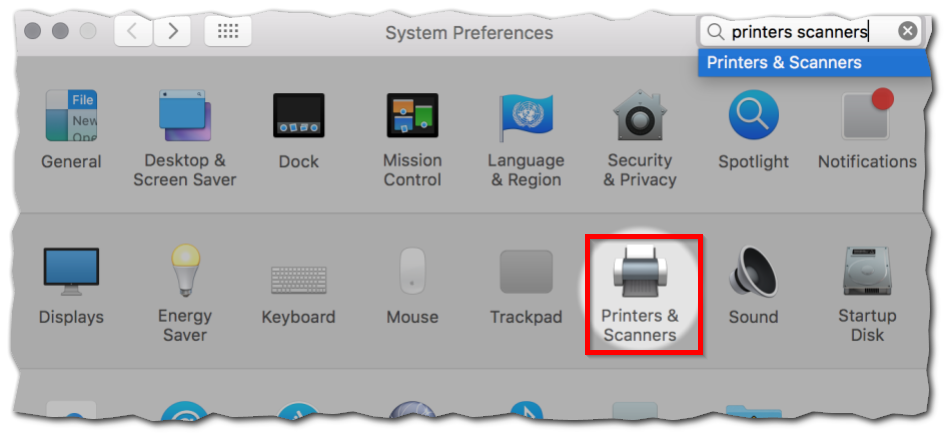
1. Select the apple icon at the very top-left, followed by 'System Preferences'.
2. Select the 'Printers and Scanners' icon.
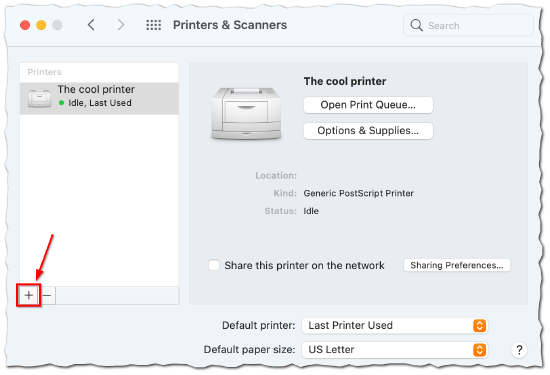
3. Select the '+' button.
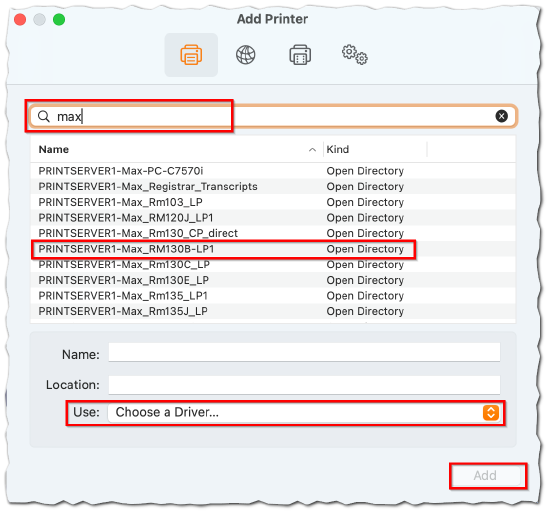
4. Search for the desired printer using the search field, select the name of the printer from the list of printers, and select 'Generic Postcript Printer' from the 'Use' drop-down menu. Finally, select the 'Add' button.
5. Lastly, leave the 'Duplexer' option unchecked and select the 'Continue' button. You will then be returned to the 'Printers & Scanners' window from step 3 but with the added printer now showing in the list.
Note: You may get a notice that says "hold for authentication," or the window may briefly shake after entering your password. If so, please contact the Support Center.
Mac via Windows Spoolss
Some printers will not appear in step 4 above, so it will need to be added using advanced settings. To add these types of printers, please use the following steps to add them.
1. Select the apple icon at the very top-left, followed by 'System Preferences'.
2. Select the 'Printers and Scanners' icon.
3. Select the '+' button.
4. Right click on a blank spot in the top of the window and select 'Customize Toolbar...'
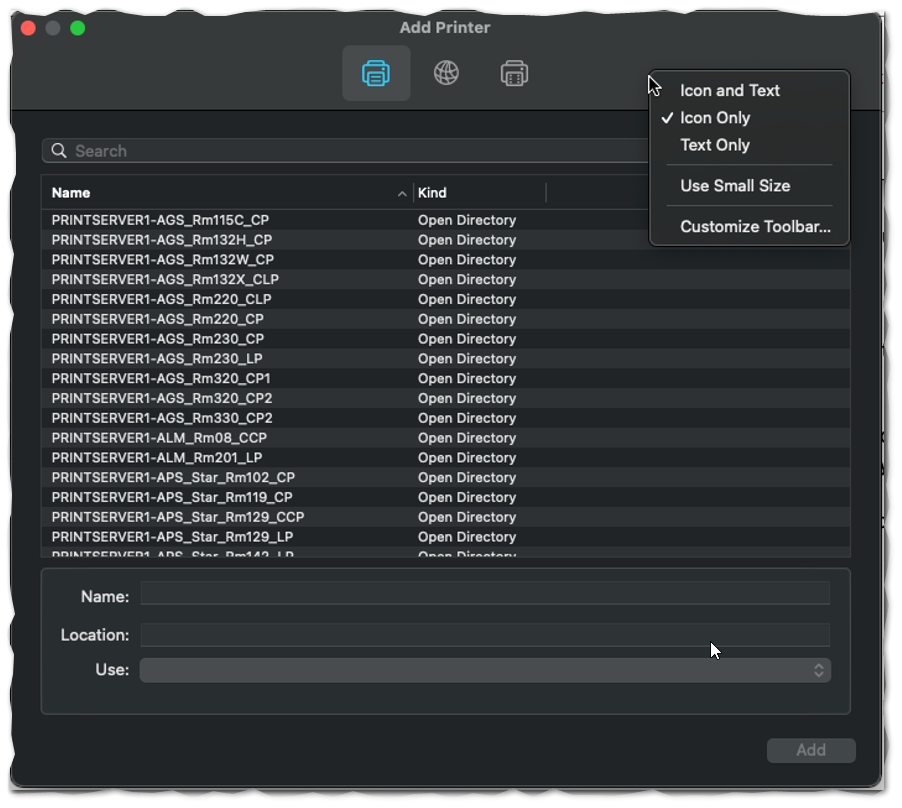
5. Drag the 'Advanced' icon (with the cog icon) to the menu bar at the top and click 'Done'.
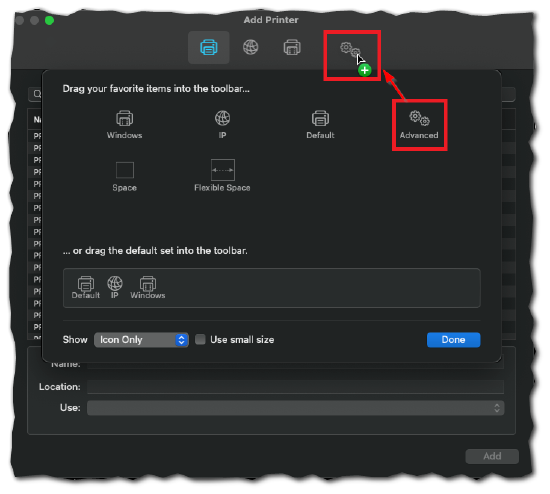
6. Select the 'Advanced' icon at the top.
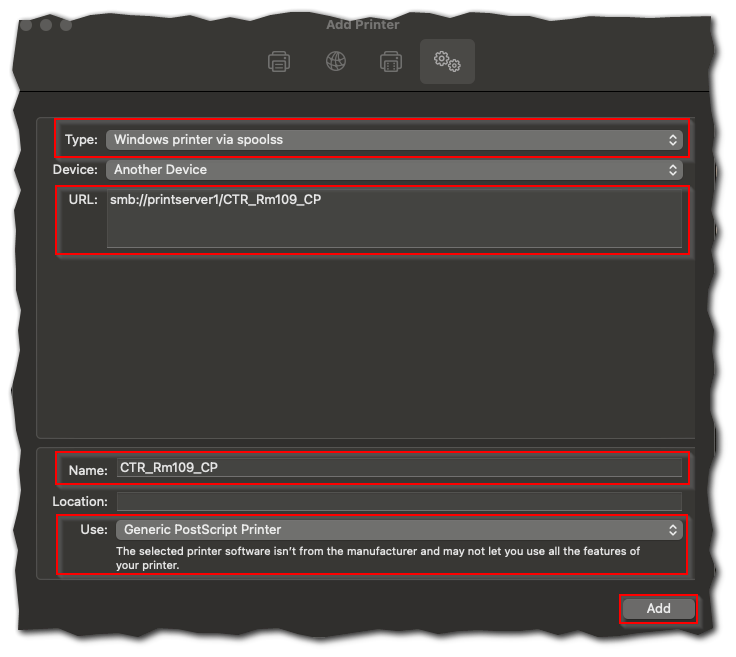
7. In the 'Type:' field select 'Windows printer via spoolss'
8. In the 'URL:' field, enter smb://printserver1/[printer name]
- Replace [printer name] with the actual printer queue name (for example, smb://printserver1/CTR_Rm109_CP)
9. In the 'Name' field, you can label the printer with your preferred name.
10. In the 'Use:' field, choose 'Generic PostScript Printer' and click 'Add'.
Note: You may get a notice that says "hold for authentication," or the window may briefly shake after entering your password. If so, please contact the Support Center.