Teaching Stations with Cynap
 Overview

This guide provides an overview and a feature review of the Audio Video technologies in the WolfVision Cynap iteration of classroom teaching stations.
Power On
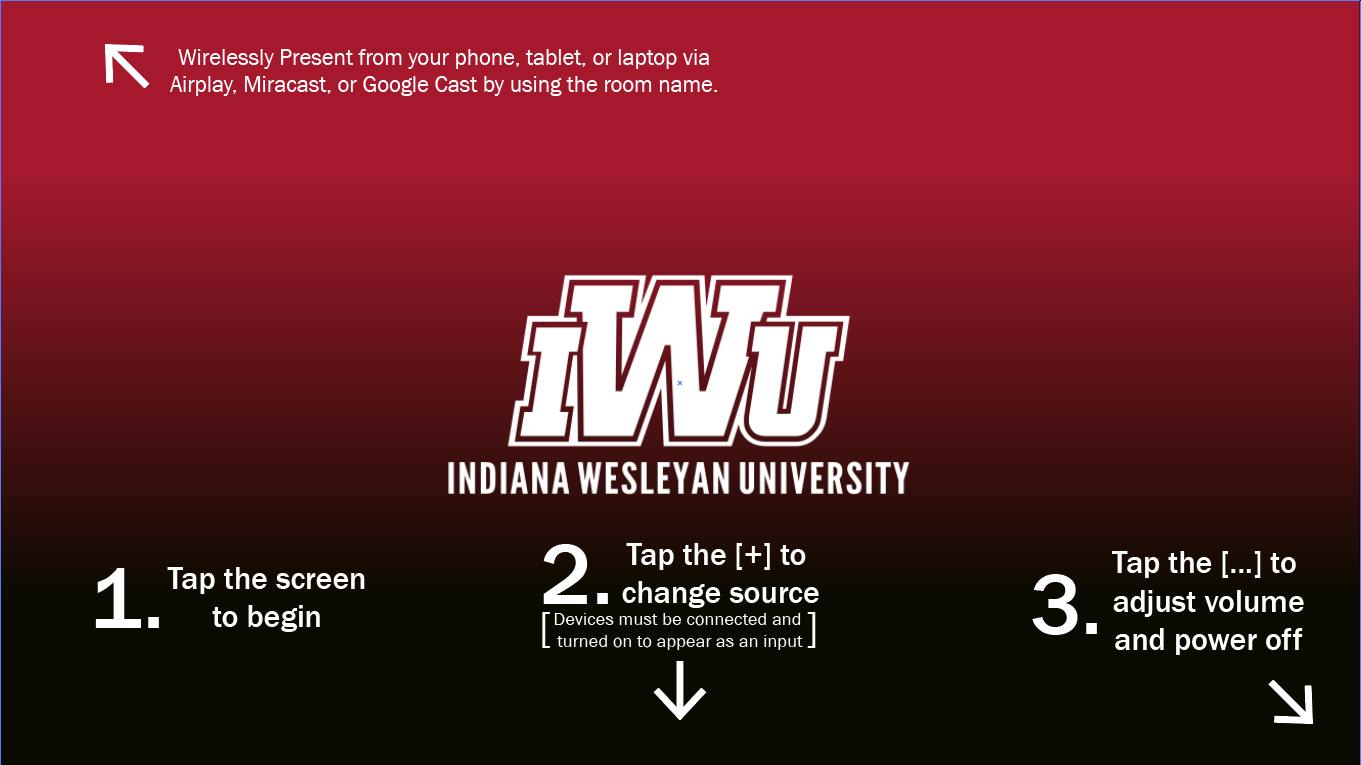
Tap the interactive monitor screen to wake it from power-save mode. The image to the right is the welcome image which appears on the Interactive monitor when no sources are selected. Tap the screen to begin interacting with it.
Selecting Sources
If the PC is connected when the system is turned on, it will appear on the screen instead of the IWU wallpaper. If the PC is in sleep mode, wiggle the mouse or press any key on the keyboard to wake it up. This will cause the Windows PC image to appear on the Interactive monitor and the projection screen.
If a laptop is connected when the system is turned on, it will appear on the screen instead of the wallpaper or the PC image. Whenever a laptop is connected to the HDMI cable, it will appear on the monitor and the projection screen.
Other Sources options are available, and are discussed below.
Control
The interactive monitor, on top of the cart, is the interface for controlling the system (projector, volume, source selection, and annotation).
Troubleshooting
If a tap to the screen doesn't wake the system and turn the projector on, try these steps.
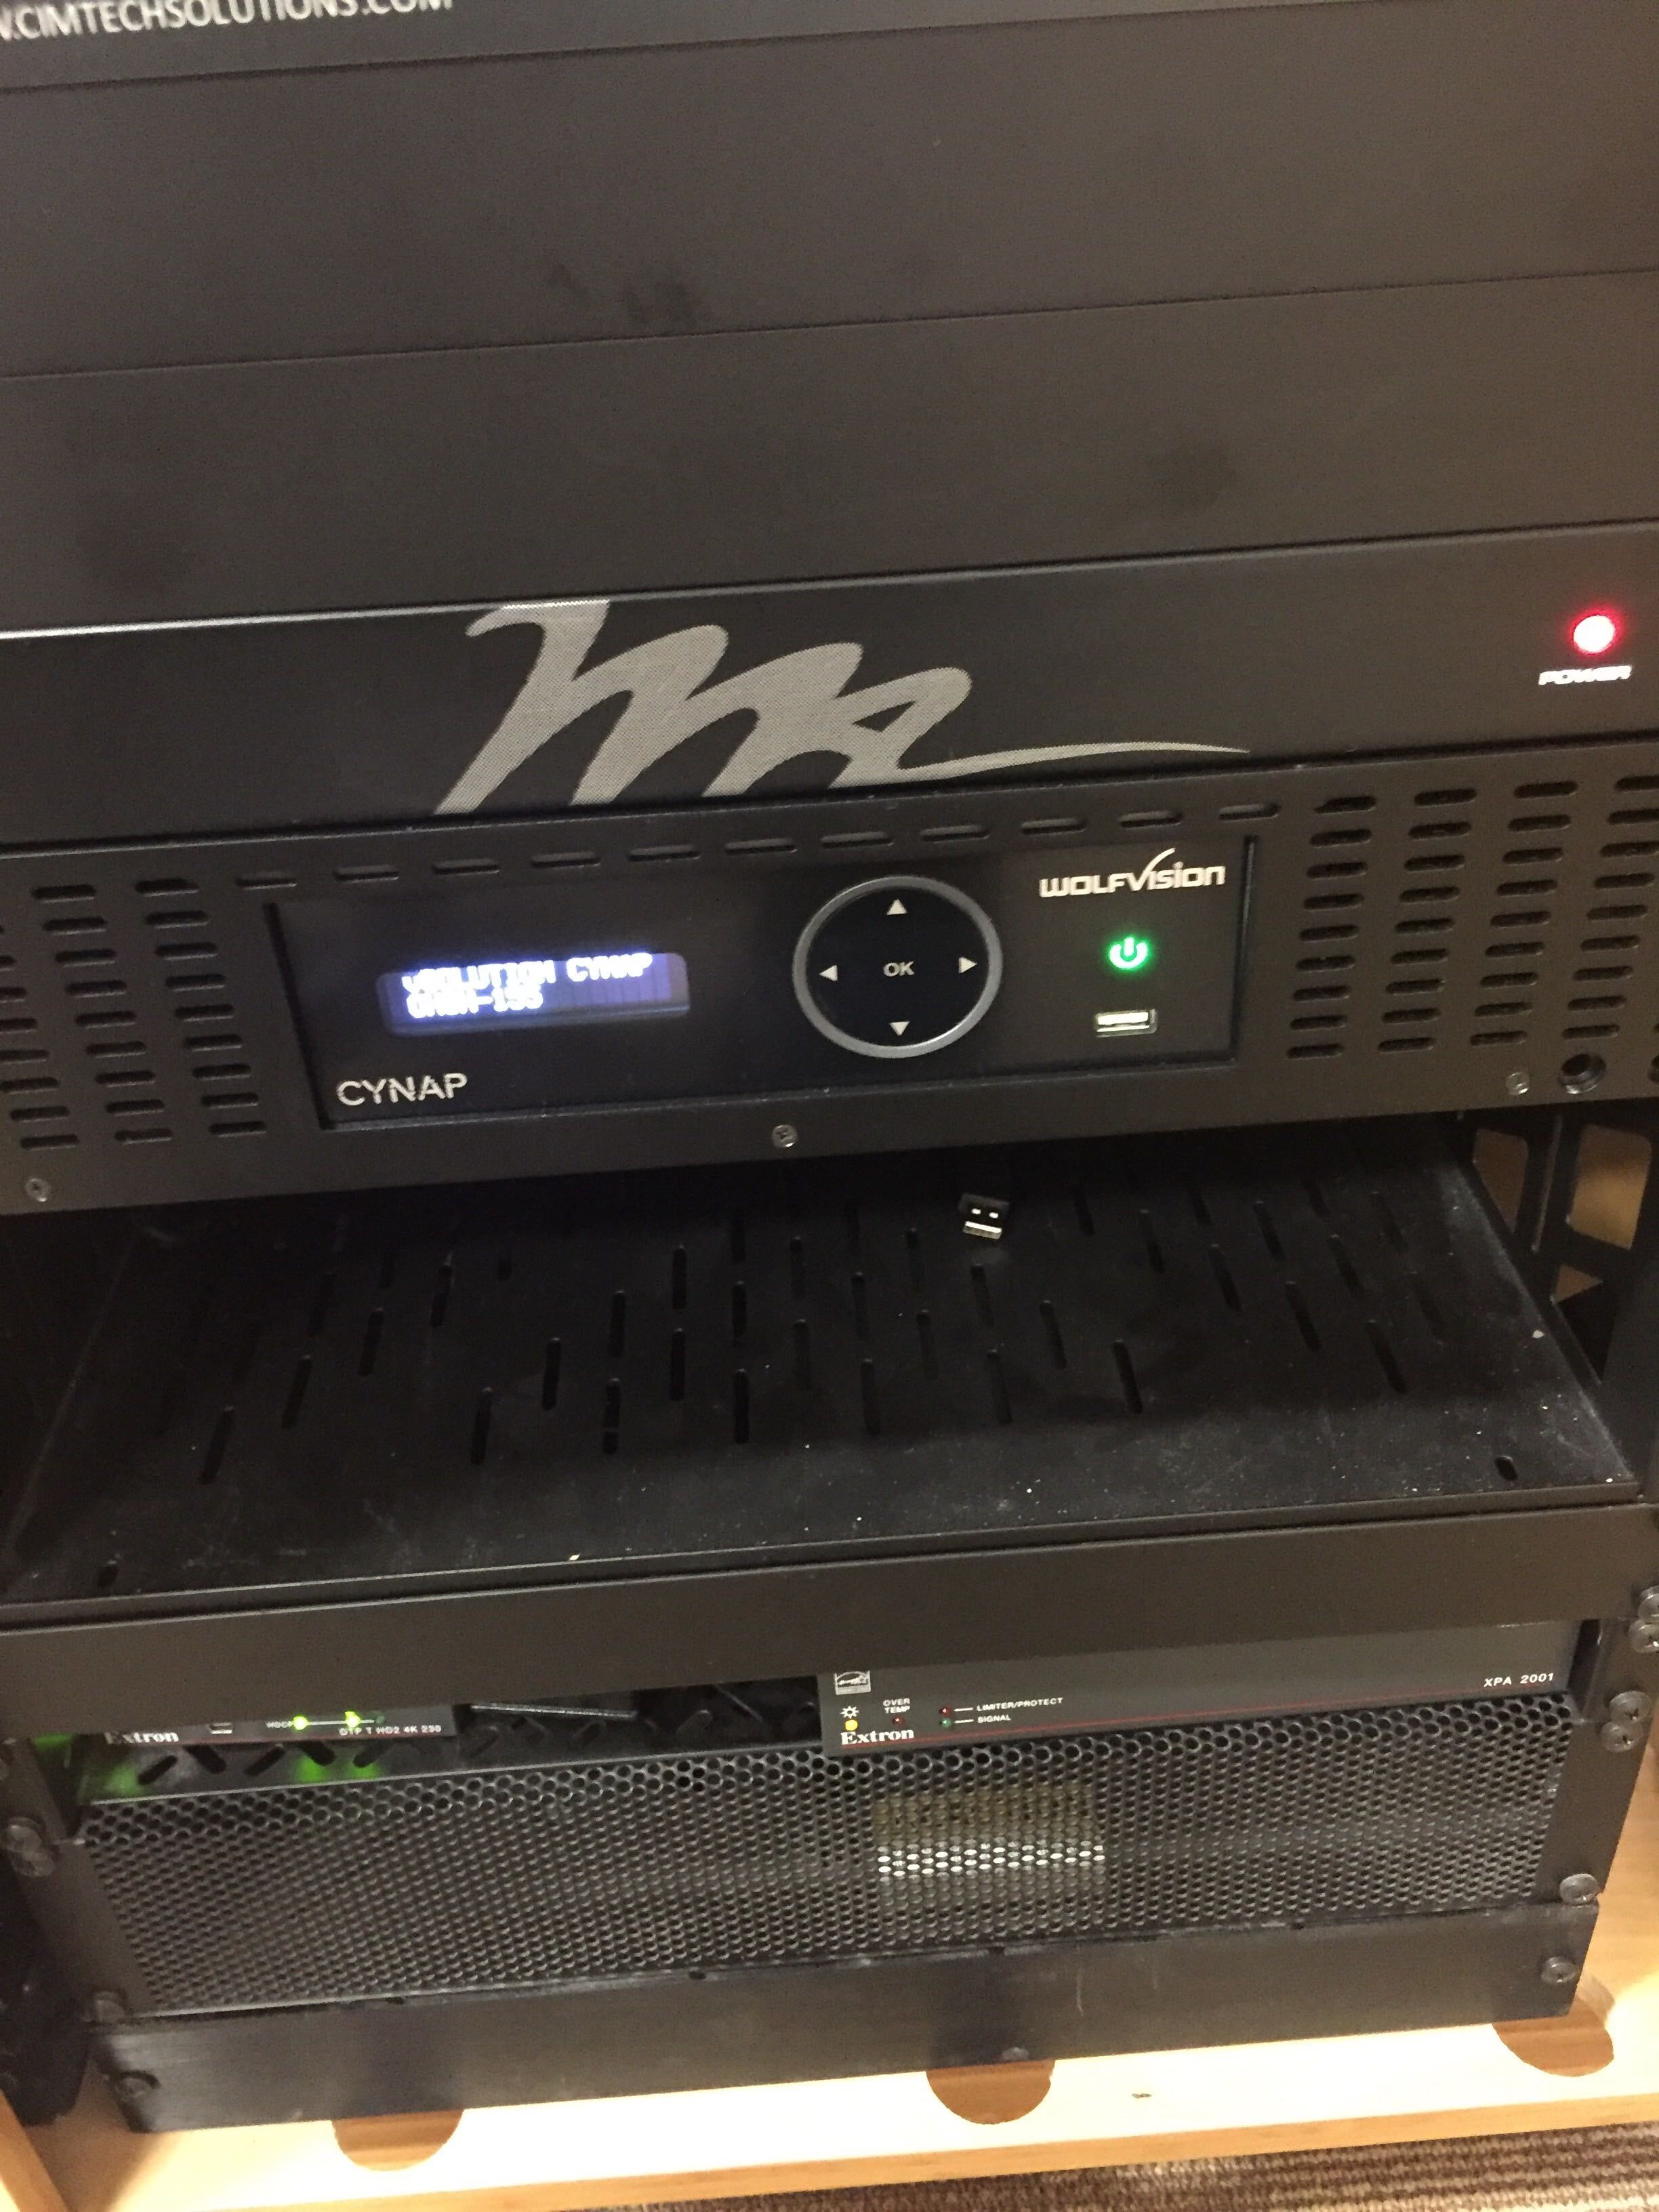
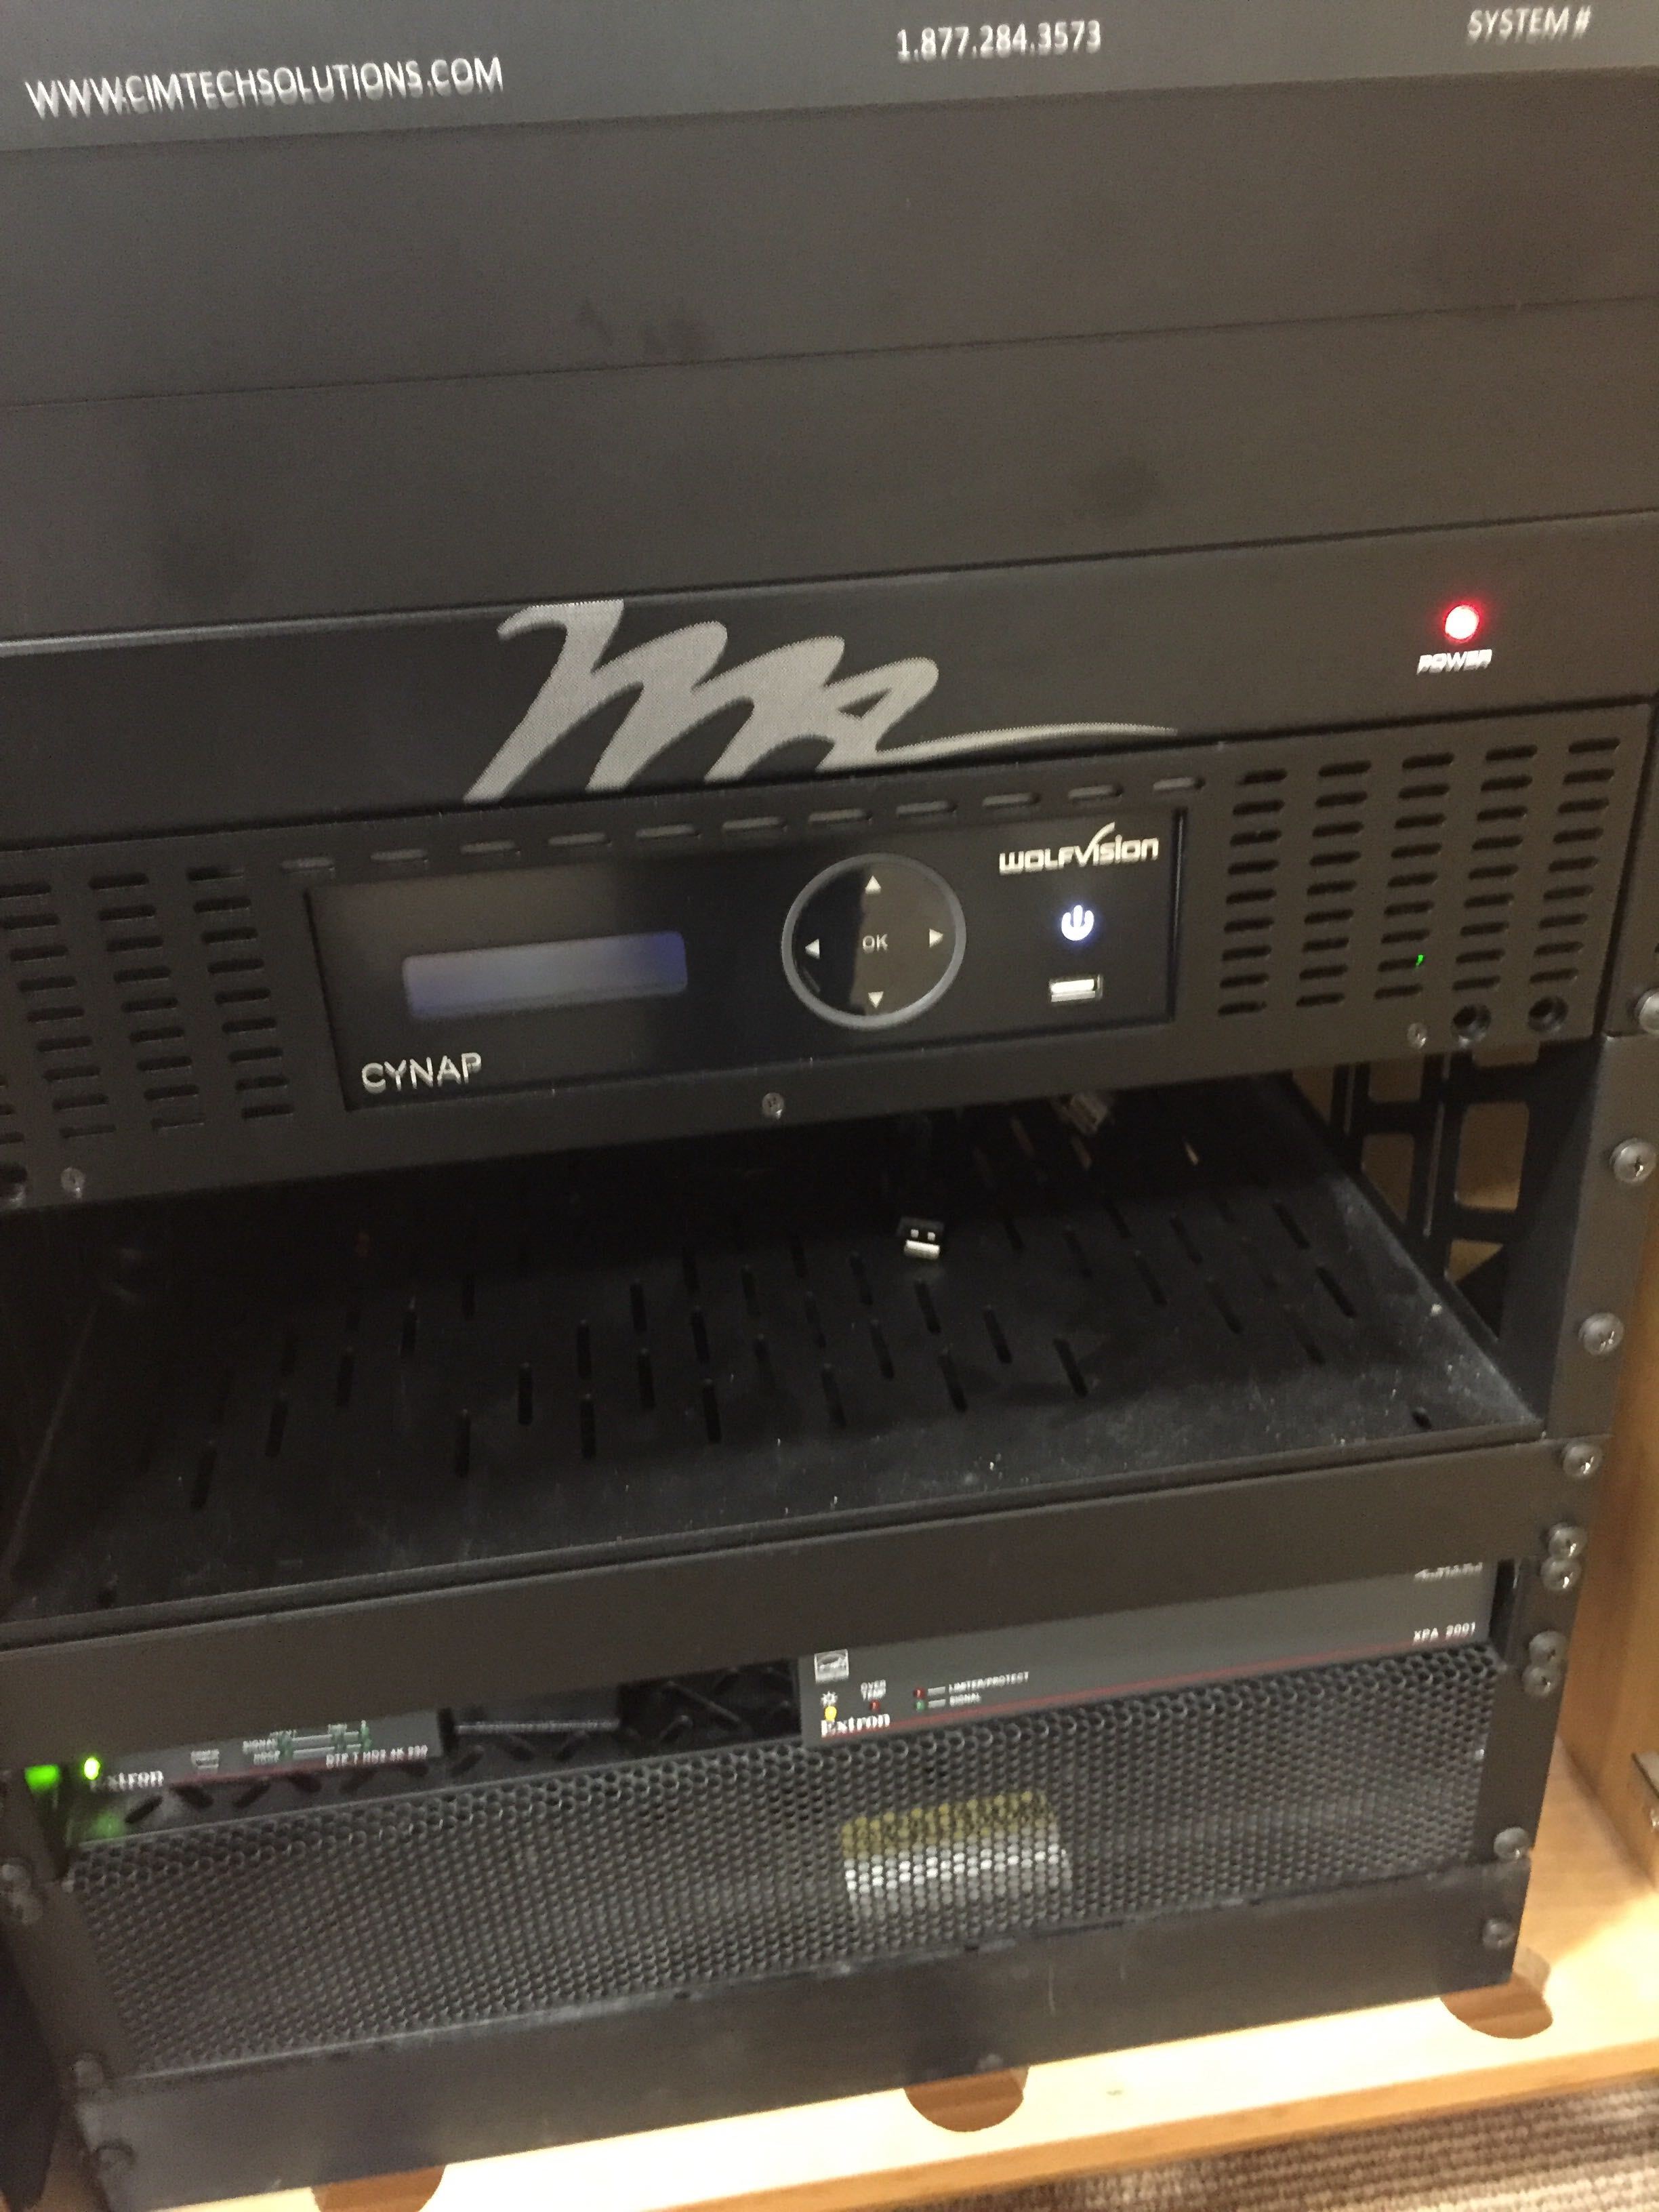
Verify that the system is powered on: open the front door of the teaching station, locate the WolfVision Cynap (or Cynap Core) control box, and press the white power symbol, which will turn Green as it turns on. As confirmation, the LCD screen to the left of the power button will display the name of the classroom you are in.
To turn off just one of the projectors, or to turn it back on, touch the interactive monitor, which brings up the control ribbon at the bottom of the display. Press the [. . .] icon, in the bottom right corner. This brings up the Settings options, and the options at the right side will include a button for each projector, to turn it on or to turn it off.
Power Off
When you are finished using the classroom technology, please turn the projector off, to conserve resources:
Power-down sequence:
Touch the interactive monitor, which brings up the control ribbon at the bottom of the display.
Press the [. . .] icon, in the bottom right corner, which brings up the Settings options.
In the pop-up window that appears, press 'End Presentation,' then press 'Power Saving.' This turns off the projector and puts the interactive monitor into standby mode.
Or, if you wish to keep using the interactive monitor, but turn off the projector, simply touch the 'Projector OFF' button (instead of the 'End Presentation' button), which turns off the projector. Classooms which have multiple projectors, have individual buttons for powering on and off one projector at a time.
Please leave these devices turned on (they will enter sleep mode): WolfVision Cynap, the interactive monitor, the PC.
Oops! I left the system on!
Fortunately, this system will enter sleep mode, and turn the projectors off after 15 minutes of no source signal being detected. If the system enters sleep mode and the projectors turn off, and you still want to use it, you may touch the interactive monitor to initiate the start-up sequence.
Sources
- Desktop PC
- Laptop - HDMI, with ring of adapters
- Chrome Browser (must interact and type on the interactive touch panel, not the mouse and keyboard, which are connected to the desktop PC)
- Digital Whiteboard
- Wireless casting/mirroring
- Document camera, or Visual Presenter
Note: In most classrooms, a Document Camera is connected only to the PC, allowing it to be used as a webcam. To use this source, select PC and turn on the Doc Cam's power button.
To select a source, touch the interactive monitor, which brings up the control ribbon across the bottom of the screen. The control ribbon contains shortcuts to all selected sources, and contains a mute button and master volume control.
Touch the yellow plus button at the bottom center of the screen, which shows a menu of available sources. The sources must be turned on to show up in this menu.
Press the icon for the source you wish to display. A shortcut to this display is added to the control ribbon.
You may add multiple sources and show up to four of them at the same time. Each enabled source will appear in the control ribbon at the bottom of the screen when you touch the interactive monitor.
To Close a source, press the X at the bottom right of that source's control ribbon.
Next to the X, is an icon allowing you to toggle between Full-screen mode and Windowed mode. In Windowed mode, multiple sources can be shown on the screen simultaneously. Up to four sources can be shown simultaneously.
Which Classrooms have this equipment?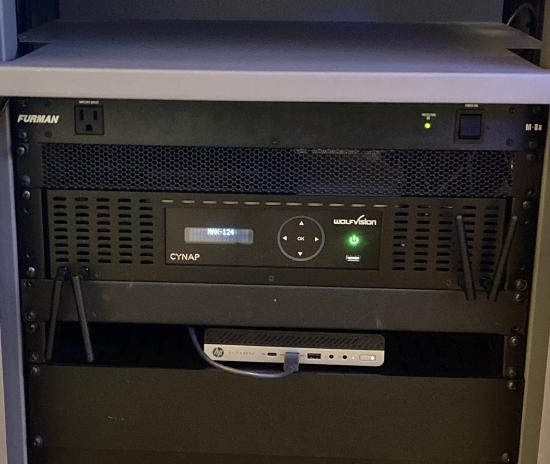

To see a list of classrooms which have this new standard classroom equipment, visit this page. Classrooms which have this equipment installed are located in:
- Ott Hall of Science and Nursing - all classrooms
- Burns Hall of Science and Nursing - room 130 lecture hall
To see what type of AV equipment is in a particular classroom's teaching station, visit this page, and select the building and then the room number.