How to Create a Grade Item and Category
Goal
After completing this how-to you will have the knowledge needed to create a grade item category. For other guides on the Gradebook, see the Grades topic page.
Navigation
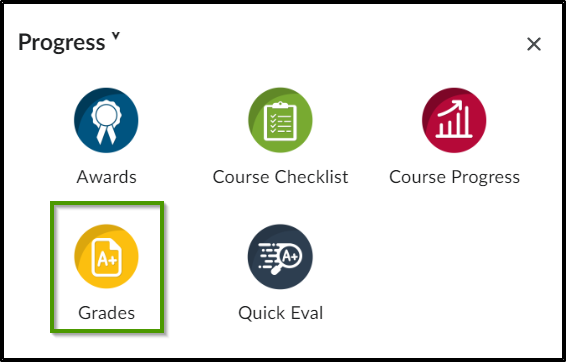
- Select the "Progress" icon from the course navbar.
- From the "Progress" menu, choose "Grades".
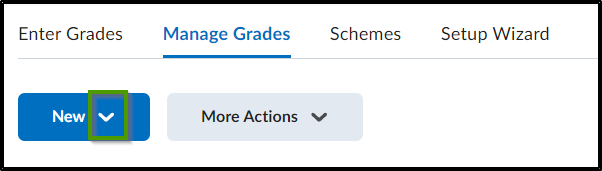
- Select the "Manage Grades" tab.
- Select the dropdown menu from the "New" button.
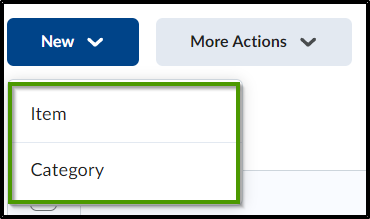
- From the dropdown menu, select "Item" or "Category".


Creating a Grade Item
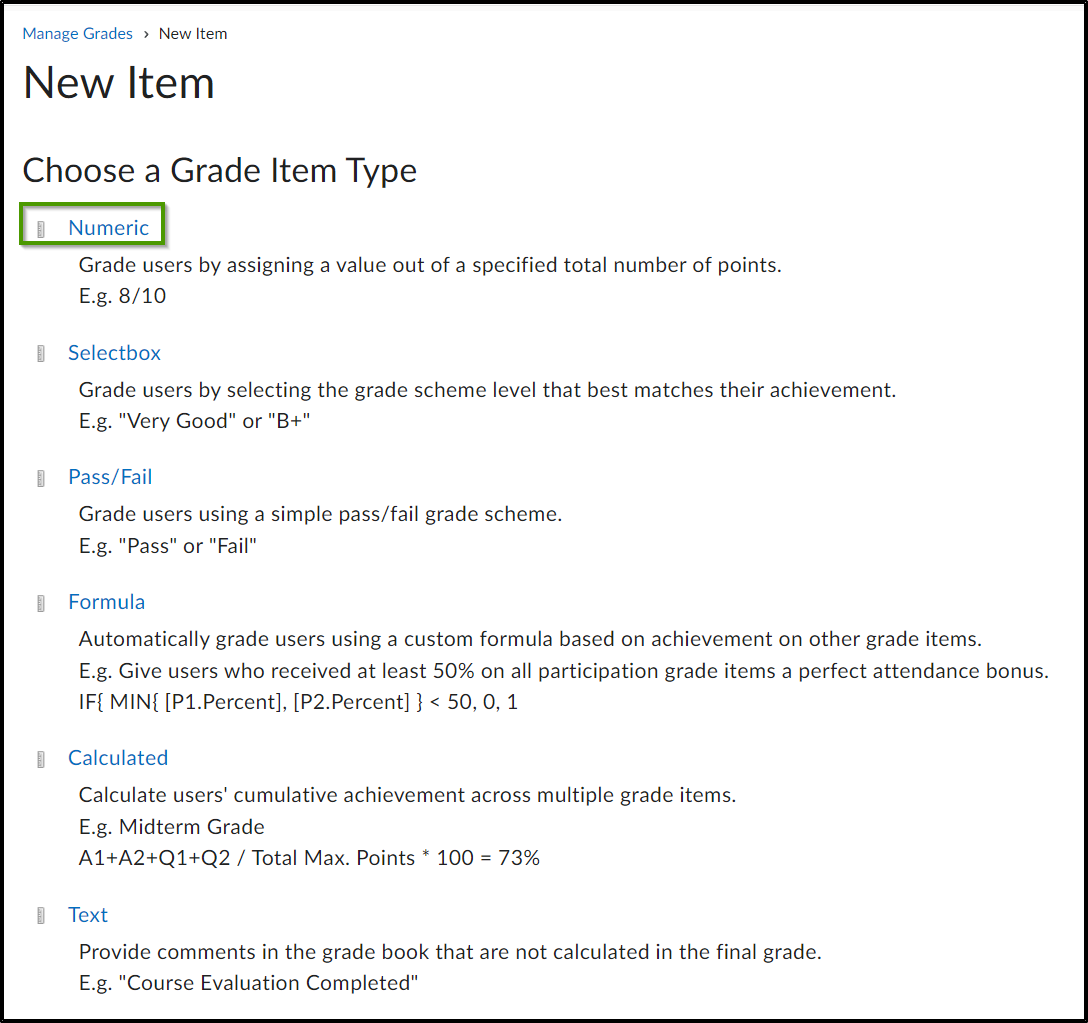
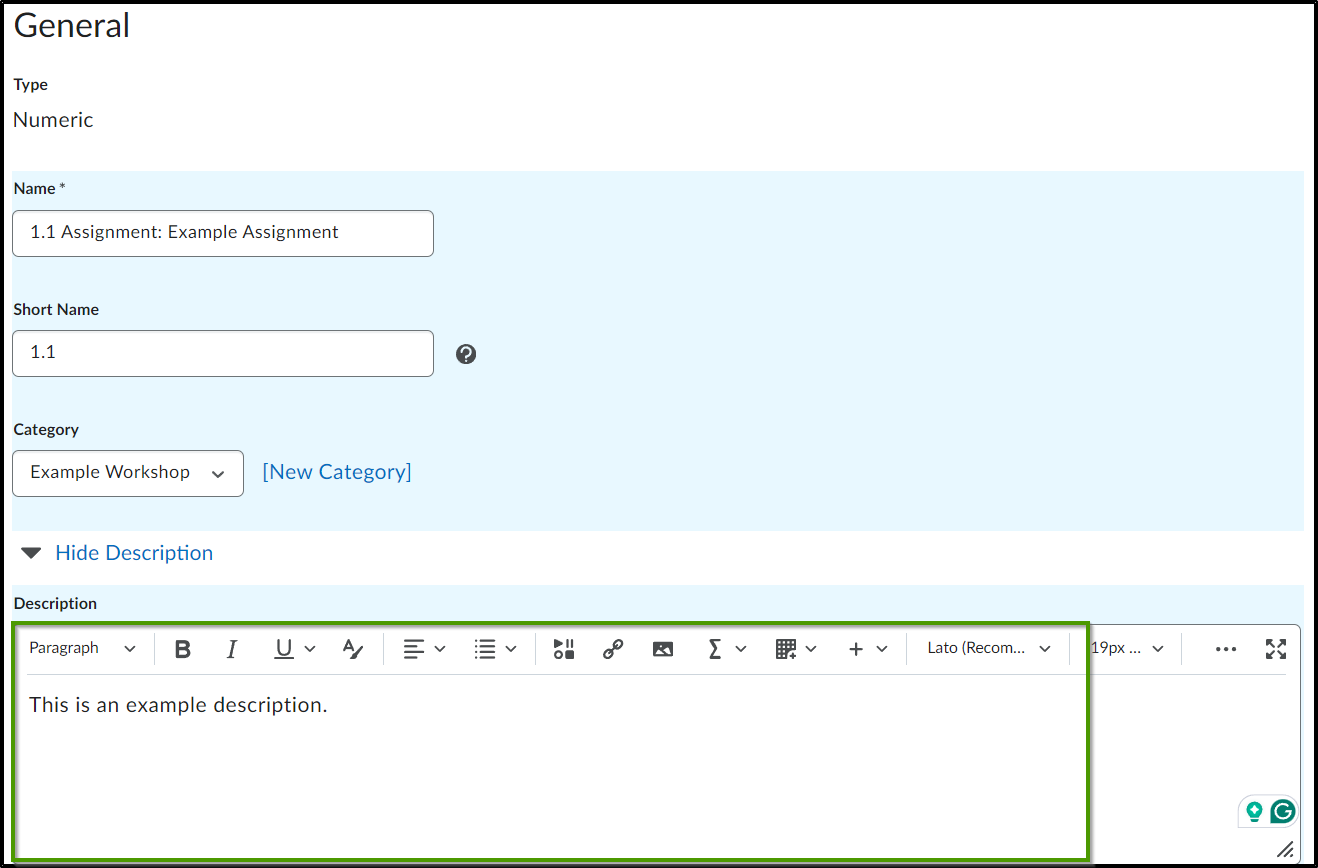
- Choose the Grade Item Type by selecting the grade item type link.
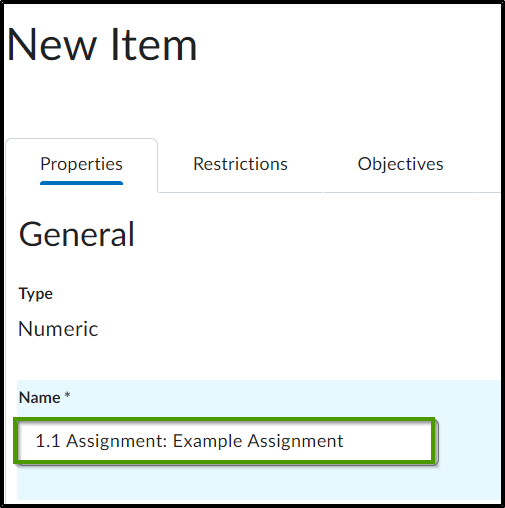
- Enter a grade item name into the "Name" field.
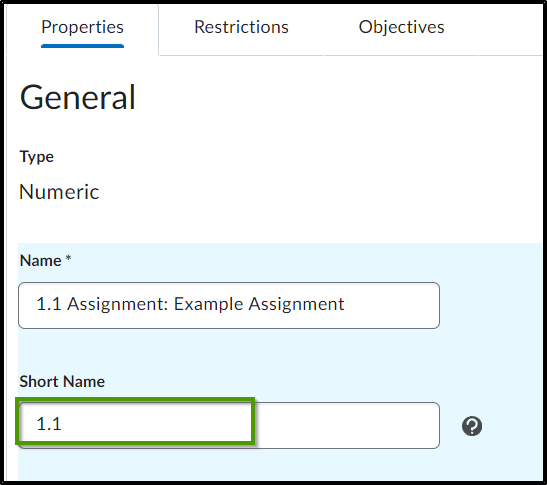
- Enter a short name into the "Short Name" field. This shortened version will be displayed in the gradebook to save space. The short name is only visible to the faculty within the gradebook. **NOTE** This is an optional field.
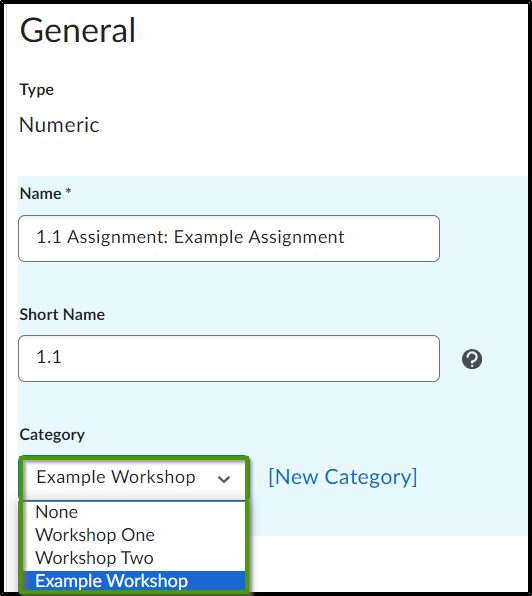
- From the "Category" dropdown, select an existing category or create a new category to associate the grade item to.
- The description is optional. To add a description, enter the desired text in the description HTML editor box.
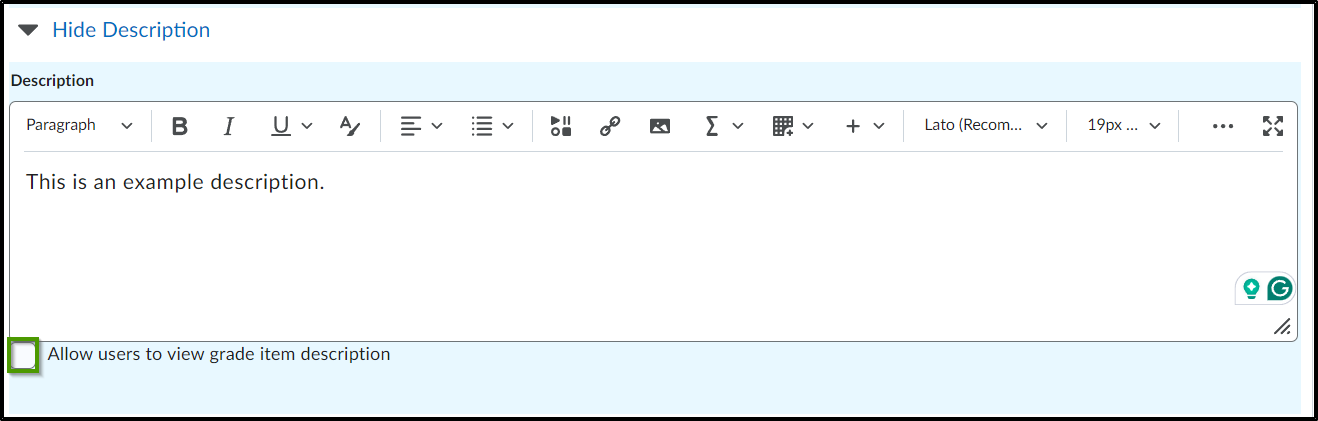
- To allow the description to be viewed by students, select the "Allow users to view grade item description" checkbox.
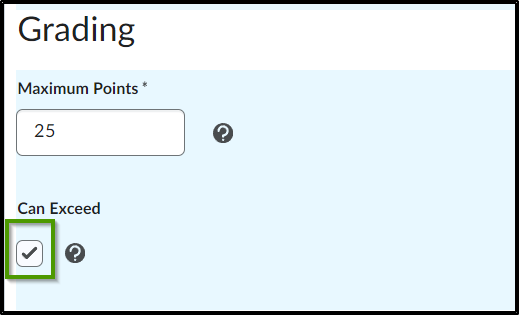
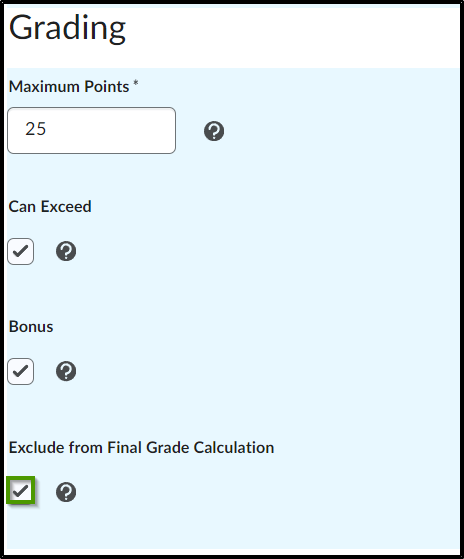
- In the "Maximum Points" field, enter the desired maximum grade value.

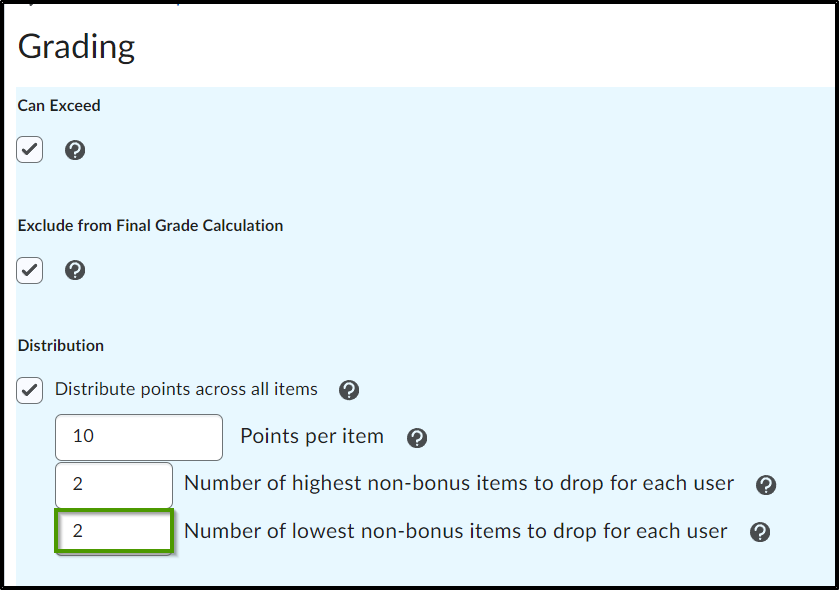
- Placing a checkmark in the "Can Exceed" checkbox will allow students to exceed the maximum number of points. If this option is chosen in a grade item, it must also be chosen within the associated grade category.
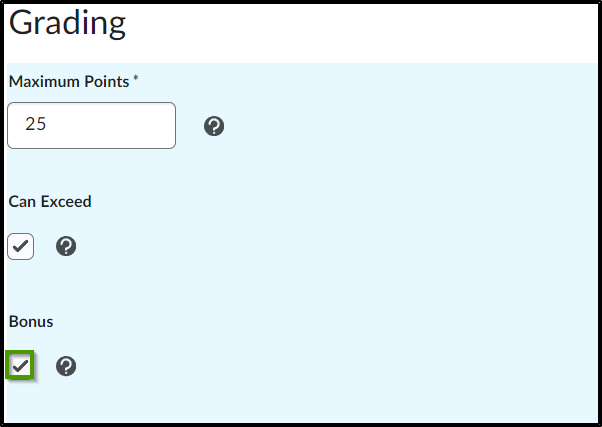
- Placing a checkmark in the "Bonus" checkbox will allow for bonus points that will be added on top of the calculated grade. Bonus items cannot make a student's grade exceed the maximum points unless the "Can Exceed" checkbox is also selected.
- Placing a checkmark within the "Exclude from Final Grade Calculation" checkbox will exclude the grade item from being included in the final grade calculation. If this option is chosen in a grade item, it must also be chosen within the associated grade category.
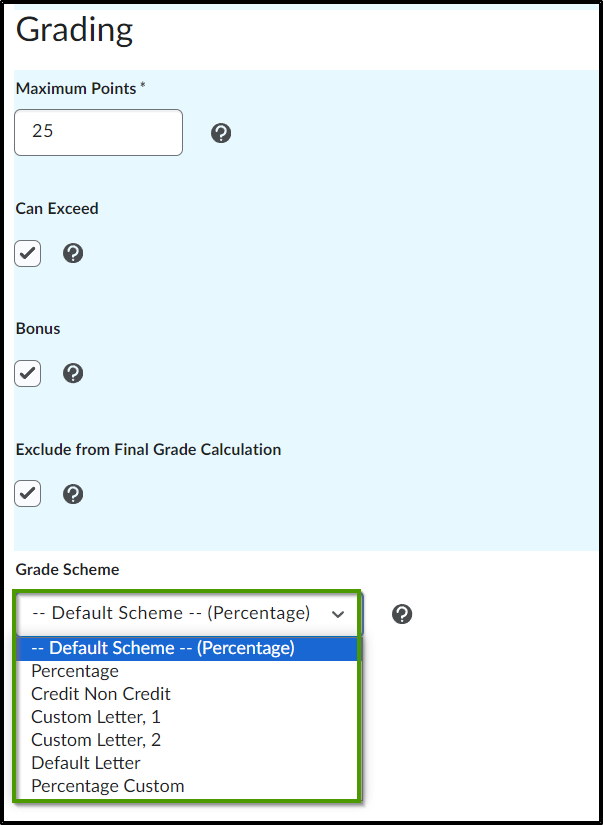
- Choose a grade scheme for the grade item by selecting the "Grade Scheme" dropdown menu. The default grading scheme is Percentage.
- To associate a rubric to the grade item, select the "Add Rubric" button, choose a rubric, and select the "Add Selected" button or create a new rubric.
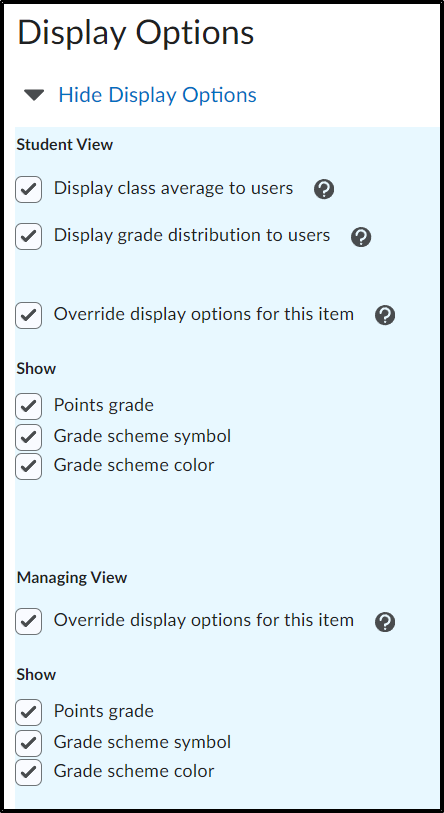
- Within the "Display Options", faculty can manage the views and decide what grade information should be shared with students by placing a checkmark in the desired checkbox. These display options are not recommended within a grade category or grade item as they allow a student's information to be shared with other students.

Creating a Grade Category
**NOTE** Many of the steps involved in creating a grade category are identical to the steps needed to create a grade item. If a step is identical, it will not be duplicated within the "Creating a Grade Category" section. Refer to the Creating a Grade Item section for information on steps not shown.
To make all items within the category worth the same amount, select "Distribute points across all items".

In the "Points per item" field, enter the value to be assigned to each grade item within the category.
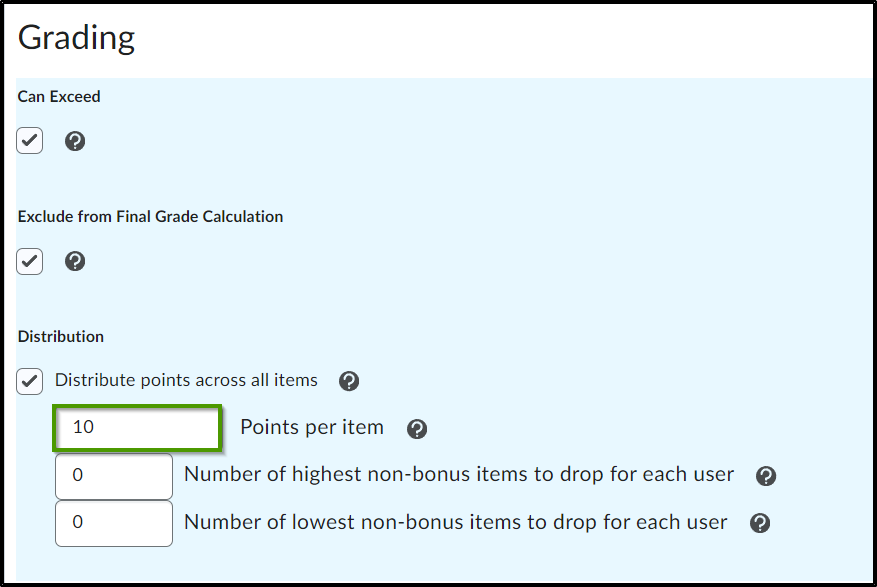
Placing a value in the "Number of highest non-bonus items to drop for each user" field allows the students' highest grades within the category to be dropped from the final grade. This option can only be used if all grade items in the category are worth the same amount.
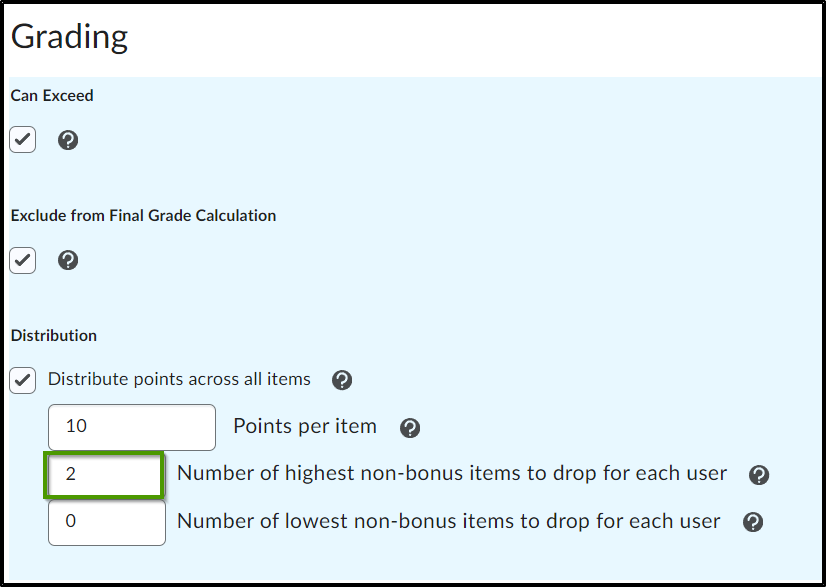
Placing a value in the "Number of lowest non-bonus items to drop for each user" field allows the students' lowest grades in the category to be dropped from the final grade.