How to Set Up the Gradebook (Setup Wizard)
Goal
After completing this how-to you will have knowledge needed to set up the gradebook using the Setup Wizard. For other guides on the Gradebook, see the Grades topic page.
Navigation
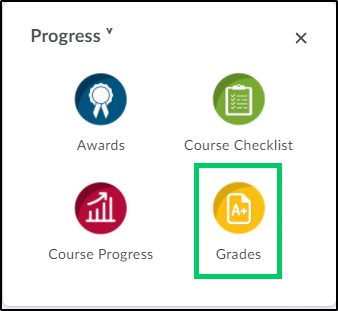
1. To set up the gradebook using the Setup Wizard, select the "Progress" icon from the course navbar.

2. From the "Progress" menu, select "Grades".
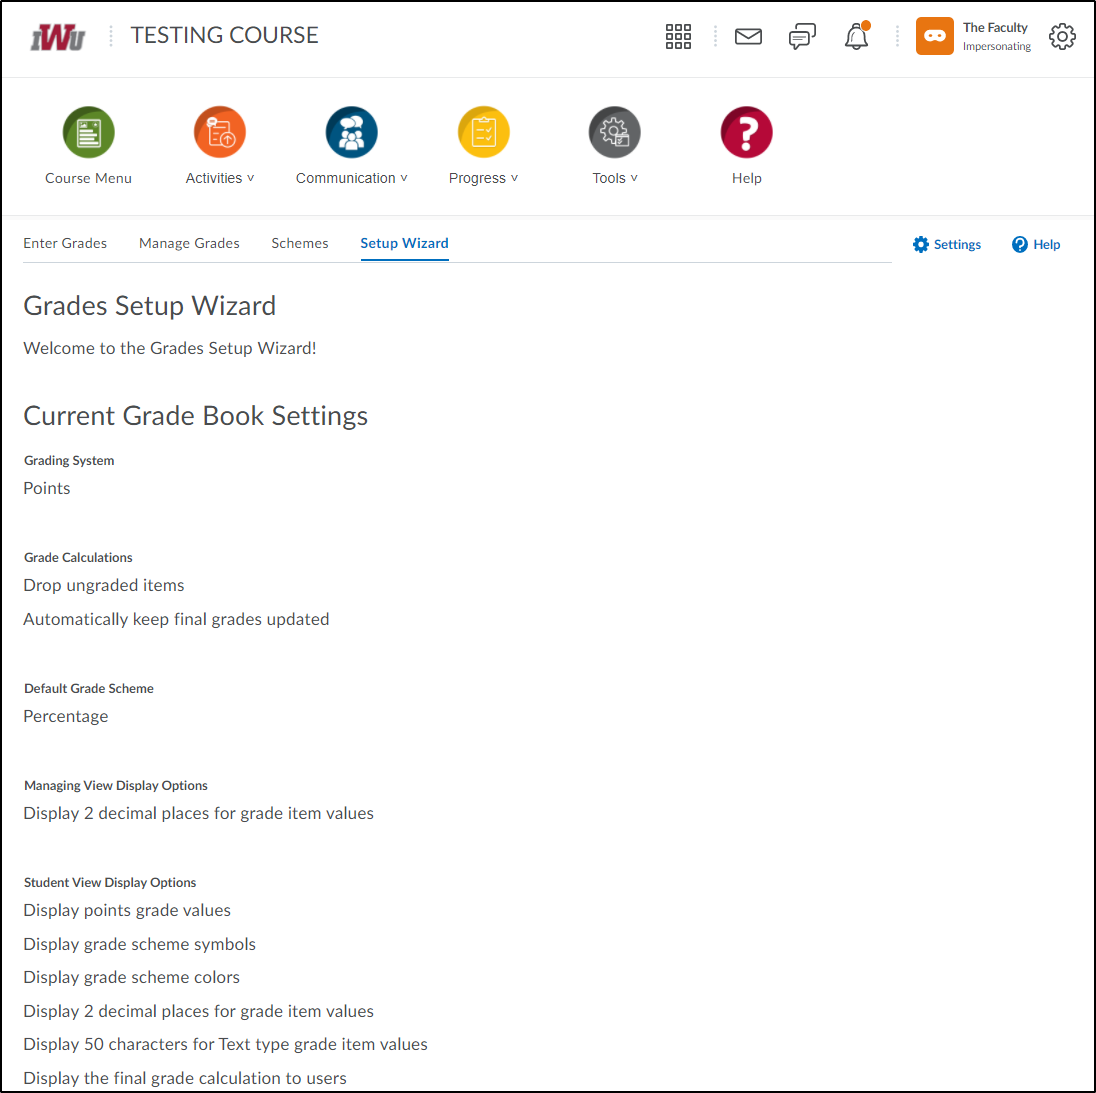
3. Select the "Setup Wizard" tab.

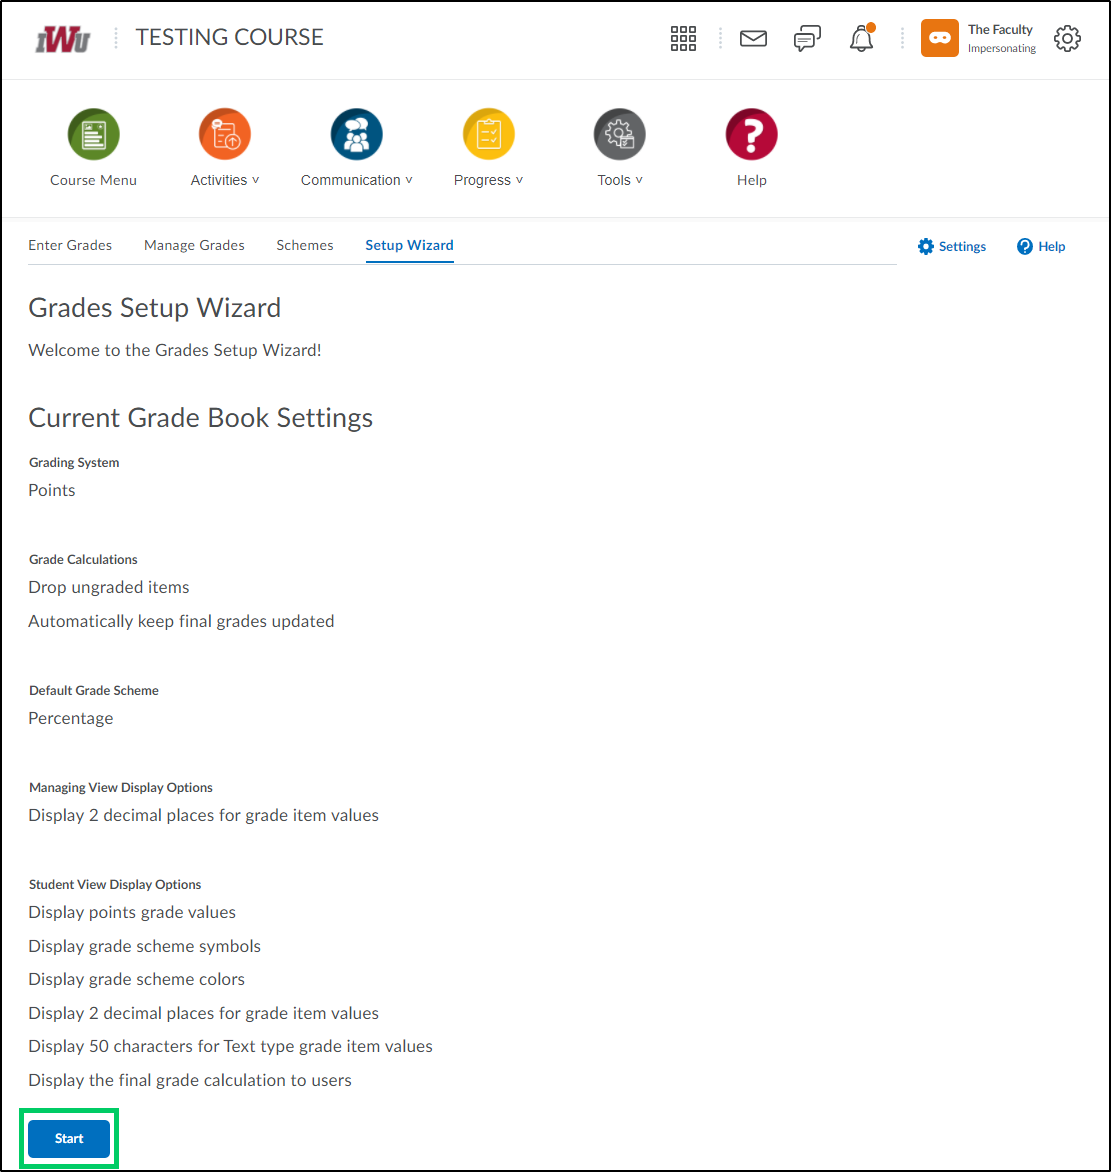
4. The default settings for the gradebook will be displayed.
5. To make changes to any of the default settings, select the "Start" button.
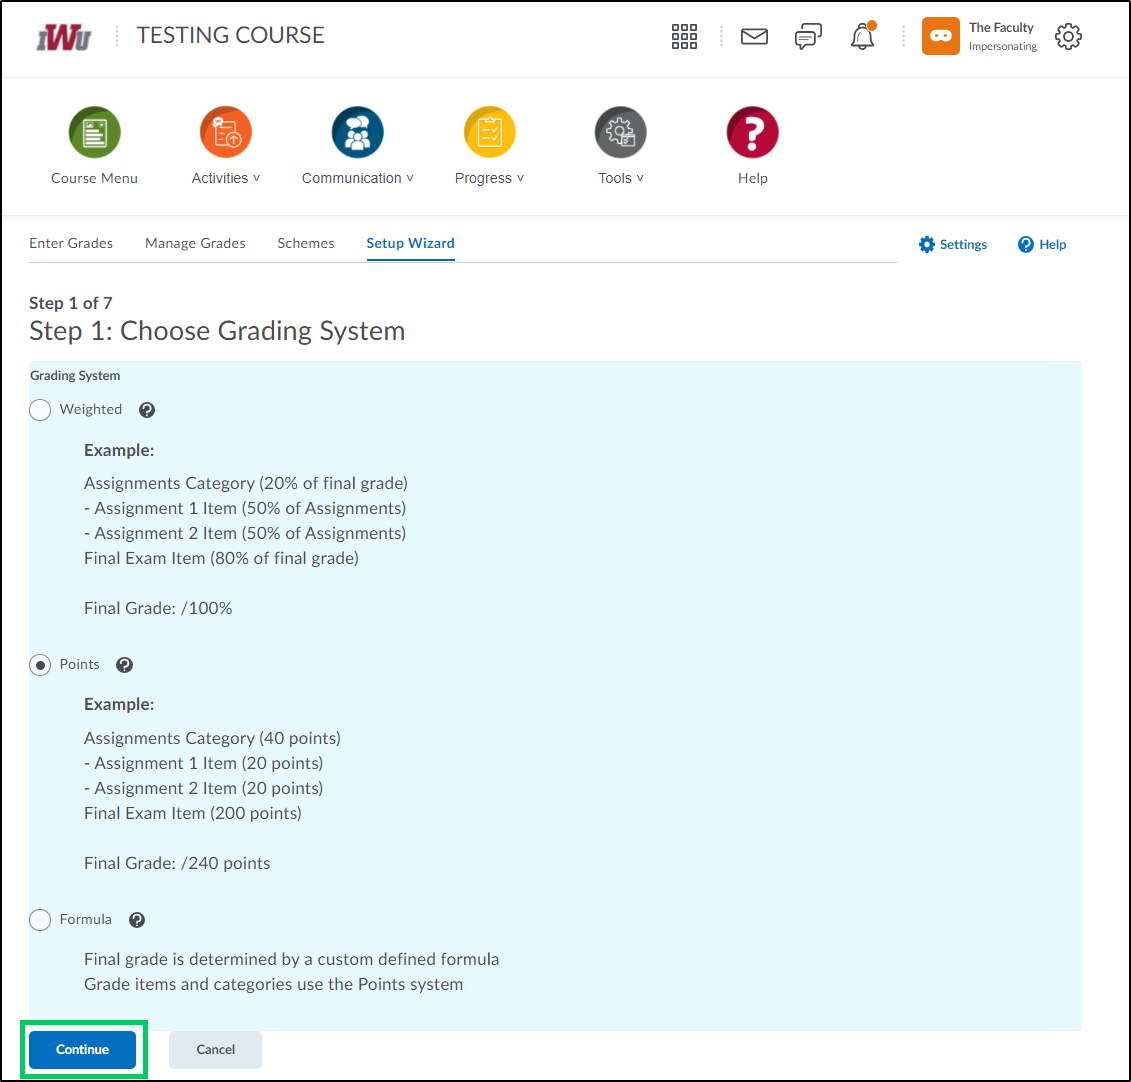
6. In Step 1 of the setup, choose the grading system by selecting the radio button next to the preferred choice.
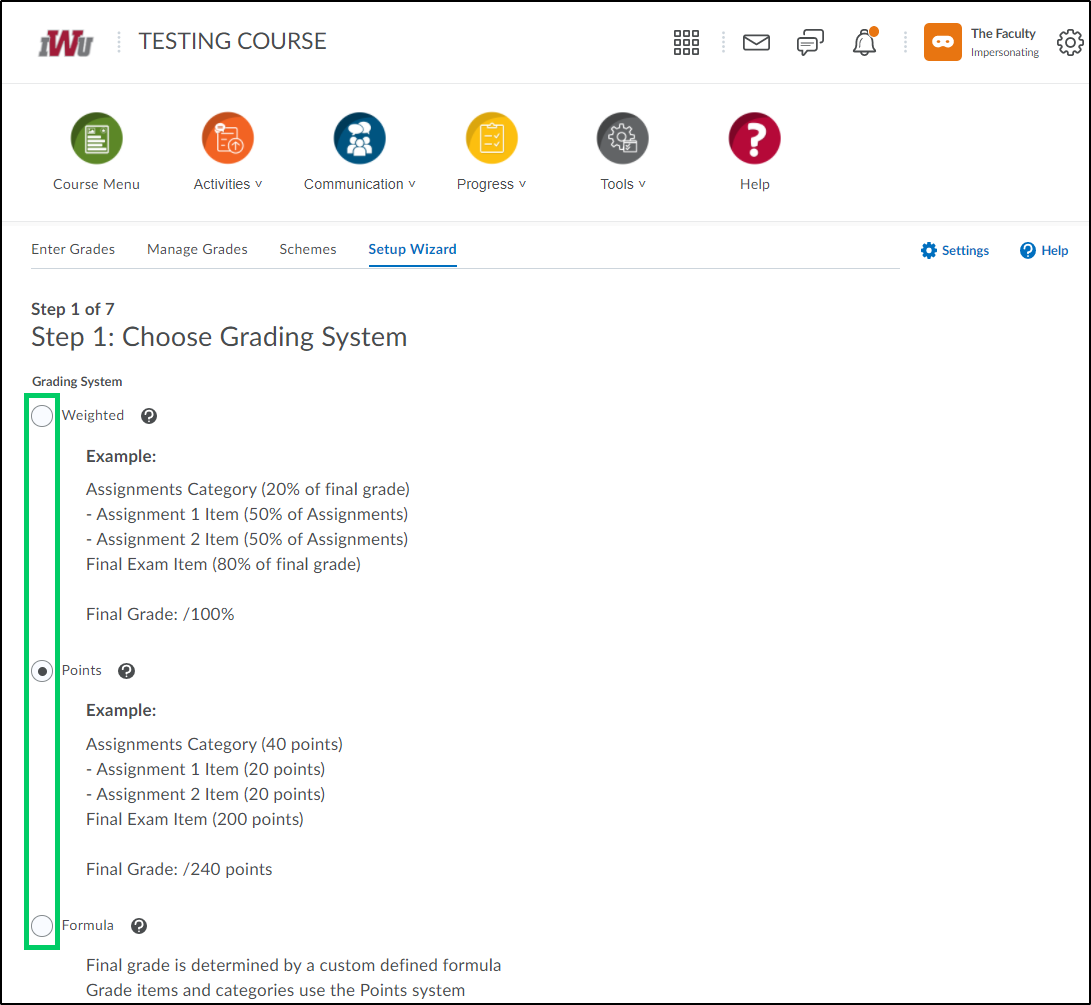
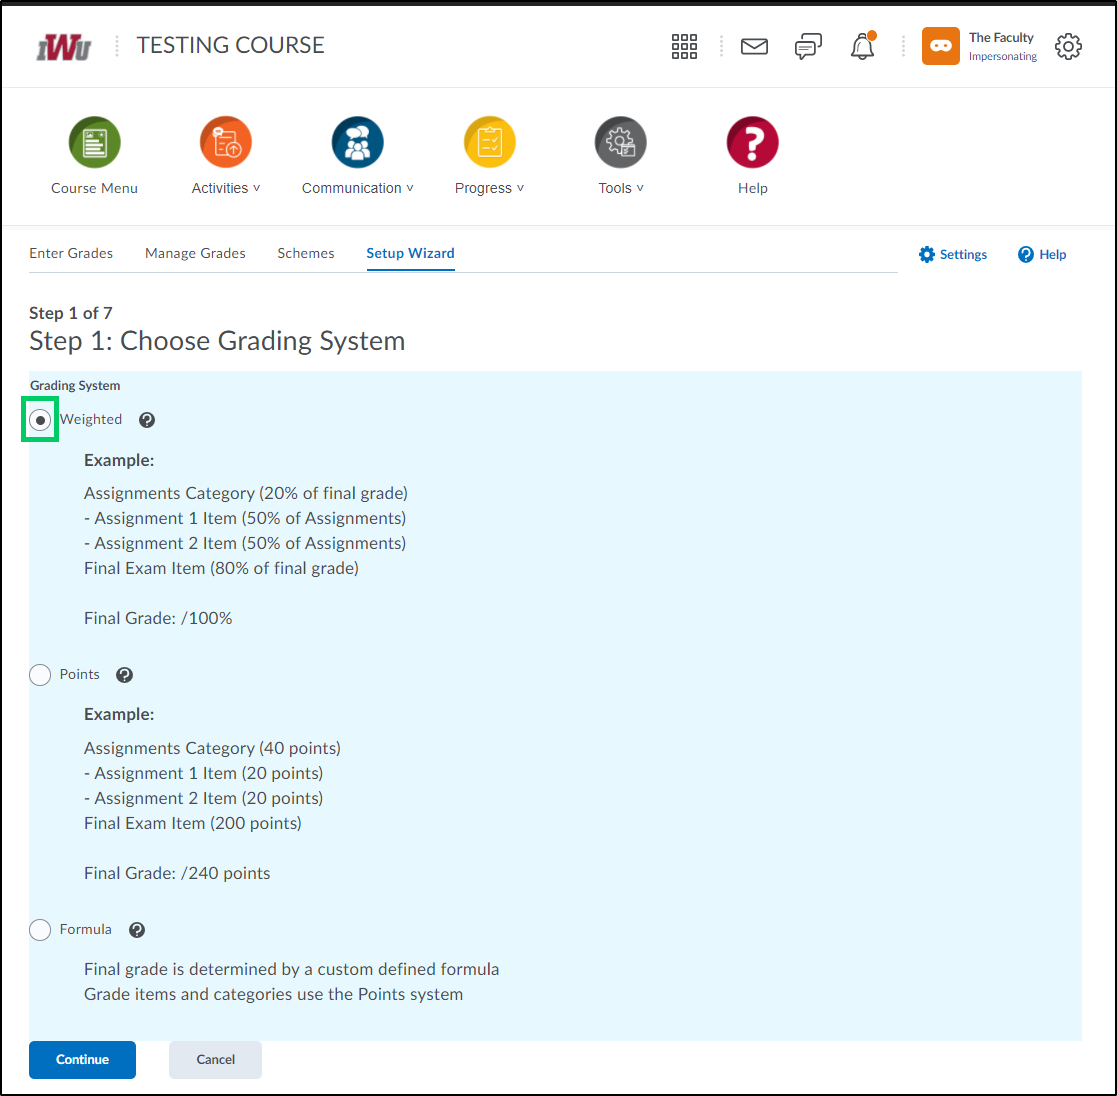
6a. Use Weighted to have grade items calculated as a percentage of the final grade worth 100%.
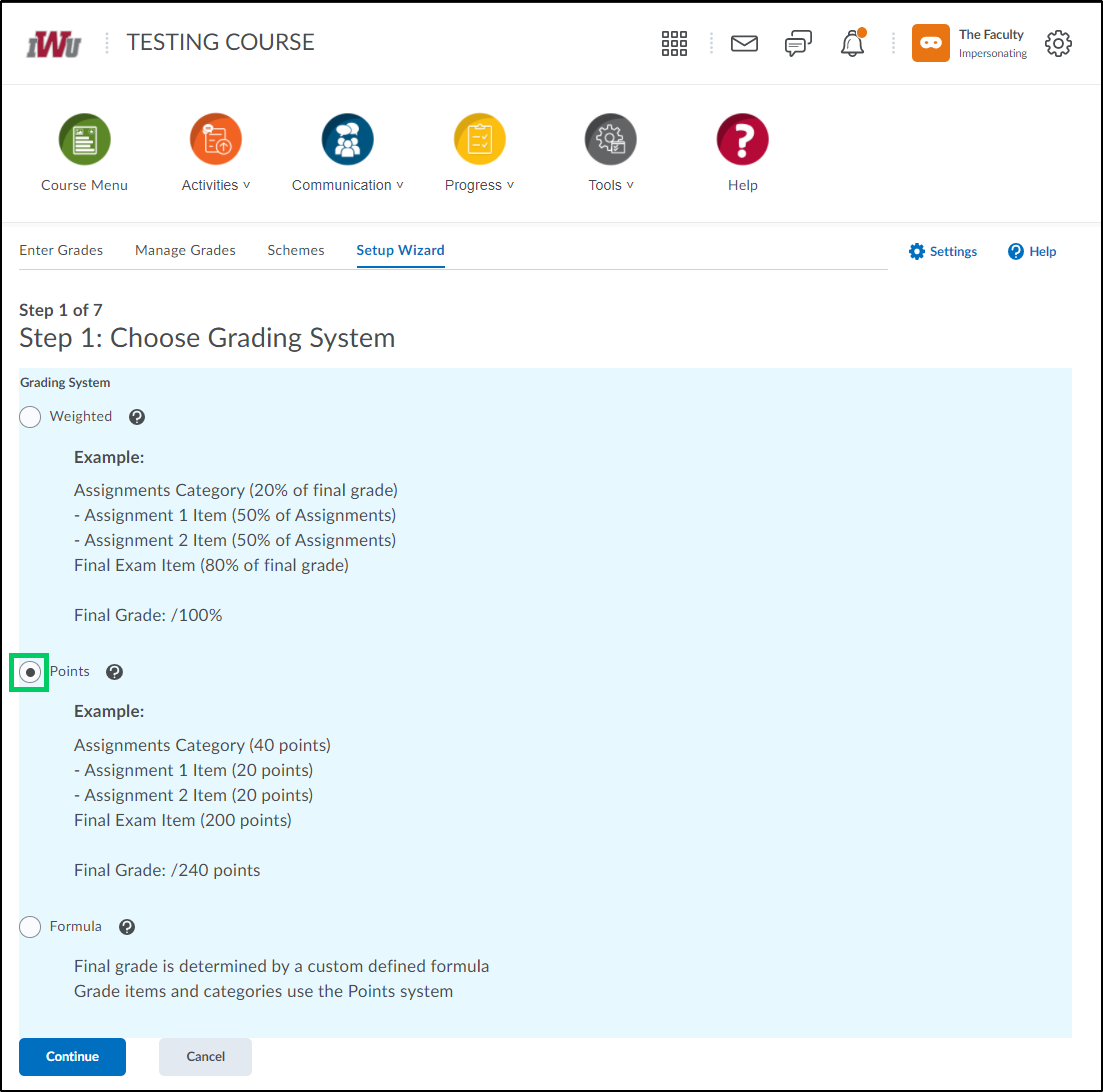
6b. Use Points to have the final grade calculated by totaling the points that students receive on the various grade items.
6c. Use Formula to have the final grade calculated using a custom formula that allows conditions to be set on grade items.
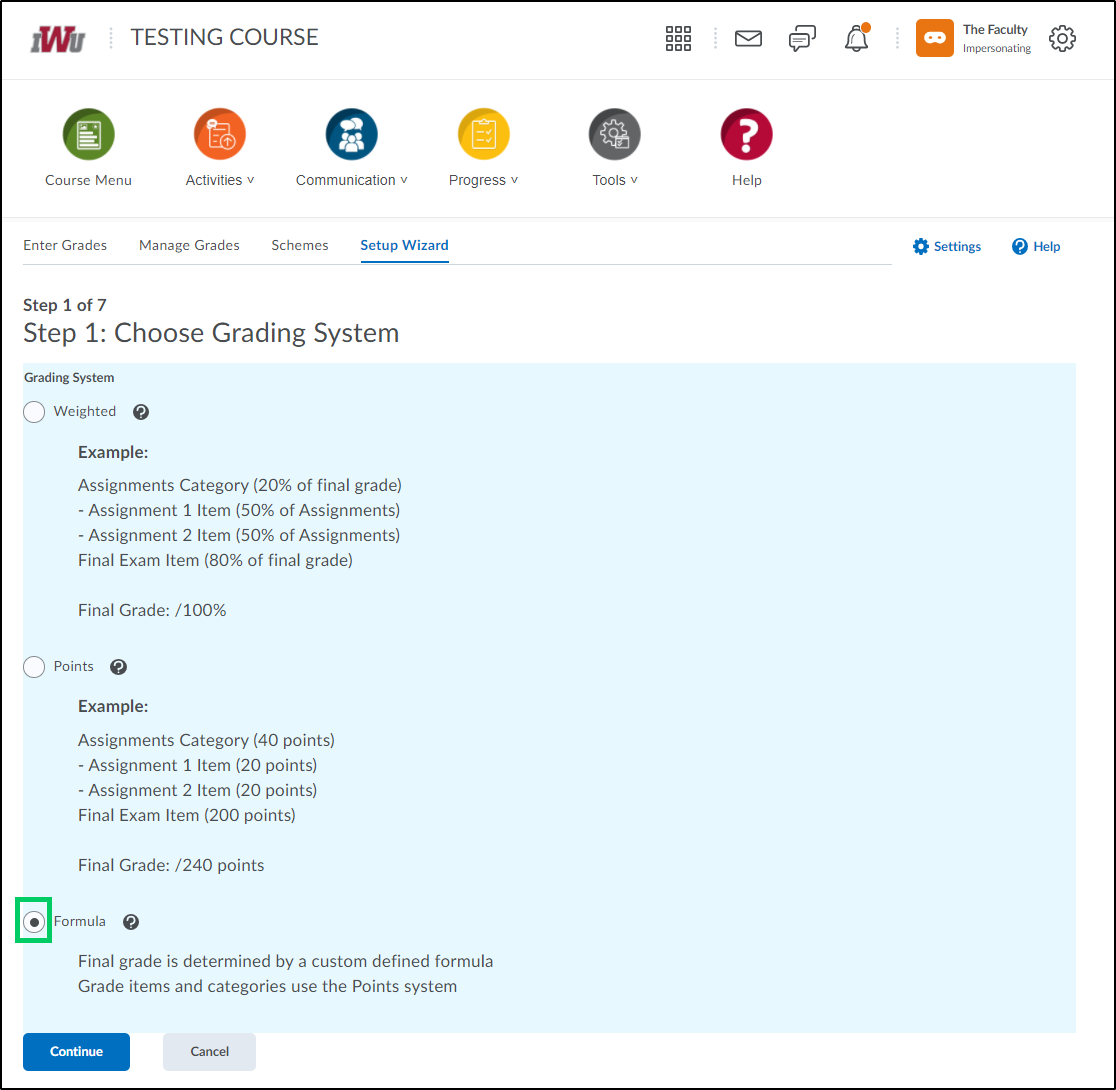
7. Once the grading system has been chosen, select the "Continue" button to move onto the next step.
8. In Step 2, determine whether or not to automatically release the final grade as soon as it is created. This can be done by placing a checkmark in the "Automatically release final grade" checkbox. Select the "Continue" button to move to Step 3.

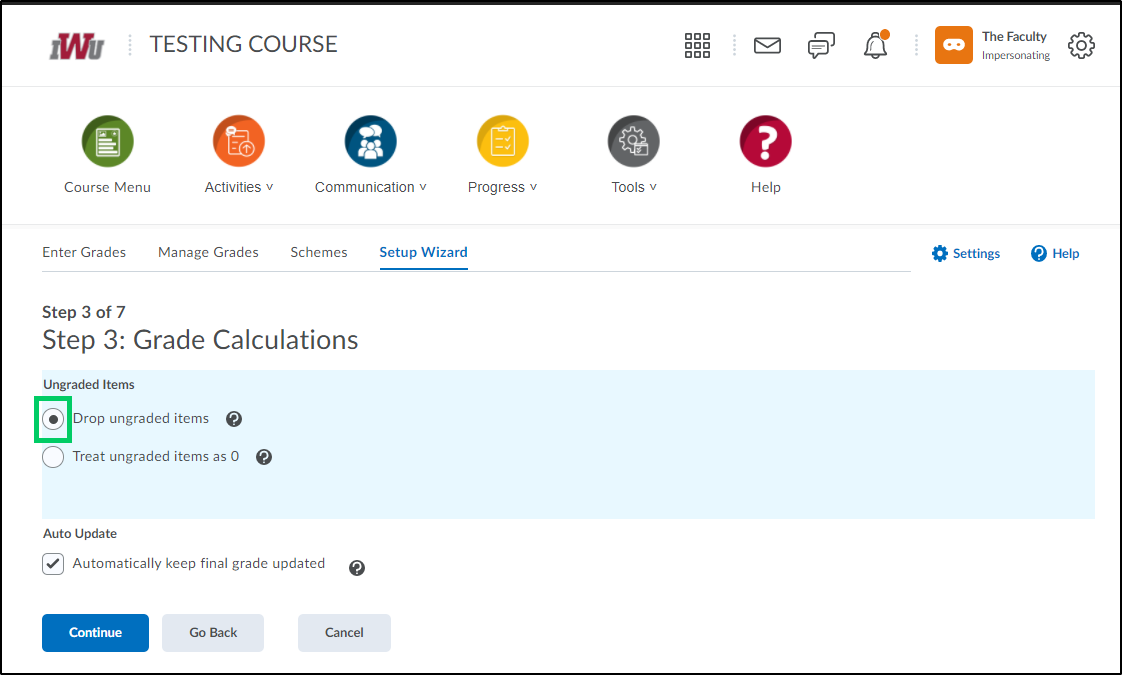
9. In Step 3, determine how to treat ungraded items and whether to allow the automatic update of final grades by selecting the appropriate radio button or checkbox.

9a. Within the Ungraded Items section, choose to drop ungraded items which will eliminate them from calculation in the final grade.
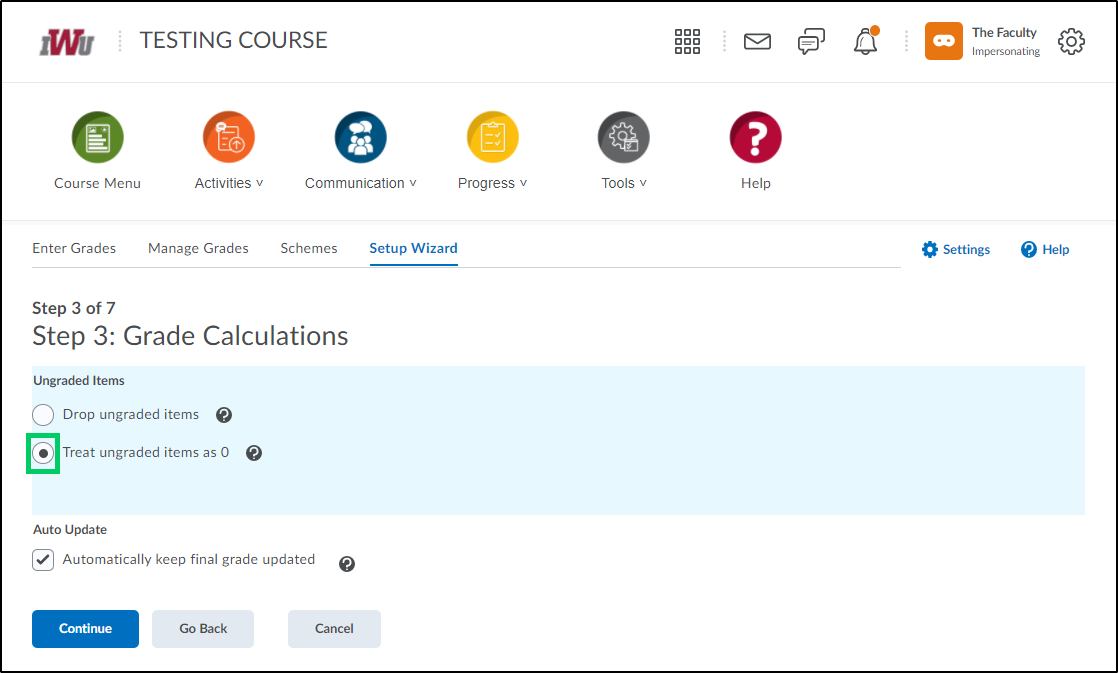
9b. Or choose to treat ungraded items as a 0 which awards a point total of 0 for any item that does not have points assigned to it.
9c. Selecting the checkbox within the "Auto Update" section, allows the final grade to automatically be adjusted when any change is made to a grade item or calculation options. Once all selections have been made within Step 3, select the "Continue" button to move to Step 4.

10. In Step 4, a default grade scheme will be chosen. There are three grade scheme choices: Percentage, Learning Outcome Assessment, and Letter Grade Scheme. The different schemes can be chosen by selecting the appropriate radio button. Once the grade scheme has been chosen, select the "Continue" button to move to Step 5.
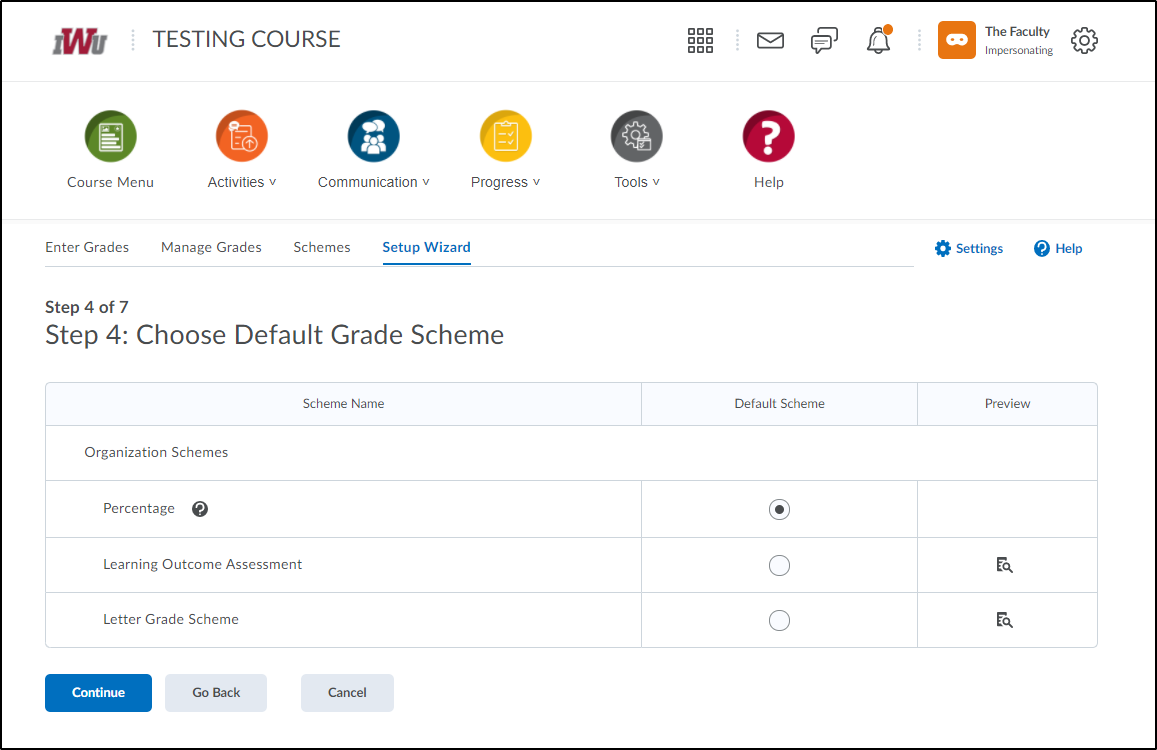
10a. Selecting the Percentage grade scheme, will allow the final grade to show as a percentage which is calculated by taking the total points earned divided by the total number of points possible.

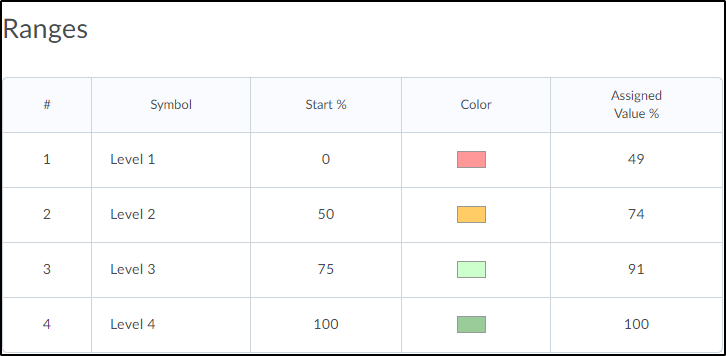
10b. Selecting the Learning Outcome Assessment, will color code and assign a level to the Final Calculated grade as well all other graded activities so that students can visually see how they are doing on the various activities as well as within the course.
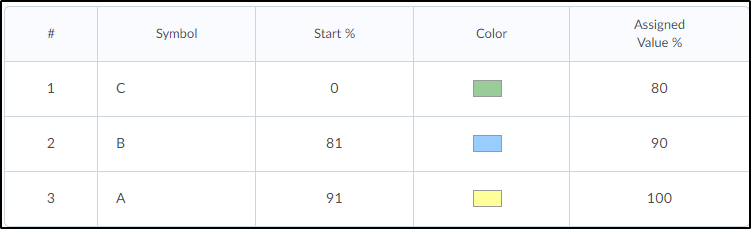
10c. Choosing the Letter Grade Scheme will assign a letter grade to the activities and final grade based on the percentage earned.
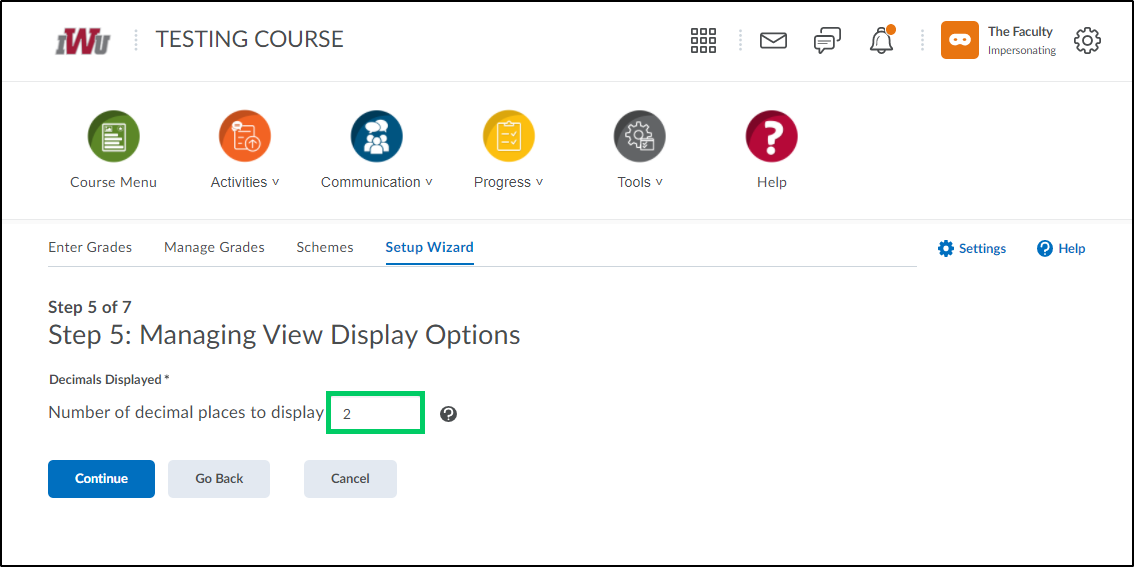
11. In Step 5, determine how many decimal places will be displayed within the Final Calculated Grade column of the gradebook by entering a number within the "Number of decimal places to display" field. To advance to the next step, select the "Continue" button.
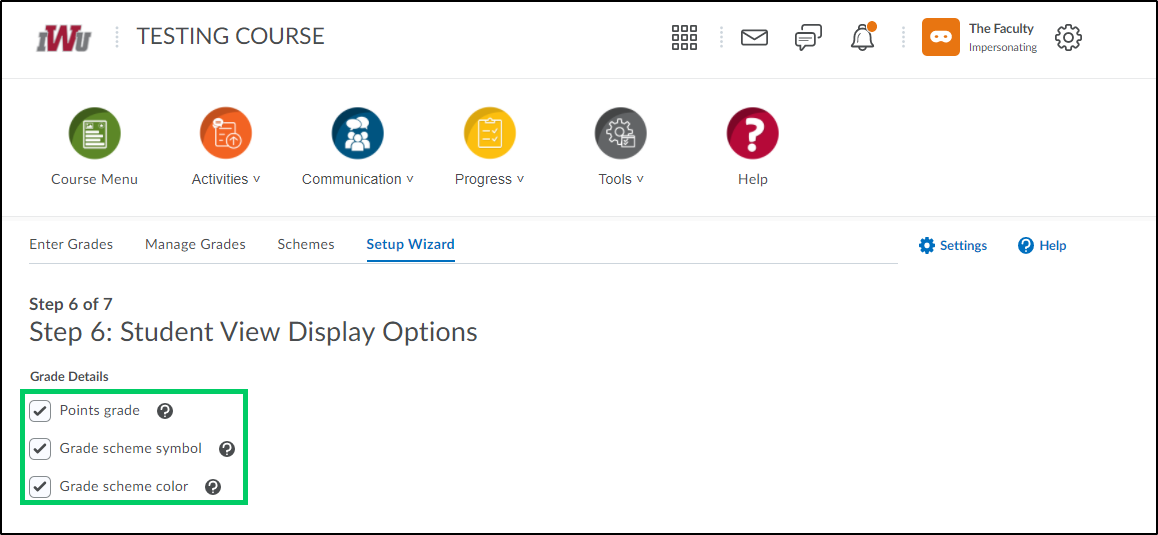
12. In Step 6, choose the grade settings that will impact the way a student's grades appear to them. Once the grade settings have been chosen, select the "Continue" button to move to Step 7.
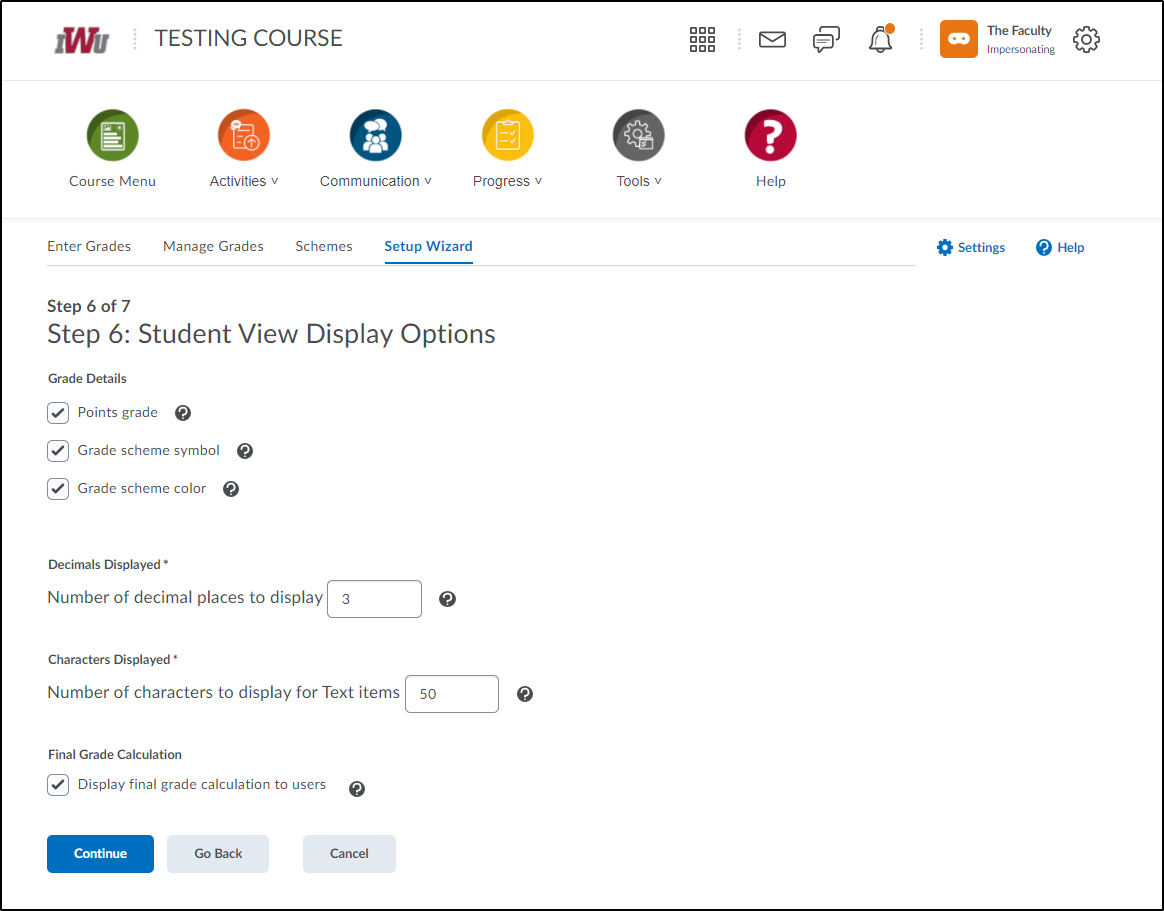
12a. In the "Grade Details" section, determine whether or not to display the points grade value associated with a grade item, whether or not to display the grade scheme symbol associated with the grade item, or whether or not to display the grade scheme color associated with a grade item which can only be done if the grade scheme symbol is also displayed by selecting the appropriate checkboxes.
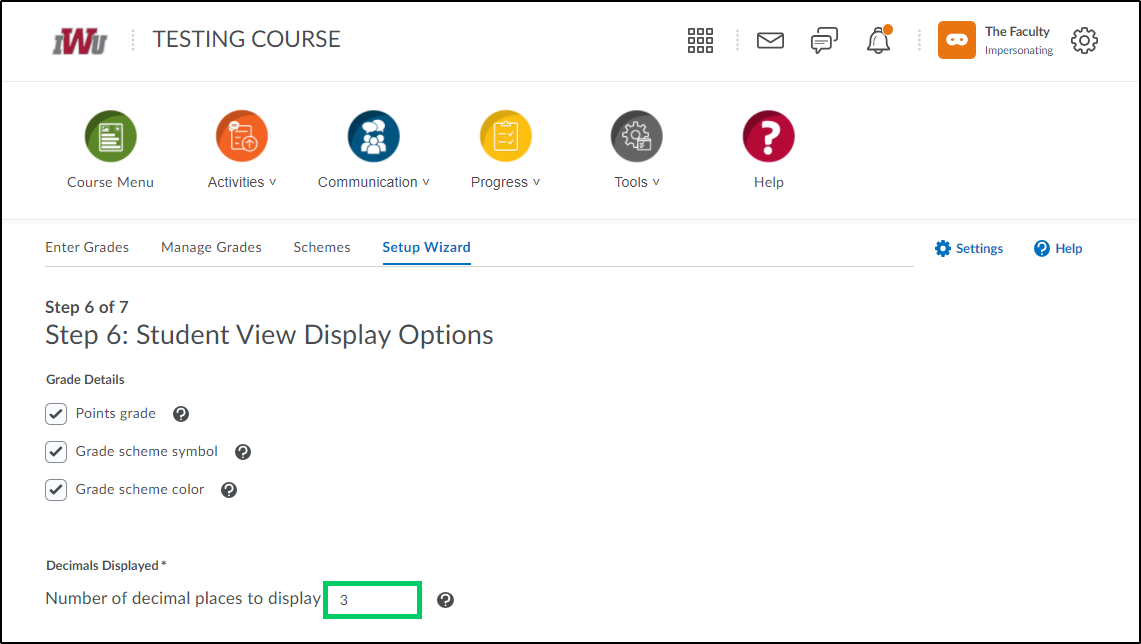
12b. In the "Decimals Displayed" section, decide how many decimal places to display to the student by entering a number in the "Number of decimal places to display". This can be different from the decimal places to be displayed to faculty in Step 5.
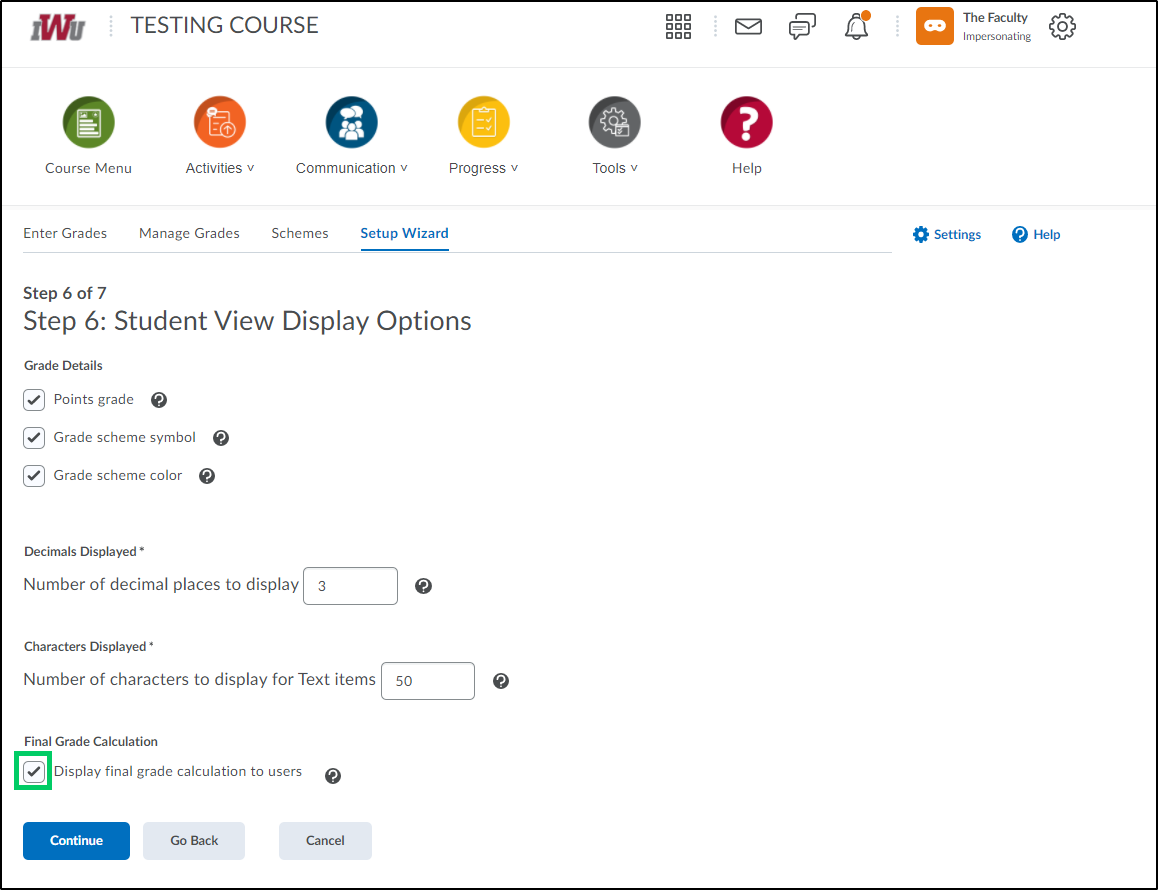
12c. In the "Characters Displayed" section, determine how many characters to display on the user list by entering a number between 0 and 50 within the "Number of characters to display for Text items".

12d. In the Final Grade Calculation section, place a checkmark within the "Display final grade calculation to user" checkbox to determine whether or not students can see how their final grade was calculated in the student view of Grades.
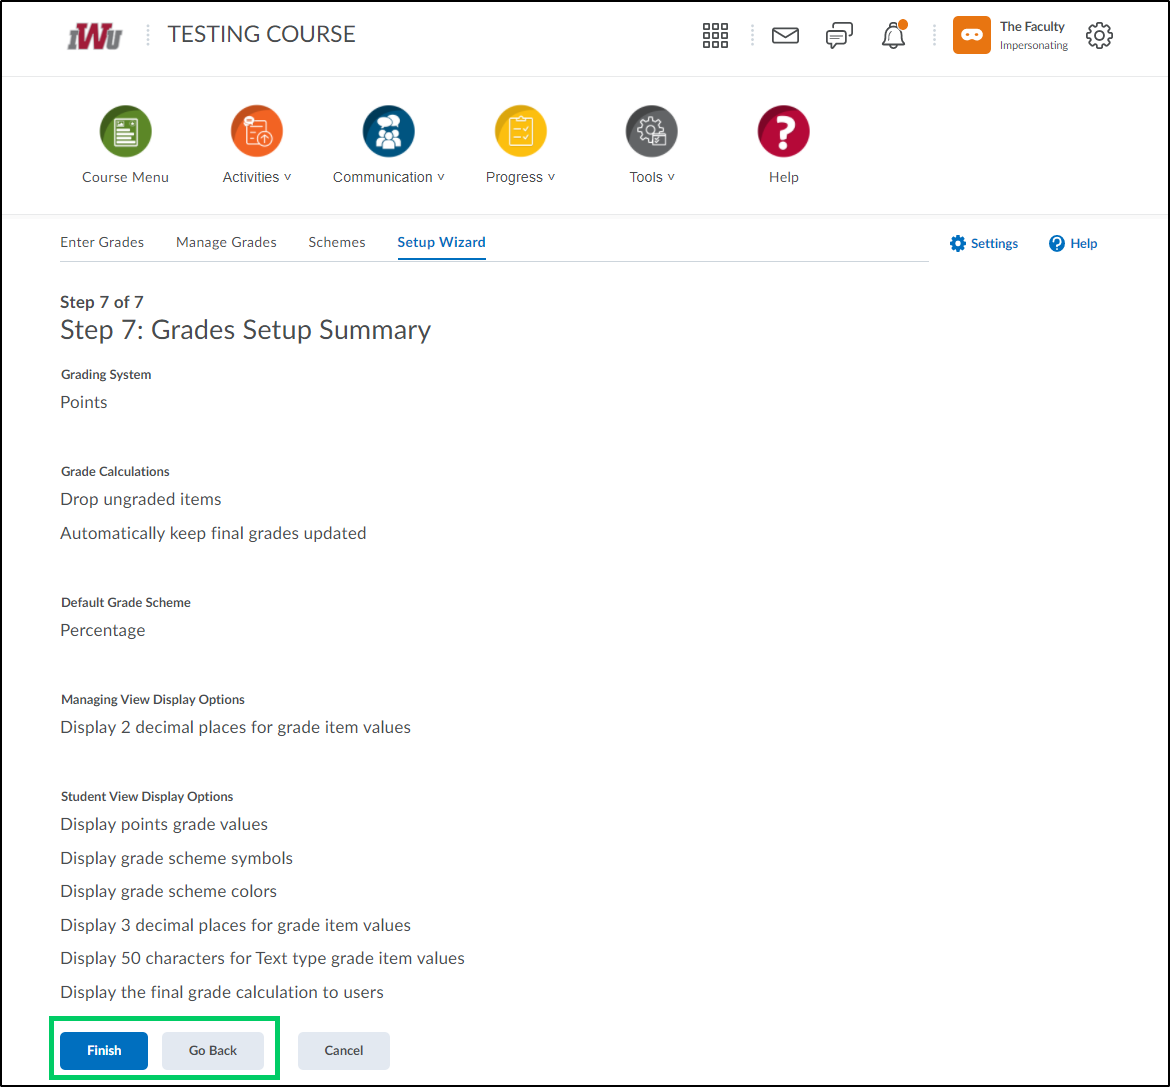
13. In Step 7, a summary of the choices made within steps 1-6 will be displayed. If all choices are as desired, select the "Finish" button. If the Finish button is not selected, changes will not be saved. If additional changes need to be made, select the "Go Back" button and make adjustments in any of the previous steps.