How to Create and Set Up Groups
Goal
After completing this how-to you will the knowledge needed to create groups in Brightspace. Groups are a means of organizing learners within a course offering into smaller units. For more information on other Brightspace Tools, see the Tools topic page.
Navigation
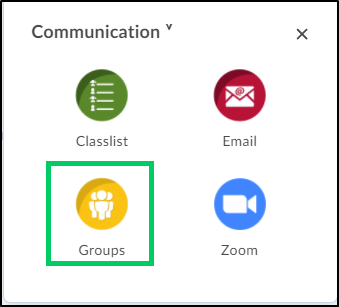
1. Select the "Communication" icon from the course navbar.

2. From the "Communication" menu, select "Groups".
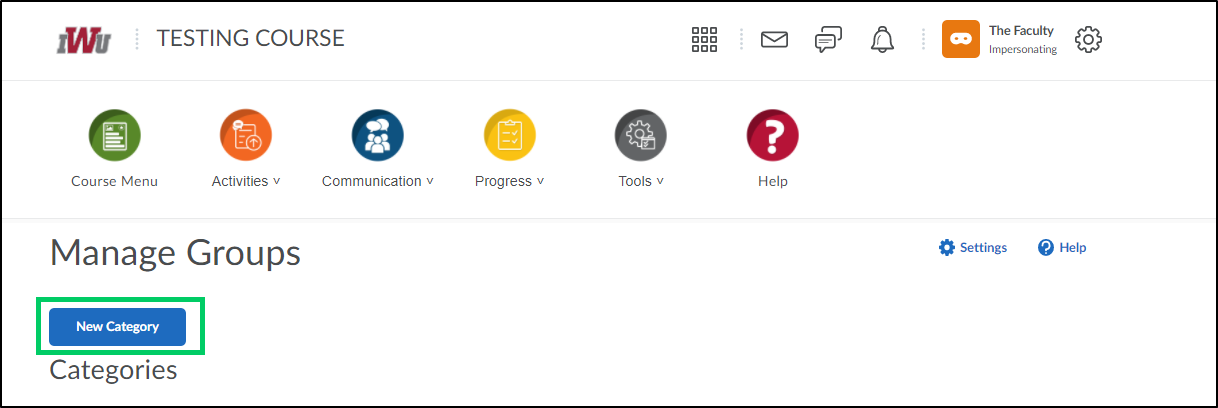
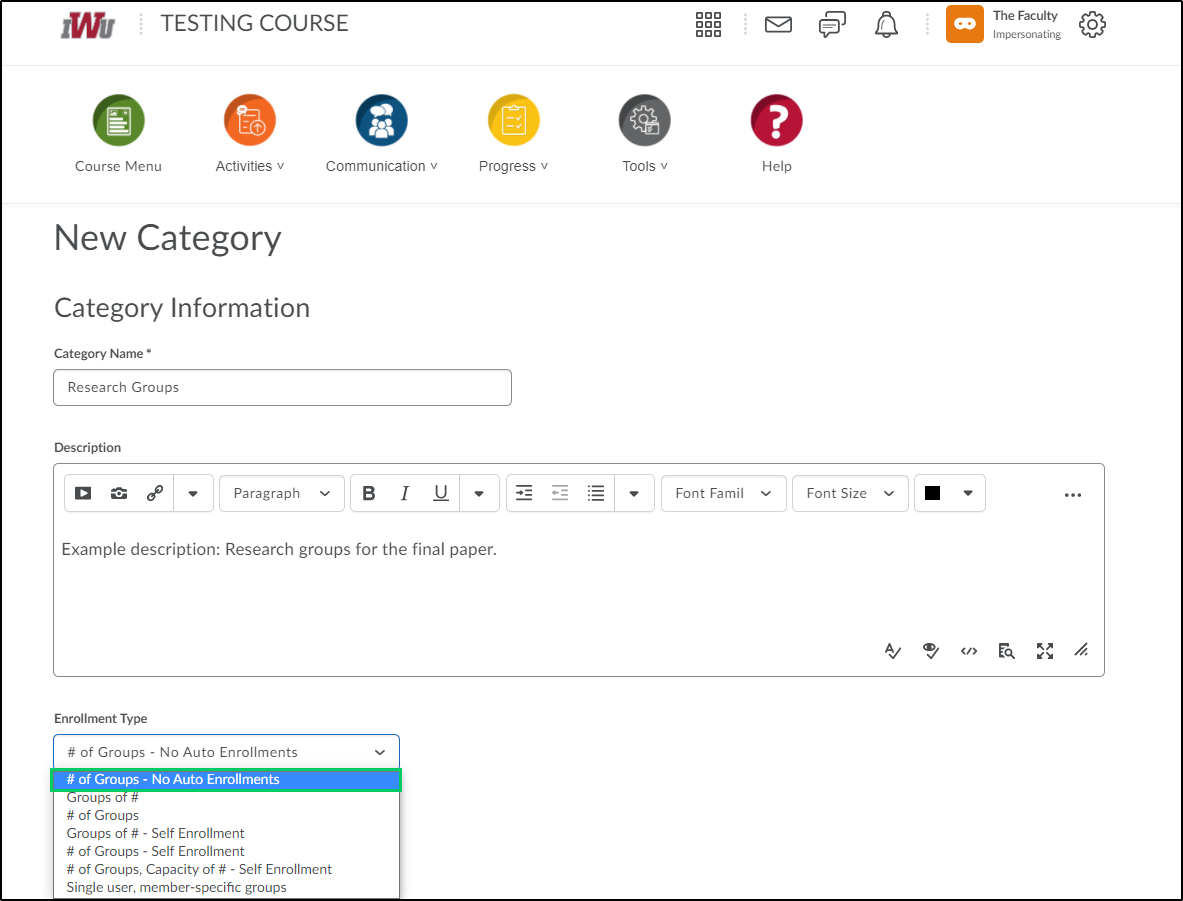
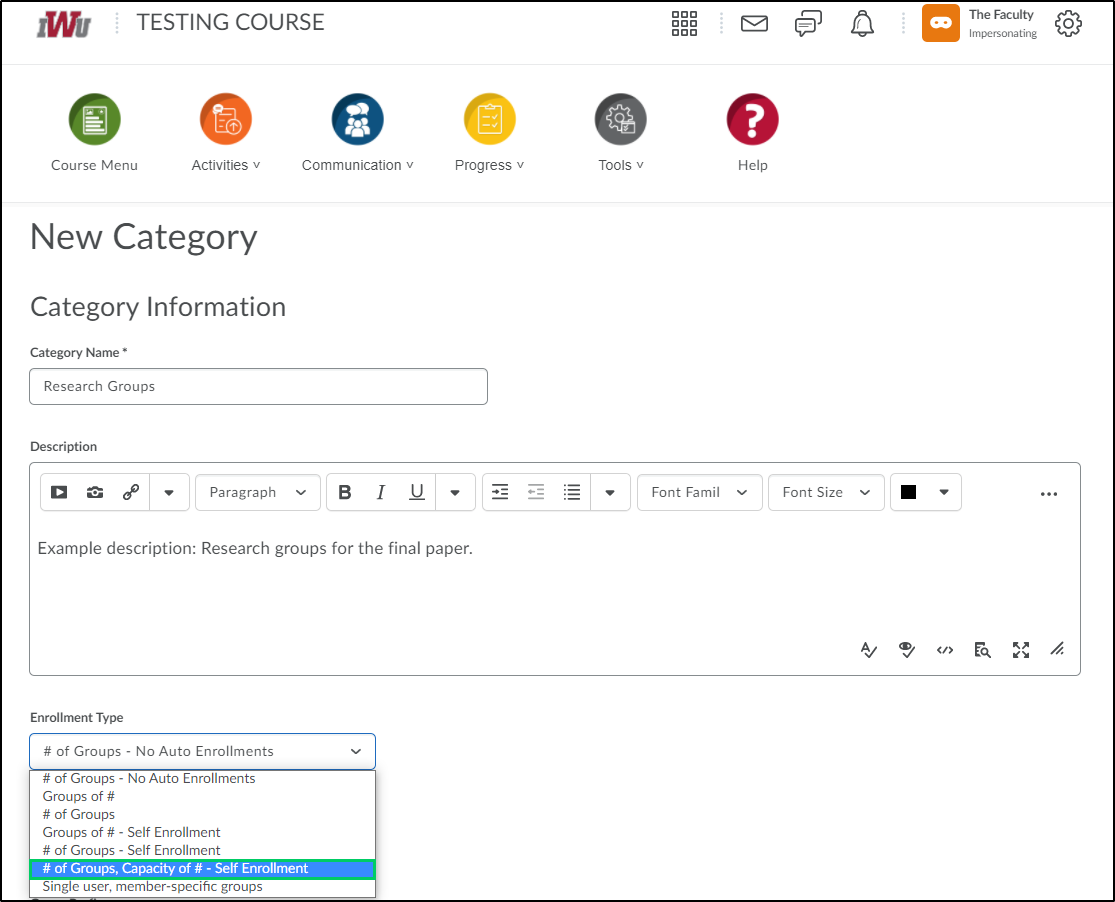
3. To create a new group, select the "New Category" button.
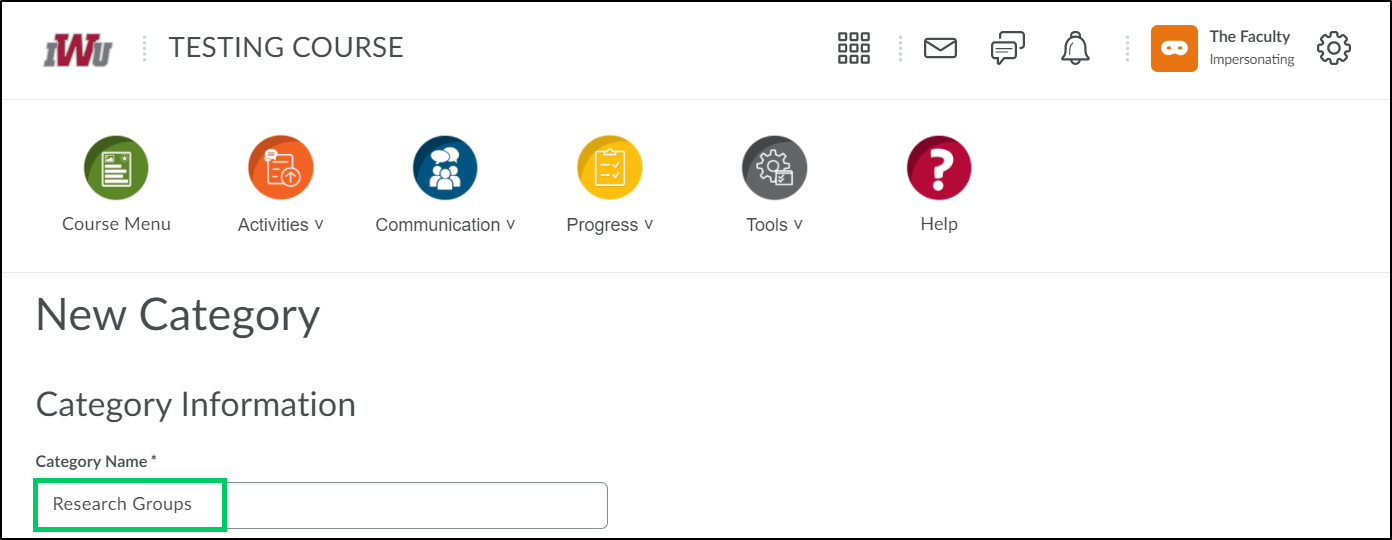
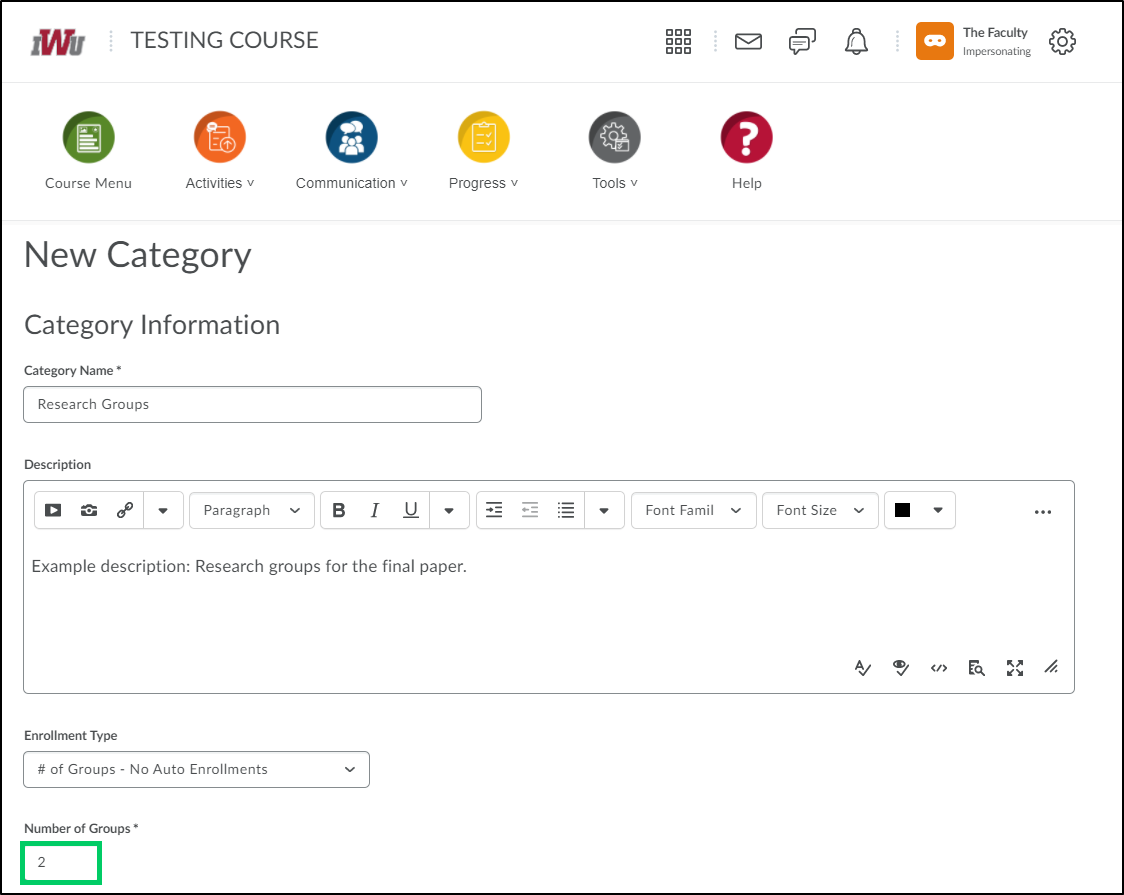
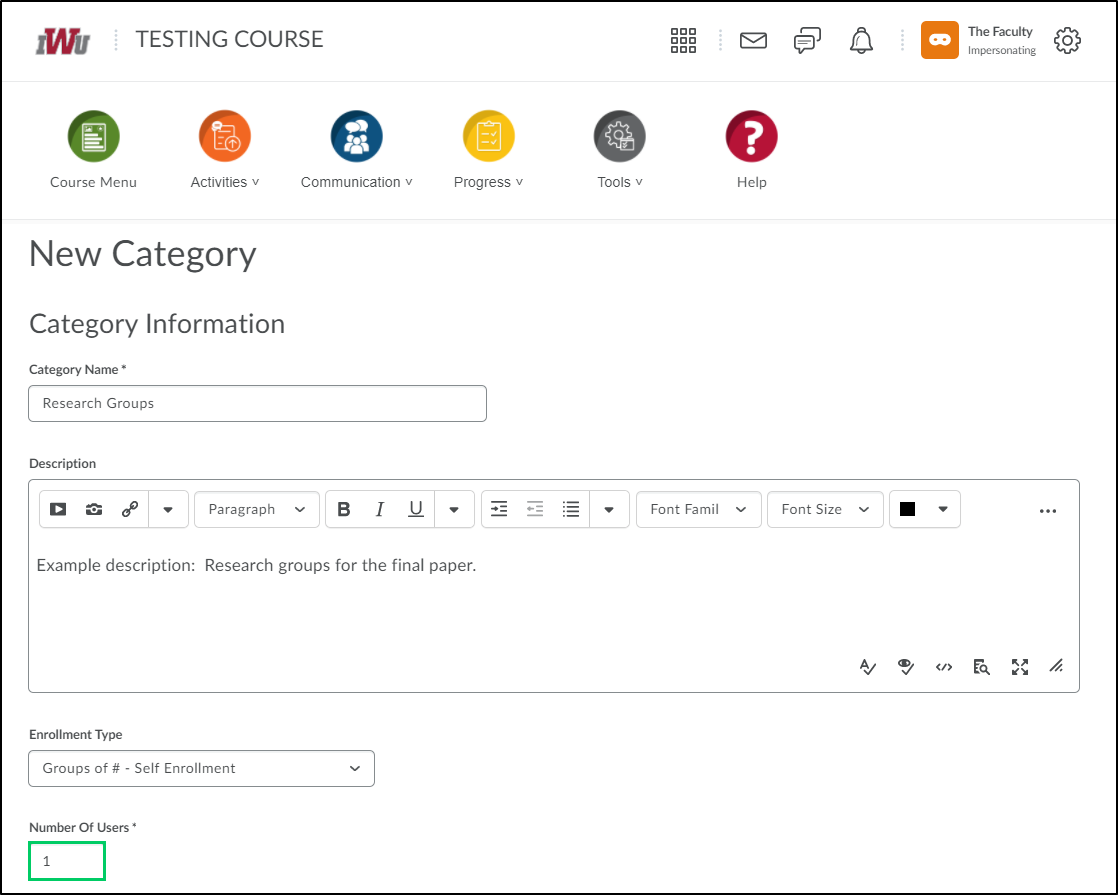
4. In the "Category Name" field, enter a name for the category. The category name is generally the activity the group relates to.
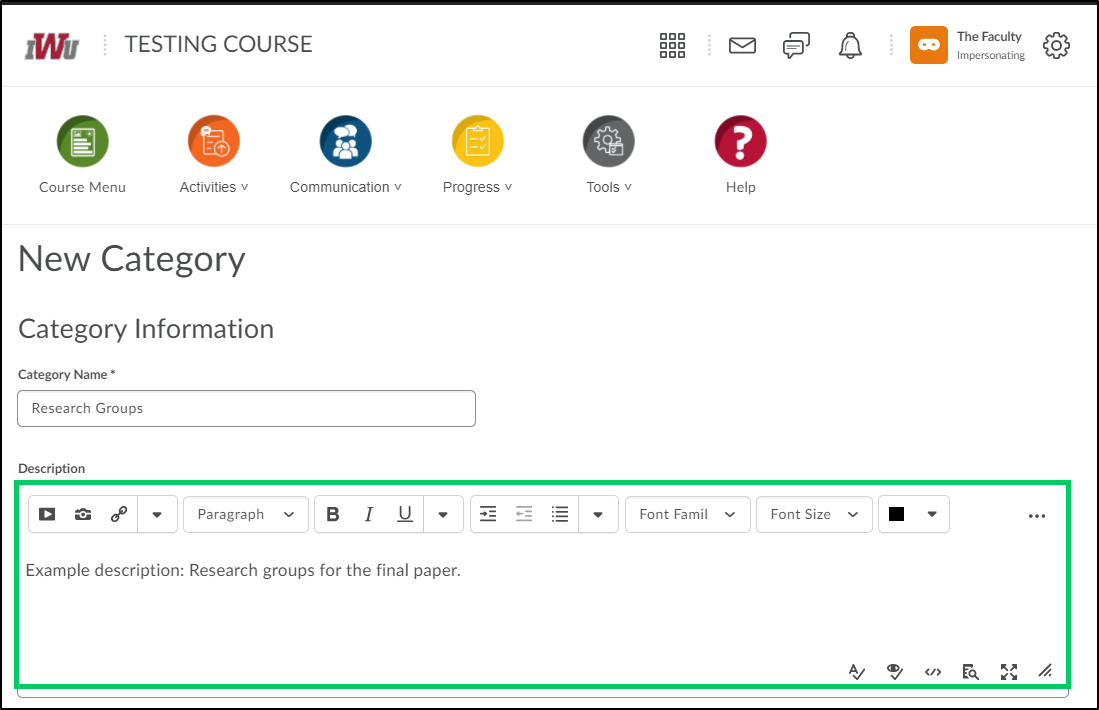
5. The "Description field is optional and can be used to describe the type of group or activity.
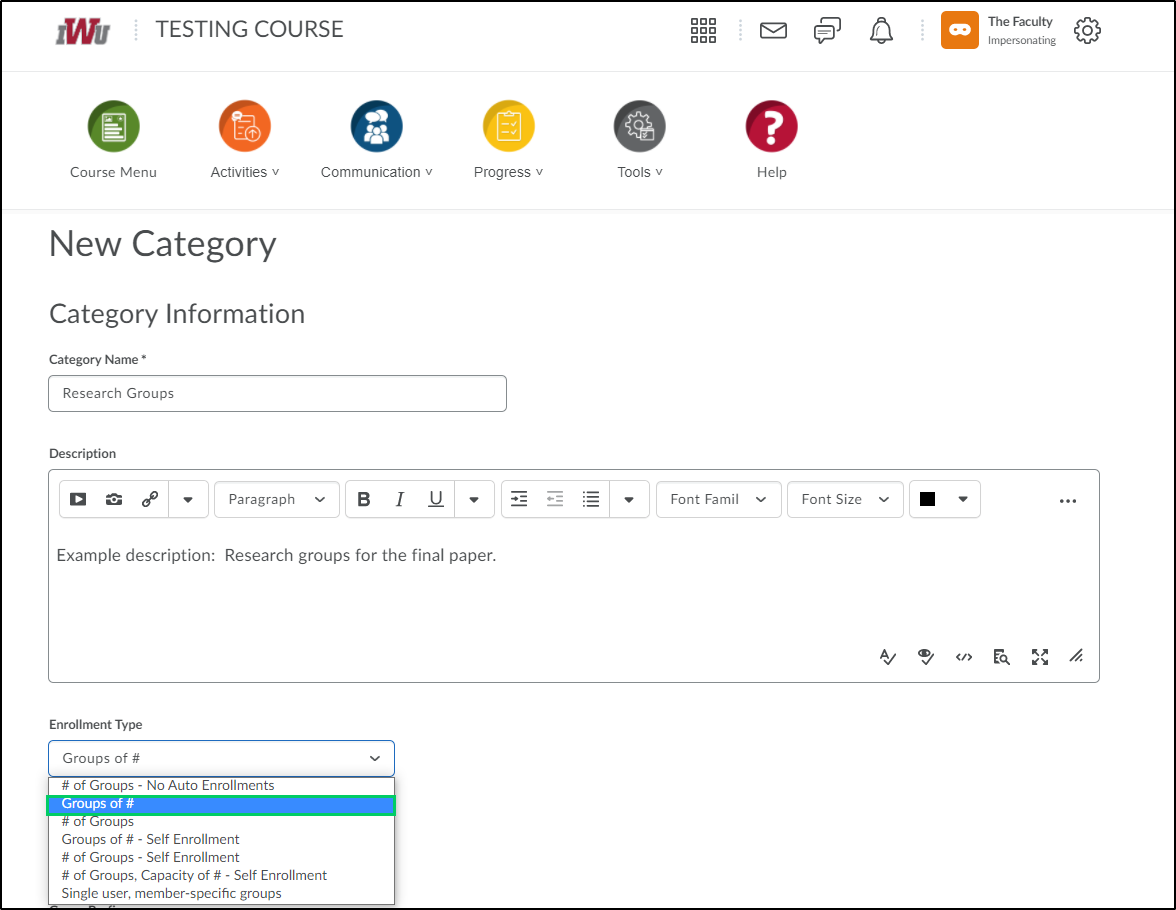
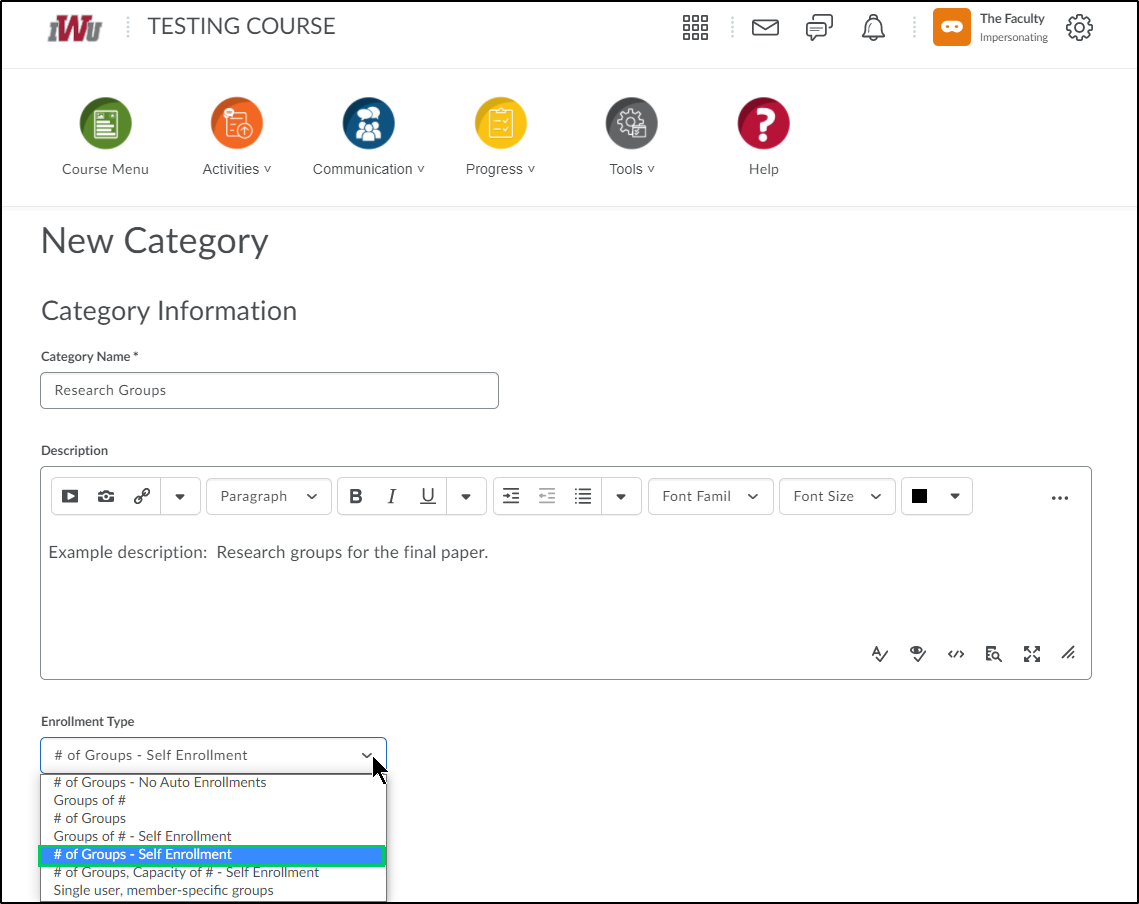
6. Choose the enrollment type from the dropdown menu. There are seven different enrollment types to choose from. An explanation of each of the enrollment types follows.

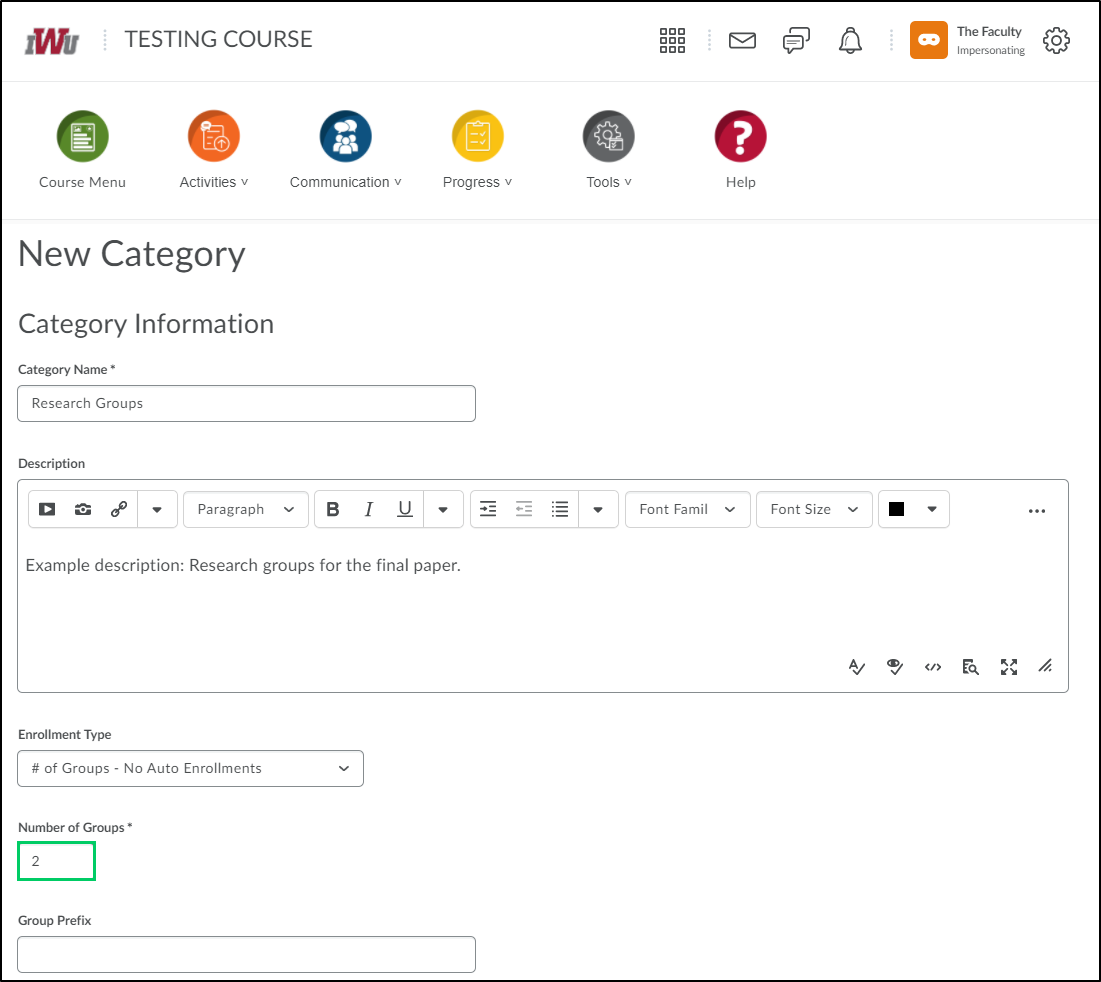
6a. # of Groups-No Auto Enrollments-Selecting this option creates a specified number of groups, which you can add any number of users to through the Enroll Users page. Use this enrollment type when you know how many groups you want to create and which users you want in each group. Select this option when you have a teaching model that divides course participants into specific learning levels or when you want to divide users by skill or interests.
i. By placing appropriate number in the "Number of Groups" field, you can designate how many groups that you will need.
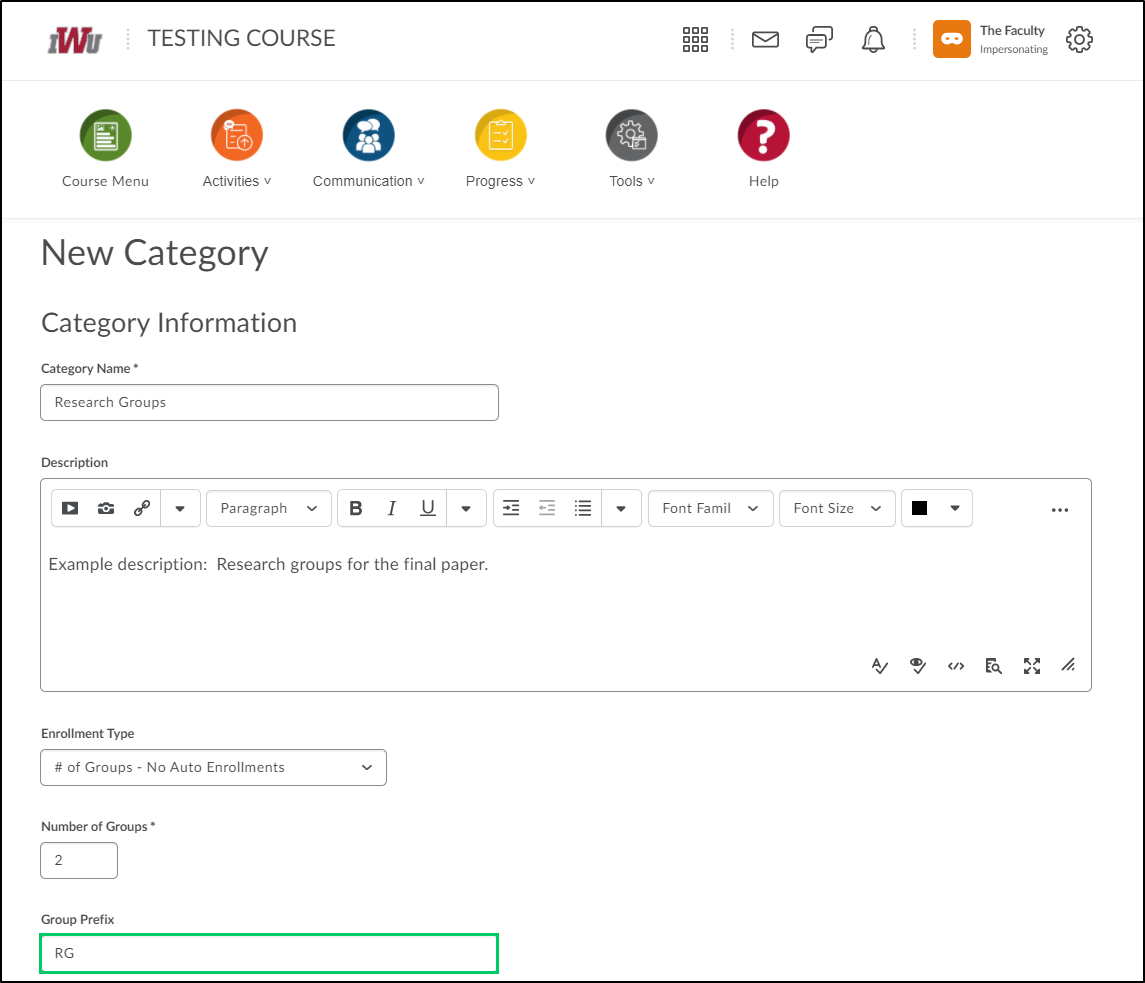
ii. The Group Prefix field is an optional field used to shorten the group name and allow for easier searching.
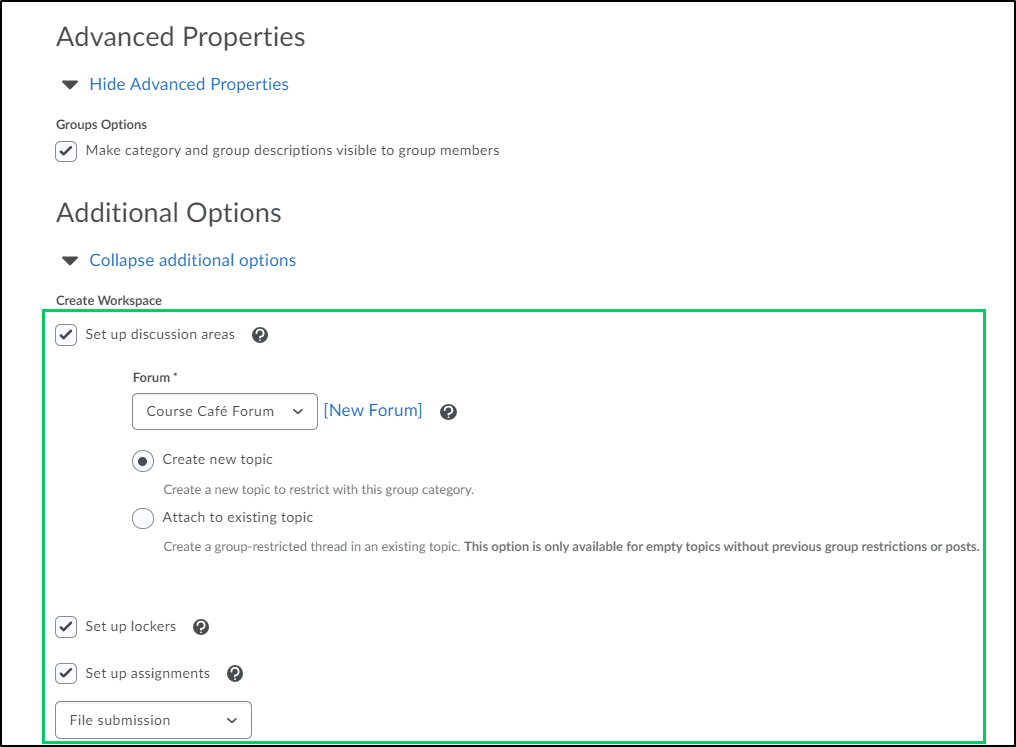
iii. Under the header Advanced Properties within the Group Options section, selecting the "Make category and group descriptions" allows for the category and group descriptions to be made visible to group members.

iv. Under the Additional Options header and within the Create Workspace section, selecting the checkbox beside "Set up discussion areas, Set up lockers, or Set up assignments" will allow you to select which tools you wish to auto-set up for the groups.
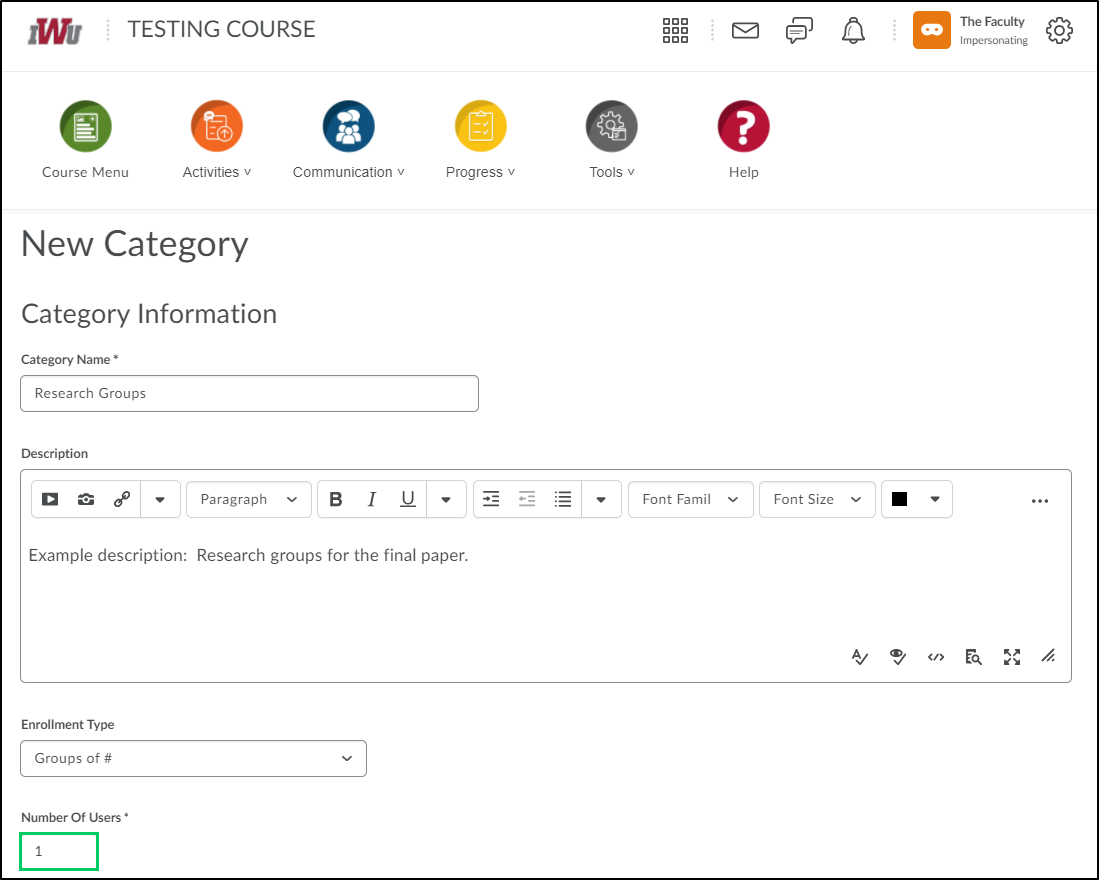
6b. Groups of #-Selecting this option creates the minimum number of groups needed to place users in groups of a specified maximum size. More groups are created when they are needed to accommodate users. Use this enrollment type when you know how many users you want in each group. Select this option when you have assignments that require work to be divided between a specific number of users, or when you can only accommodate a set number of users in a lab or work area at one time. **NOTE** Steps that are not shown indicate that the step has been reviewed in a previous enrollment type.
i. By placing appropriate number in the "Number of Users" field, you can designate how many users should be in each group.
ii. Under the Advanced Properties header within the Group Options section, there are three selections that can be made by selecting the appropriate checkbox. By selecting "Auto-enroll new users", new users that are enrolled in the course after the groups have been set up are automatically enrolled into the group with the fewest users. Selecting the "Randomize users in group" enrolls users in a random order. Not selecting this option enrolls users based on their order in the classlist. The third selection, "Make category and group descriptions", allows for the category and group descriptions to be made visible to group members.

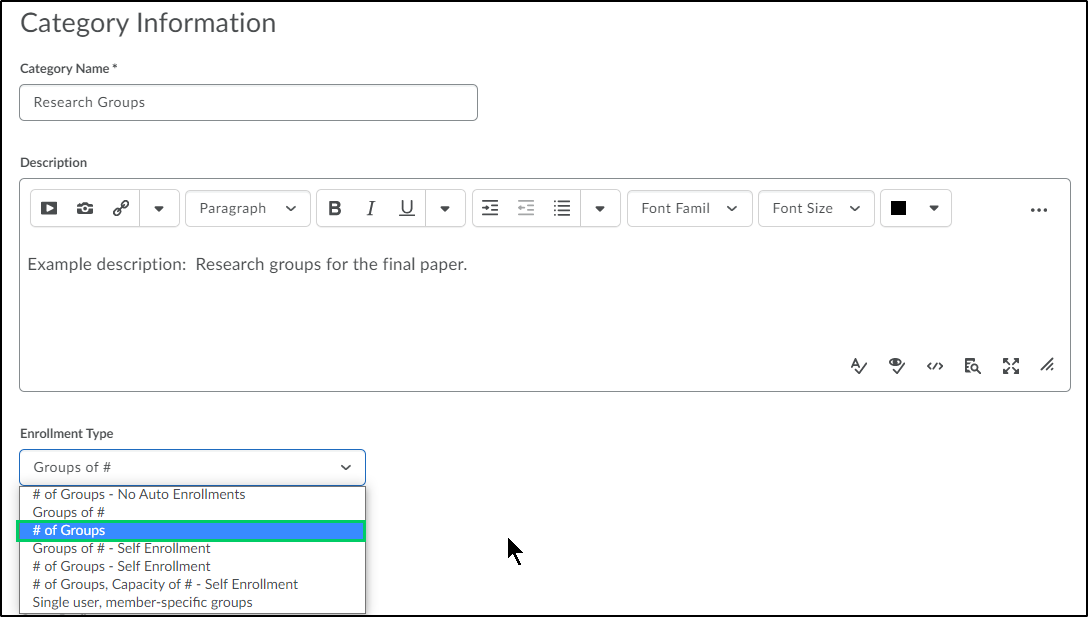
6c. # of Groups-Selecting this option creates a specified number of groups. Use this enrollment type when you know how many groups you want to create, but want the system to place users in groups for you. Select this option when you want the group membership to be indiscriminate, or when classroom, resource, or teaching assistant availability restricts the number of groups you can have.
i. Under the Advanced Properties header within the Group Options section, there are three selections that can be made by selecting the appropriate checkbox. By selecting "Auto-enroll new users", new users that are enrolled in the course after the groups have been set up are automatically enrolled into the group with the fewest users. Selecting the "Randomize users in group" enrolls users in a random order. Not selecting this option enrolls users based on their order in the classlist. The third selection, "Make category and group descriptions", allows for the category and group descriptions to be made visible to group members.
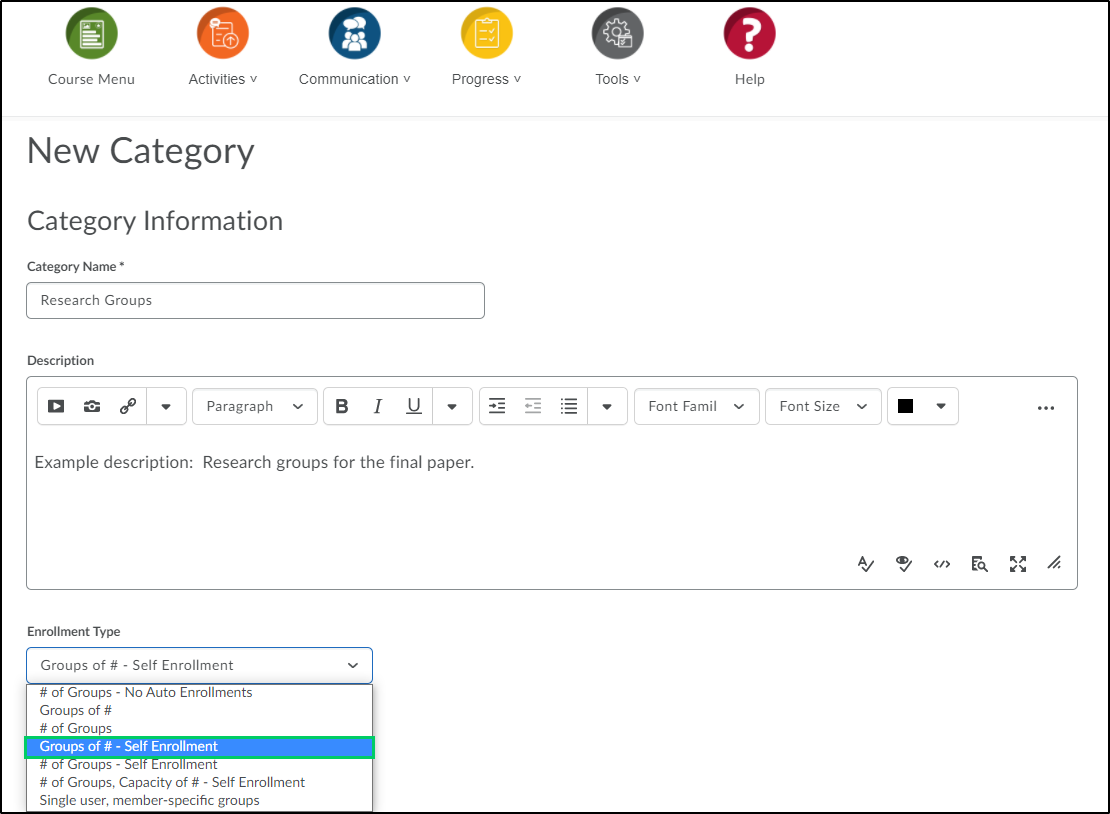
6d. Groups of # - Self Enrollment-Selecting this option creates a specified number of groups, which users enroll in from the Groups page. Use this enrollment type when you want to make a specific number of groups available for users to join. Select this option when you want to organize groups on specific topics, which users can join based on interest, or for creating groups that are responsible for specific aspects of a larger project, which users can join based on knowledge or task preferences.
i. By placing appropriate number in the "Number of Users" field, you can designate how many users should be in each group.
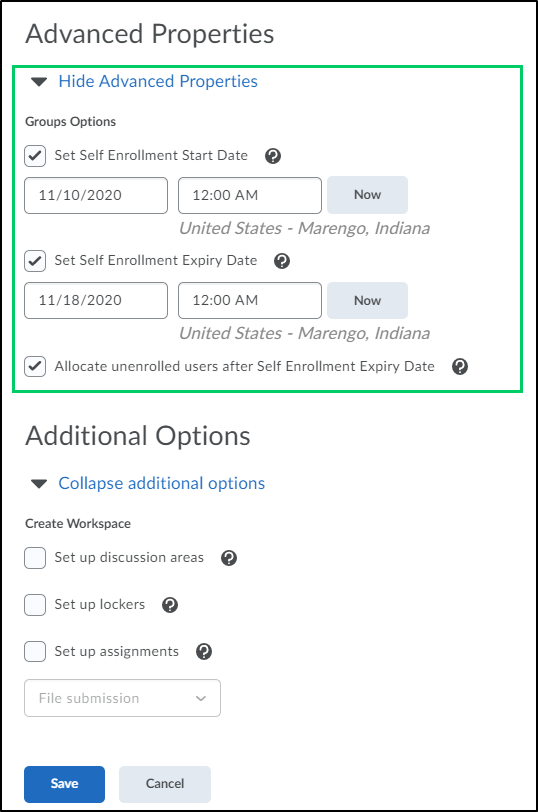
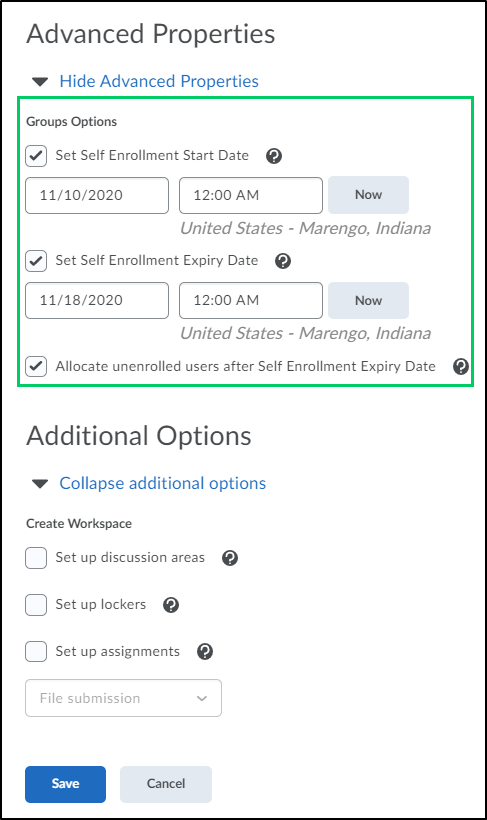
ii. Under the Advanced Properties header within the Group Options section, there are three selections that can be made by selecting the appropriate checkbox. By selecting " Set Self Enrollment Start Date" and entering a specific start date, users will be to see the available groups, but unable to self-enroll prior to the start date. Selecting the "Set Self Enrollment Expiry Date" and entering a specific expiration date, users will be able to see the available groups but unable to self-enroll prior to the start date or after the expiry date. Selecting "Allocate unenrolled users after Self Enrollment Expiry Date" will automatically and randomly assign students to a group if they are not already assigned by the expiry date provided.
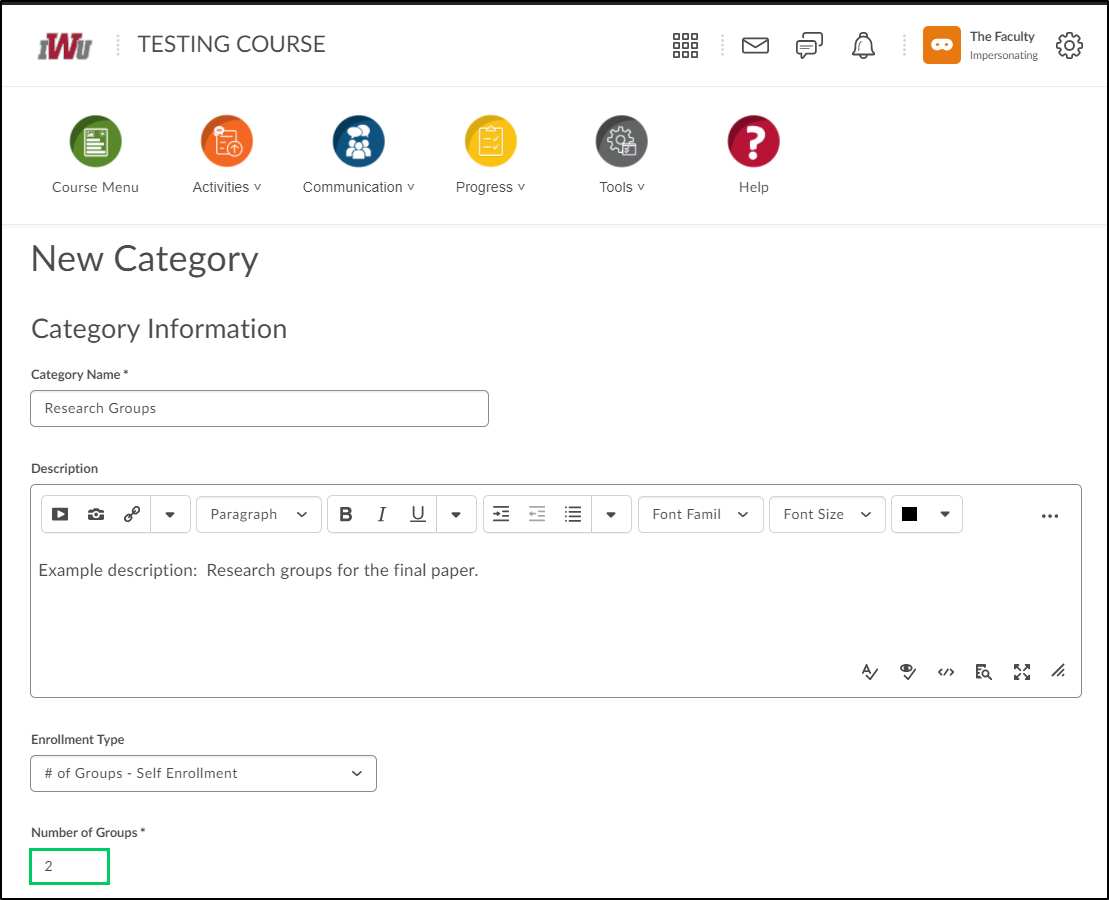
6e. # of Groups - Self Enrollment-Selecting this option creates a specified number of groups, which users enroll in from the Groups page. Use this enrollment type when you want to make a specific number of groups available for users to join. Select this option when you want to organize groups on specific topics, which users can join based on interest, or for creating groups that are responsible for specific aspects of a larger project, which users can join based on knowledge or task preferences.
i. By placing appropriate number in the "Number of Groups" field, you can designate how many groups that you will need.
ii. Under the Advanced Properties header within the Group Options section, there are three selections that can be made by selecting the appropriate checkbox. By selecting " Set Self Enrollment Start Date" and entering a specific start date, users will be to see the available groups, but unable to self-enroll prior to the start date. Selecting the "Set Self Enrollment Expiry Date" and entering a specific expiration date, users will be able to see the available groups but unable to self-enroll prior to the start date or after the expiry date. Selecting "Allocate unenrolled users after Self Enrollment Expiry Date" will automatically and randomly assign students to a group if they are not already assigned by the expiry date provided.
6f. # of Groups, Capacity of # - Self Enrollment-Selecting this option creates a specified number of groups with a specified number of enrollments per group. Users choose the group they want to enroll in from the Groups page. Use this enrollment type whey you know how many users you want in each group, you want to allow users to choose their own groups, and you want each group to have a maximum number of users. Select this option when you want user to choose their groups based on areas of interest or responsibility in larger projects, but you want to limit membership in each group to a certain number of users.
i. By placing appropriate number in the "Number of Groups" field, you can designate how many groups that you will need.
6g. Single user, member-specific groups-Using this option creates a group with a single user where the first name and last name of the learner is the name of the group. When a new learner is enrolled in the course a group is automatically created for them. Select this option when you want to create journal type groups with a single member.
