How to Set up a Checklist within a Course
Goal
After completing this how-to you will have knowledge needed to set up a checklist within a course. For more information on other Brightspace tools, see the Tools topic page.
Navigation
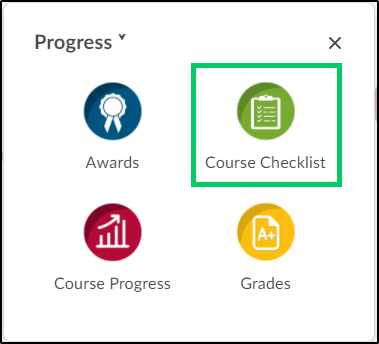
1. Select "Progress" from the course navbar.

2. From the "Progress" menu, select "Course Checklist".
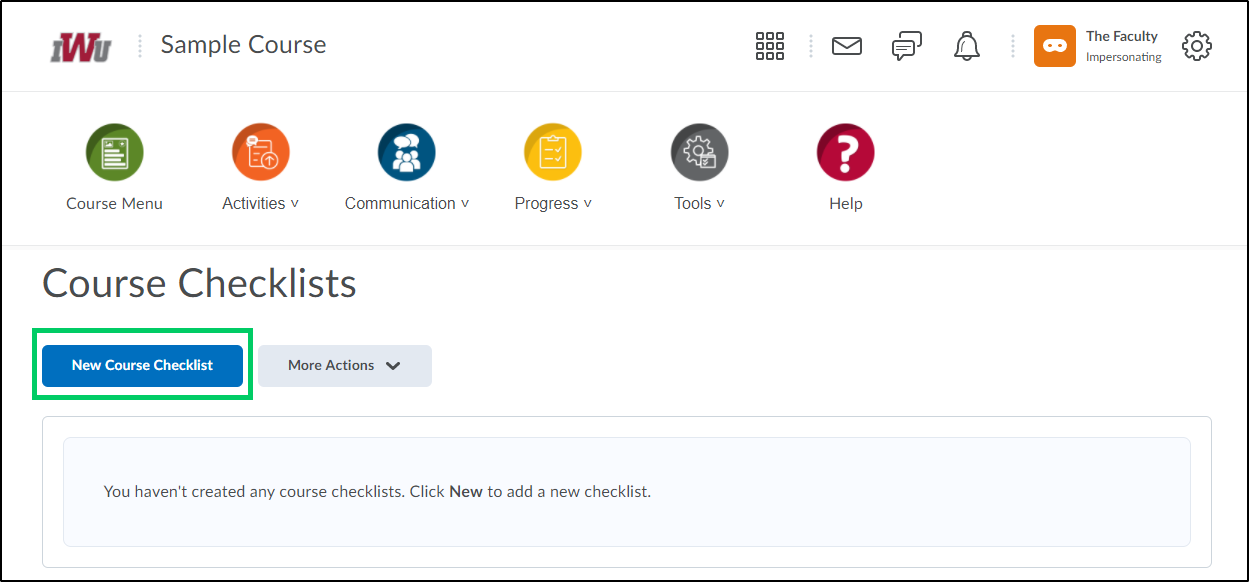
3. Select the "New Course Checklist" button.
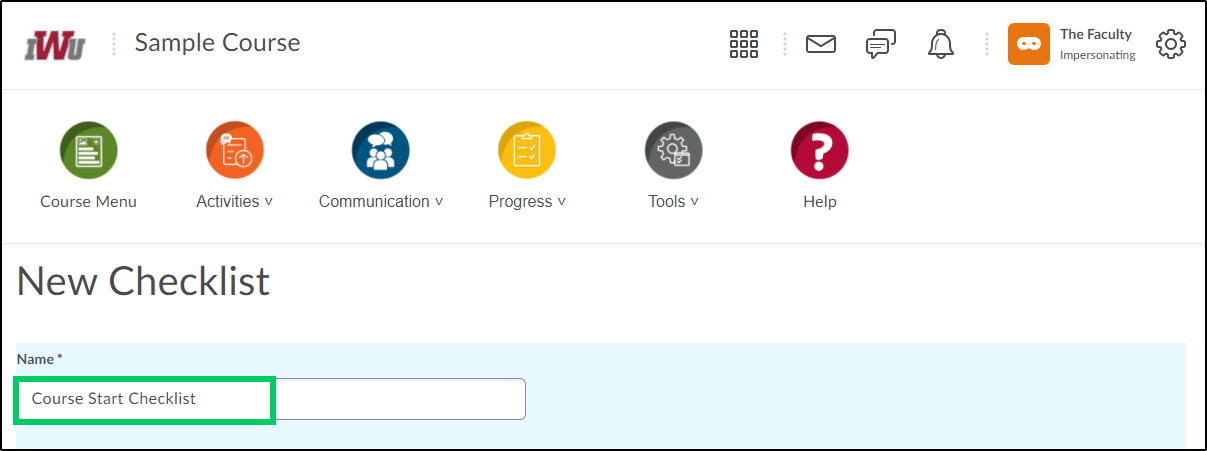
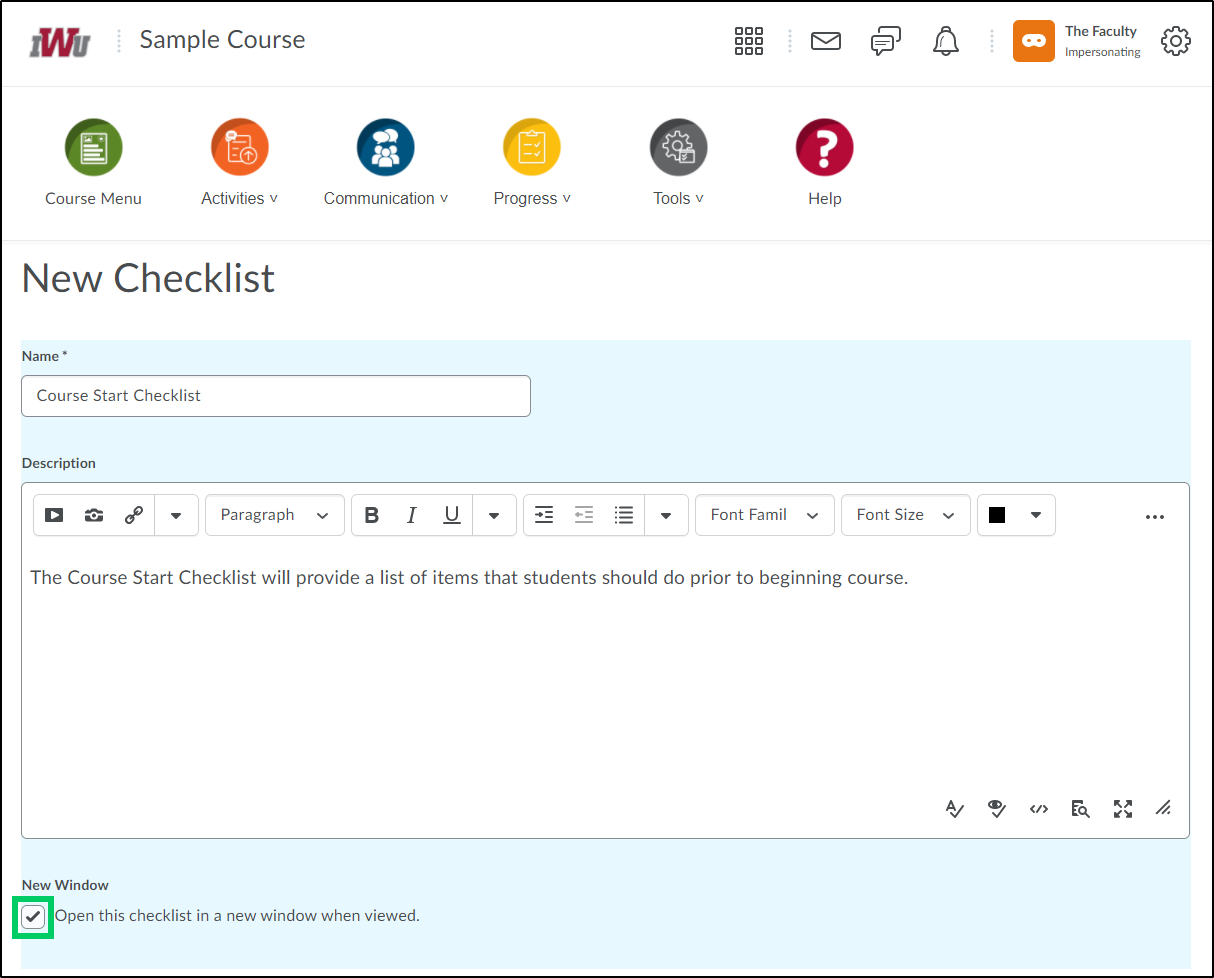
3a. Create a name for the checklist.
3b. Enter a description for the checklist into the text box. This is an optional field.

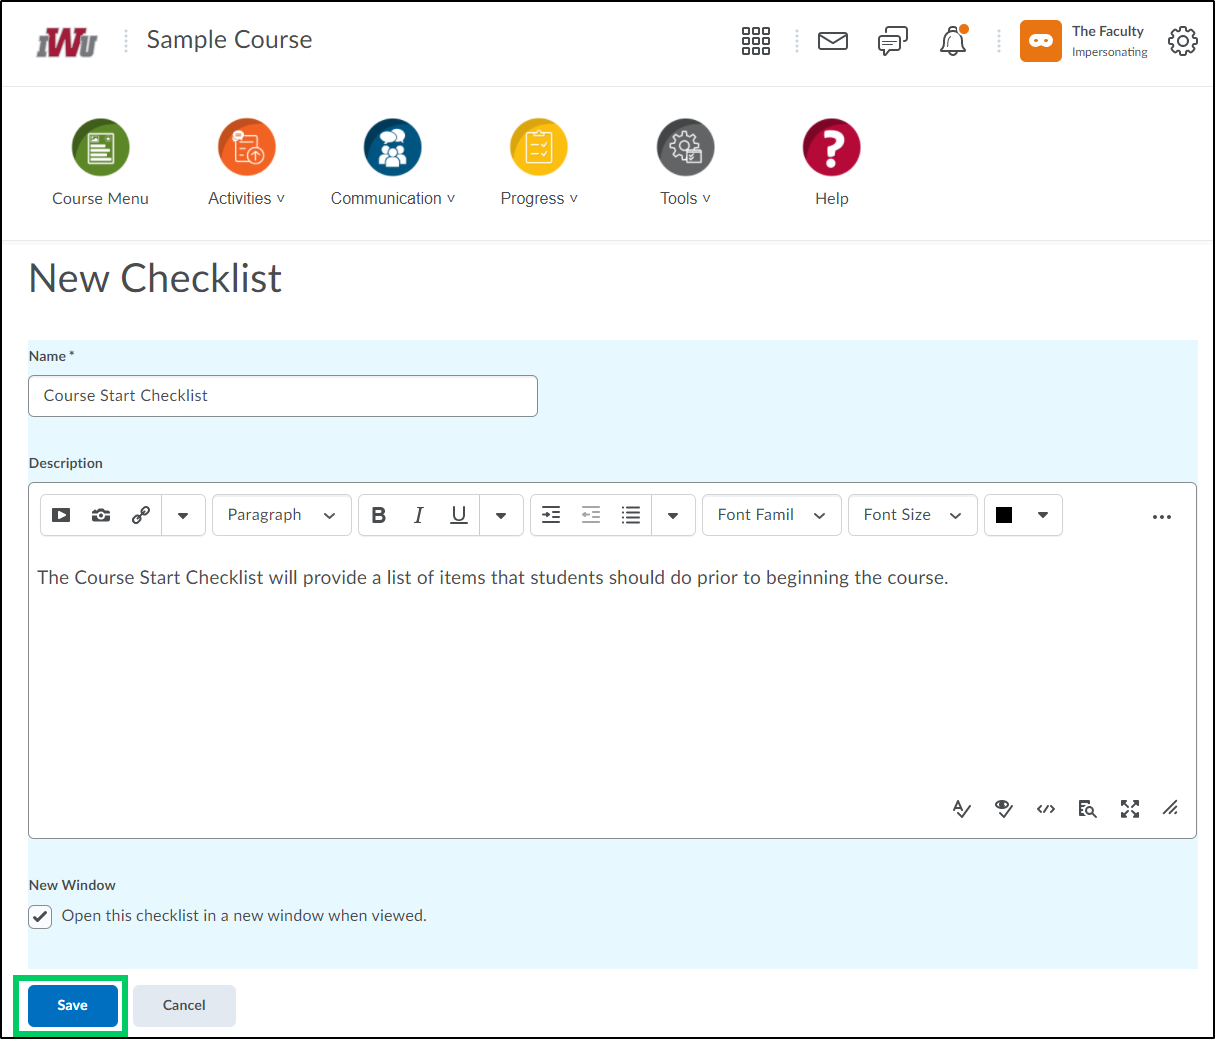
3c. If desired the checklist can be set up to open in a new window when viewed, this can be done by placing a checkmark in the "Open this checklist in a new window when viewed" checkbox.
3d. Select the "Save" button to save the checklist.
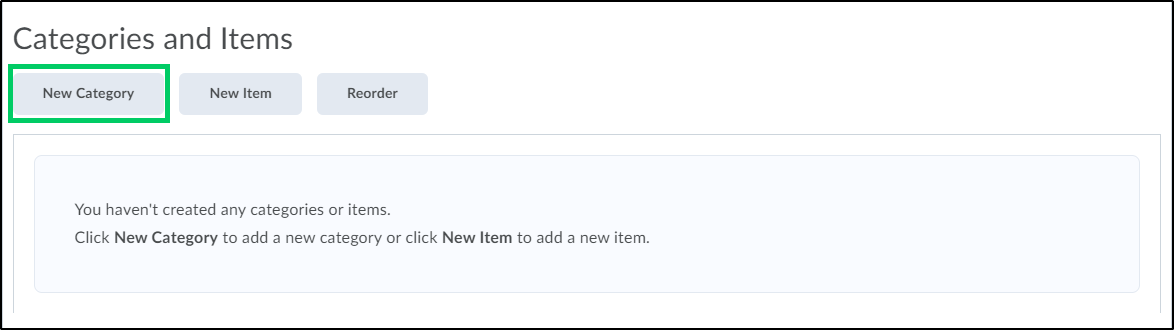
4. Once the checklist has been created, within the "Categories and Items" section create a category for the checklist by selecting the "New Category" button.
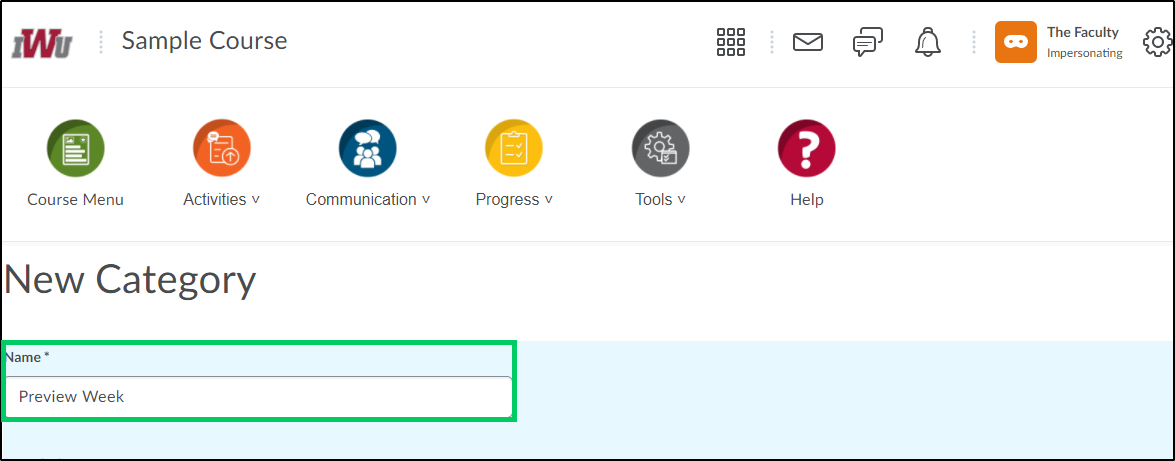
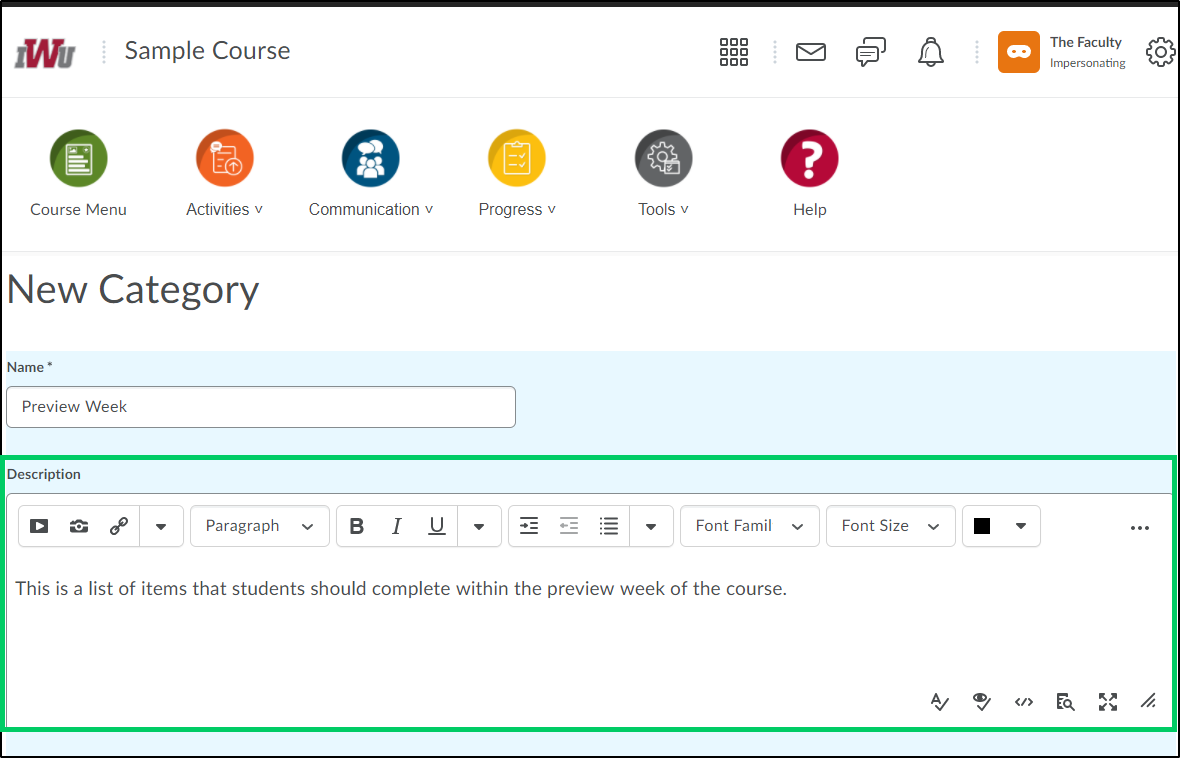
4a. Create a category name.
4b. Create a category description. This is an optional field.
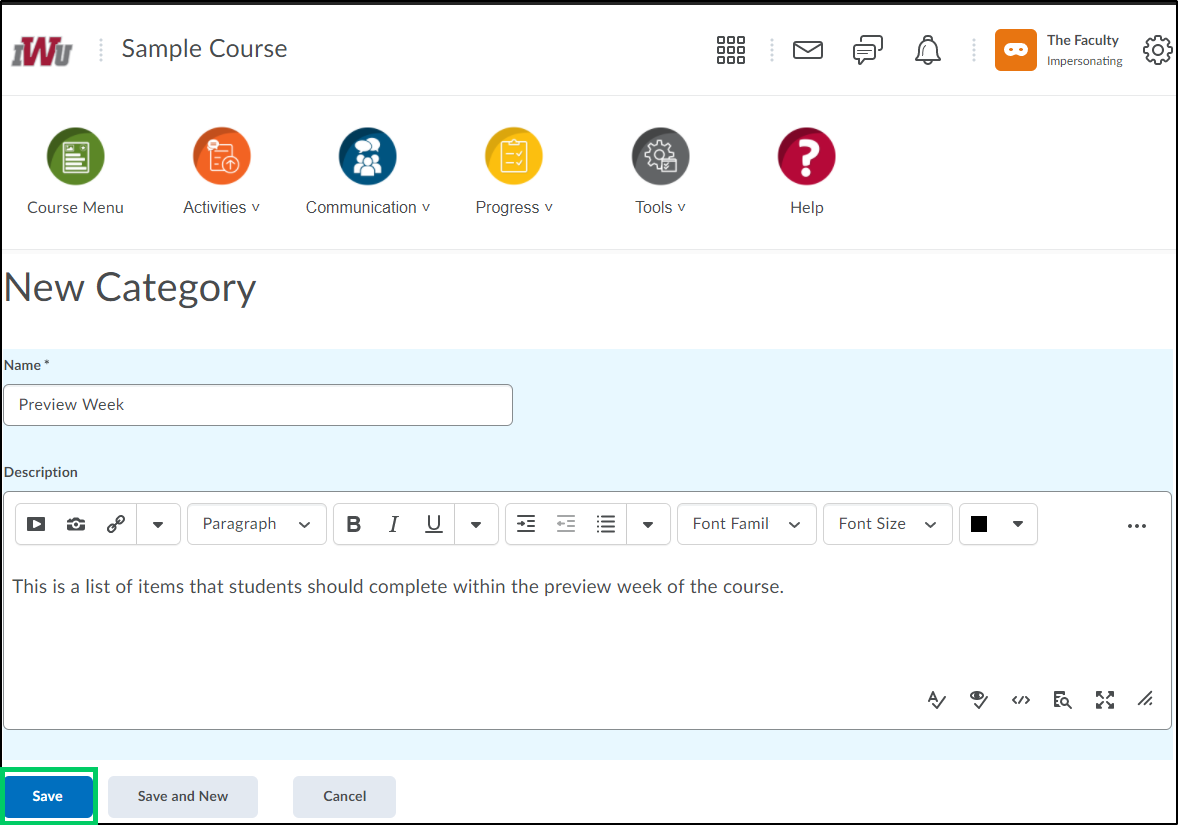
4c. Select the "Save" button to save the category information.
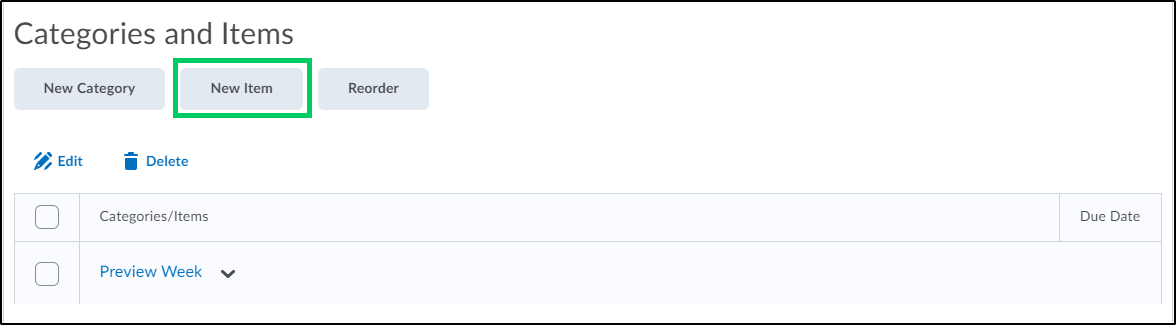
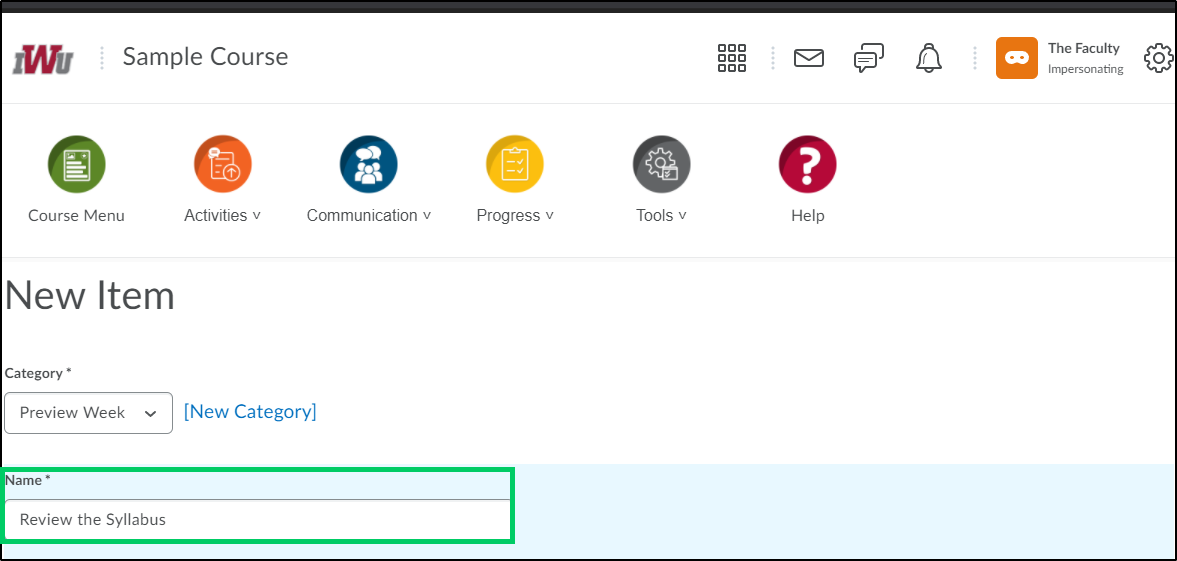
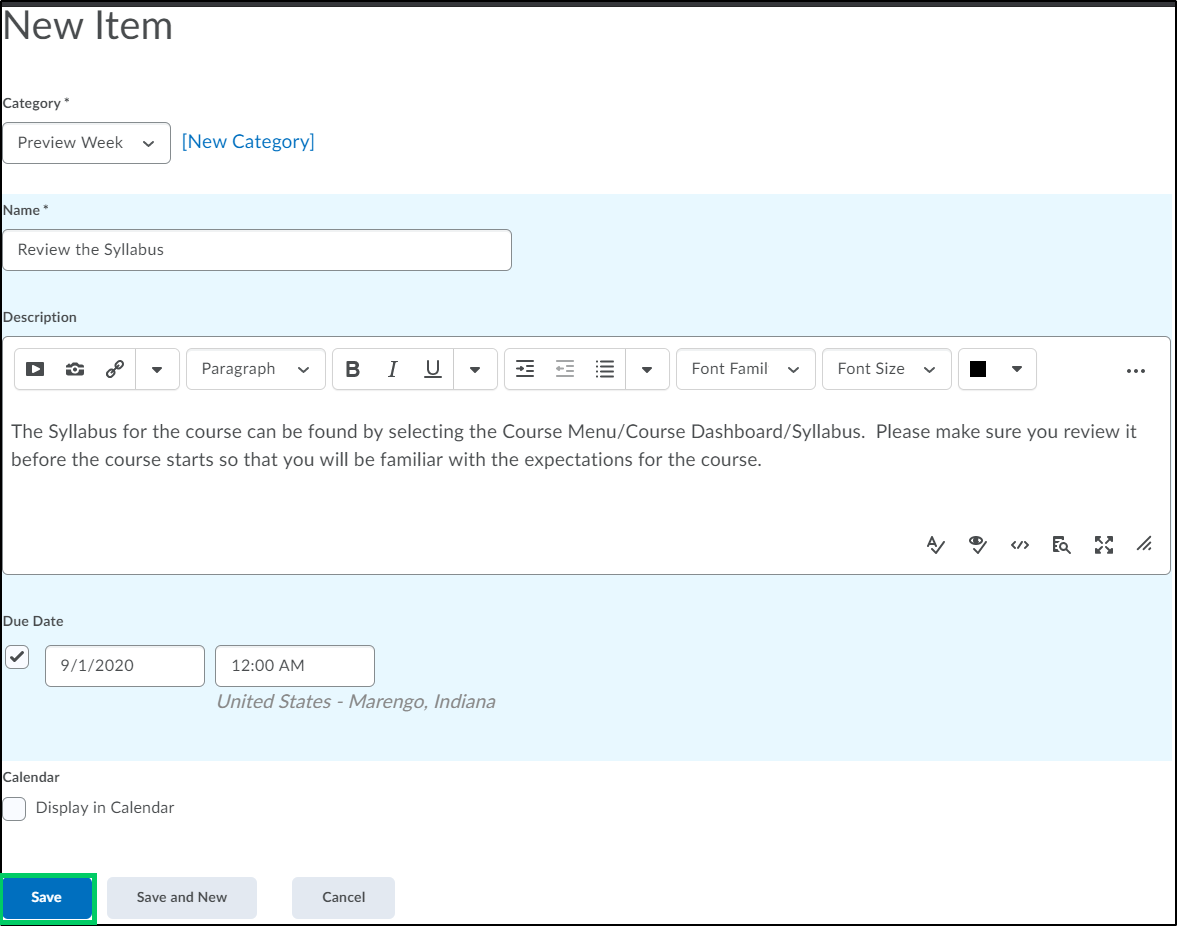
5. Select the "New Item" button to add an item within a category.
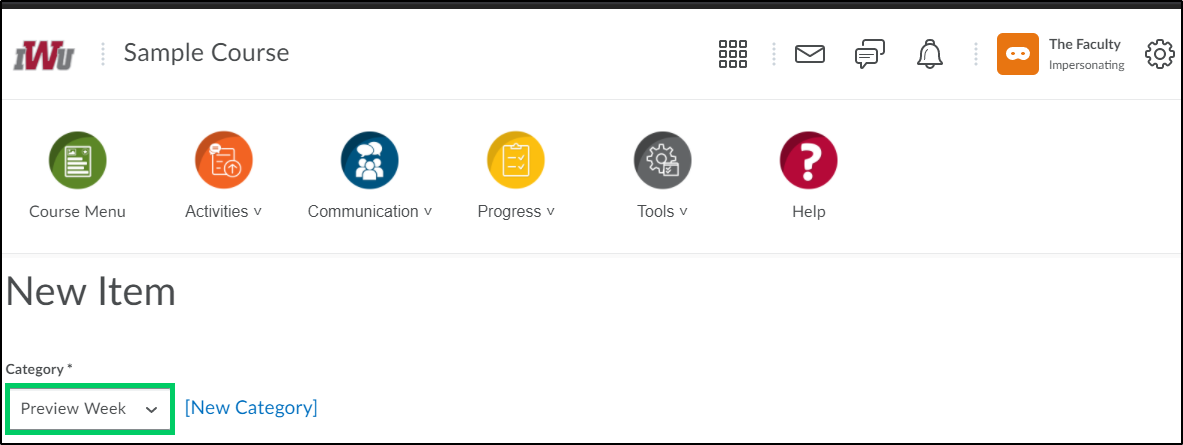
5a. Select the category that the item should be listed within. If there is only one category, the existing category will default in.
5b. Create a name for the item.
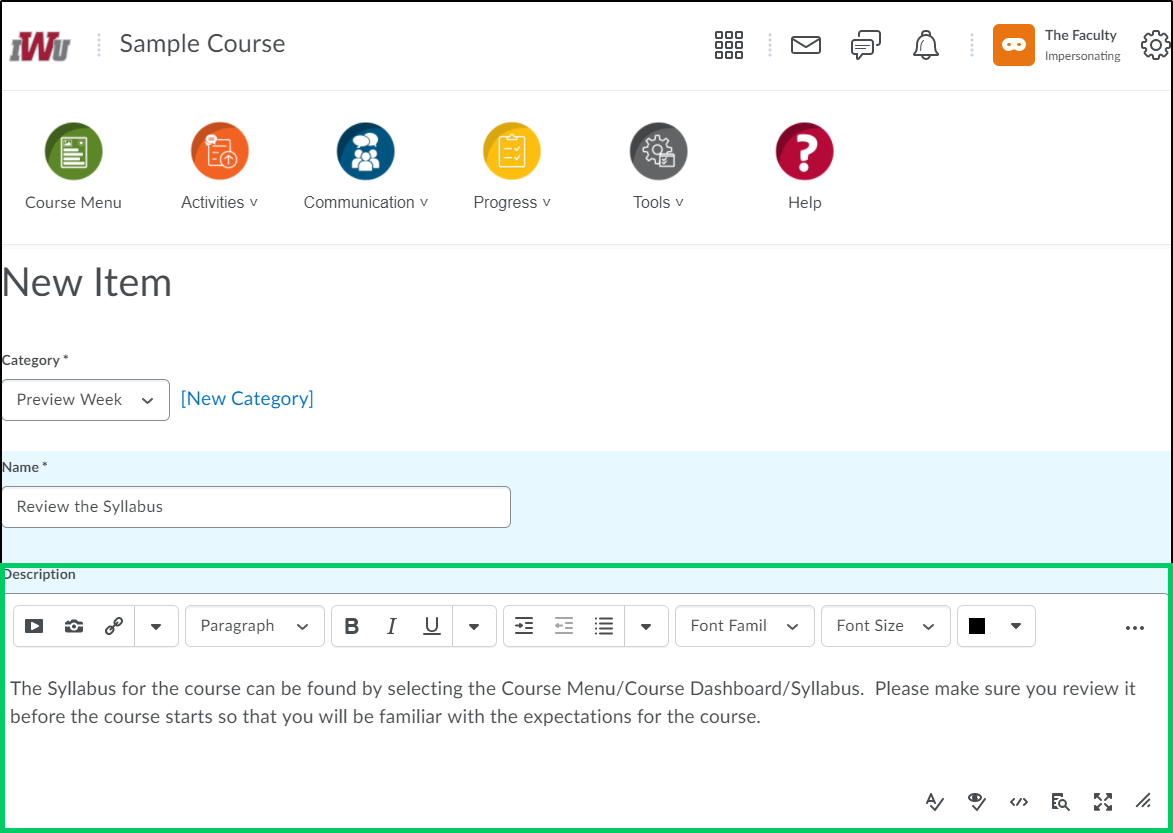
5c. Add a description for the item. This is an optional field.
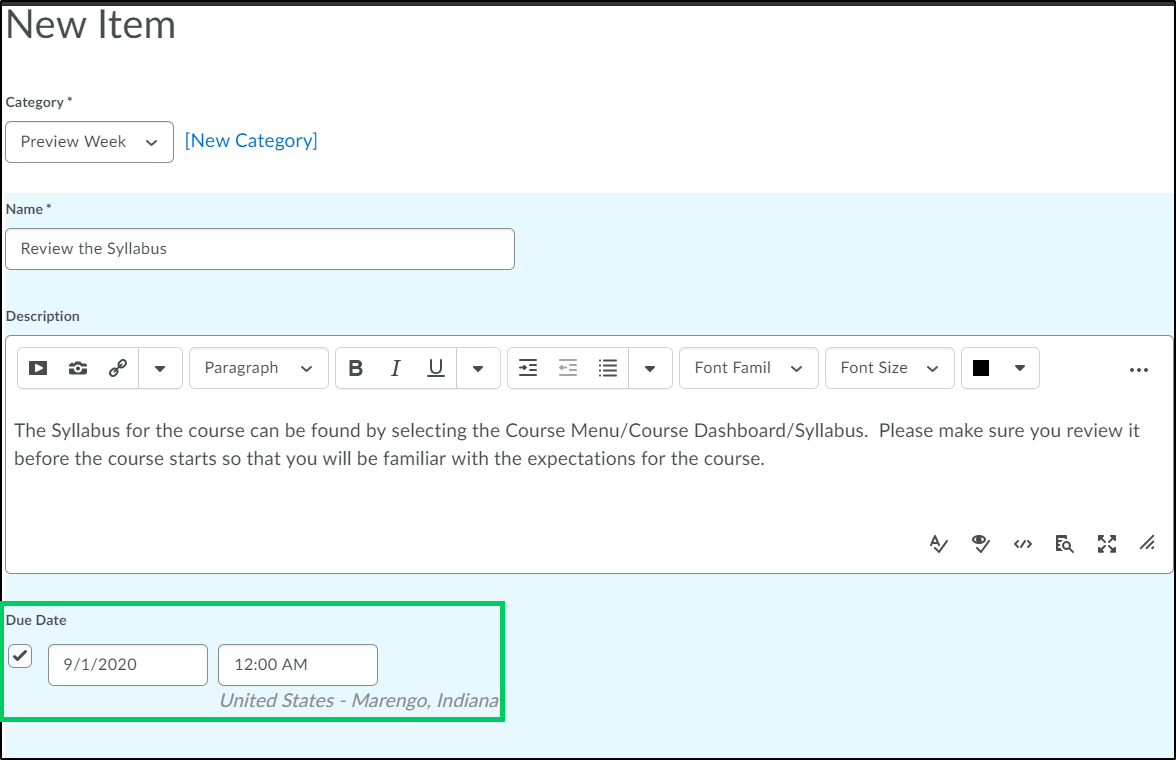
5d. If desired, a due date can be added to the item by selecting the "Due Date" checkbox and adding a date and time, if applicable.
5e. If the Calendar tool is being utilized, you may choose to add the due date for this item to the calendar, by selecting the "Display in Calendar" checkbox.
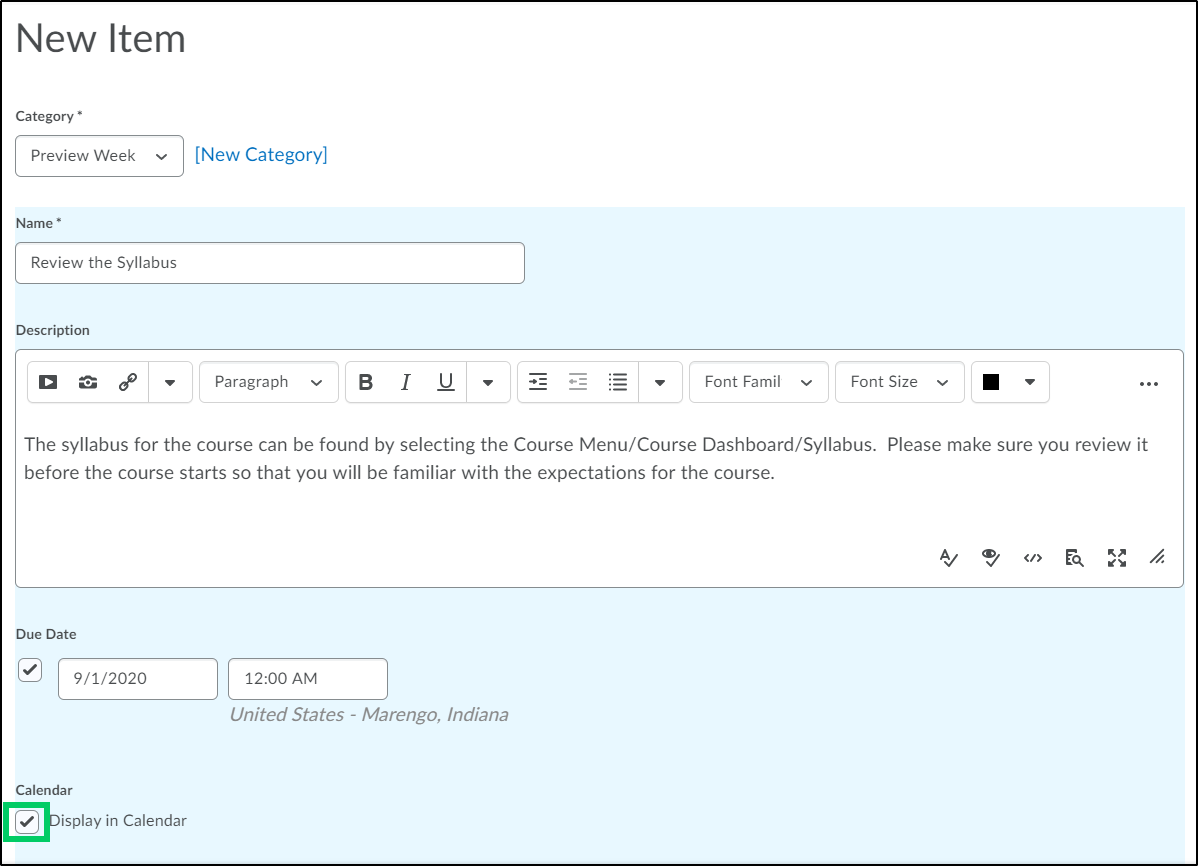
5f. Select the "Save" button to save the item.
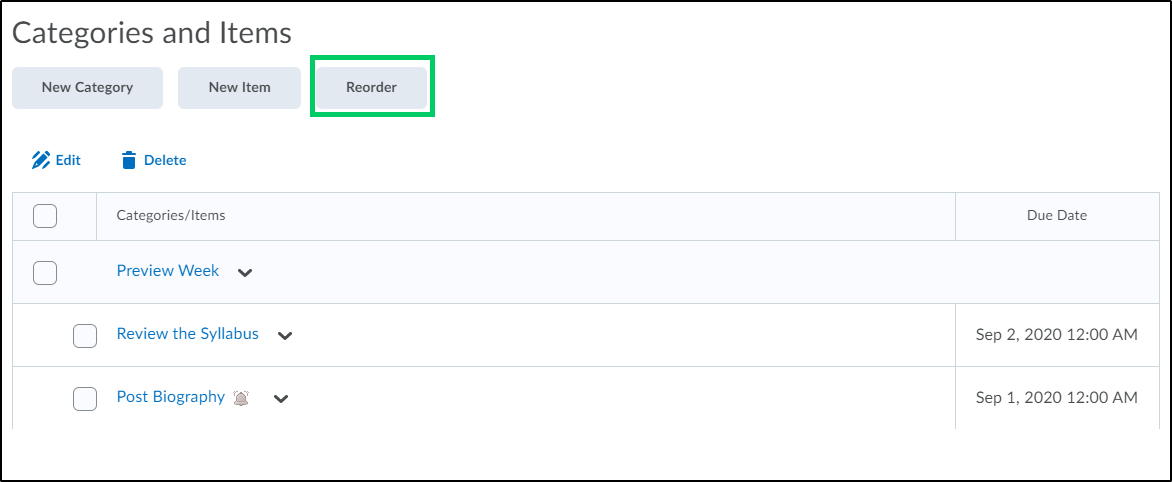
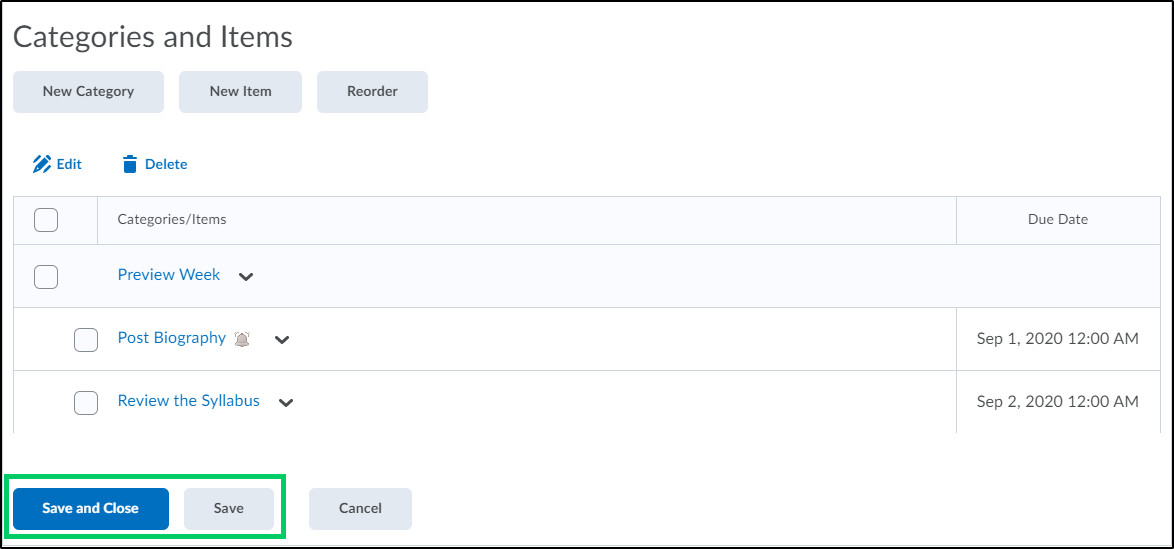
6. To reorder the categories or the items listed within a category, select the "Reorder" button.
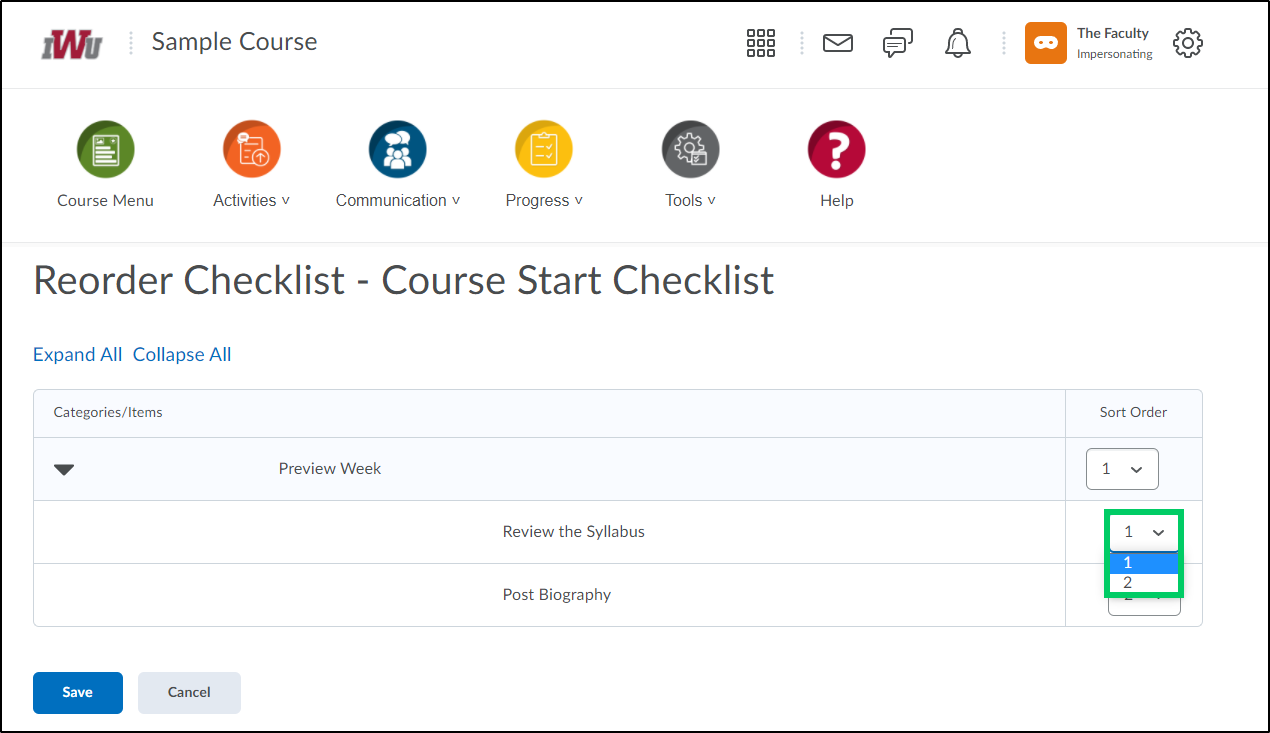
6a. To change the sort order of the categories or items, choose the dropdown by each category or item and select the order in which they should appear.
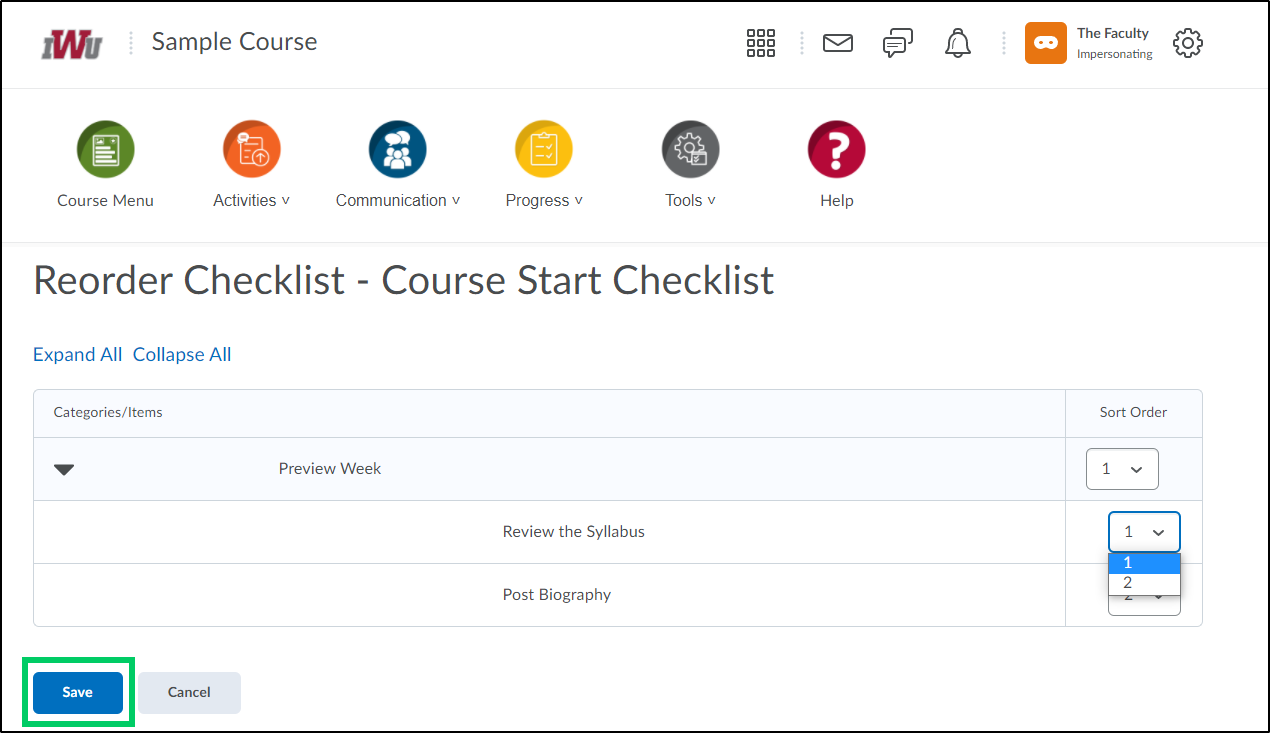
6b. Once the correct order has been chosen, select the "Save" button.
7. Once the checklist, categories, and items have been created, select the "Save and Close" or "Save" button to save the checklist.
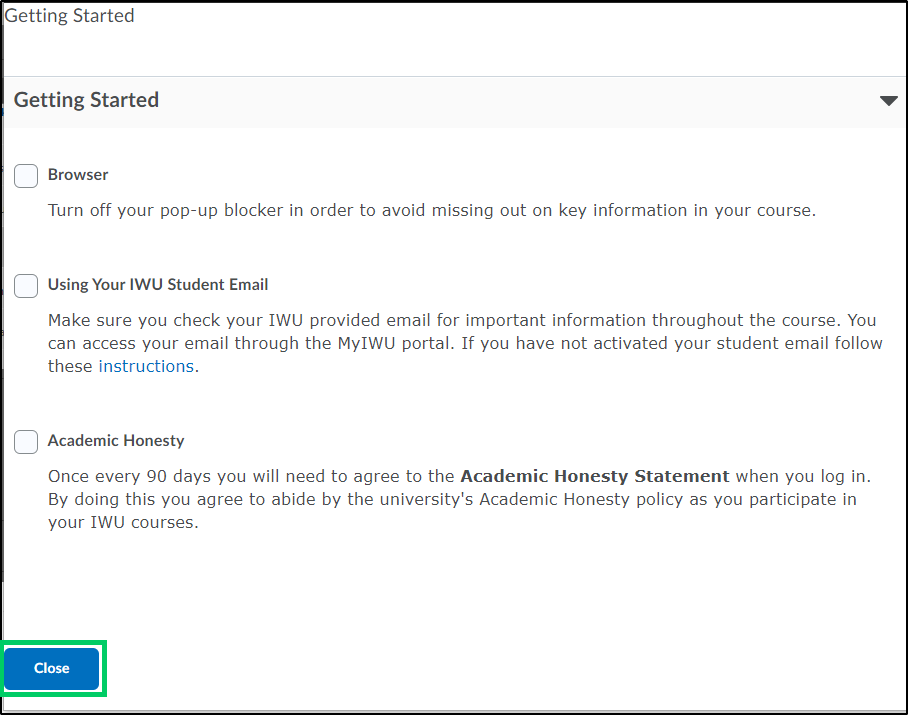
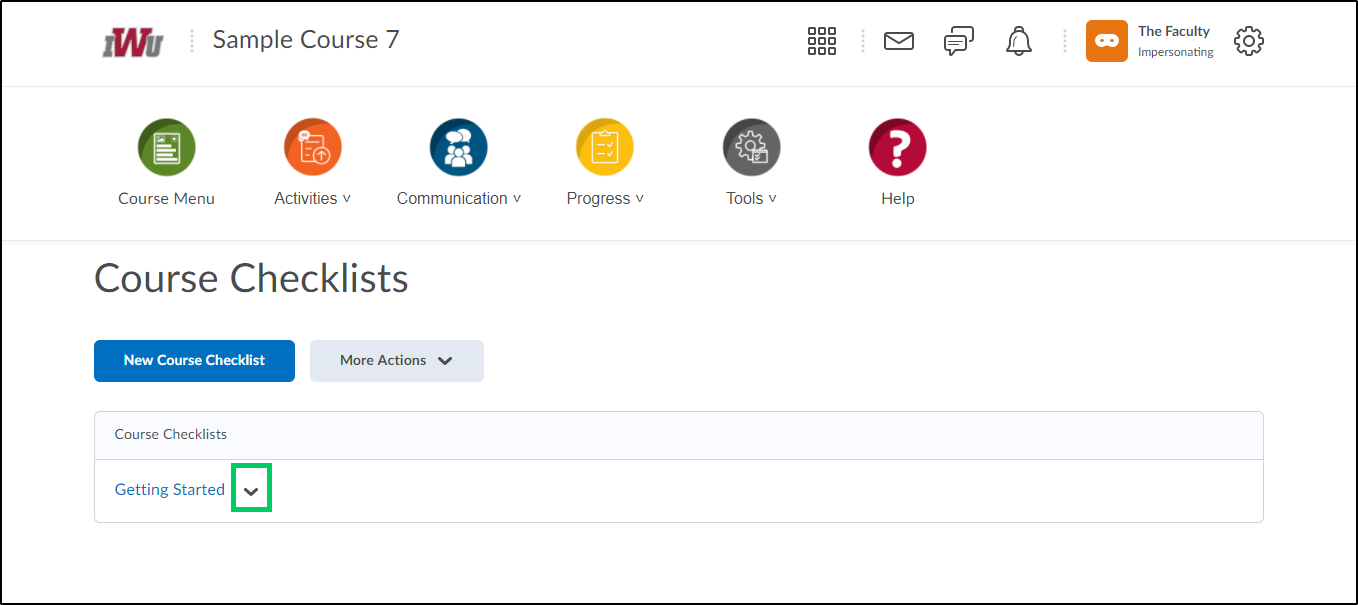
8. Once the newly created checklist has been saved, faculty can preview the checklist by selecting the dropdown menu next to the checklist title.
8a. From the dropdown menu, choose "Preview in a new window".
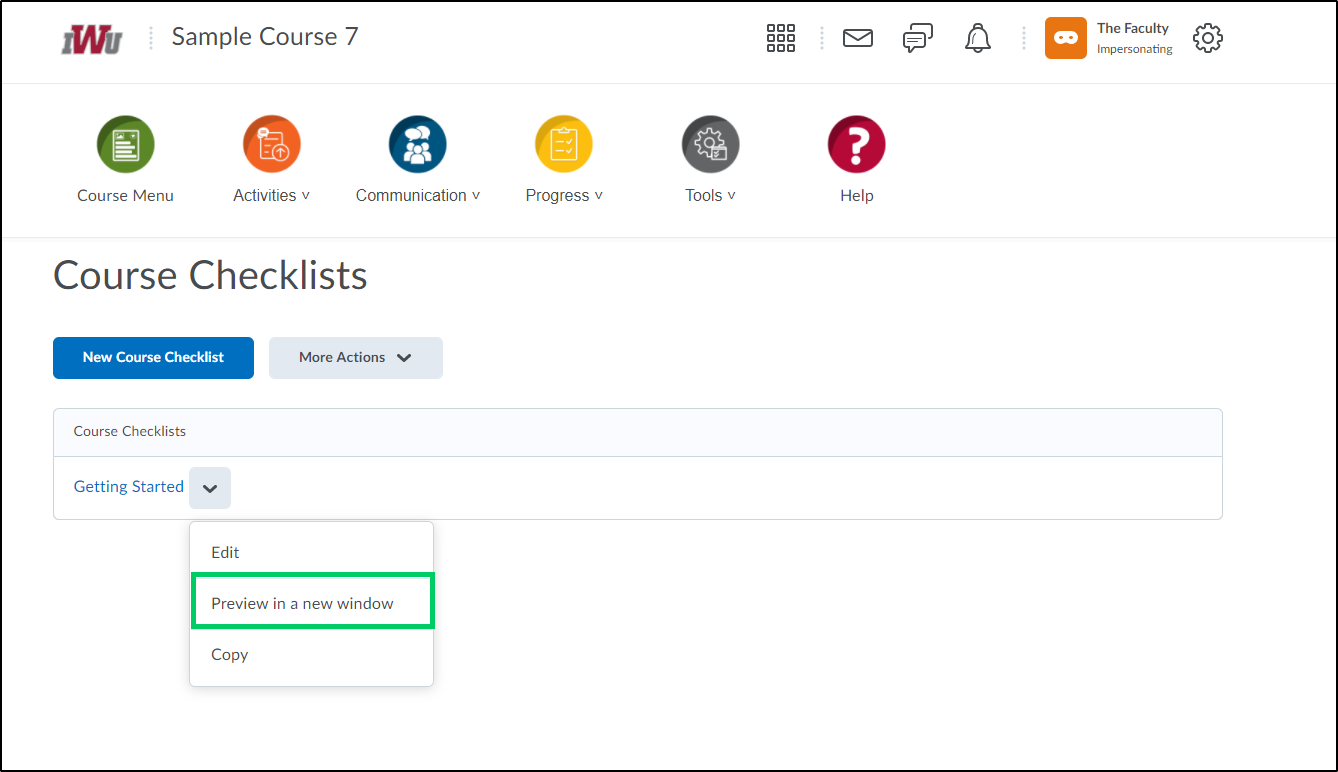
8b. The Checklist preview will appear in a new window. Select the "Close" button to close the preview window.