How to Use the Course Attendance Tool
Goal
After completing this how-to you will have the knowledge needed to utilize the Attendance tool to track attendance in course related activities such as class meetings and seminars or mandatory chat sessions. For more information on other Brightspace Tools, see the Tools topic page.
Navigation
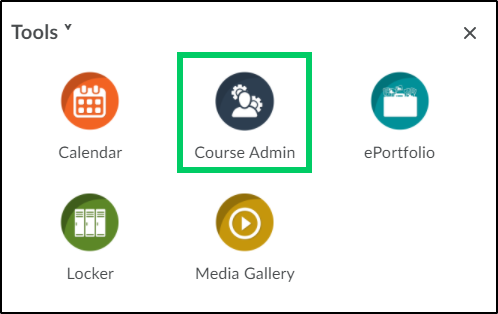
1. Select the "Tools" icon within the course navbar.

2. From the Tools menu, select "Course Admin".
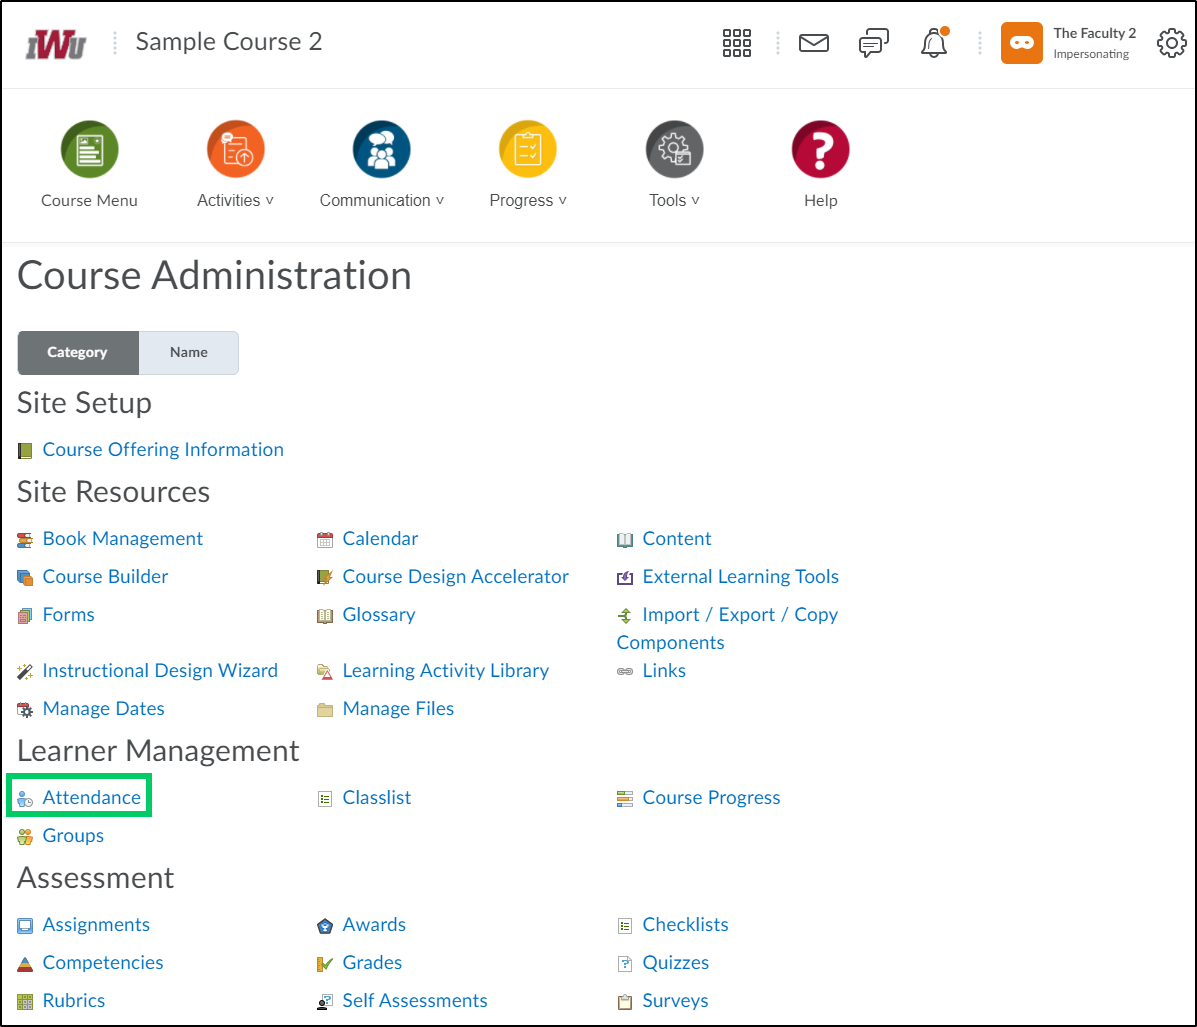
3. From the Course Administration menu, select "Attendance".
Creating a new Attendance Register
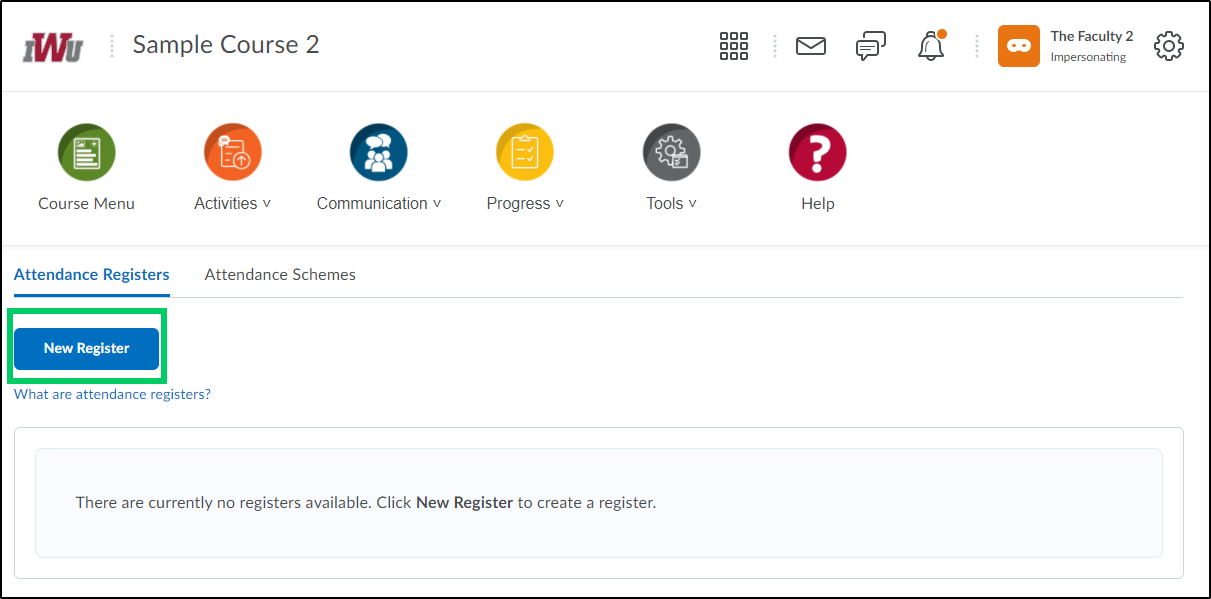
1. Attendance registers are entries that you can create to track attendance activities in your course. To create a new attendance register, select the "New Register" button.
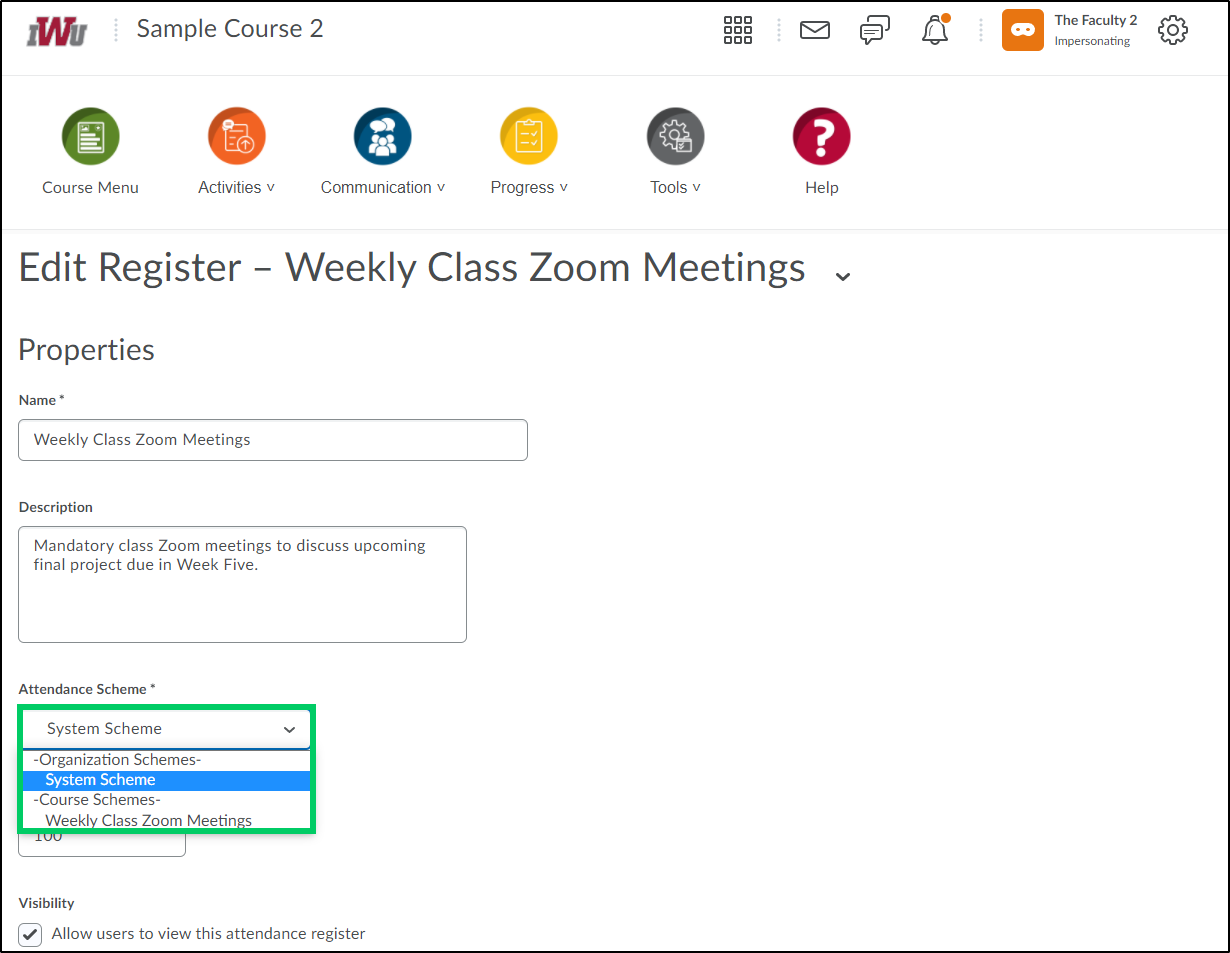
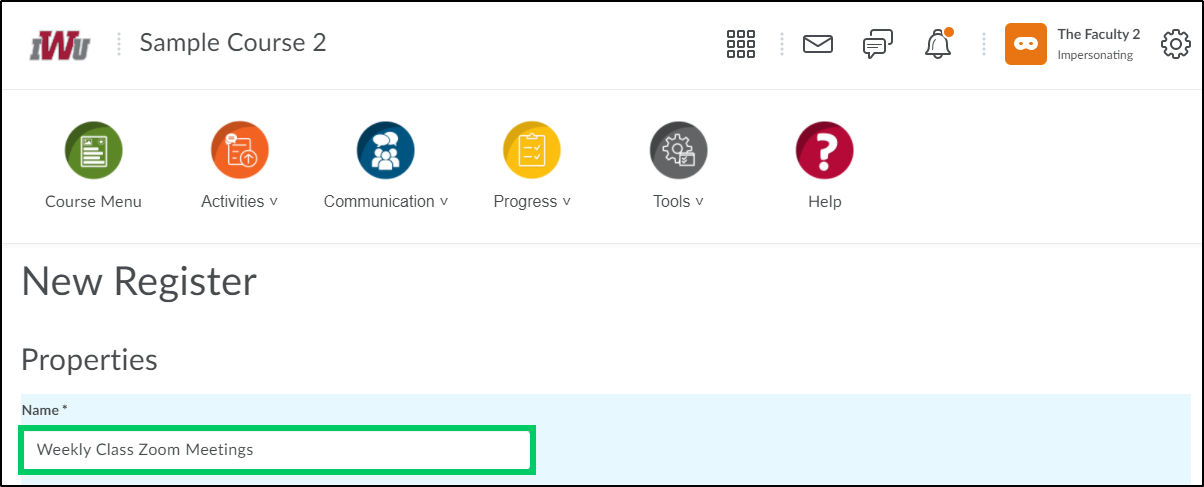
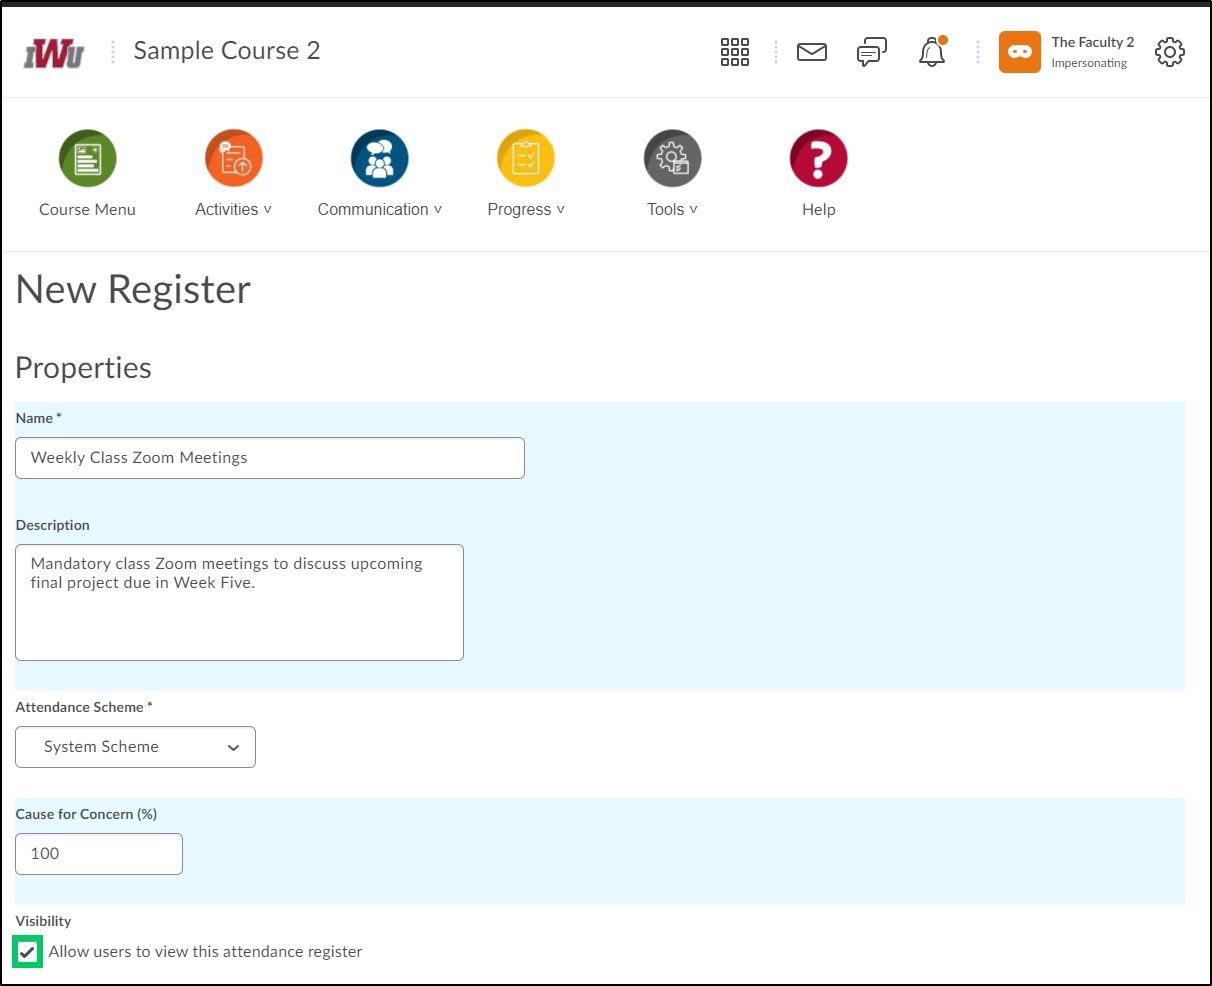
2. Enter a name in the "Name" field. The name should identify the course activity that you are tracking.
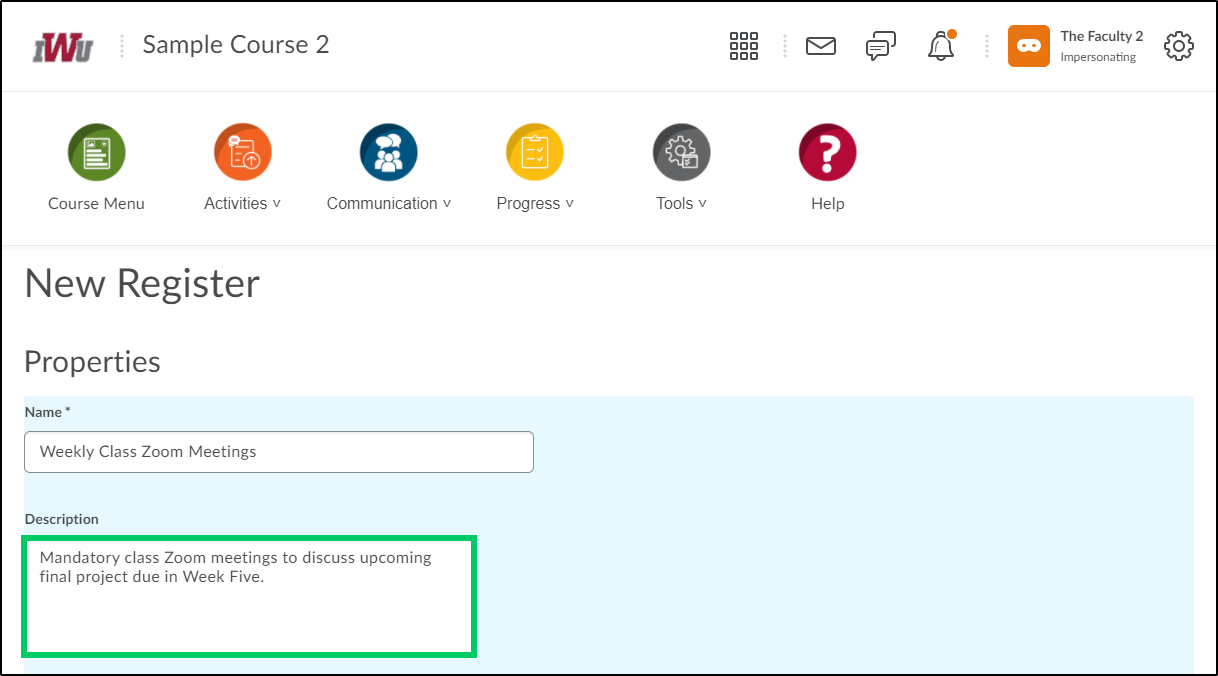
3. If desired, enter a description for the activity into the "Description" field.
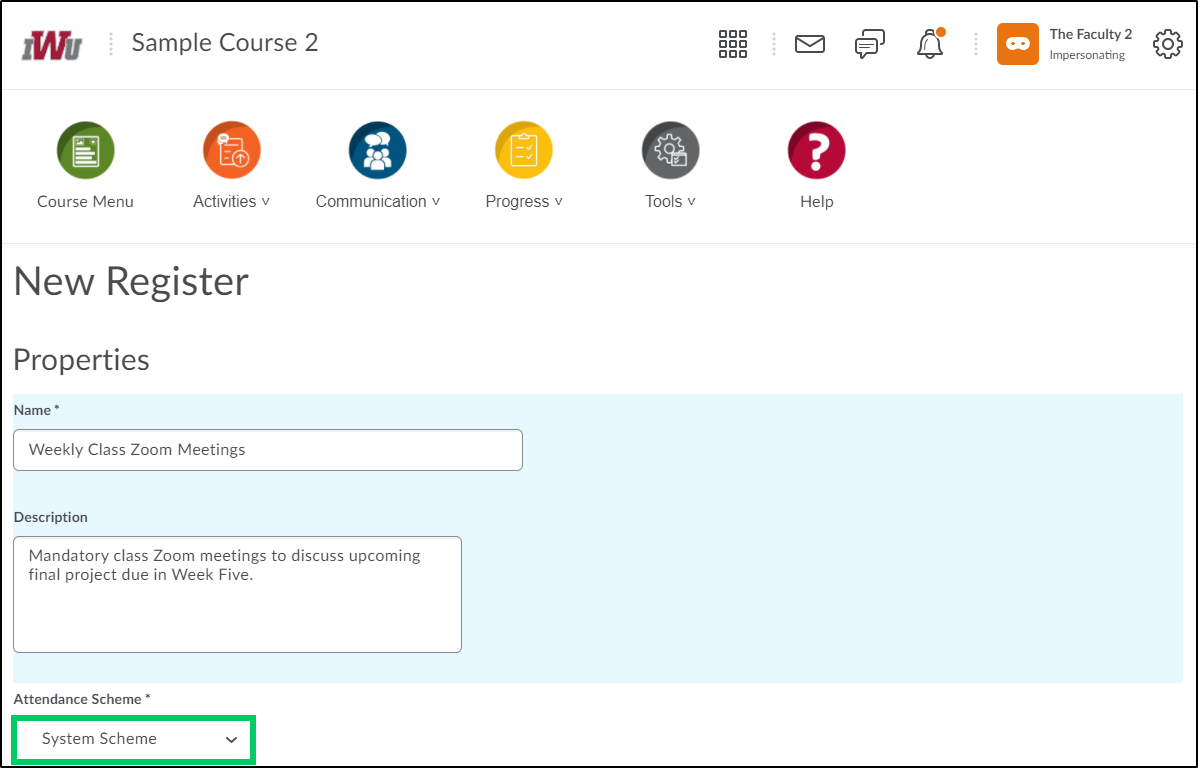
4. The "Attendance Scheme" dropdown menu will default to the system scheme. The system scheme states that all students with the attendance status of "P" (Present)=100% or "A" (Absent)=0%. More complex schemes can be created to track attendance. For more information on creating new attendance schemes, see the "Creating a New Attendance Scheme" section of this article.
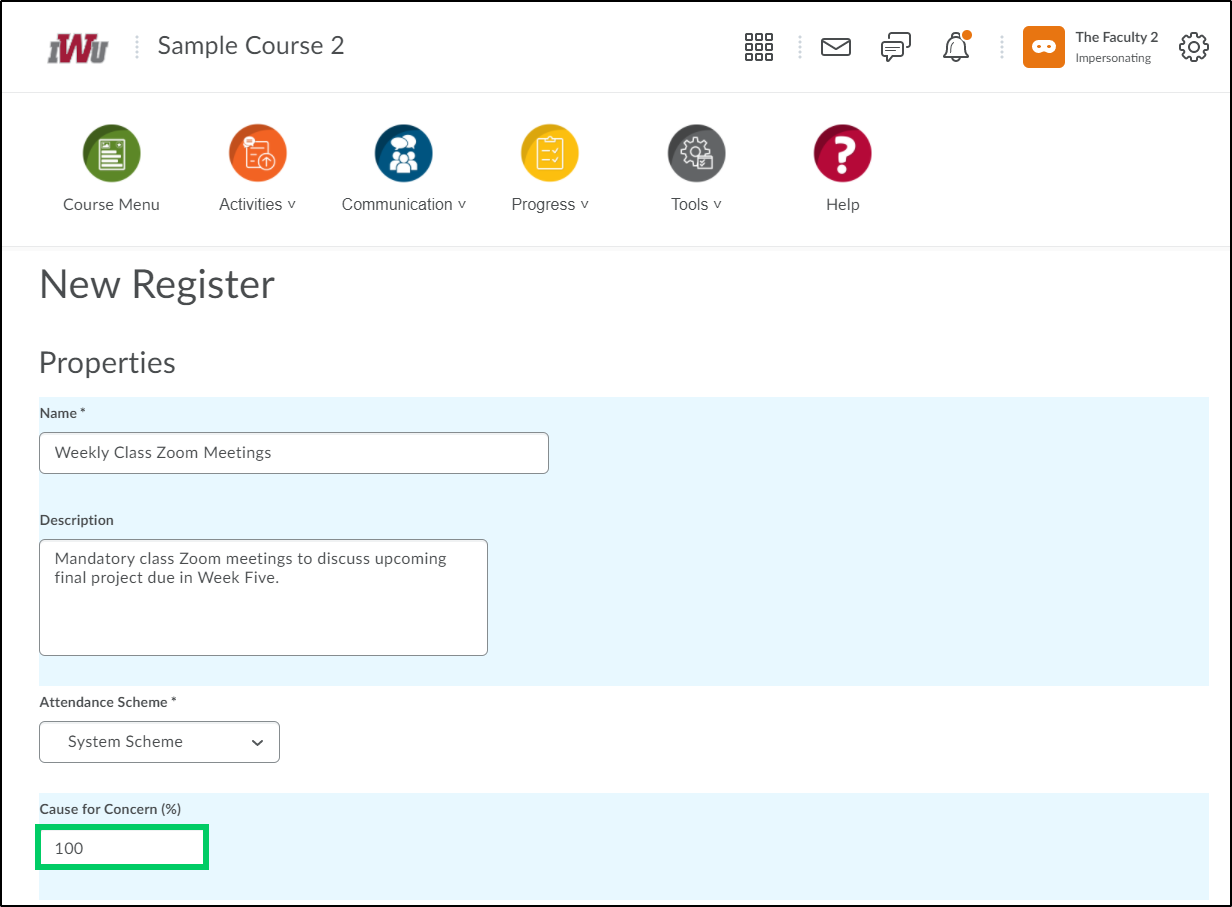
5. In the "Cause for Concern" field enter a percentage that indicates your minimum attendance requirement. For example, setting a percentage of 100% means that you require students to attend all weekly class zoom meetings.
6. Place a checkmark in the "Allow users to view this attendance register" if you want to provide students the ability to see the attendance register.
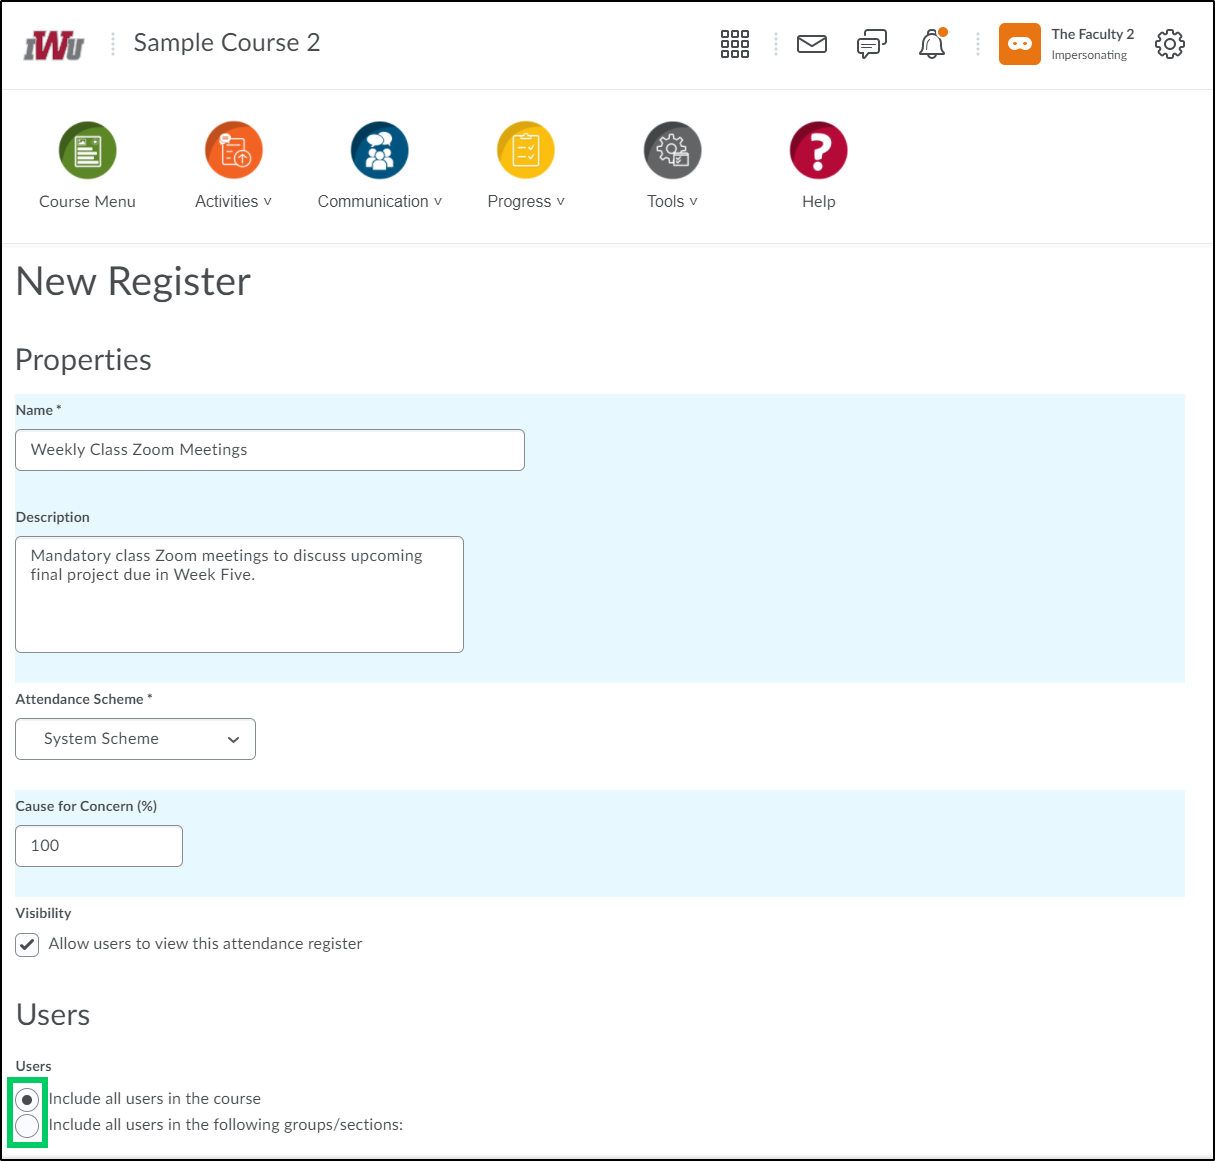
7. Within the Users section, select the appropriate radio button to determine whether to include all users within the course or only include users within a specific group. Including users within a specific group would be helpful in group projects where you would like to track attendance in group meetings or work sessions.
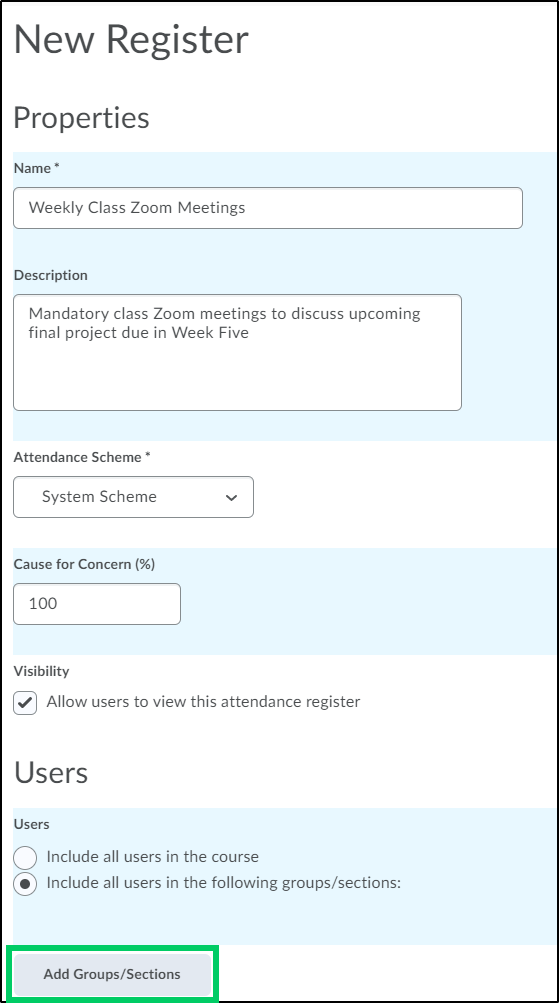
7a. If you choose to only include users within a specific group, selecting the "Add Groups/Sections" button will allow you to select the appropriate group.
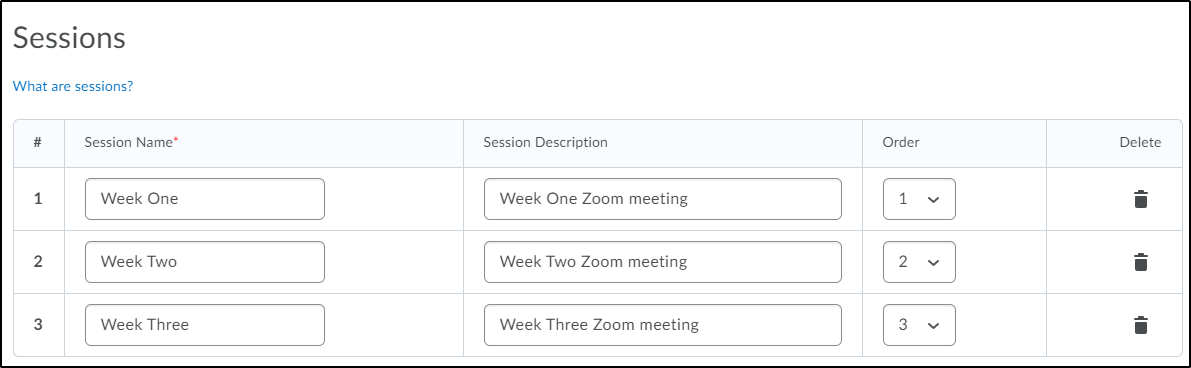
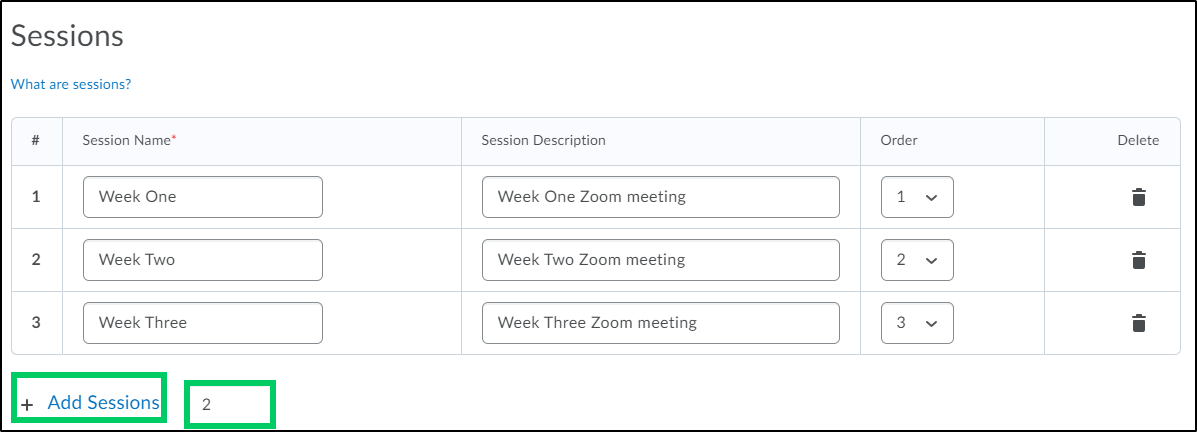
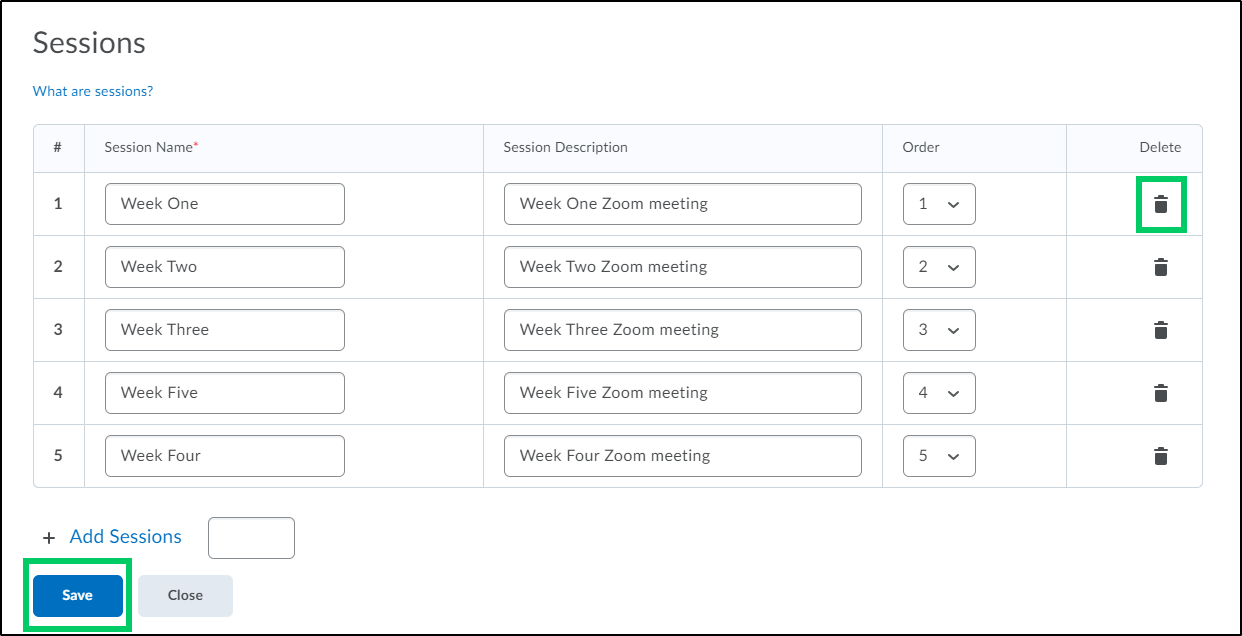
8. The Sessions section, allows you to define one or more events to which the register applies. For example, if you want to track attendance for each weekly Zoom meeting, you would create a register for the weekly Zoom meetings and then add sessions for each meeting (week 1, week 2, etc.).
8a. To add an additional session, select the "Add Sessions" link. To add more than one session, put the number of sessions to be added in the text box and select the "Add Sessions" link.
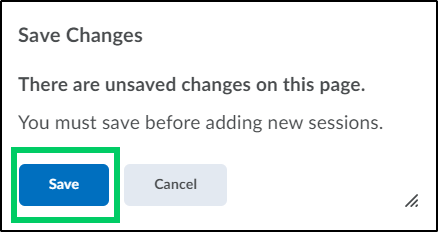
8b. When selecting the "Add Sessions" link, you will be required to save any unsaved changes by selecting the "Save" button.
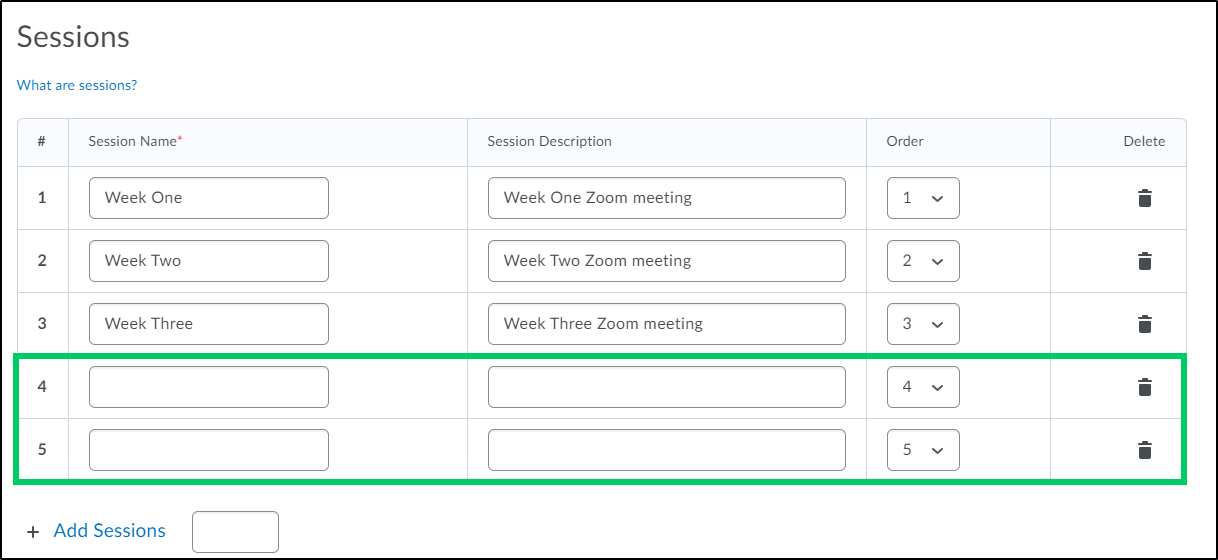
8c. The additional sessions requested will now appear.
8d. To reorder the sessions, select the "Order" dropdown to choose the position that the session should appear in.
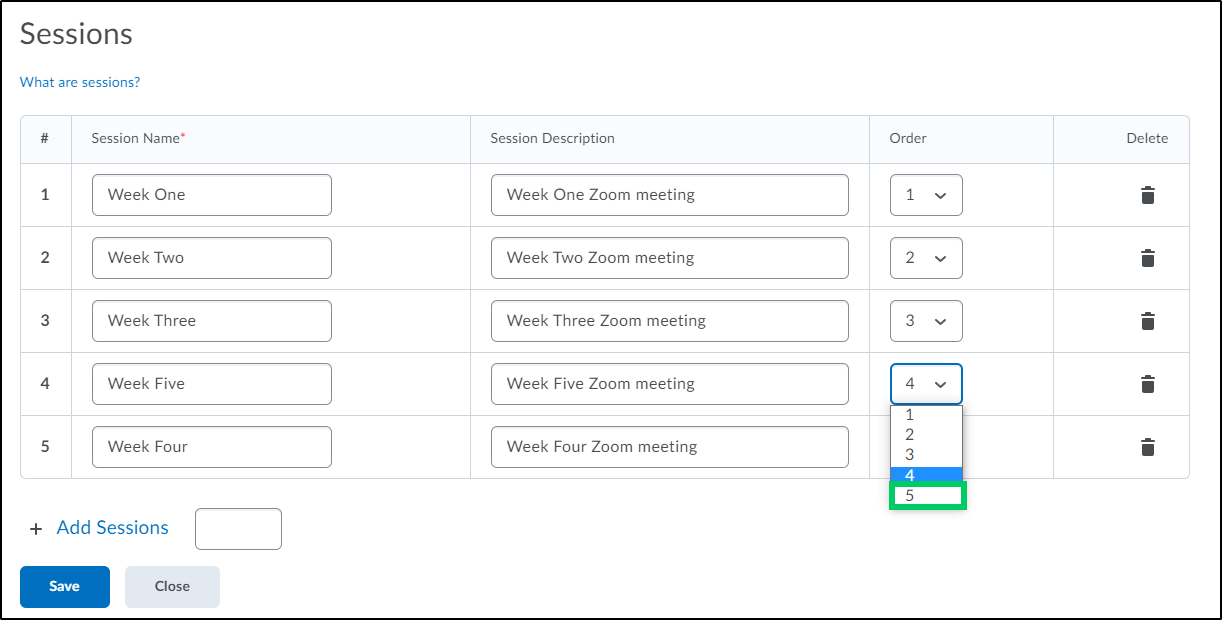
9. Select the "Save" button to save the attendance register. To delete any session, select the trash can symbol next to any session.
Creating a new Attendance Scheme
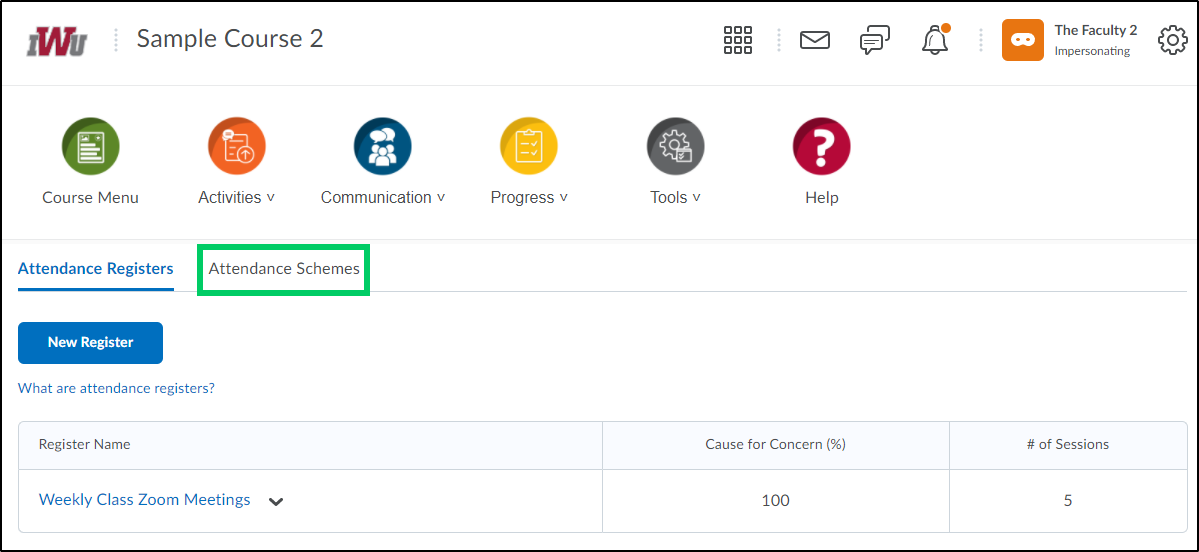
1. After creating an Attendance Register, you have the option use the default system scheme or create a new attendance scheme. To create a new attendance scheme, select the "Attendance Schemes" tab.
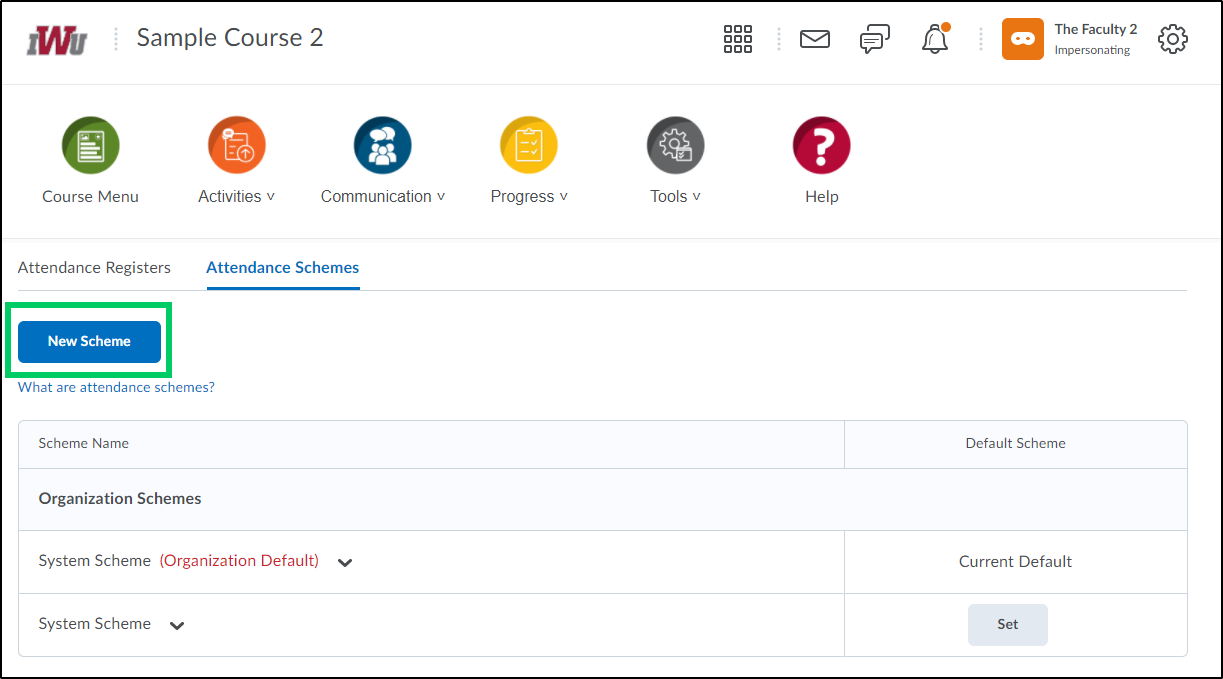
2. Select the "New Scheme" button.
3. Enter a name for the Attendance Scheme in the "Name" field.

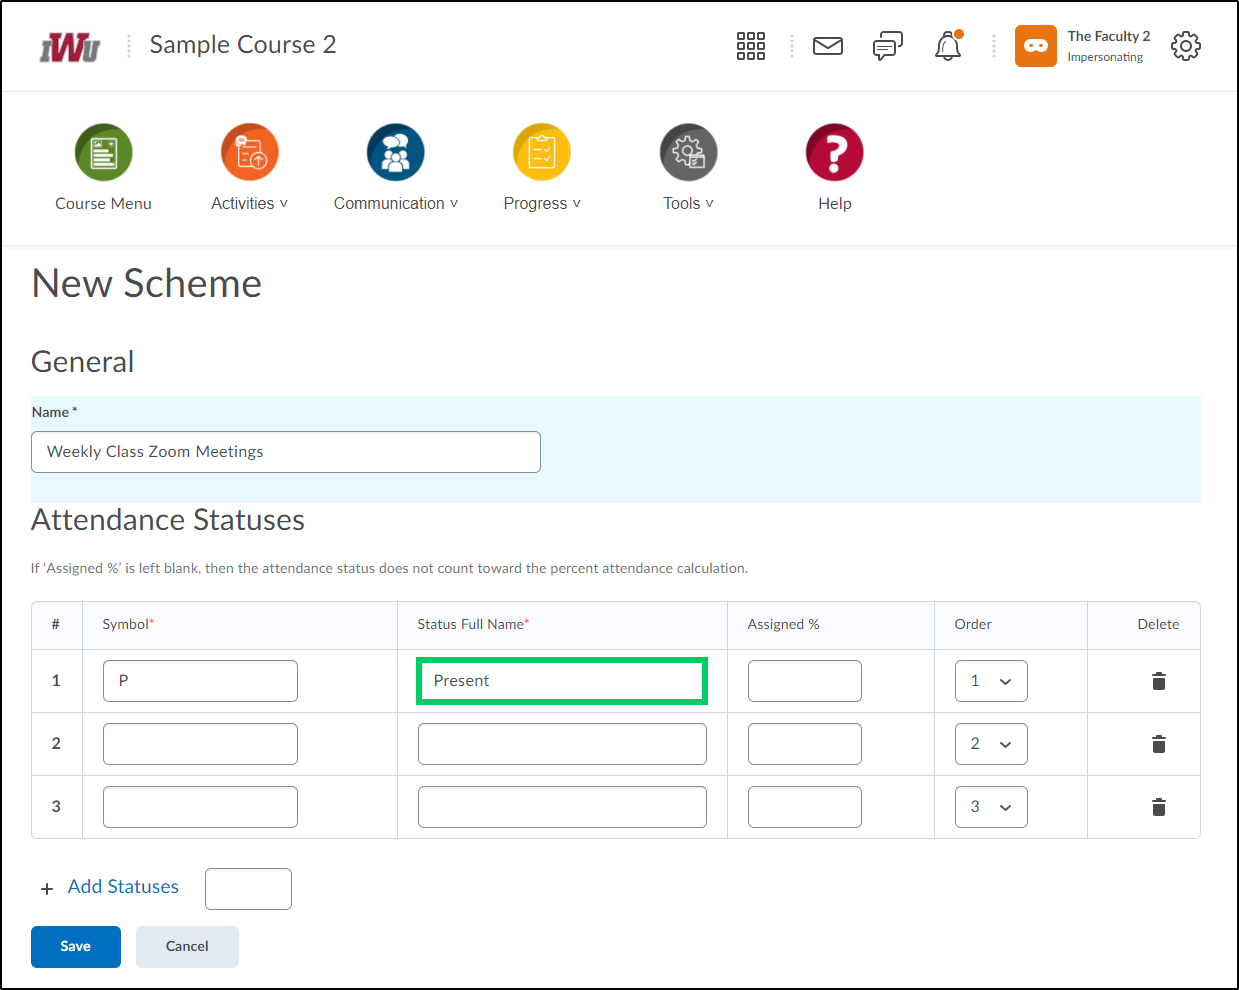
4. In the "Symbol" field, enter the symbol which represents the status that you want to be able to assign to the student.
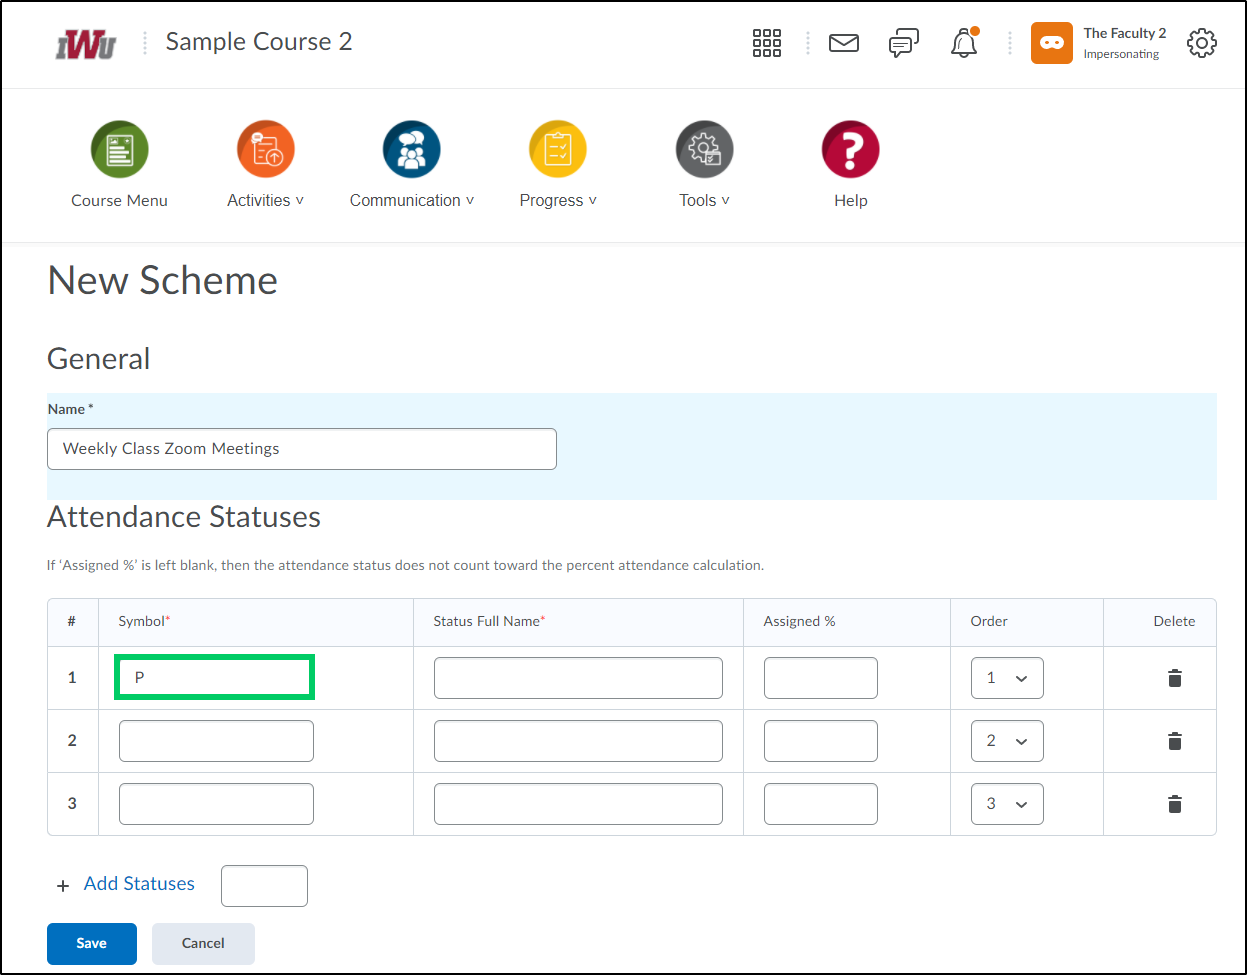
5. In the "Status Full Name" field, enter the status represented by the newly created symbol.
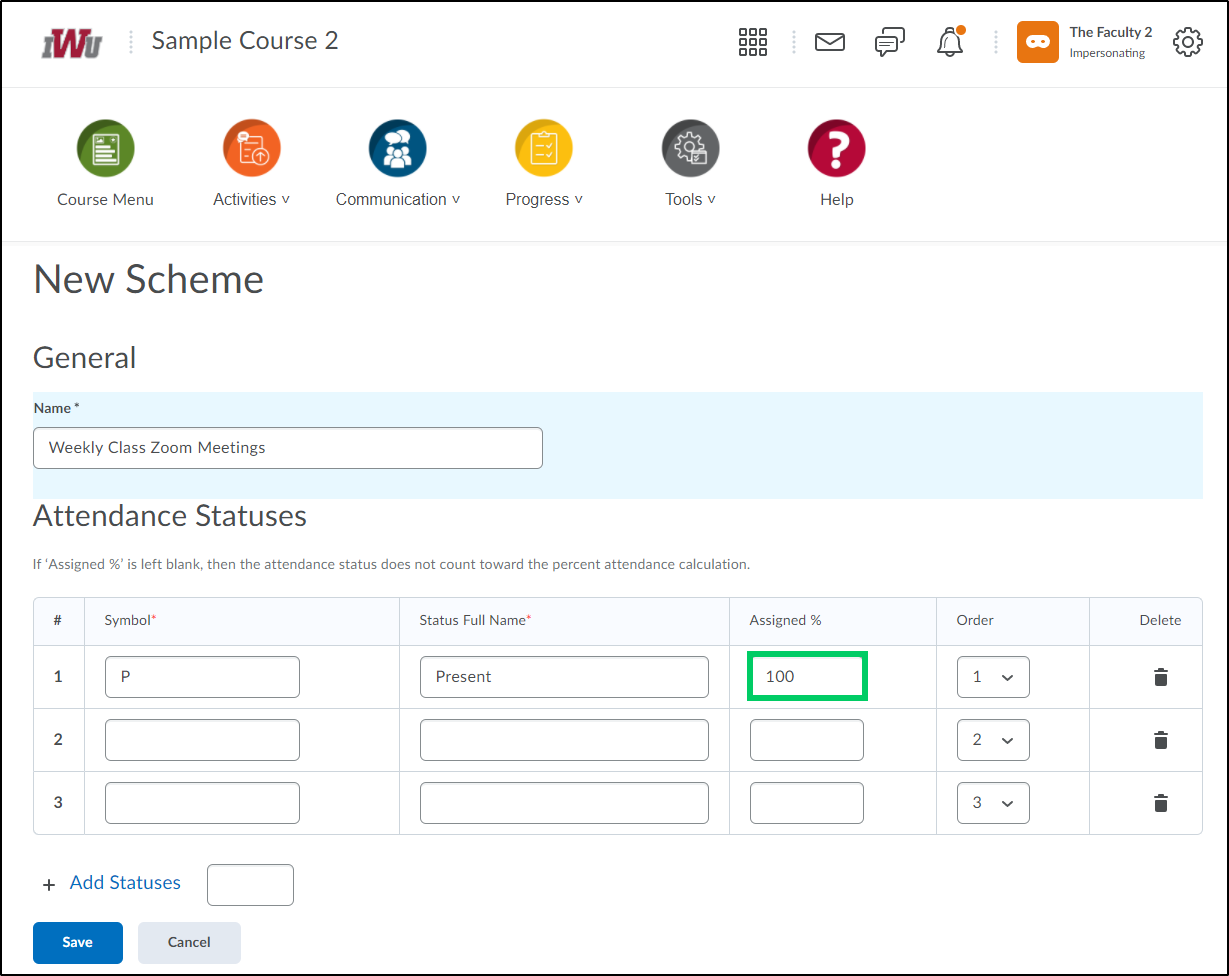
6. In the "Assigned %" field, enter the percentage which coincides with the attainment of that status.
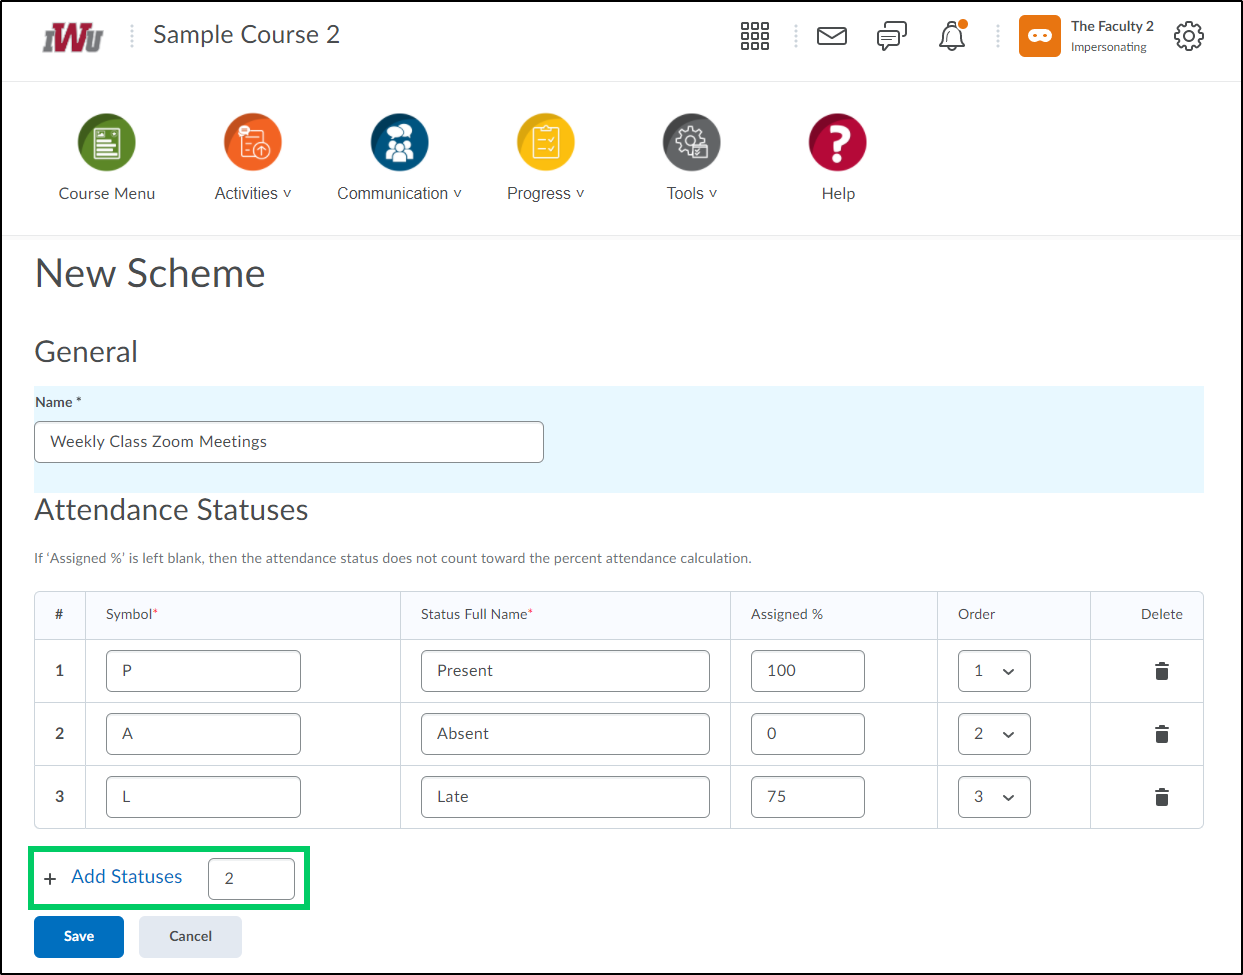
7. To reorder the statuses, select the "Order" dropdown to choose the position that the status should appear in.

8. To add an additional status, select the "Add Statuses" link. To add more than one status, put the number of statuses to be added in the text box and select the "Add Statuses" link.
9. Select the "Save" button to save the attendance scheme. To delete any status, select the trash can symbol next to any status.

10. The new attendance scheme can now be assigned to an attendance register.