Calendar
Goal
The Calendar is a tool that gives you a view of when course activities and exercises are due. The Calendar tool can also display other events within your course. As a student, you cannot manage the calendar as added items will appear for everyone in the course. Therefore, only faculty have permission to add items to the Calendar tool.
Navigation
From within a course:
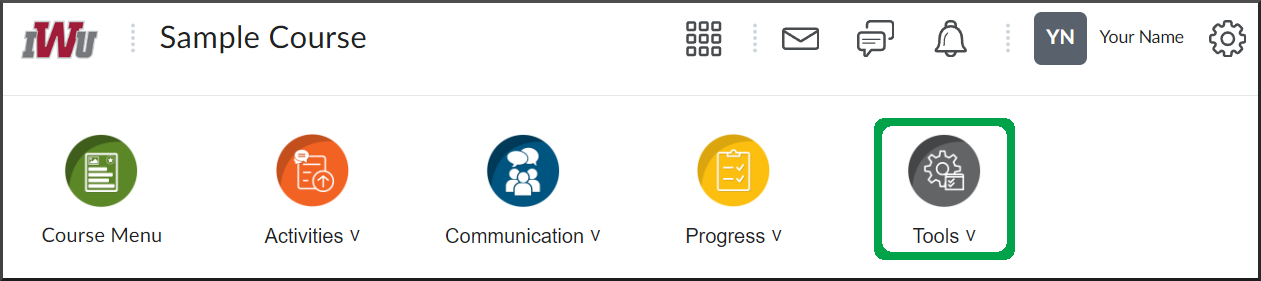
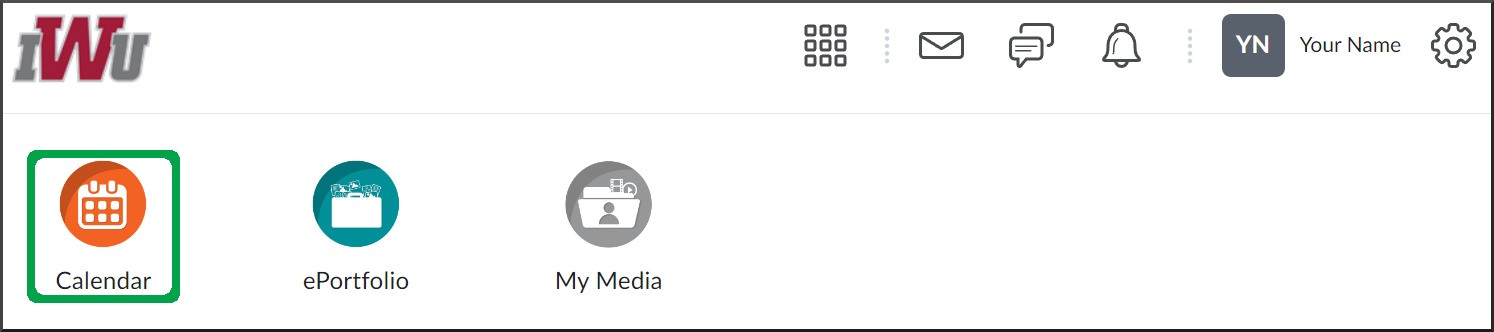
- In the course navbar, open the Tools menu.
- Select the Calendar link.
Descriptions
Default View
- Agenda is the default view when first accessing the Calendar tool.
- The Agenda view provides a detailed list of events with the most recent due date.
- You can select one of the other tabs to change the viewing option to find which works best for you.
Monthly Display and Viewing Events
- Select the Month tab to display the events in a typical monthly calendar format.
- Select an event tile to open a pop-up with more details on that particular event.
- To close out of the pop-up, select the "X."
- To view more information on the event, follow the More... link.
- If a course material is linked to the event, you can select the name of the course material to navigate to its web page.
- To return to the monthly calendar view, follow the history trail that displays the month and year.
- If a course material is linked to the event, you can select the name of the course material to navigate to its web page.
Filter Display of Courses
- The default setting shows events for all course calendars. Open the "All Calendars... " pop-up menu to view events for the one-course calendar.
- Select the name of the desired course. Note that if you are not already in the selected course, the system will navigate you to the Calendar tool for that course.
- Select the name of the desired course. Note that if you are not already in the selected course, the system will navigate you to the Calendar tool for that course.
- If you need to view events from all of your course calendars again, select the "caret" button next to the name of the current course being viewed to open the pop-up menu.
- In the pop-up menu, select the Show All Calendars button.
- In the pop-up menu, select the Show All Calendars button.
- To remove a course's calendar from the list and its events appearing in the All Calendars view, select the "X" by the course name.
- To add a course's calendar back to the list and its events in the All Calendars view, select the "+" button.
- Select the course name you want to add so it appears on the list and its events in the All Calendars view.
Modify Calendar Color
- To modify a calendar's color, select the "change calendar colors" button.
- You can change the course that will have its color modified by opening the drop-down menu under Calendar Colors and choosing the needed course.
- You can choose one of the colors from the default options.
- Move the arrow next to the color to adjust a color's shade.
- Move the arrow next to the color to adjust a color's shade.
- If you know the hex value of a specific color you want to use, you can enter the value in the respective box.
- Once you have chosen a color, select the Apply button to save your updates and then choose another course from the dropdown list to modify its color. Alternatively, you can choose the Done button if there are no further courses for which you want to alter the calendar color.