How to upload media to MediaCentral
Overview
Describes how to upload a media file to MediaCentral
Steps
1. First, sign into MediaCentral by selecting 'Guest' in the upper-right, and then 'Login'. This should automatically log you in, on your own computer. If you are prompted to enter a username and password, enter your IWU username and the same password that is used to log into the MyIWU page.
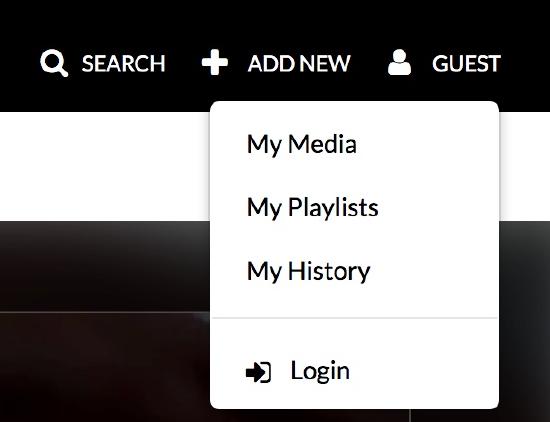
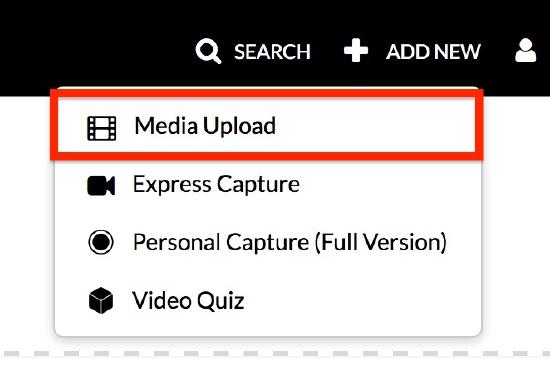
2. Uploading media files to MediaCentral can be done by selecting the 'Add New' button and then 'Media Upload'.
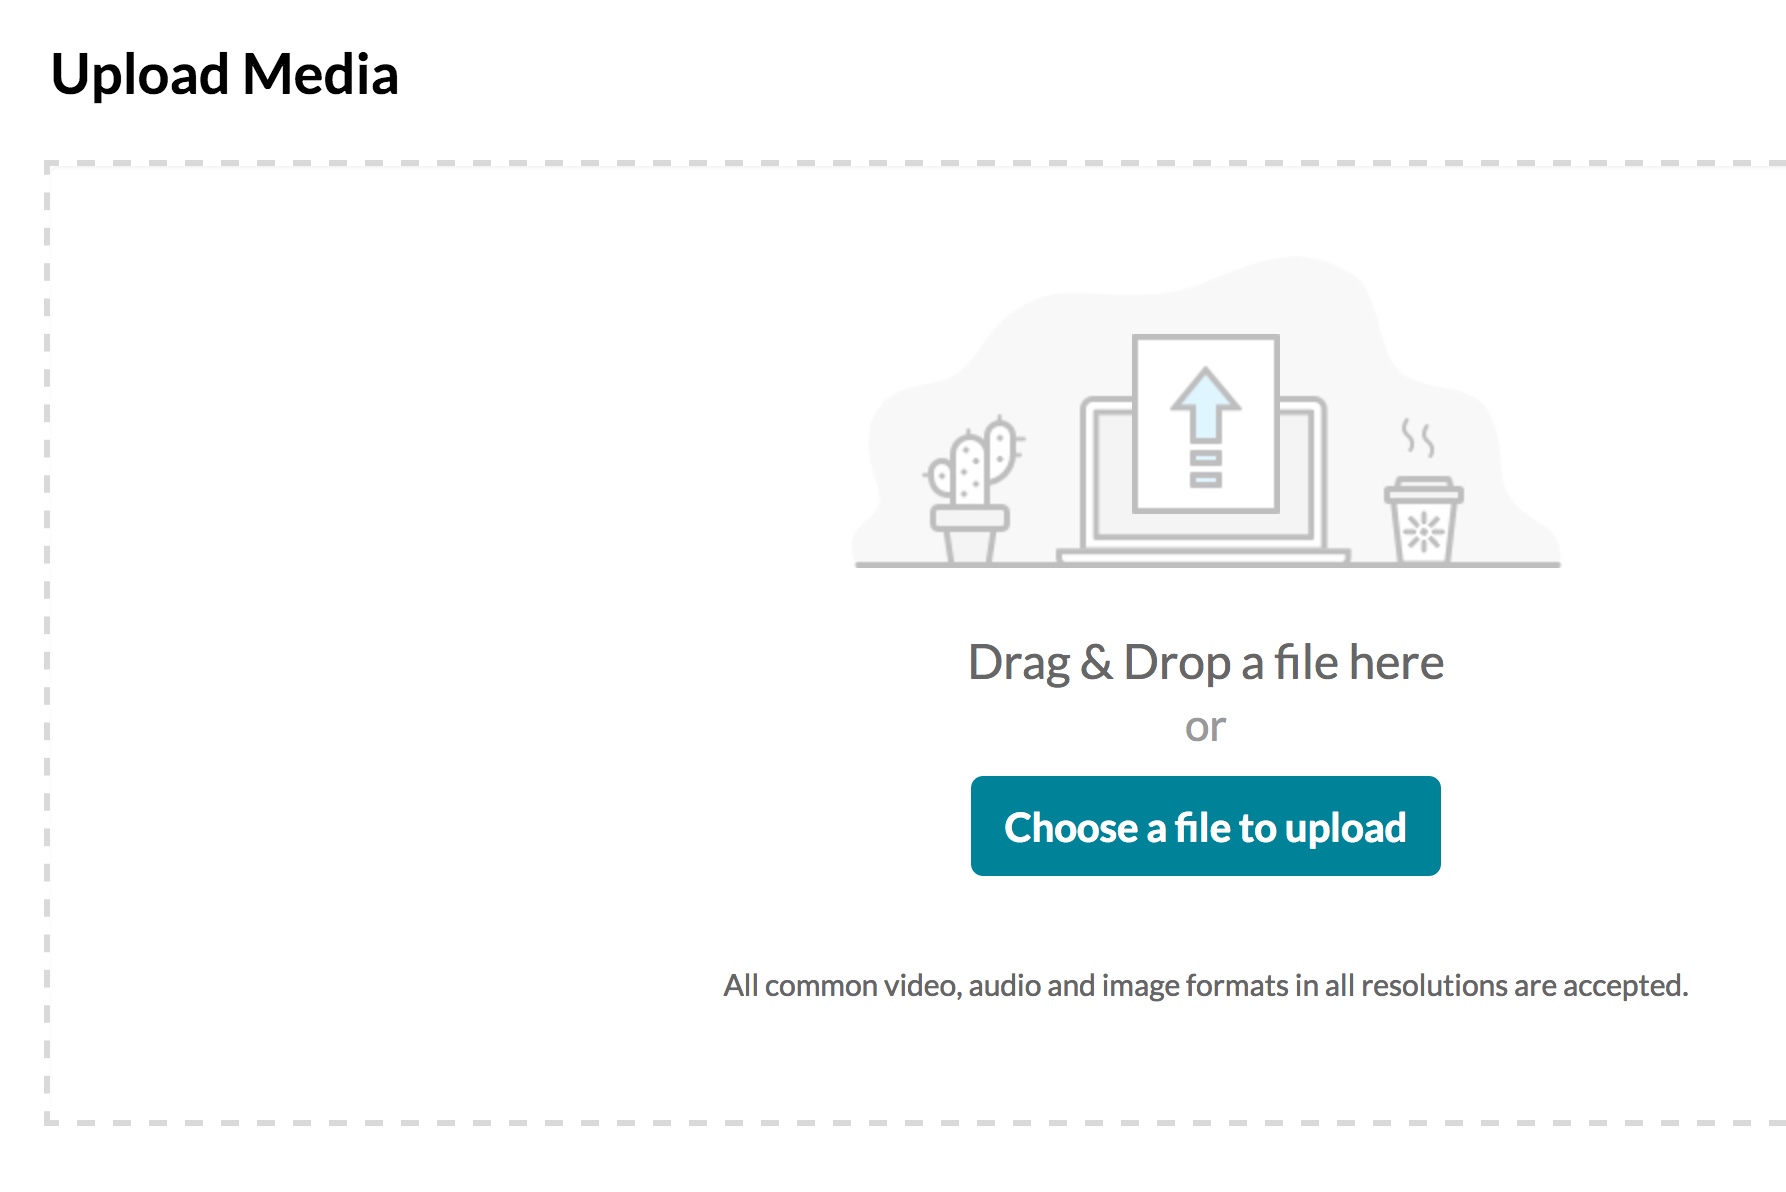
3. Select the button labeled 'Choose a file to upload.' Alternatively, you may drag a file from an open window on your computer to the browser window which reads: Drag & Drop a file here. If you have created a video file using the One Button Studio, or from a Zoom meeting, the video file on your USB flash drive will have a file ending with '.mp4'
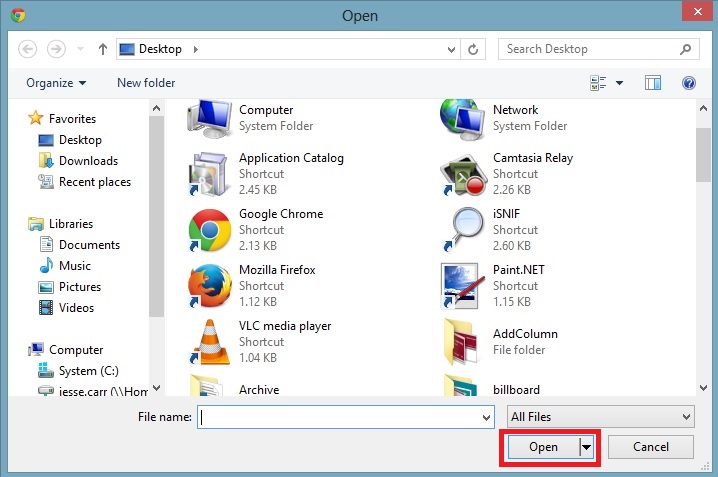
4. If you select 'Choose a File to Upload,' you will then be presented with a window similar to the one below. This window is used to select, from your computer, the file you wish to upload to MediaCentral. After selecting the file, select the 'Open' button at the bottom-right of the window.
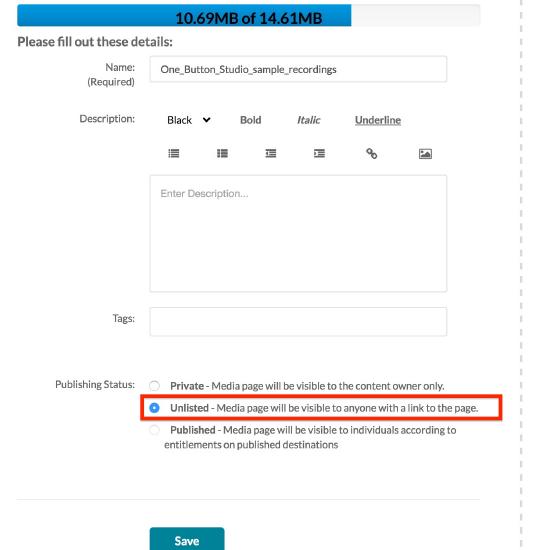
5. On the following page, the 'Name' field will need to be filled in, and the sharing option (Private, Unlisted, or Published) will need to be selected.
Select Private, if you are the only intended viewer, such as faculty archival of a course.
Select Published, if you want everyone in the world, who visits MediaCentral to be able to search for, and view your video.
RECOMMENDED: For all other situations, Select Unlisted. This allows you to share the link to the video, and only those who receive your link can view the video.
Note: Only select Published if you have obtained written permission from all of the people who appear--by voice or by visual appearance--in the video file you publishing.
A description can also be entered to give users a better idea of what the video is. Finally, once ready, select the blue 'Save' button to finalize the upload.
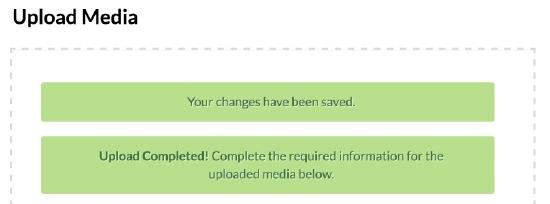
6. If the upload finished correctly you will see the following message.
A Note about File Sizes:
MediaCentral does not impose a limit on the upload size, however, the maximum file size that some browsers will allow you to upload is between 2 and 4 Gigabytes (GB). Keep in mind that larger uploads will take more time and consume more of your computers memory during the uploading process. Currently, faculty/staff are allocated 20 GB of space. While you are not prevented from uploading content in excess of your quota, we encourage you to remove old or unwanted content to try and stay under the limit. If you require significantly more space than has been allocated to you, please contact the support center.
What's Next
Next, you may wish to share the links to your MediaCentral content. There are two primary means of sharing: 'Link,' and 'Embed.'
'Linking' gives you a web address which you can copy and paste into a message or web page, for others to click on, so they may view your video in a new browser window.
'Embedding' gives you a paragraph of code, which can be copied and pasted into an appropriate field in your web page, that includes a media player so viewers can view your video file without leaving your web page.
For BrightSpace users, this is how you embed your new video within a course.
Alternative video production tools
Additional information is available for utilizing MediaCentral's other features, 'Express Capture' or 'Personal Capture.' These methods of video capture are useful for those who do not already have a file ready to upload.
If you need an optimal environment to capture a video recording, consider visiting the One Button Studio, in the Jackson Library on the Marion campus.
If you need a video camera, microphones, or headphones, these can be checked out from the Media Services desk at Jackson Library on the Marion campus.

