| Requisitions for Purchase Orders |
- In Colleague Test, select Navigation. Then CF followed by Purchasing (PU). Under purchasing click “Requisitions -REQ” and then “Requisition Maintenance -REQM”. You may also type REQM in the Form look up search bar to go directly to the form.

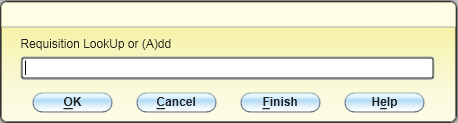
- For a new requisition type the letter "A" in the lookup bar and click ok.

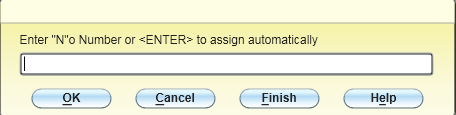
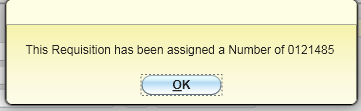
- The requisition number is assigned automatically. Click OK.
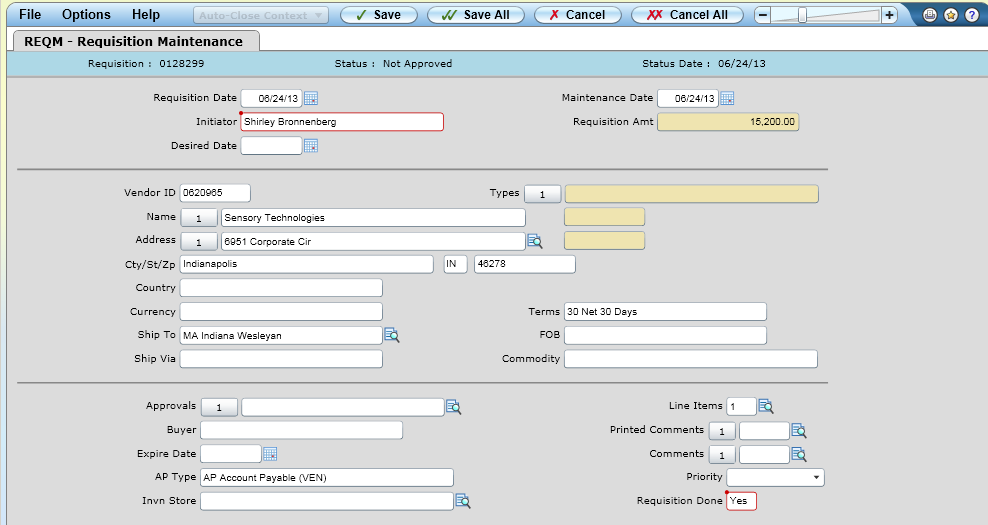
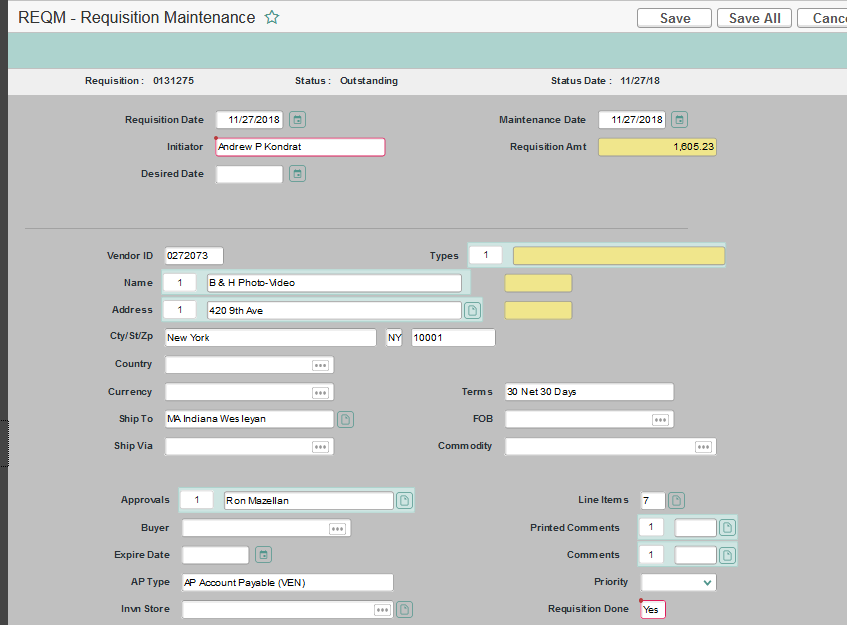
- Fill in the following blanks to create your requisition:
A. Initiator- Enter your ID number, initials, login or, your name (last name, first name)
B. Vendor ID-Type in the vendor ID or use look up in the name field. The vendor ID field must be complete. Do not complete the name field only. If no vendor ID appears after a name look up, email purchasing@indwes.edu to set up the vendor. To set up a vendor, they will need the vendor’s social security number (individual), Employer Identification Number (company or organization), and mailing address.
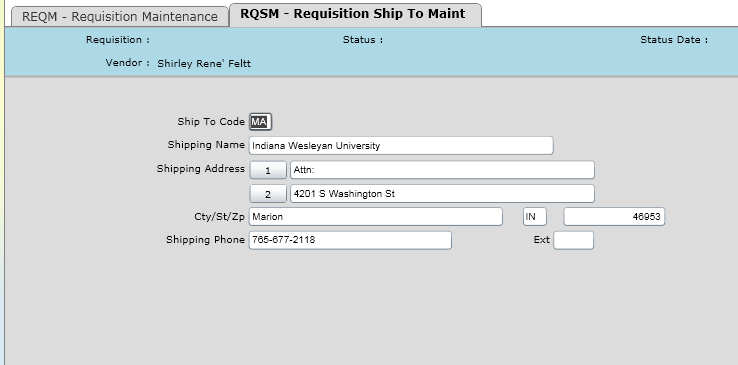
C. Ship to- If a location other than Marion is needed, delete the ship to and enter … to pull up the list of ship to addresses. Select the address you need. Once you have the correct ship to, drill down and enter a name on the “attn” line.
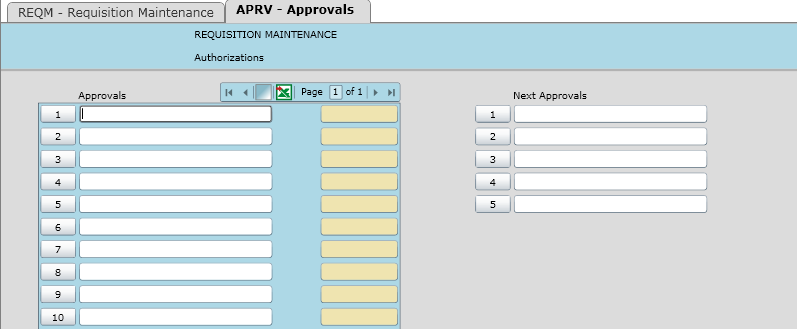
D. Approvals- Enter the first three letters of your approver’s first name in line 1 of the Next approvals column and press enter or enter first name.last name. Save and Update.
E. AP Type- Enter “AP”
F. Printed comments- will print on purchase orders (will not print on the check)
G. Comments- Provide internal information for whole purchase (will not print on the check or purchase order). This is where you enter the word Blanket if you want the PO to be turned into a Blanket PO and where Pre-pay info is entered.
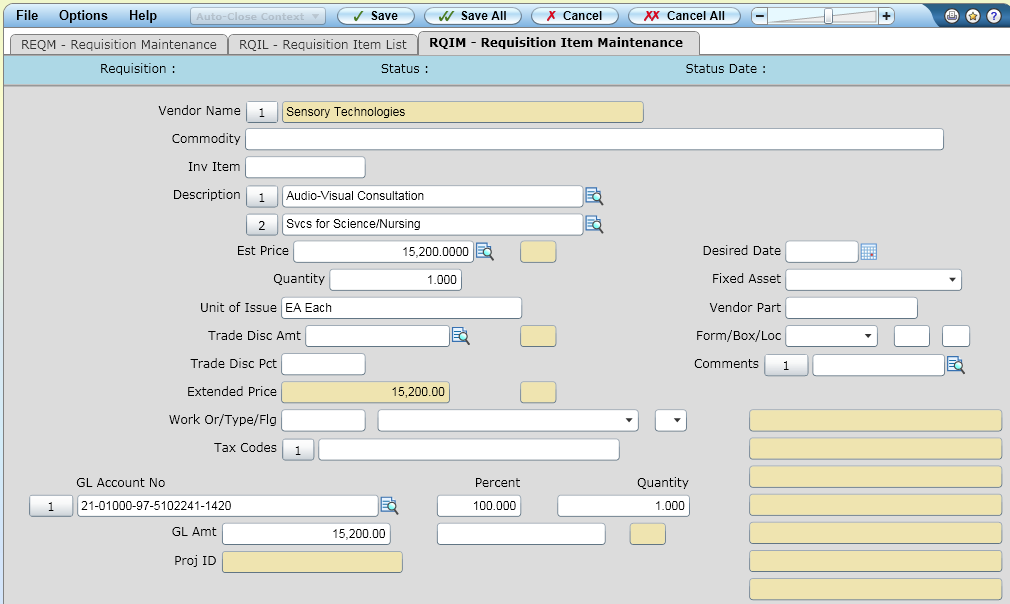
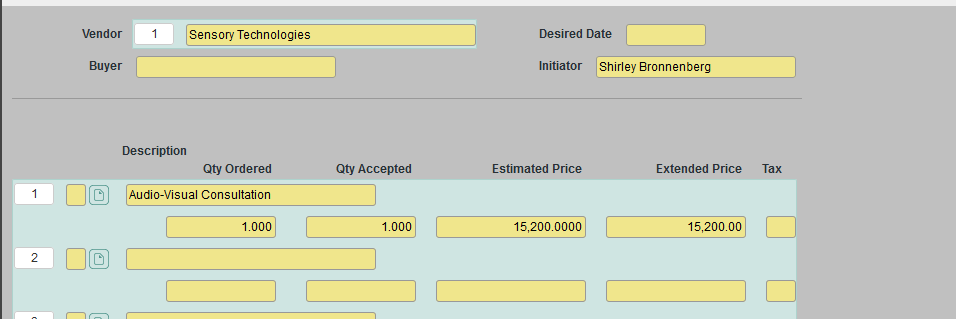
- Line items- click the drill down icon or press F2 to enter line items on the RQIM screen. This will open the requisition item list (RQIL) screen. For the first item click the drill down icon.
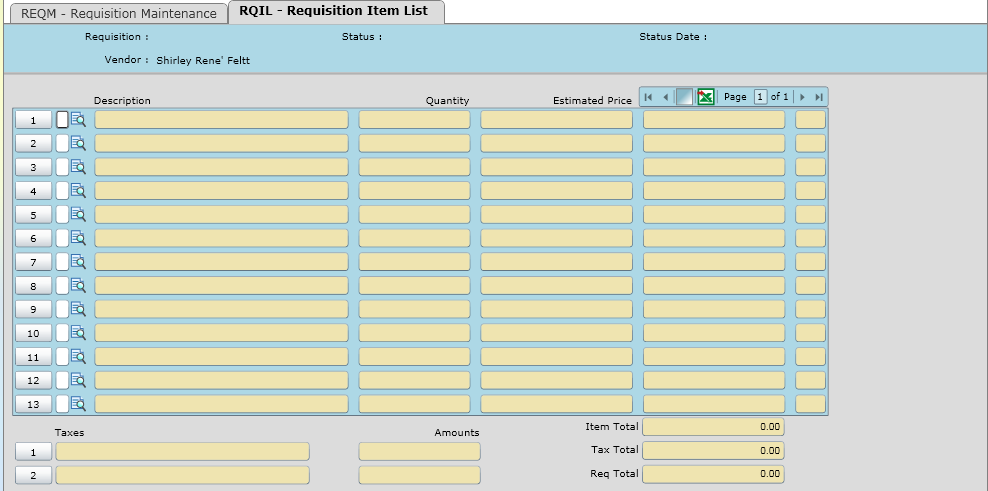

J. Enter up to 3 lines of description per line item (will print on the purchase order).
K. Est. Price- enter the amount requested for the check. Some commodity codes may automatically populate in this field depending on the commodity (mileage).
L. Quantity- number of items (e.g. miles) to be reimbursed.
M. Units of issue- (optional) type in “…” to look up code.
N. GL account number- enter the GL account number(s) to be charged. Drill down if necessary. Enter the amount and press “enter” To split amounts, enter a new number and amount.
O. Comments- (Internal) for line item
- Completed form. Click save and update.
- This will bring up another blank form. Enter additional line items or if you are finished, Cancel it.
- Click save and update.
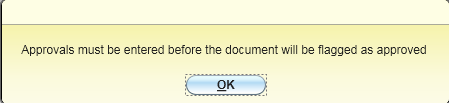
IMPORTANT: You MUST enter approvals BEFORE changing requisition done from “No” to “Yes.” It must be marked “Yes” before the requisition can be processed.
- Change Requisition done to YES. Click Save.
- Select ok
- Select Update
- Click Ok
- Record the Requisition Number on your backup.
- Click Cancel or Finish.
Looking up an existing Requisition
- To look up information on an existing requisition, use one of the following methods.
IMPORTANT
Requisitions cannot be changed once referenced as a Purchase Order. If a requisition has already been approved, the approvals MUST be deleted prior to making any changes to the line item(s) and requisition must be re-approved.
Requisition Status:
“U”-Unfinished. A need is determined and an online requisition initiated but not marked as finished.
“N”-Not approved. A finished requisition that is awaiting approval.
“O”- Outstanding. A finished and approved requisition.
“P”- PO created
a. Follow steps 1-3 from Procedures for Electronic Check Requisition
b. press shift “@” to call up last record
c. Enter vendor ID number
d. Enter vendor name
e. Enter requisition number
f. Click OK or press enter
- The requisition inquiry screen contains all requisition information for monitoring.
a. Requisition number
b. Status
c. Status date
d. Requisition date
e. PO numbers
f. Initiator
g. Vendor ID
h. Vendor name
i. Comments
j. Approver and date of approval
k. Description with quantity and estimated and extended prices
If you have questions call Accounts Payable at any of the following extensions: 1191 or 2608.
|
- The Purchase Order will be in etrieve Content under the Procurement Services area with a doc type of PRSV Purchase Order or PRSV Purchase Order - Blanket..
|