How to Add Content as a HTML Page
Goal
After completing this how-to you will have knowledge needed to add content as a HTML page. This process can be done to create HTML pages for assignments, discussions, quizzes, exercises, etc. within a module or sub-module. For other standalone guides not listed on any other topic page, access the Additional Guides topic page.
Navigation
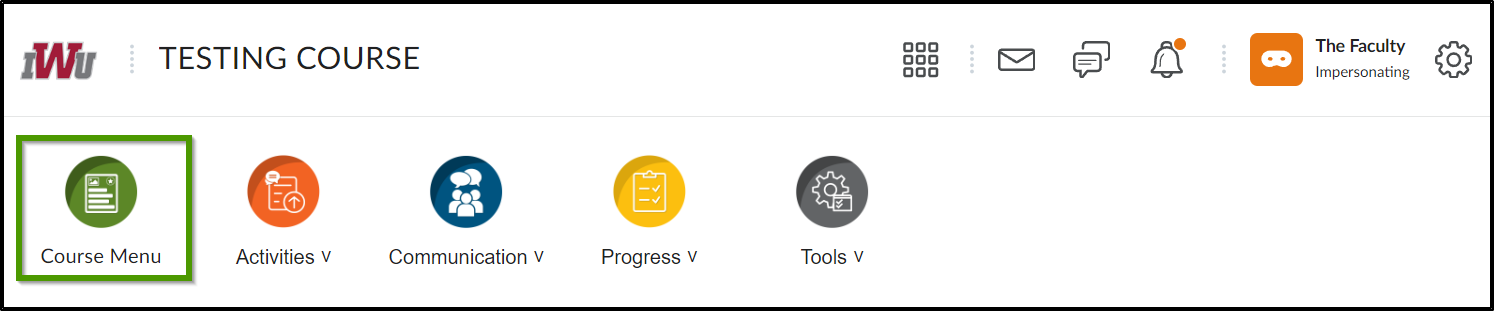
- Select "Course Menu" from the course navbar.
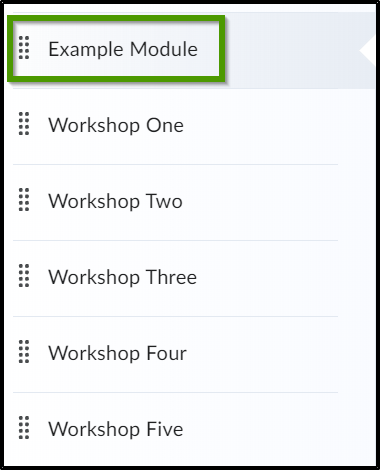
- Select a module or sub-module located within the "Course Menu".
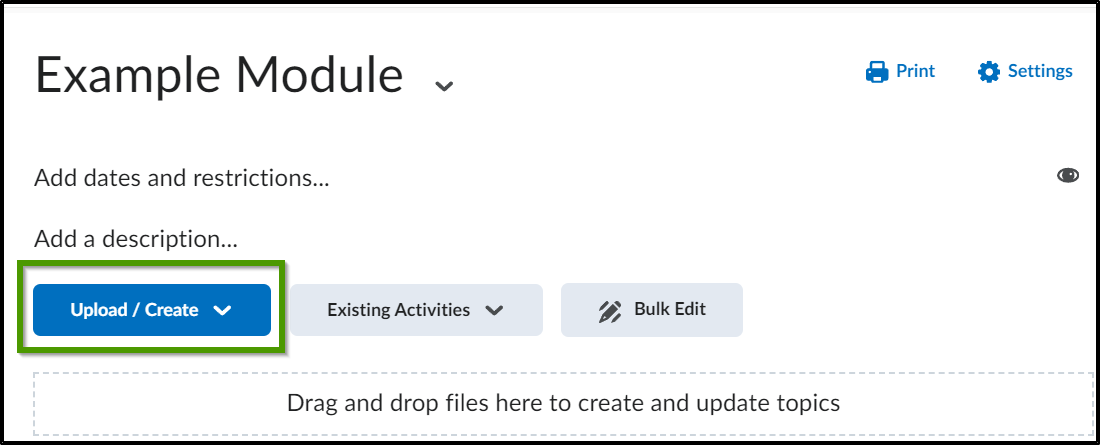
- Within the chosen module or sub-module, select the "Upload/Create" button.
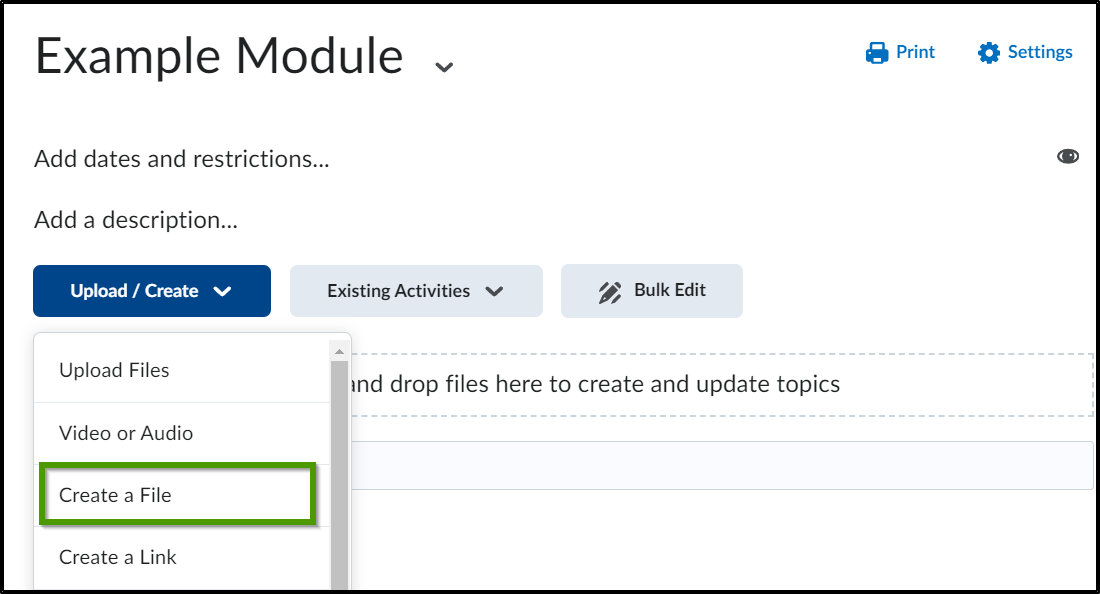
- From the menu options, choose "Create a File".
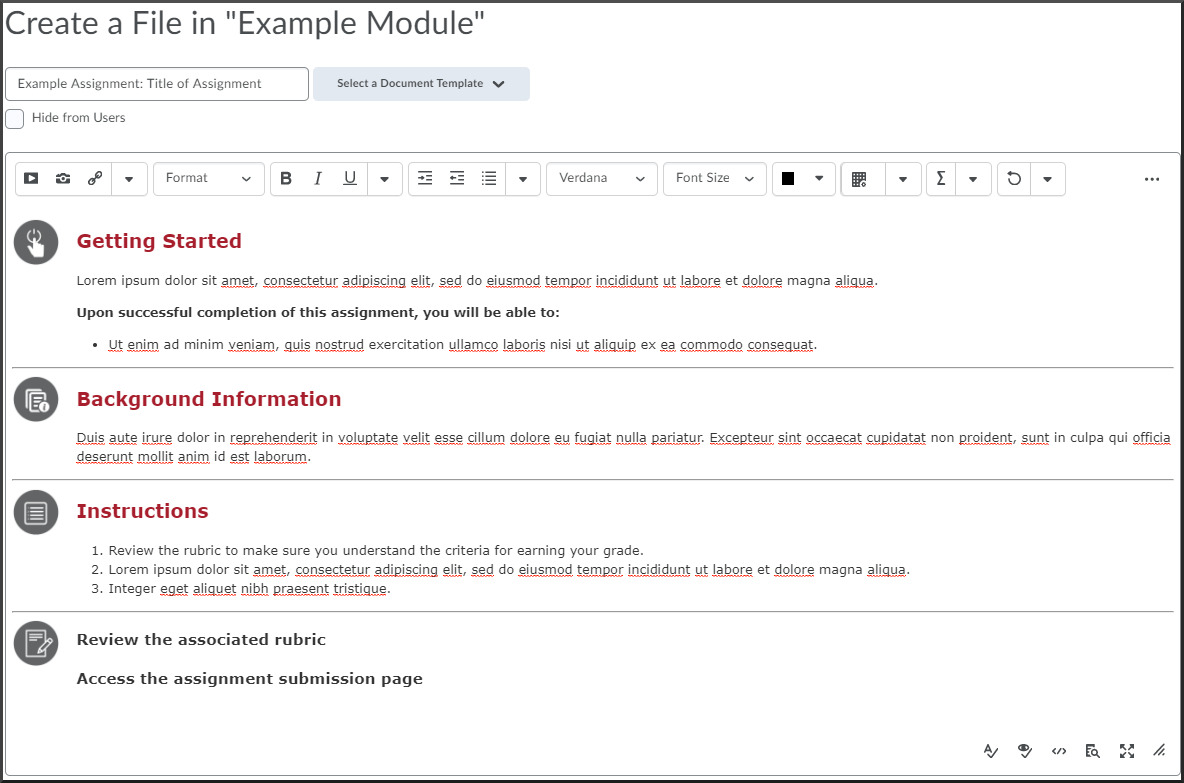
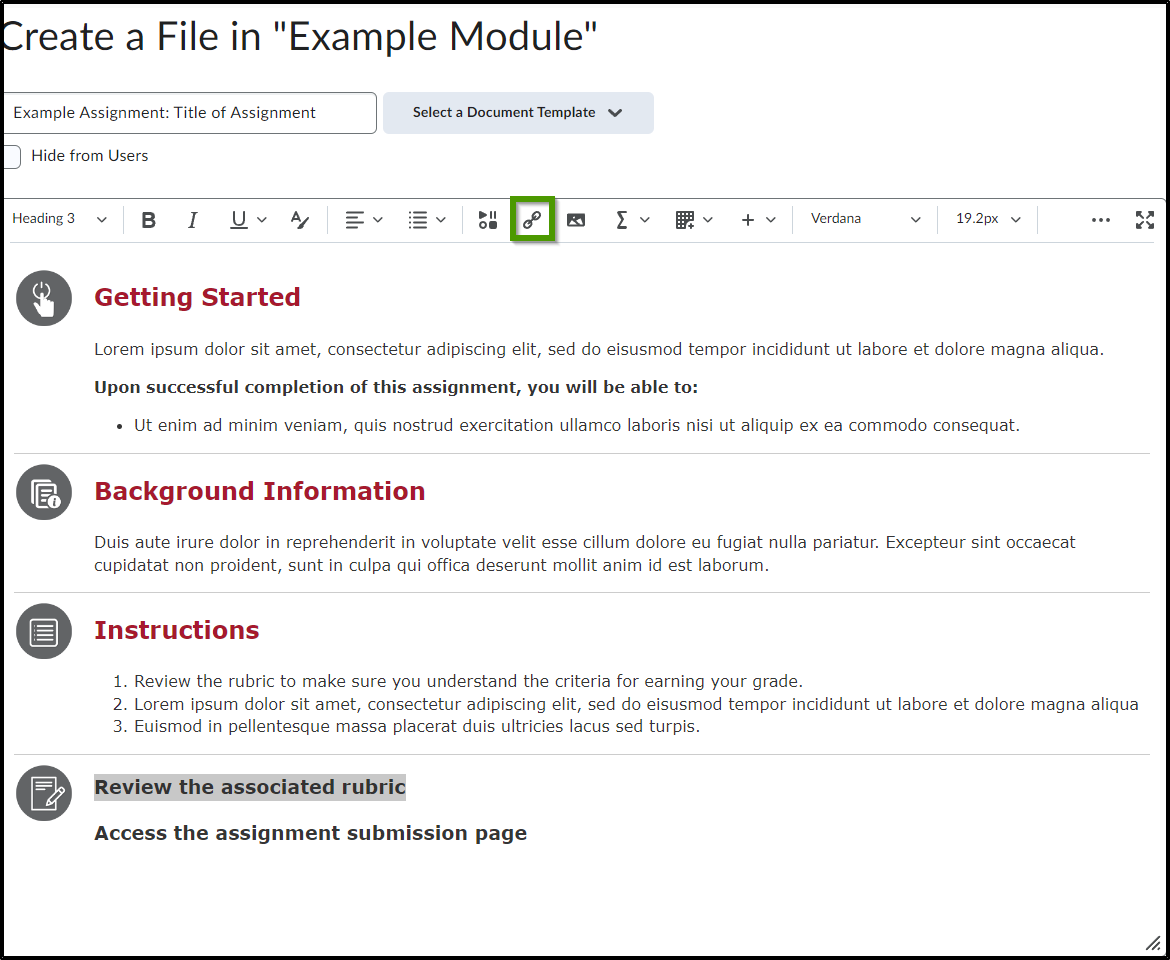
- Enter a title for the file.
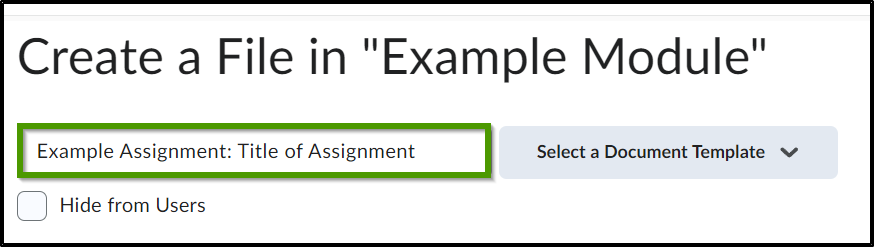
- Choose the correct template according to the type of activity being created, by selecting the dropdown arrow located in the "Select a Document Template". Use of one of the pre-made templates is recommended but not required.
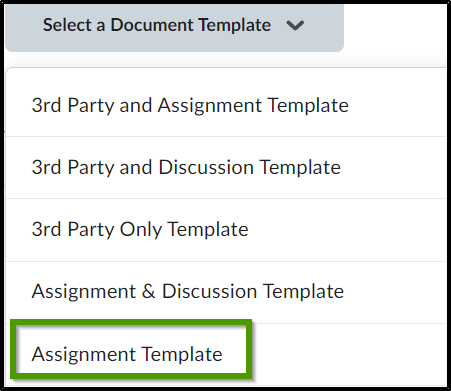
- If one of the pre-made templates is used, copy and paste or type the information into each section of the template.
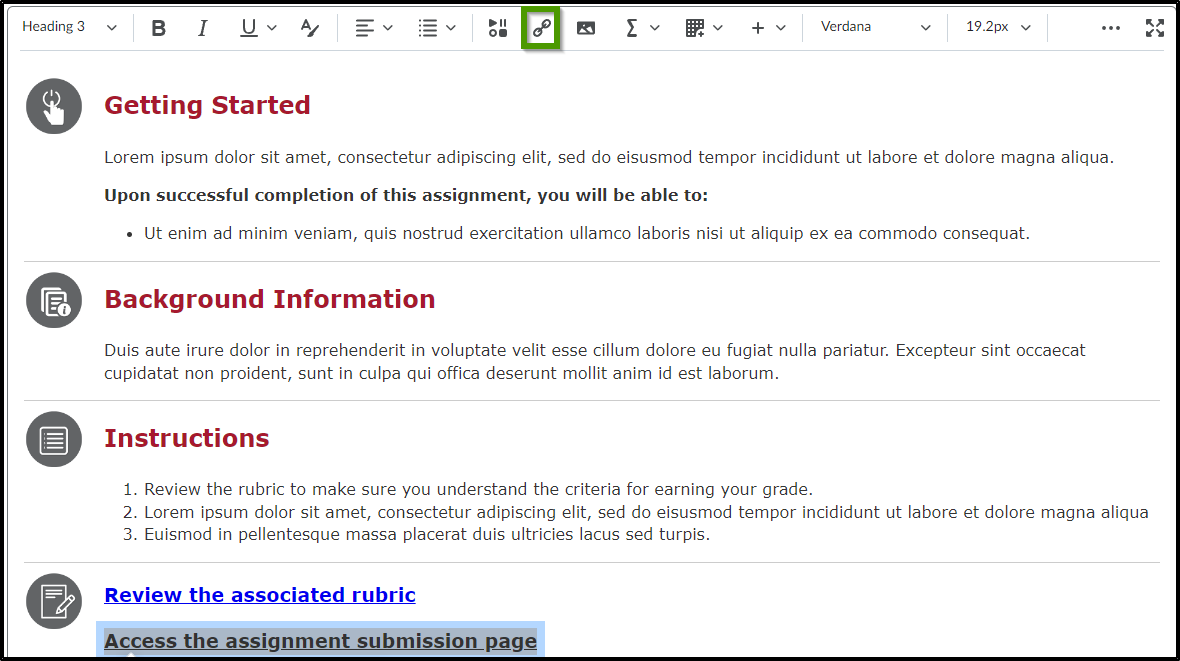
- If there is an associated rubric, create a link to the rubric by selecting the "Review the associated rubric" text, copying the text, and selecting the Quicklink symbol.
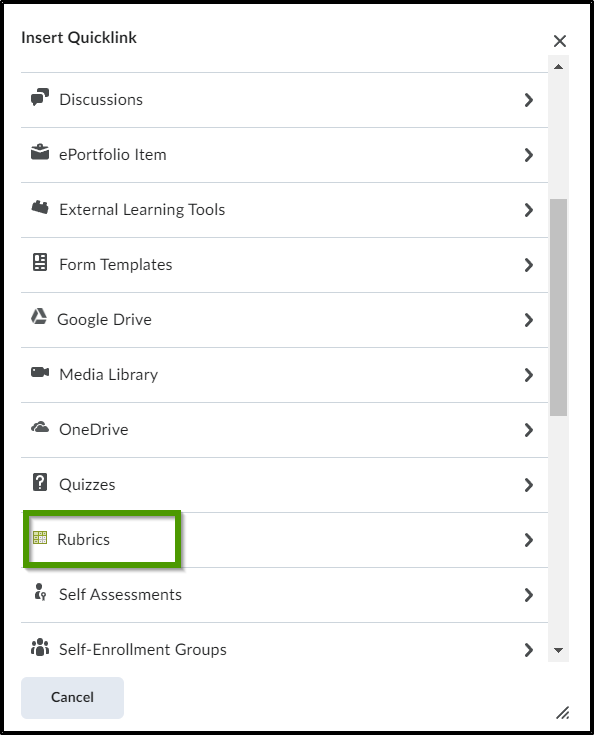
- From the Insert Quicklink menu, select "Rubrics".
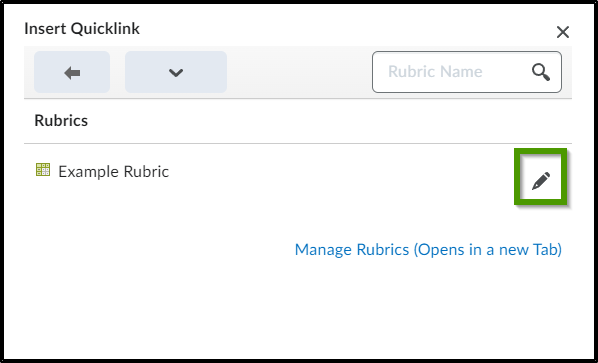
- Select the pencil icon next to the desired rubric.
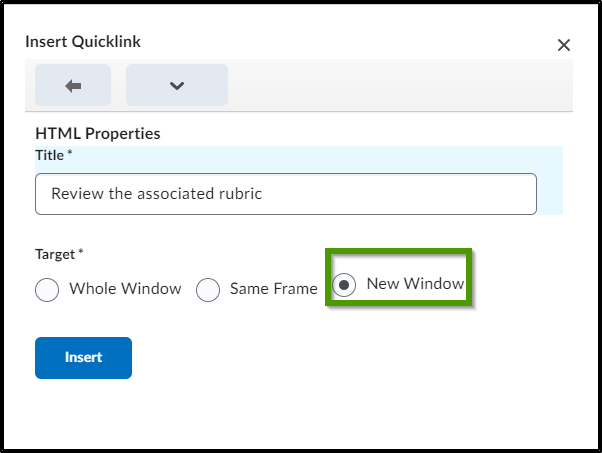
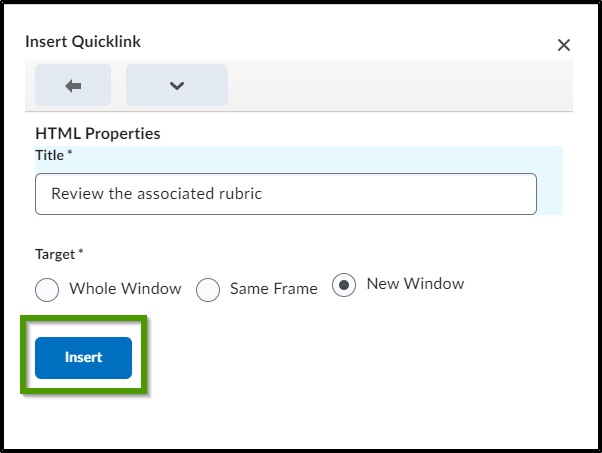
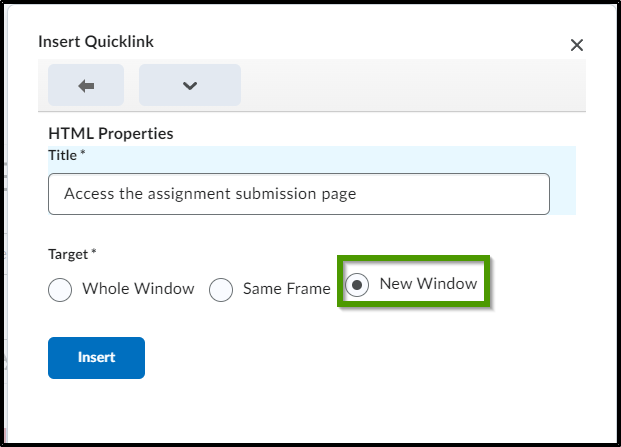
- Paste the copied text "Review the Associated Rubric" into the HTML Properties Title field.
- Within the Target, select the radio button next to "New Window."
- Select the "Insert" button.
- To create a link to the activity, select the "Access the ... text, copy the text, and select the Quicklink symbol.
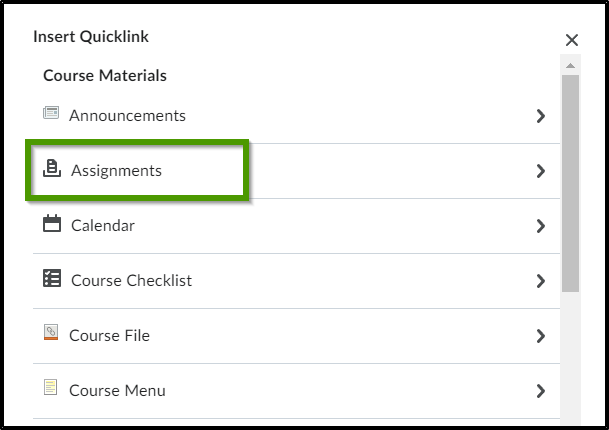
- From the Insert Quicklink menu, select the activity to be linked to. In this example, we will link to the Assignment tool.
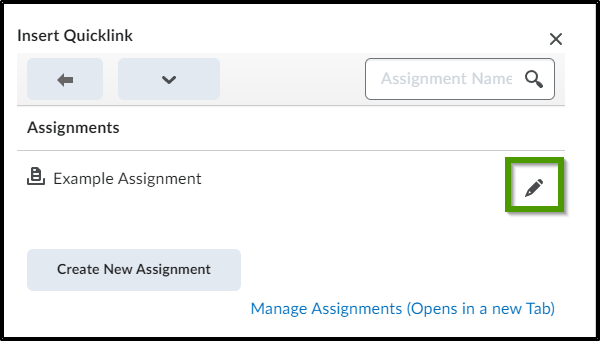
- Select the pencil icon next to the desired assignment.
- Paste the copied text "Access the ...." into the HTML Properties Title field.
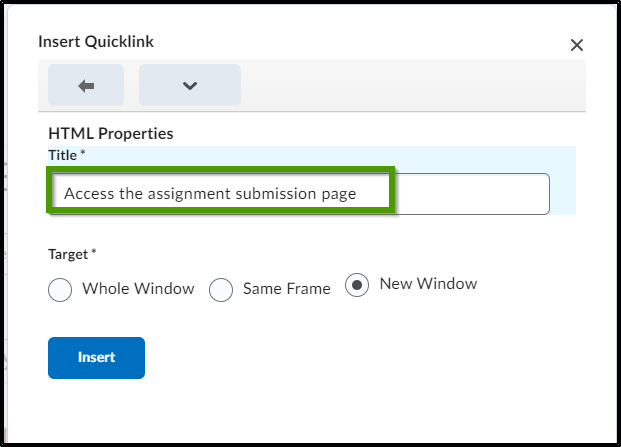
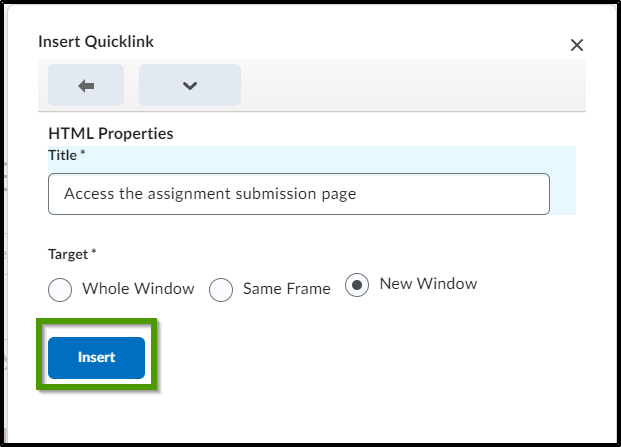
- Within the Target, select the radio button next to "New Window."
- Select the "Insert" button.
- Once all content has been added, select the "Save" or "Save and Close" button.