How to Send an Email in Brightspace
Goal
After completing this how-to you will have the knowledge needed to send an email within Brightspace. To send an email utilizing the classlist, review the guide on How to Send an Email from the Classlist article. **Please note, you may send an email through Brightspace, however you will not receive replies through Brightspace. Replies to any sent email will be received through the email address on file, which most generally will be your IWU email account.**
Navigation
Option 1
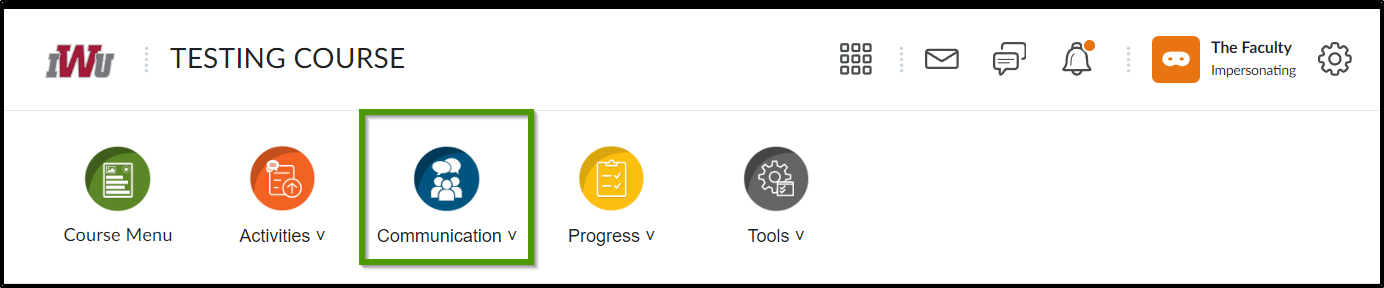
- Select the "Communication" icon located within the course navbar.
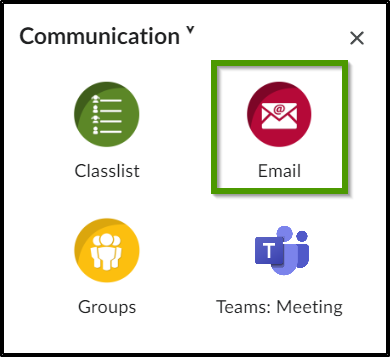
- From the Communication menu, select "Email".
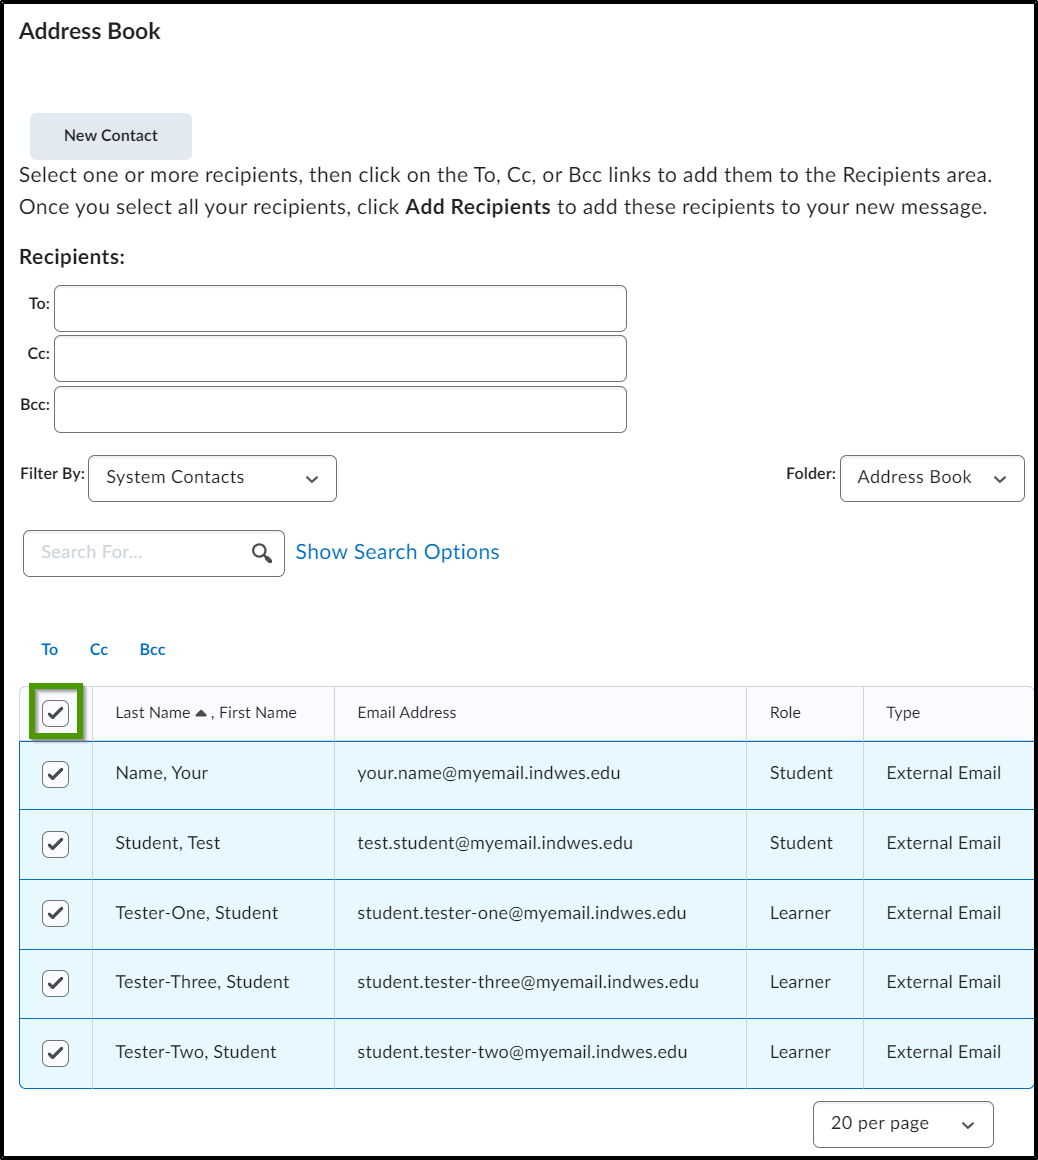
- Select "Address Book" to locate the individual(s) that you would like to email.
- Within the "Address Book" window, scroll to the bottom and choose the students and/or faculty that you would like to email by selecting the checkbox next to their name.
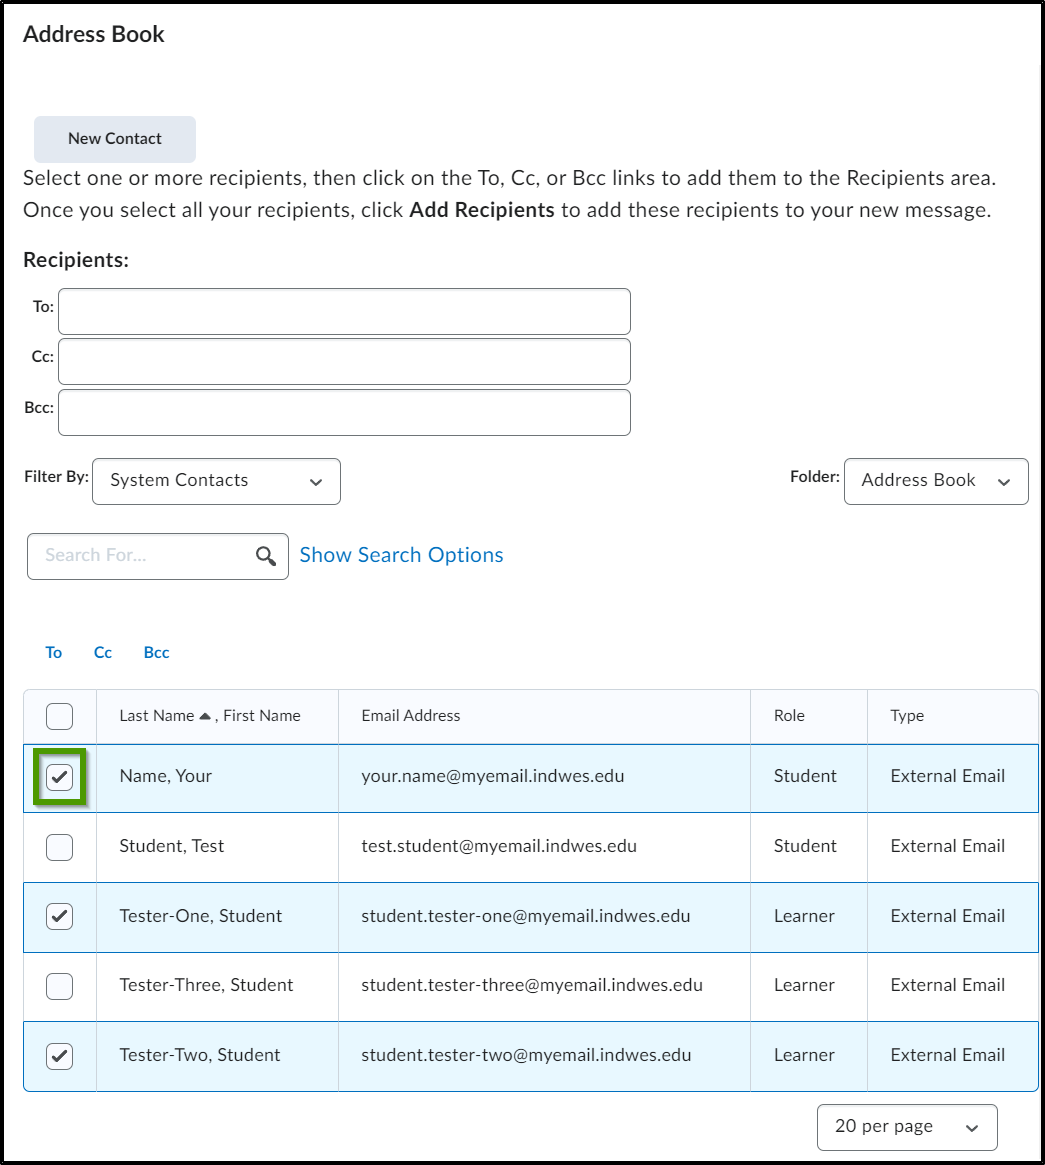
- To email all students and faculty enrolled in the course, select the checkbox in the header line.
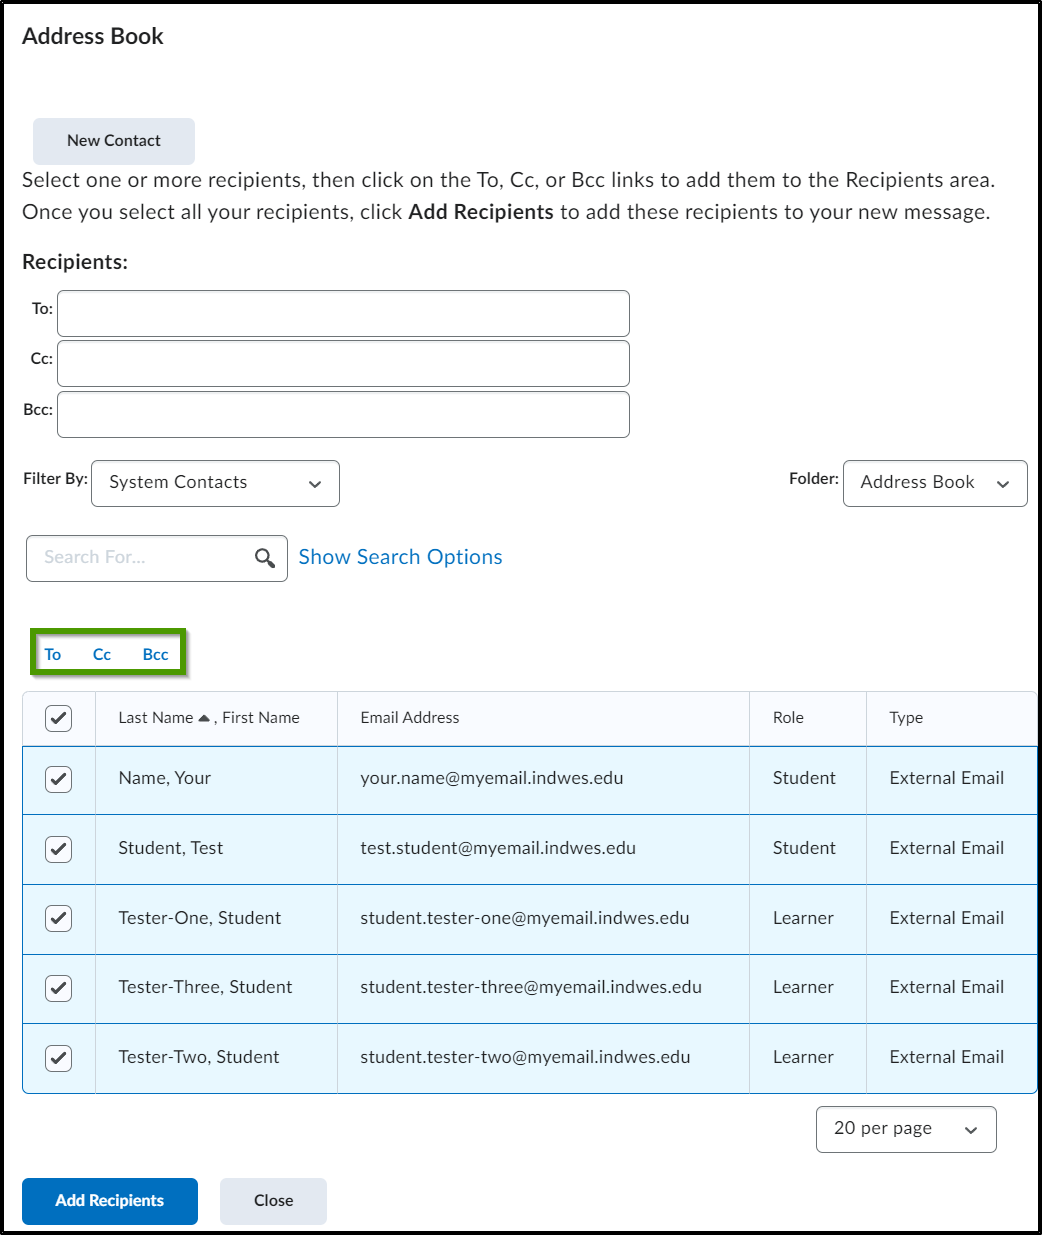
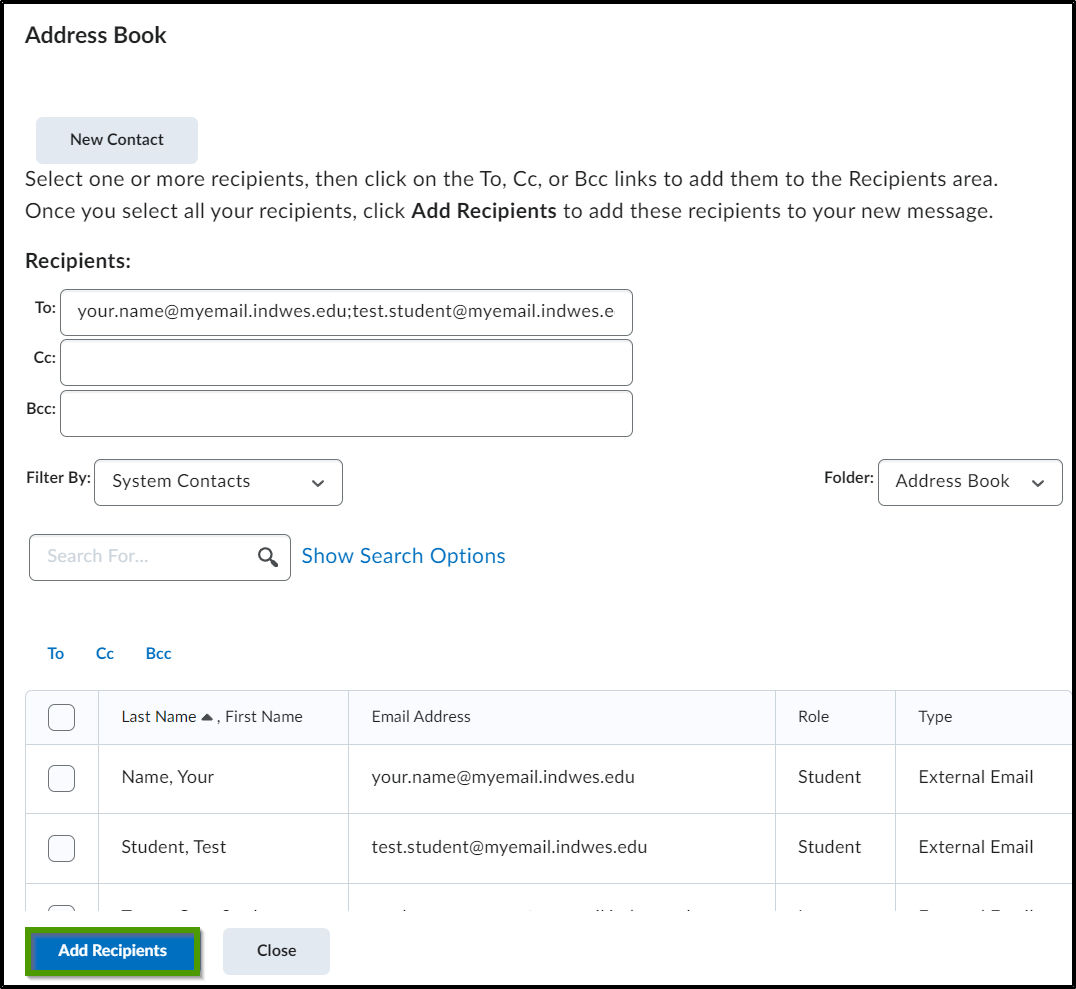
- After choosing desired email recipients, select "To", "Cc", or "Bcc" to add the faculty and students to the appropriate recipient line.
- After all recipients have been selected and added to the appropriate recipient line, select the "Add Recipients" button.
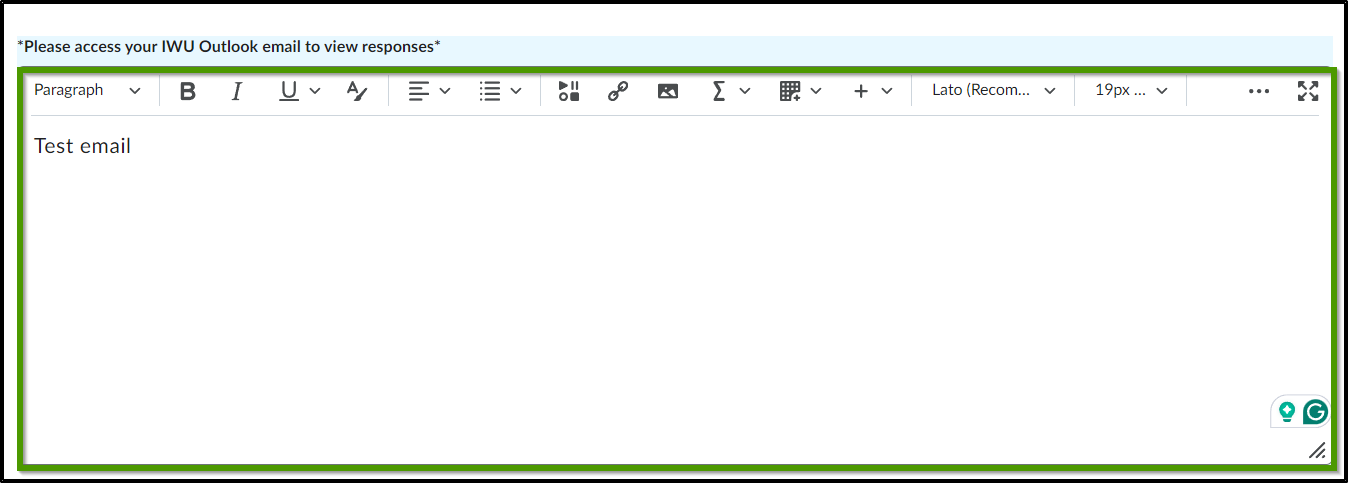
- Enter a subject in the "Subject" line. The course title will automatically prefill in the subject line.

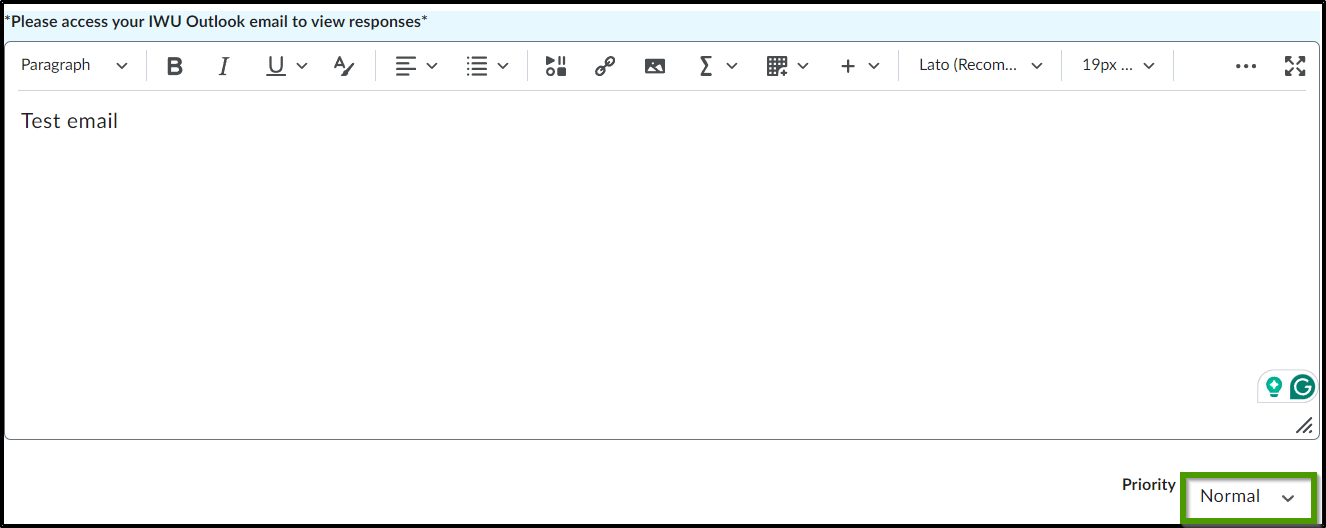
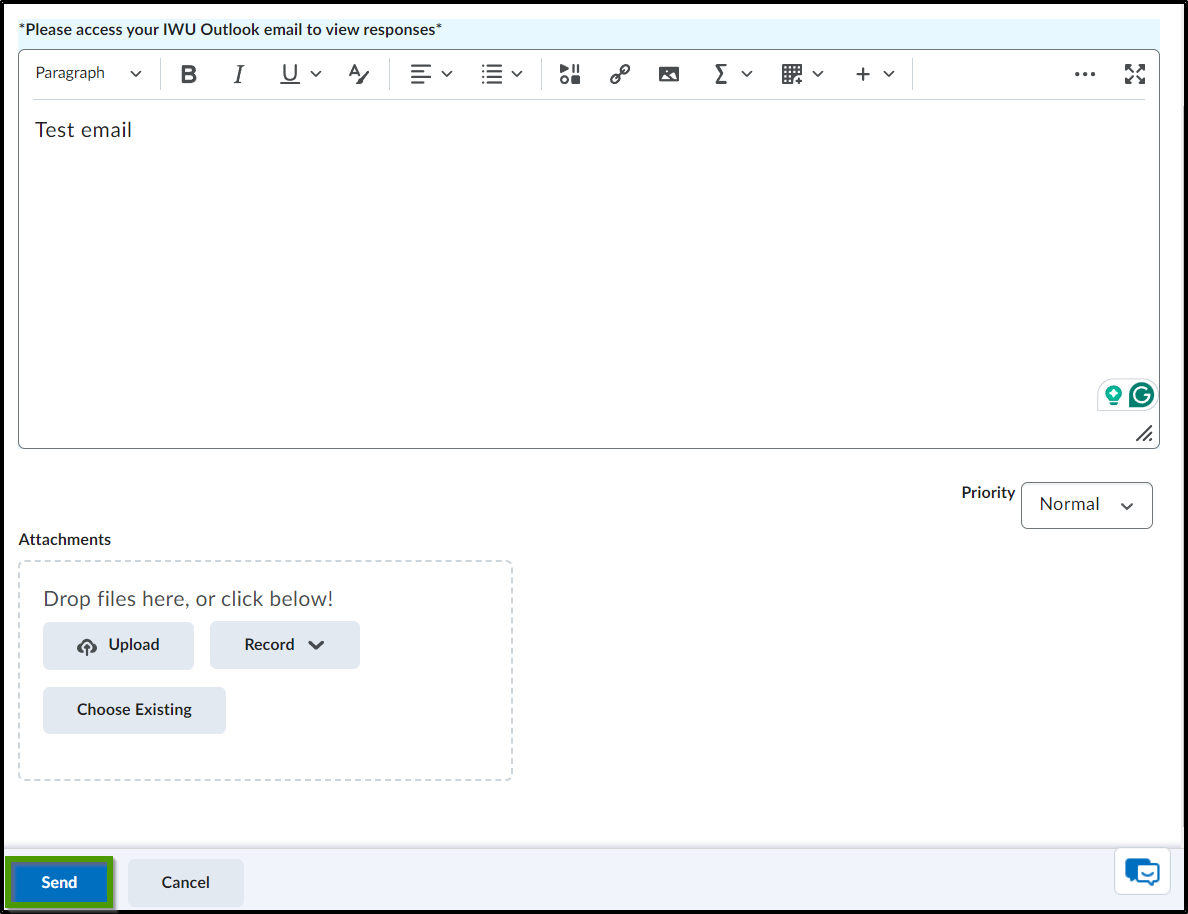
- Compose the email within the HTML editor.
- Choose the priority level of the email. It will default to "Normal".
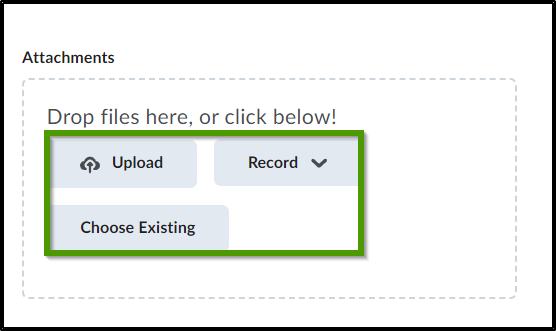
- Add any attachments that are applicable to the email by choosing the "Upload, Record, or Choosing Existing" buttons.
- Once the email is complete, select the "Send" button.

Option 2
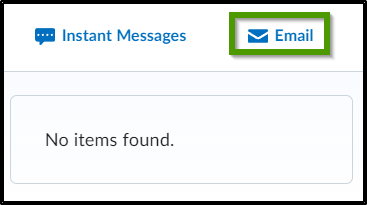
- Select the envelope icon located within the minibar.
- Choose "Email".
- Follow steps 3-12 above to complete composing and sending an email.