How to Upload Files and Create Links
Goal
After completing this how-to you will have knowledge needed to upload files and create links within modules and sub-modules. For other standalone guides not listed on any other topic page, access the Additional Guides topic page.
Navigation
Uploading a File within a module or sub-module
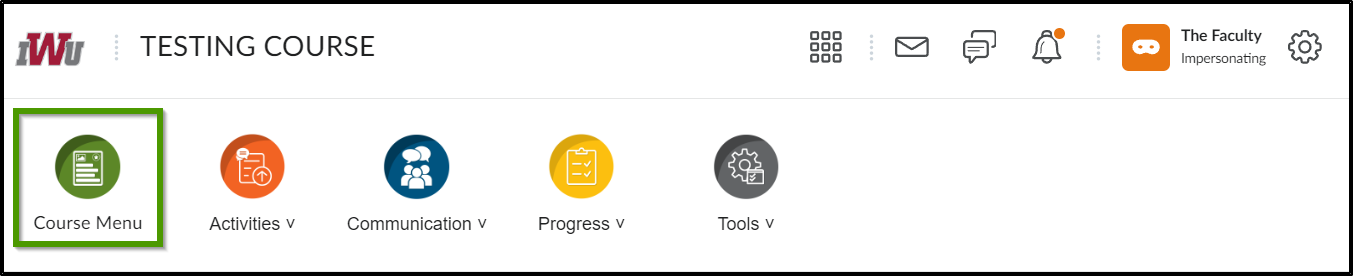
- After navigating to your course, select the "Course Menu" icon from the course navbar.
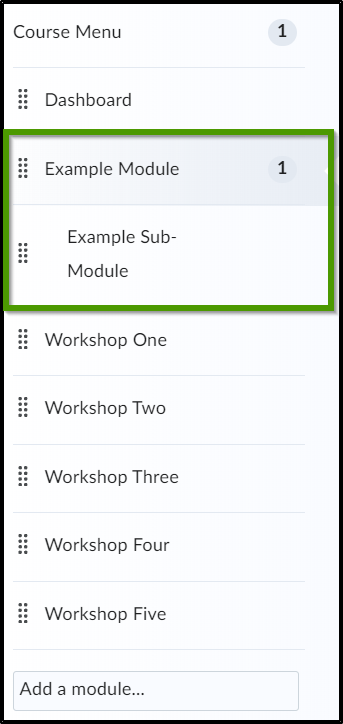
- Select an existing module or sub-module from the Course Menu.
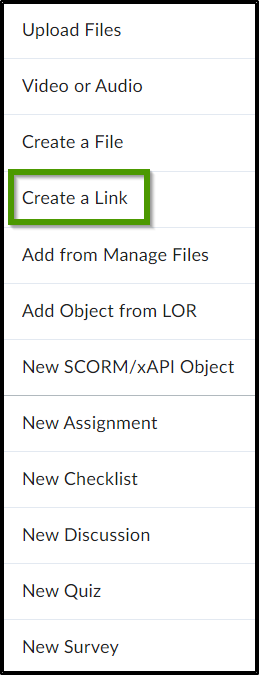
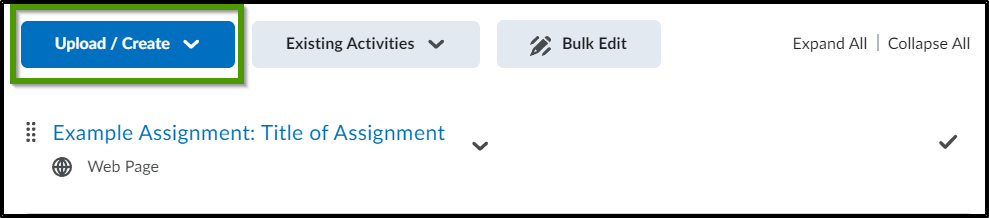
- Within the module or sub-module, select the Upload/Create dropdown menu.
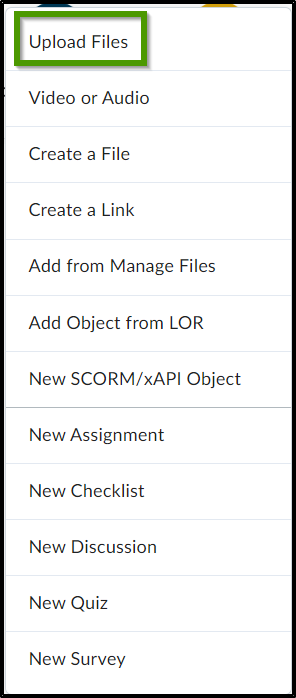
- Select "Upload Files" from the dropdown menu.
Option 1-File has not already been uploaded to the course
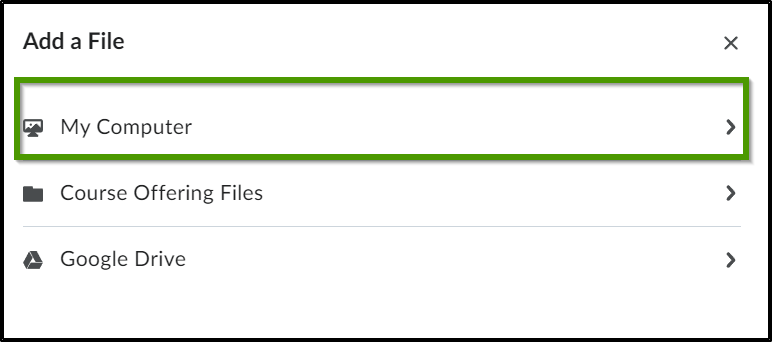
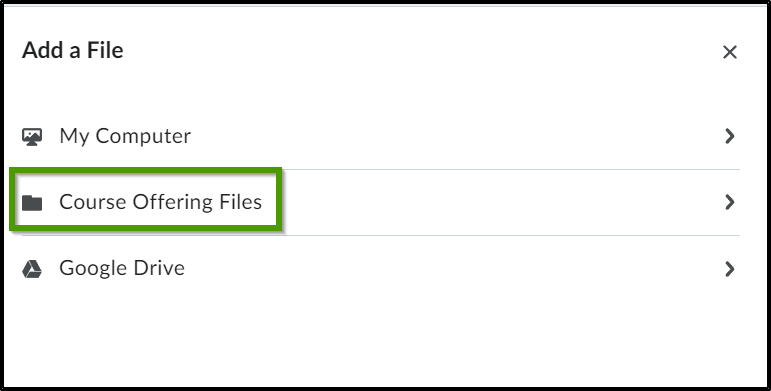
- From the "Add a File" popup box, select "My Computer".
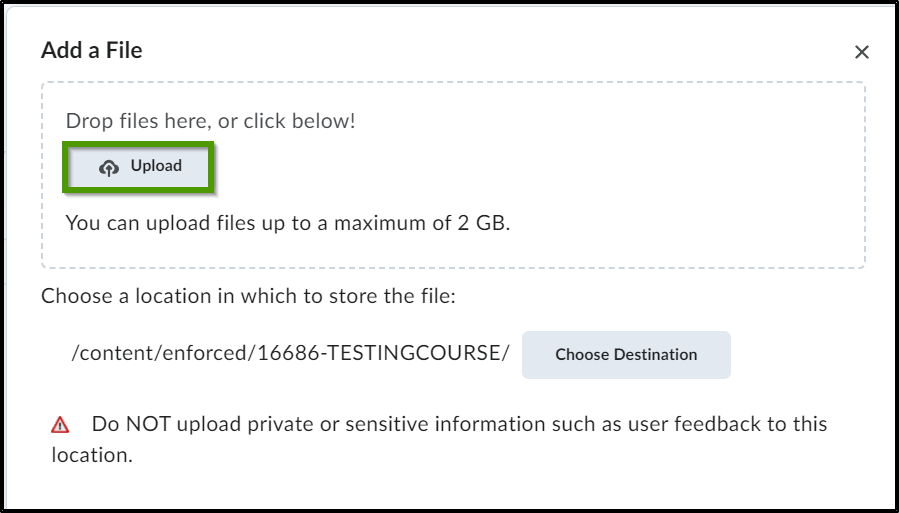
- Select the "Upload" button.
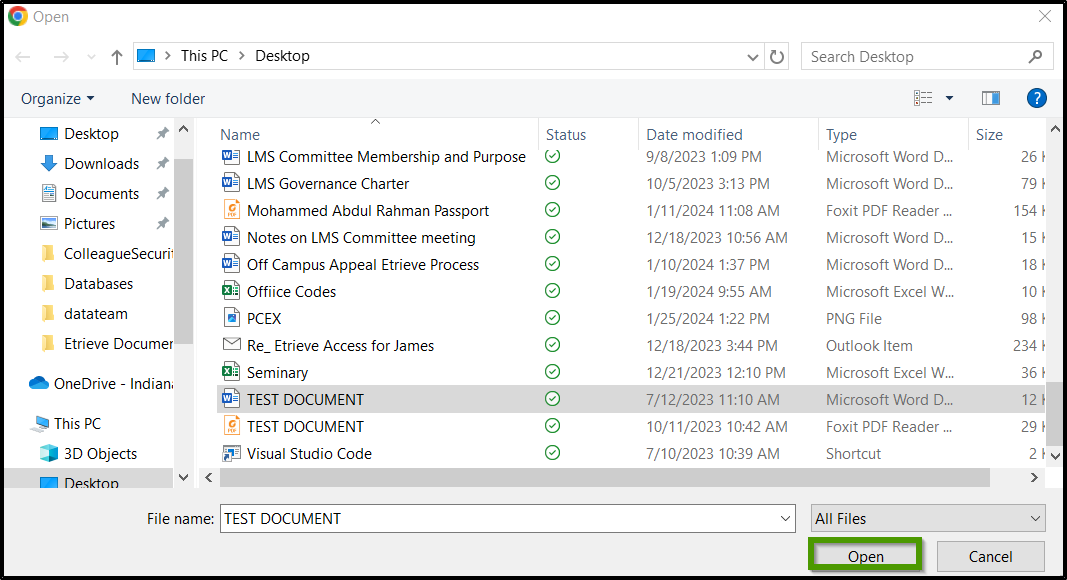
- Choose file from location on computer and select the "Open" button.
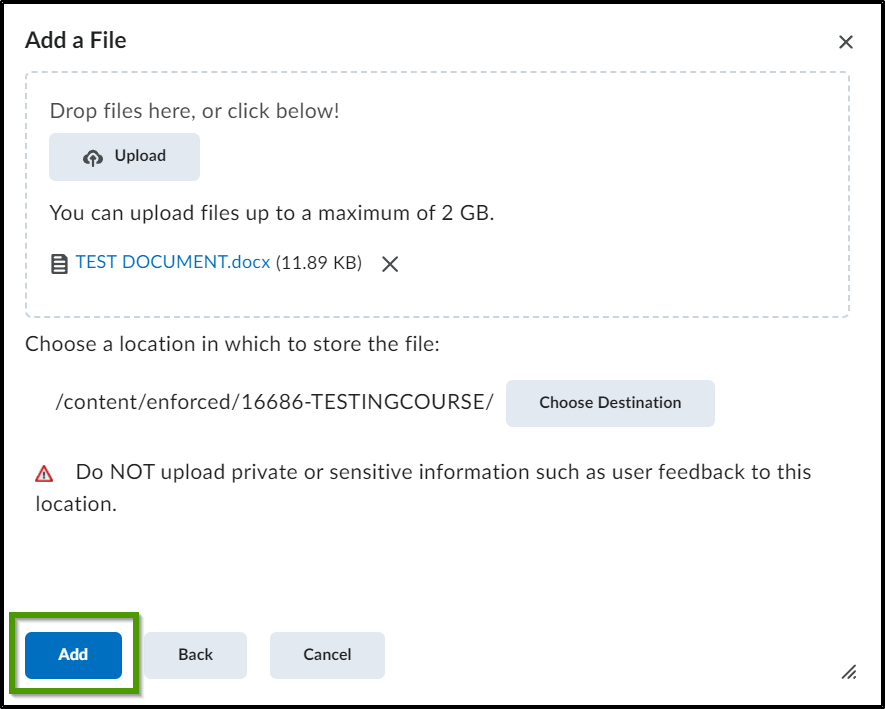
- Select the "Add" button.
Option 2-File has already been uploaded to the course
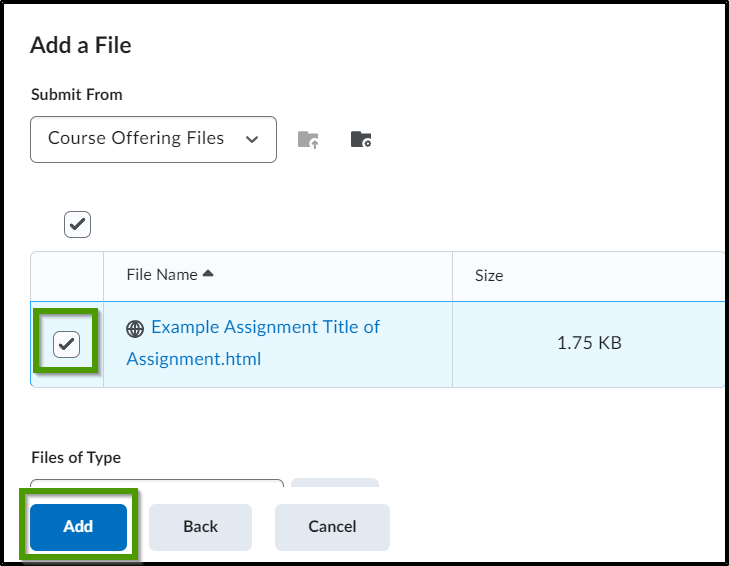
- If the file has already been uploaded to the course, choose "Course Offering Files"
- Choose the correct file by selecting the checkbox and selecting the "Add" button.
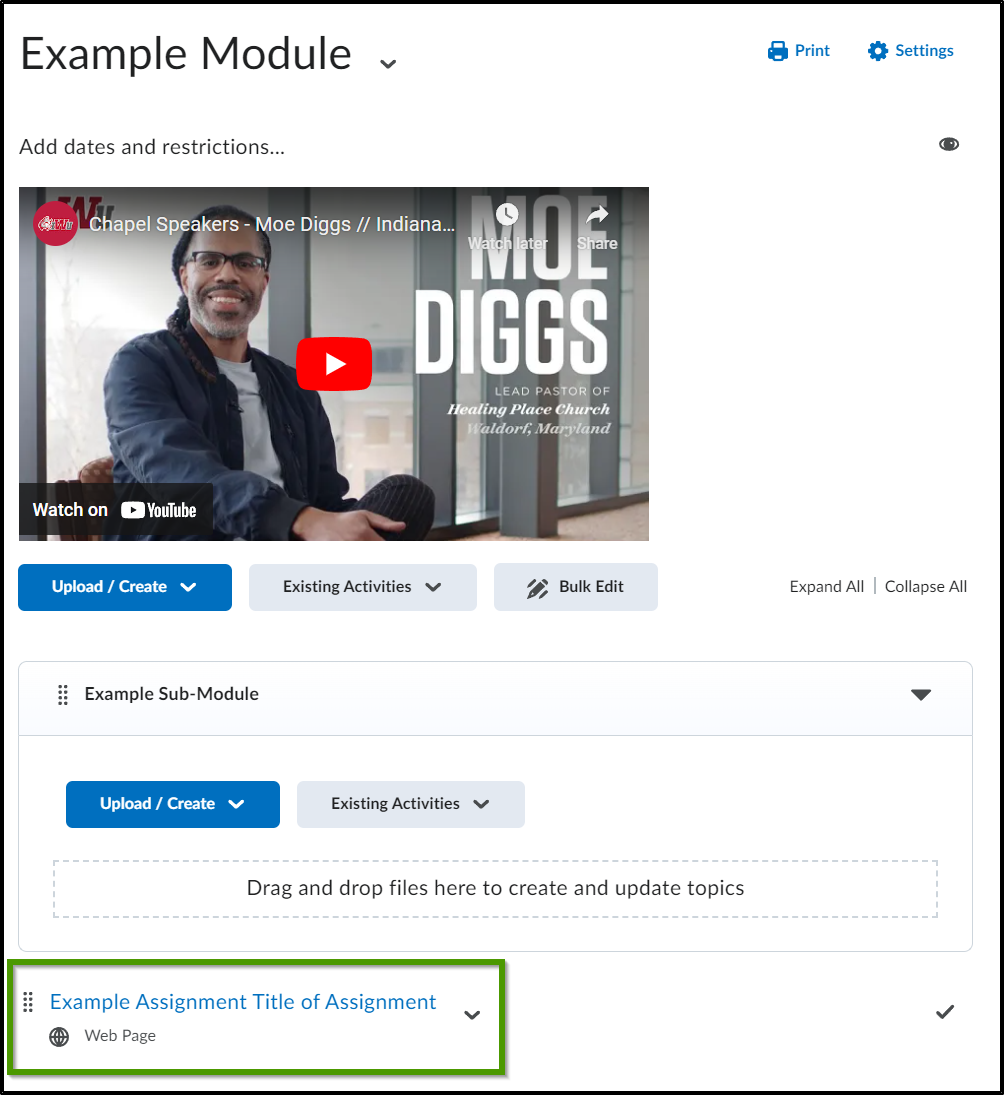
- The file will display within the module.
Creating a link within a module or sub-module
- Follow steps 1-3 above to navigate to your course. After navigating to the course, select a module or sub-module, and choose the "Create a Link" option from the Upload/Create dropdown menu.
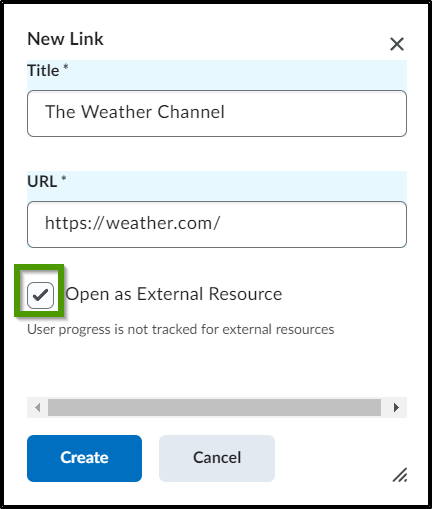
- In the "New Link" pop-up box, enter a title for the link.
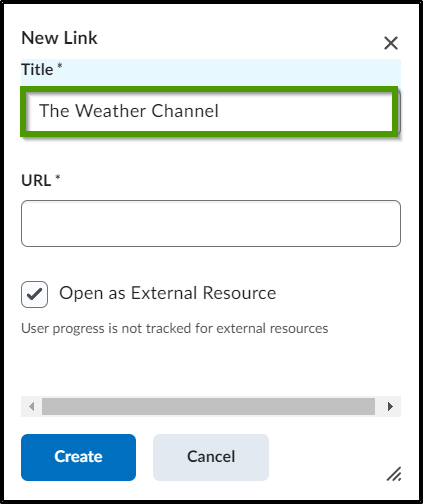
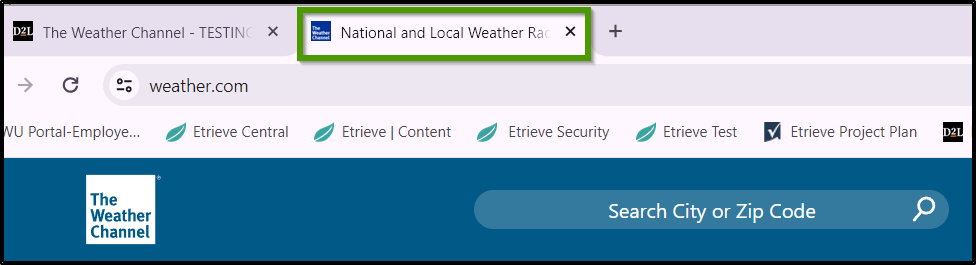
- In the URL field, enter or copy and paste the URL link.
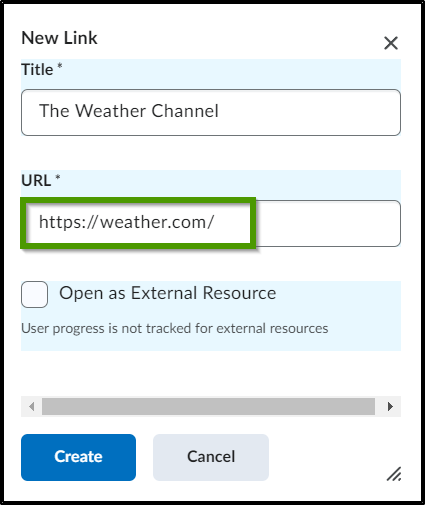
- Place a check mark in the "Open as External Resource" checkbox.
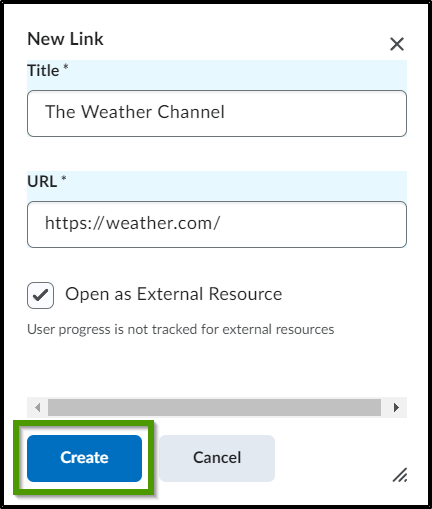
- Select the Create button.
- The link will appear within the module or sub-module.
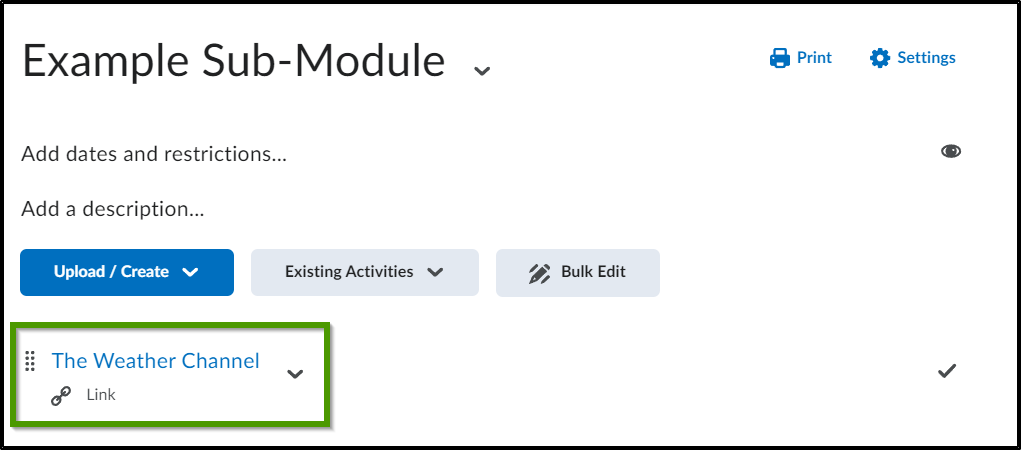
- When selecting the link, the webpage will open within a new window.