How to Create a Video Note
Goal
After completing this how-to you will have knowledge needed to create a Video Note within your course. You can use Video Note in a number of places throughout Brightspace including Content, Discussions, and even when grading and providing feedback to students. Video Notes can be inserted wherever there is an HTML editor with the "Insert Stuff" option or anywhere that offers the option to add attachments and record a video. For more information on other tools in Brightspace, review the Tools topic page.
Navigation
Adding a Video Note within a HTML editor
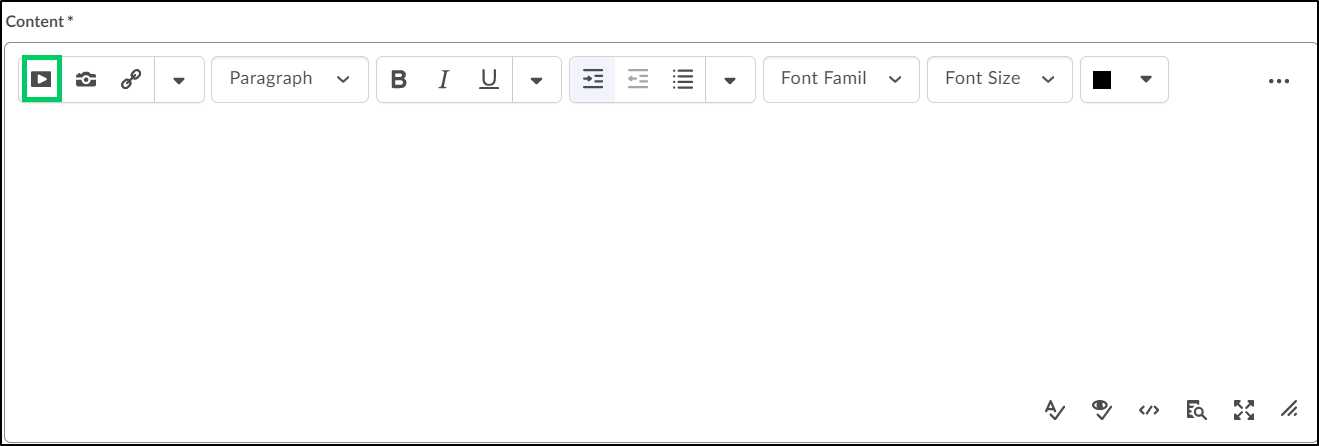
1. Within the HTML editor, select the "Insert Stuff" icon.
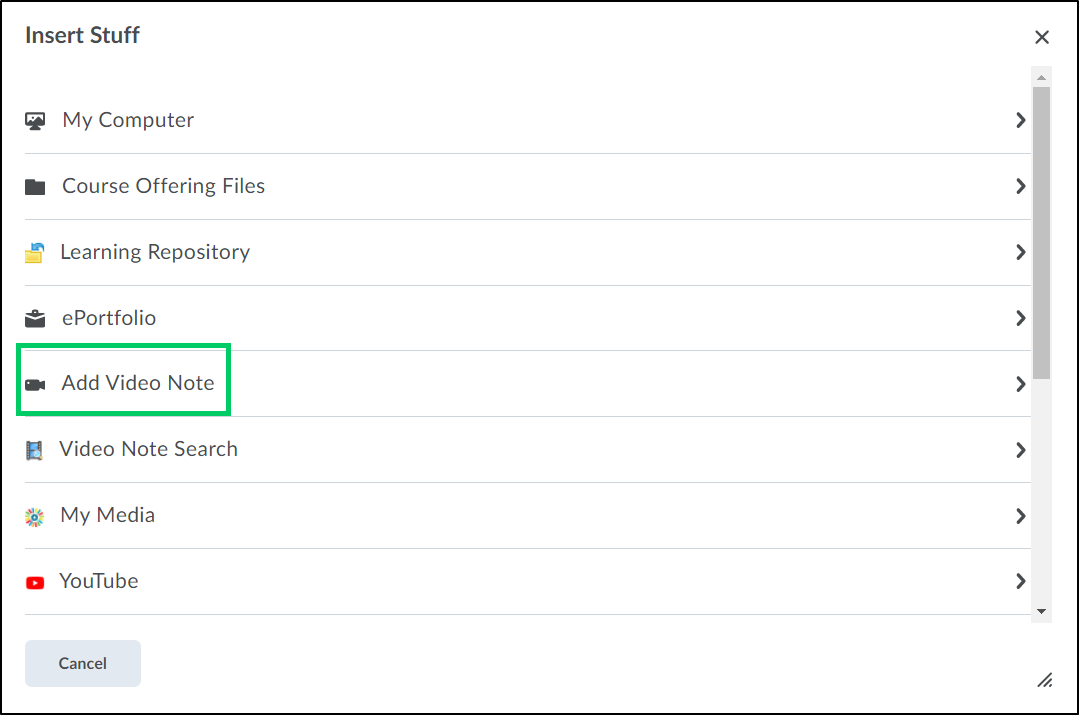
2. Select "Add Video Note".
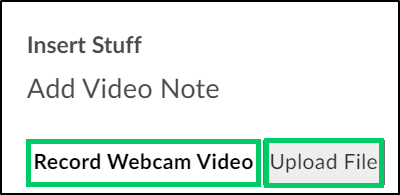
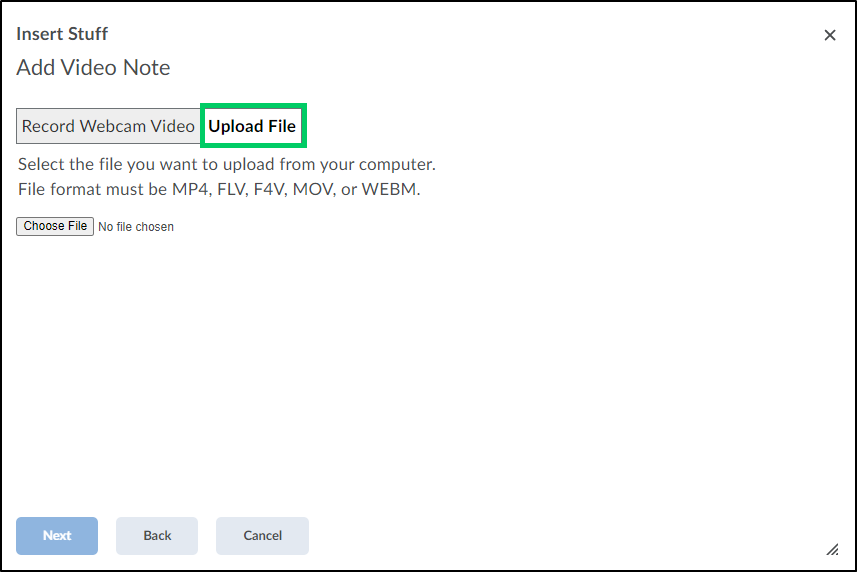
3. Choose whether to "Record Webcam Video" or "Upload File".
4. To record a webcam video, select "New Recording".

4a. Select "Stop Recording" when you have completed your video.

4b. Select the "Next" button.

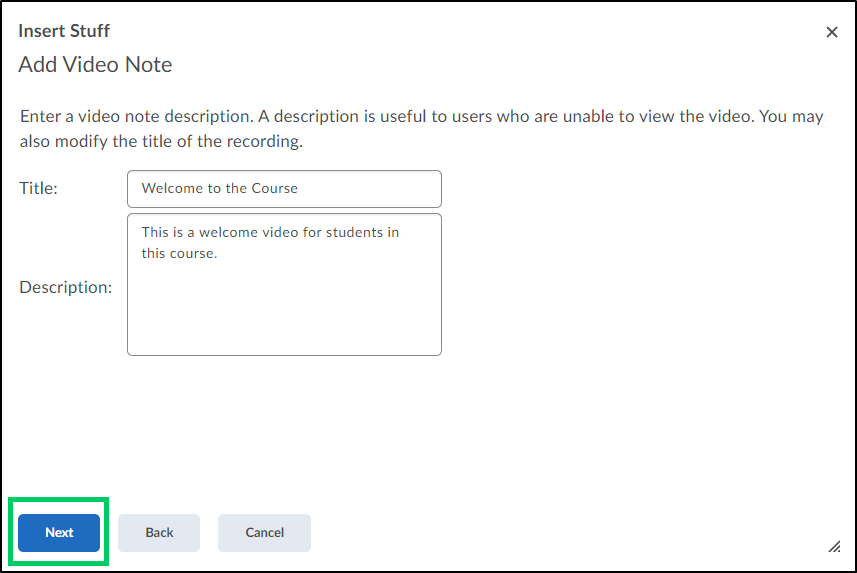
4c. Add a title for the Video Note.
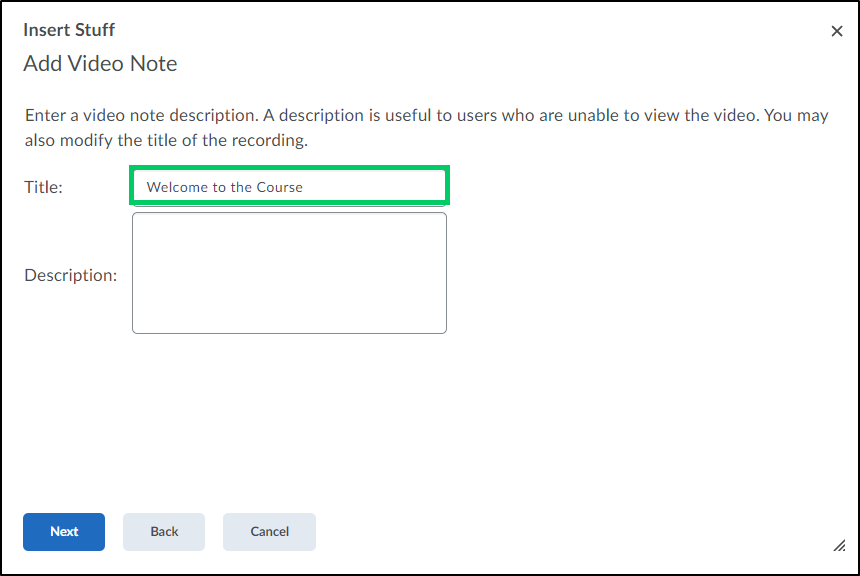
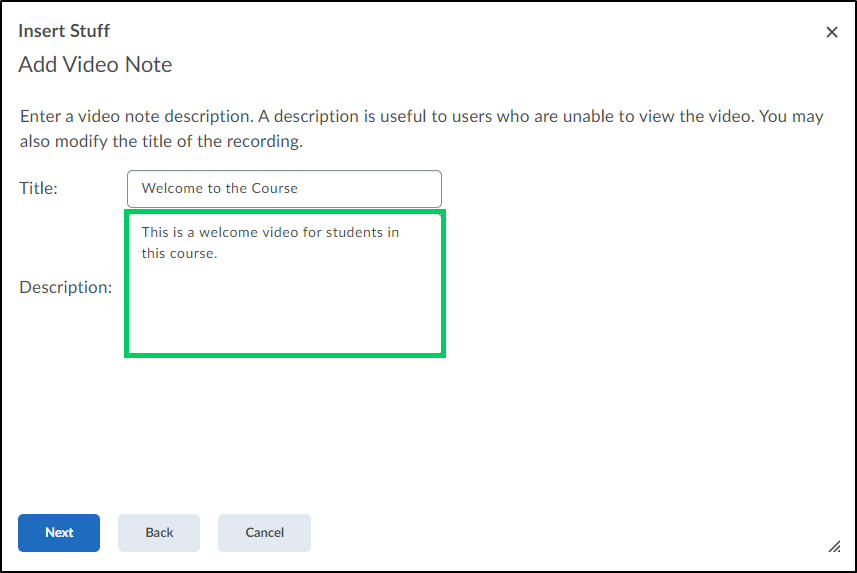
4d. Enter a description for the video for users who are unable to view the video for any reason.
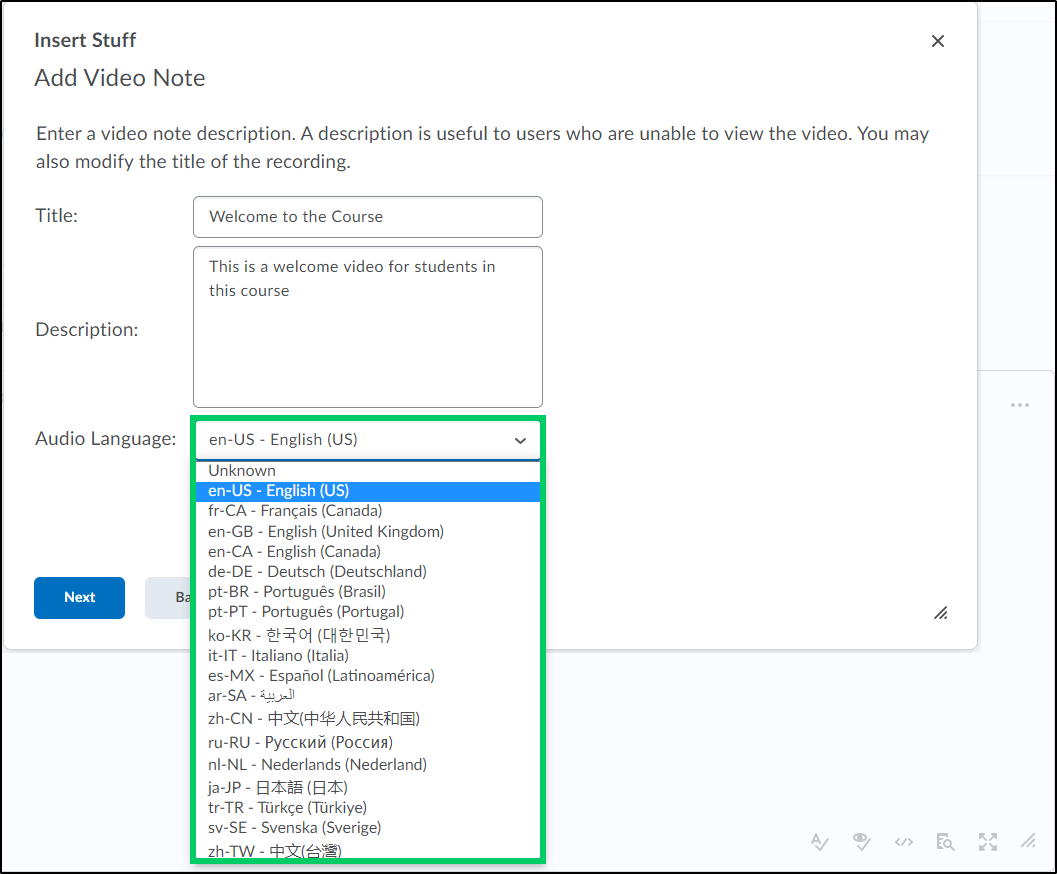
4e. Select the Audio Language from the dropdown menu
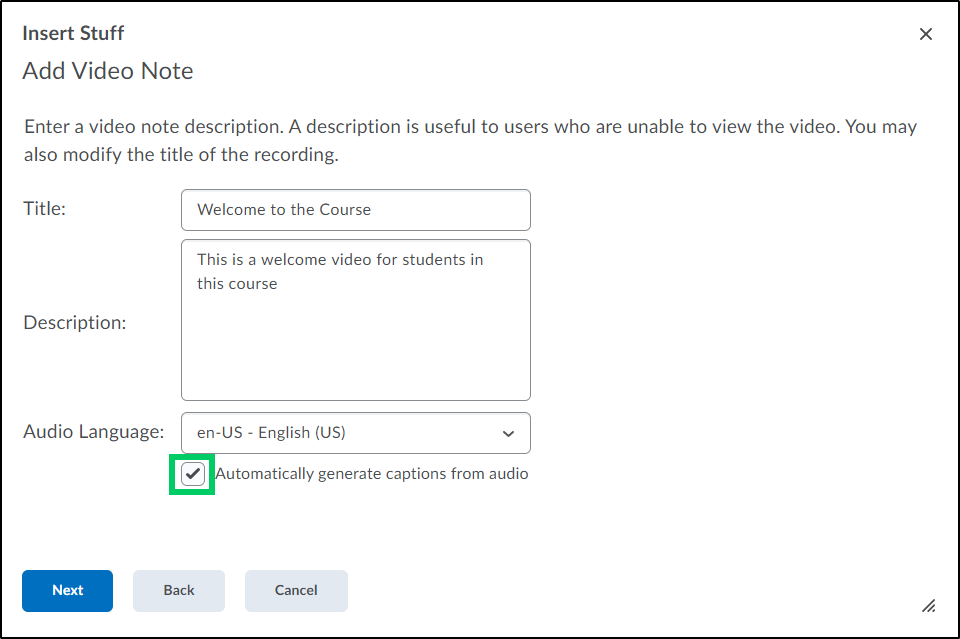
4f. Place a checkmark in the checkbox to have the captions automatically generated.
4g. Select the "Next" button.
4h. A message will be displayed that the media file is being transformed. Selecting "Refresh Preview" will display the video once it has finished processing.
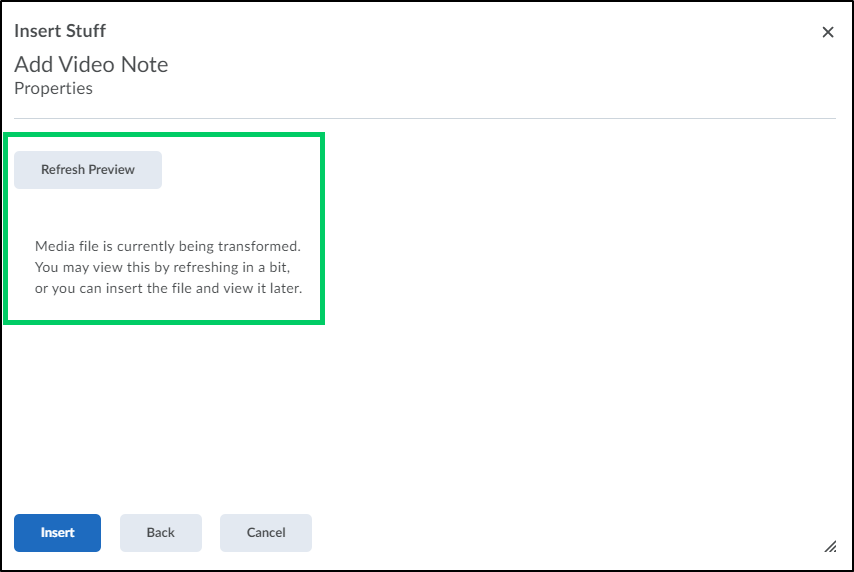
4g. Selecting the "Insert" button will add the video into the HTML editor.

5. To upload an existing file, select "Upload File".
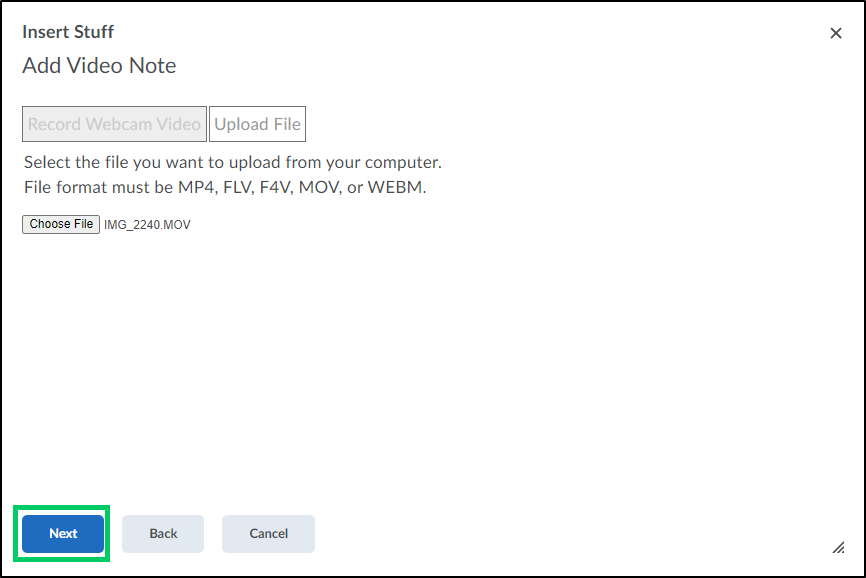
5a. Select "Choose File".
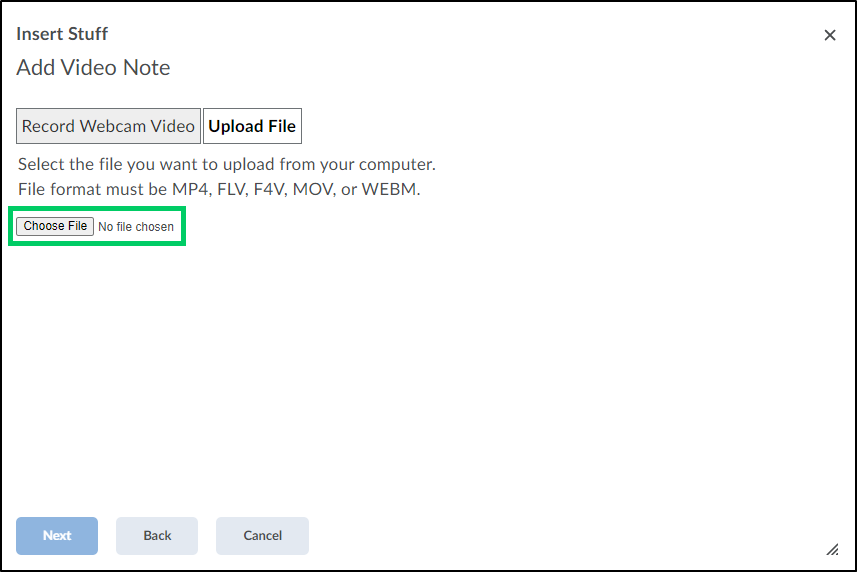
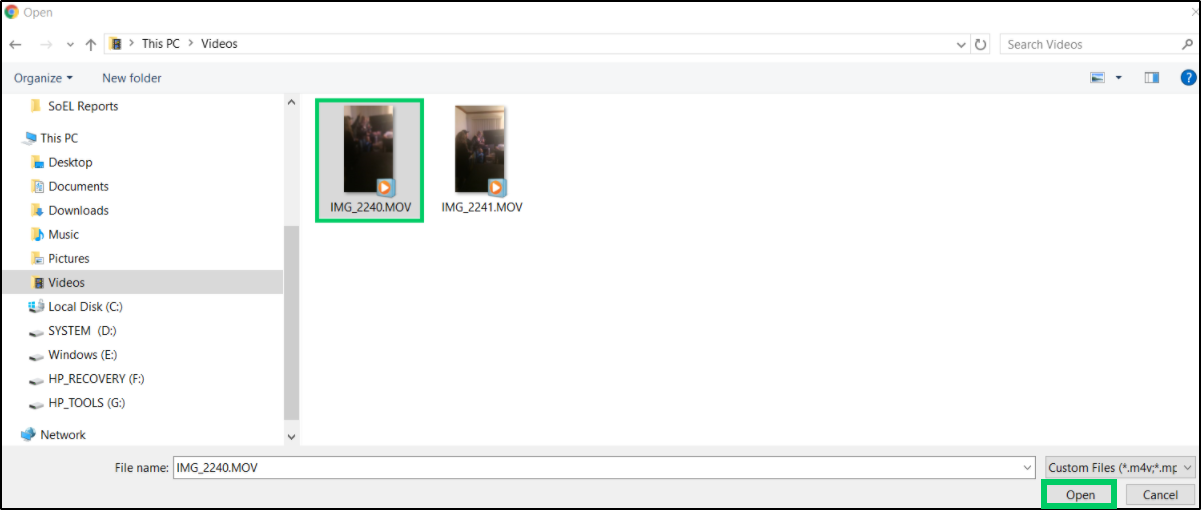
5b. Choose a file to upload and select "Open".
5c. Select the "Next" button. Follow 4c. through 4g. from above to complete the steps for adding a video note.
Adding a Video Note as an attachment
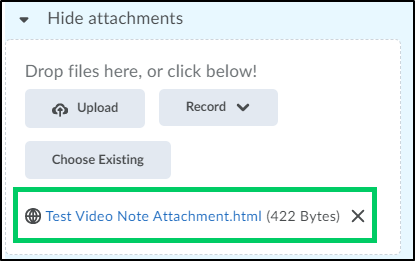
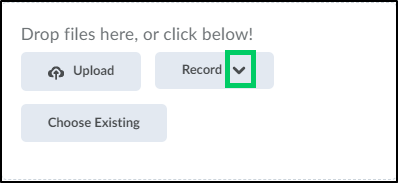
1. To add a video note as a part of an attachment, select the "Record" dropdown menu.
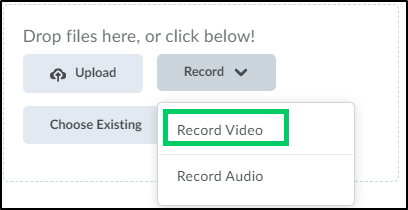
1a. From the record dropdown menu, select "Record Video".
1b. Follow step 4 and all subpoints listed above for the remaining steps needed to add the video as an attachment.
