How to Create a Survey
Goal
After completing this how-to you will have knowledge needed to create a survey. Surveys are an excellent way to solicit feedback from participants regarding any aspect of a course. You can gather anonymous or non-anonymous opinions and information from users. Unlike quizzes, survey questions do not have to have right or wrong answers. Surveys are not able to be associated to a grade item in the gradebook. For more information on other tools in Brightspace, review the Tools topic page.
Navigation
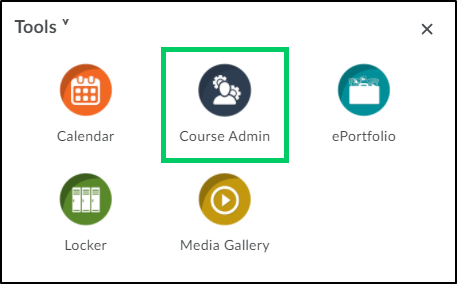
1. From the course navbar, select the "Tools" icon.

2. From the "Tools" menu, select "Course Admin".
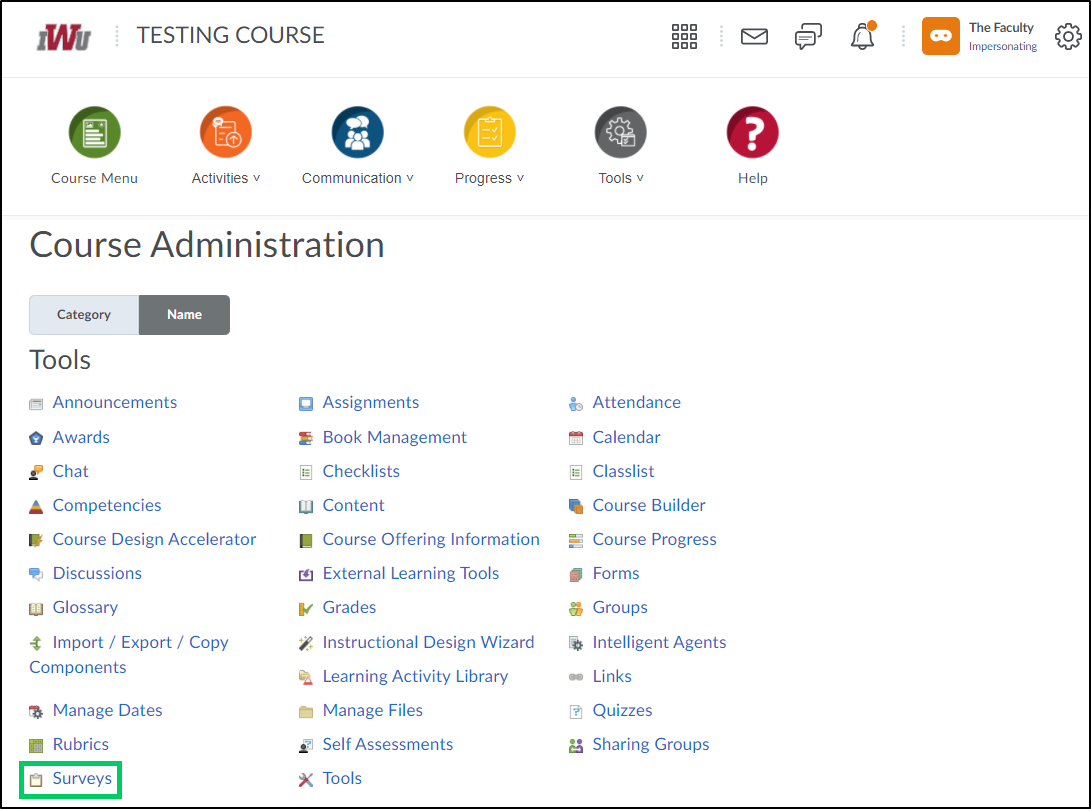
3. From the Course Administration menu, select "Surveys".
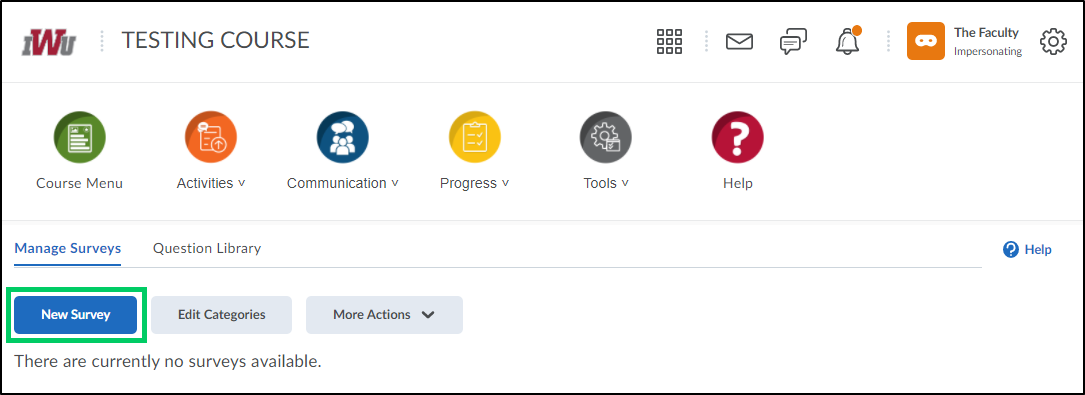
4. To create a new survey, select the "New Survey" button.
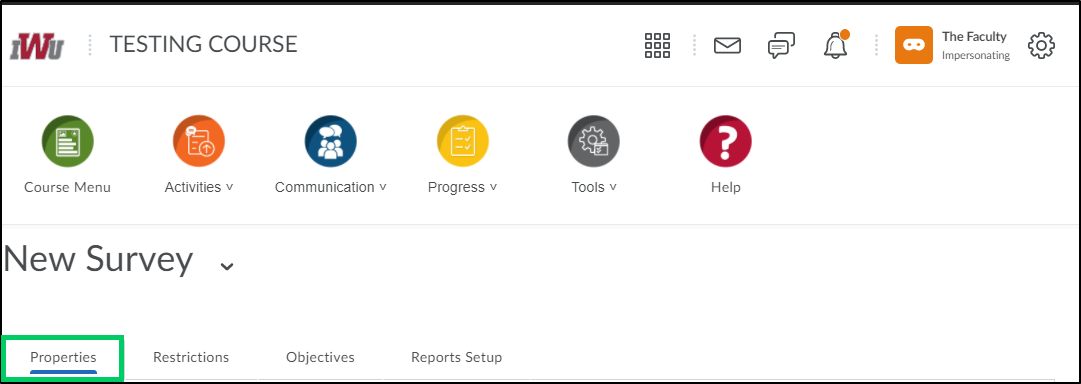
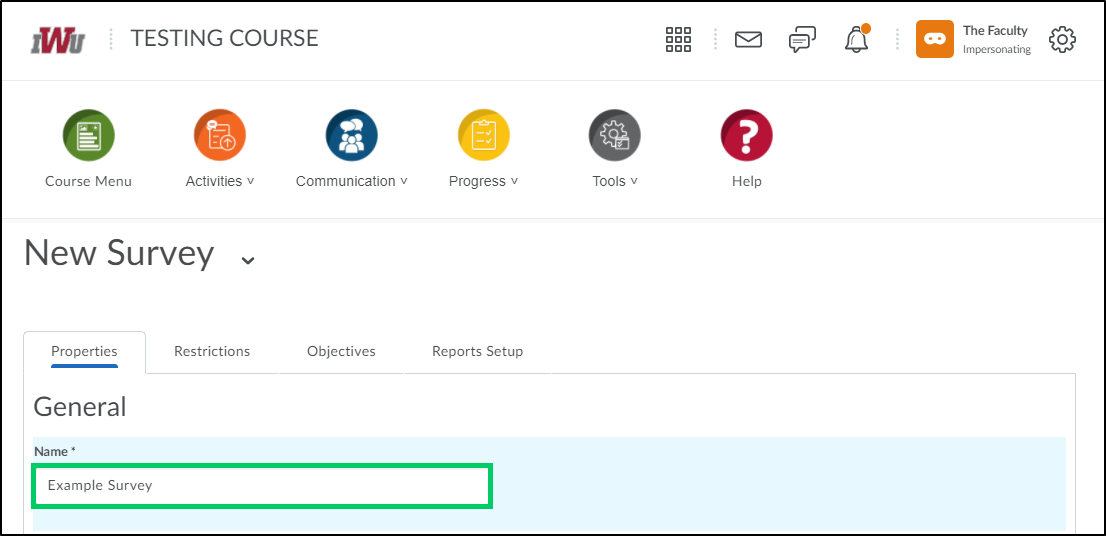
5. The "Properties" tab allows faculty to set general information about the survey.
5a. In the "Name" field, create a name for the survey.
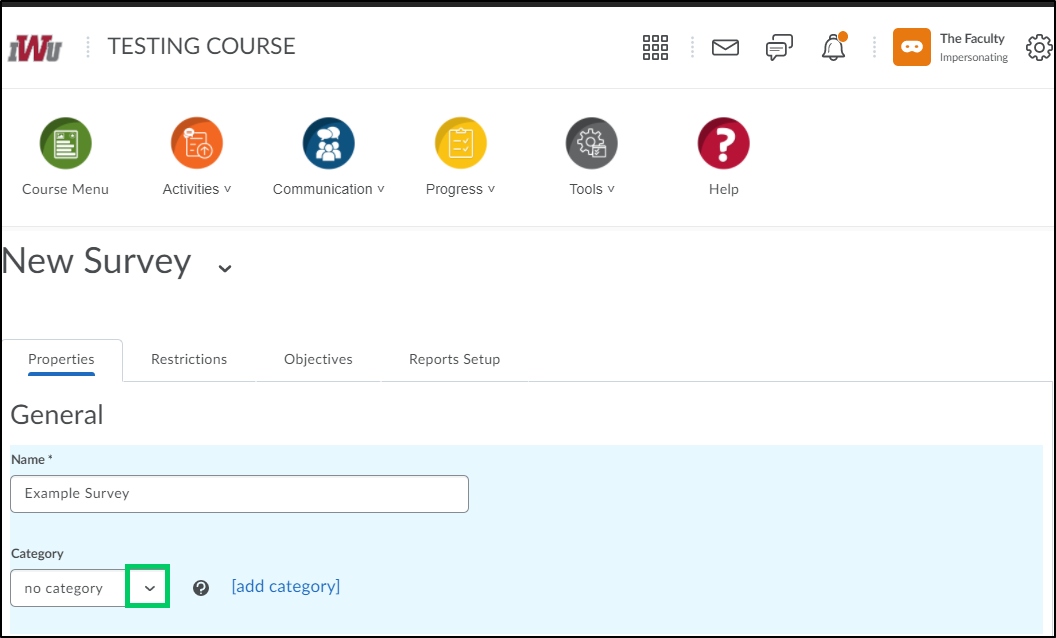
5b. Within the "Category" dropdown menu, select a category to associate the survey to or add a new category.
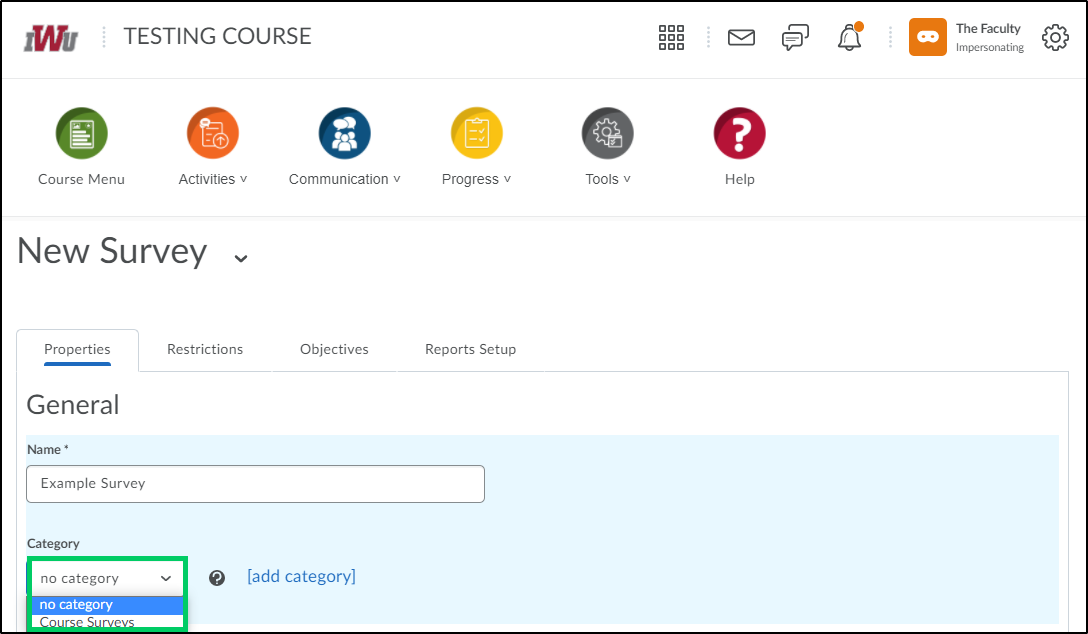
i. Choose an existing category from the dropdown menu.
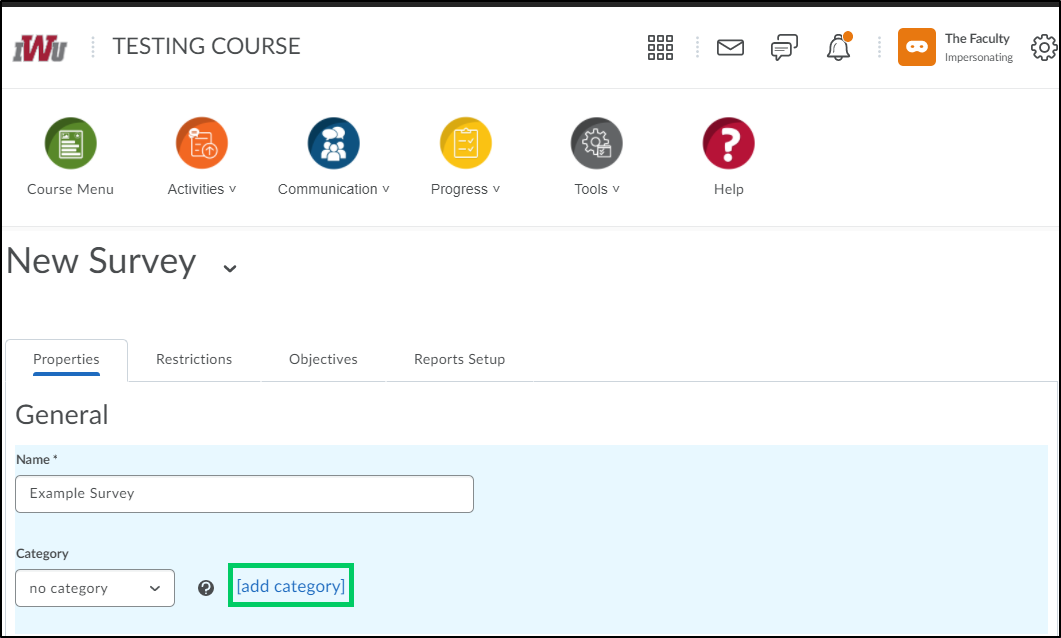
ii. Create a new category by selecting "add category" and entering a category name within the "Name" field.
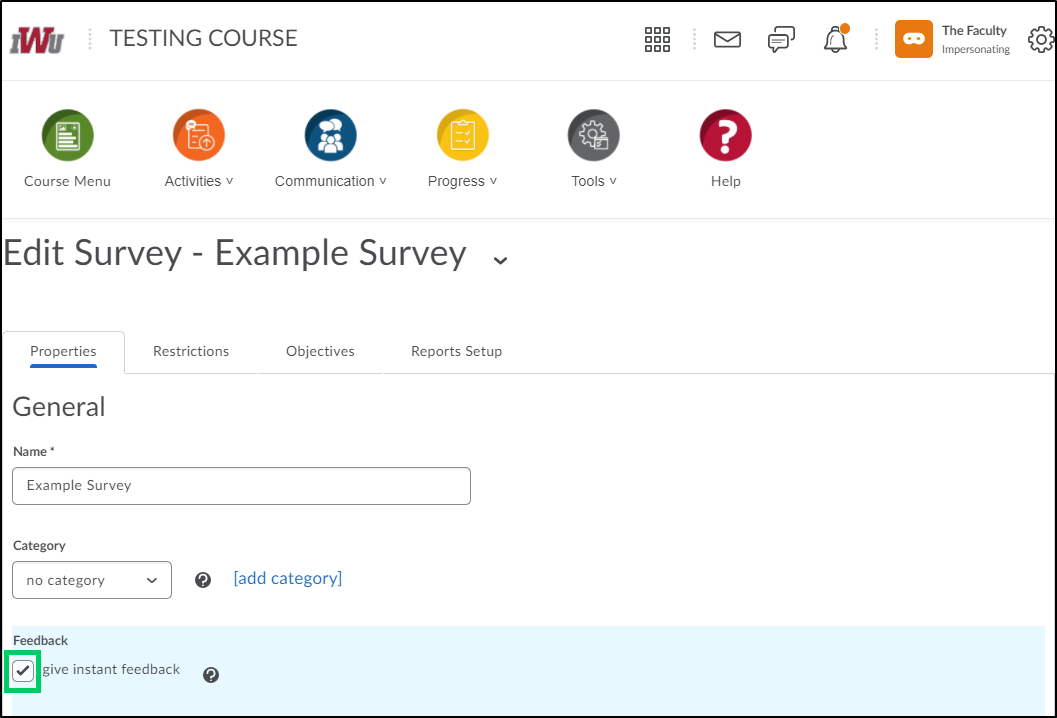
5c. Placing a checkmark in the "give instant feedback" checkbox removes the option to edit survey answers because feedback entered for a question is instantly available to the user who is taking the survey.
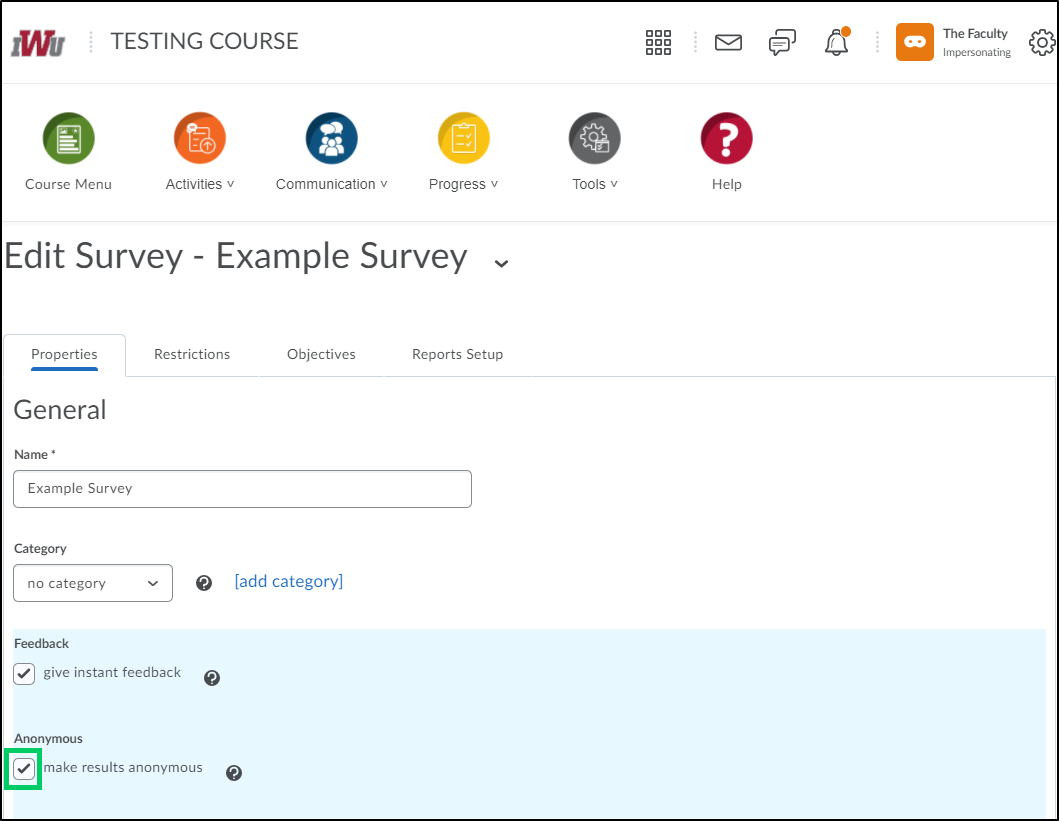
5d. Placing a checkmark in the "make results anonymous" will suppress the display of any user data in survey results. Individuals who can review survey results will be able to see answers without any association to the individual who submitted the response. Once this option is selected, it is not reversible.
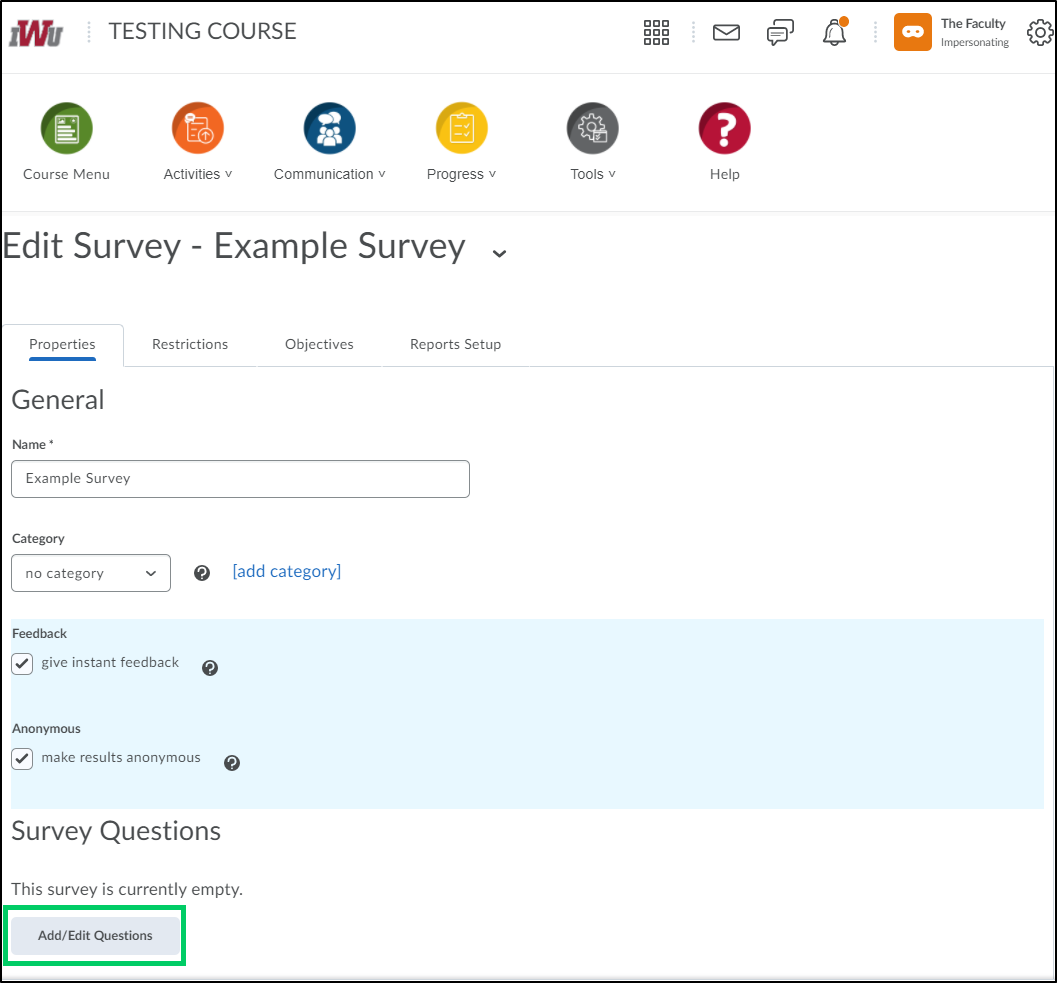
5e. Add survey questions by selecting the "Add/Edit Questions" button.
i. Selecting the "New" button allows faculty to add various types of survey questions. For more information on question types, see the related Brightspace Community article.
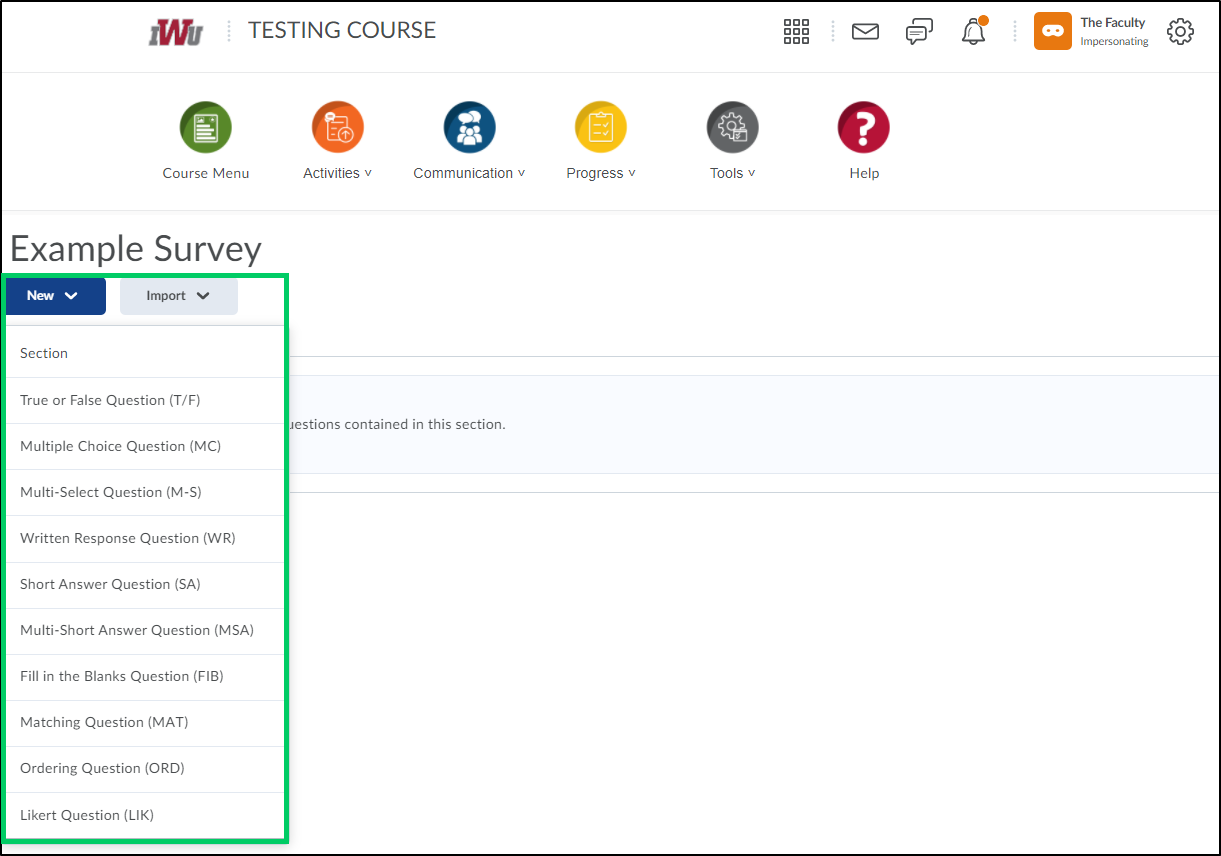
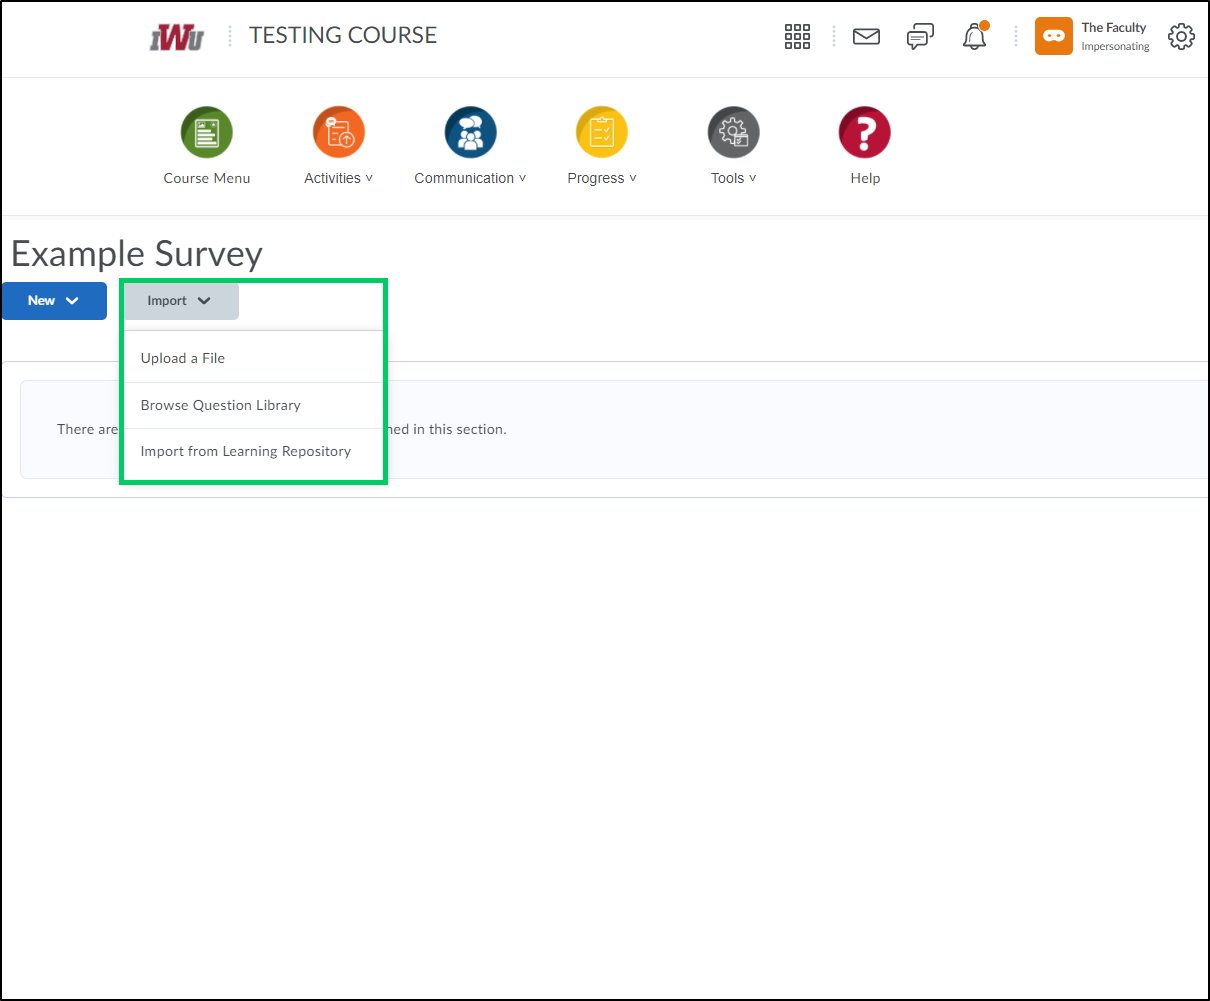
ii. Selecting the "Import" button allows faculty to upload a file, browse the question library, or import from learning repository.
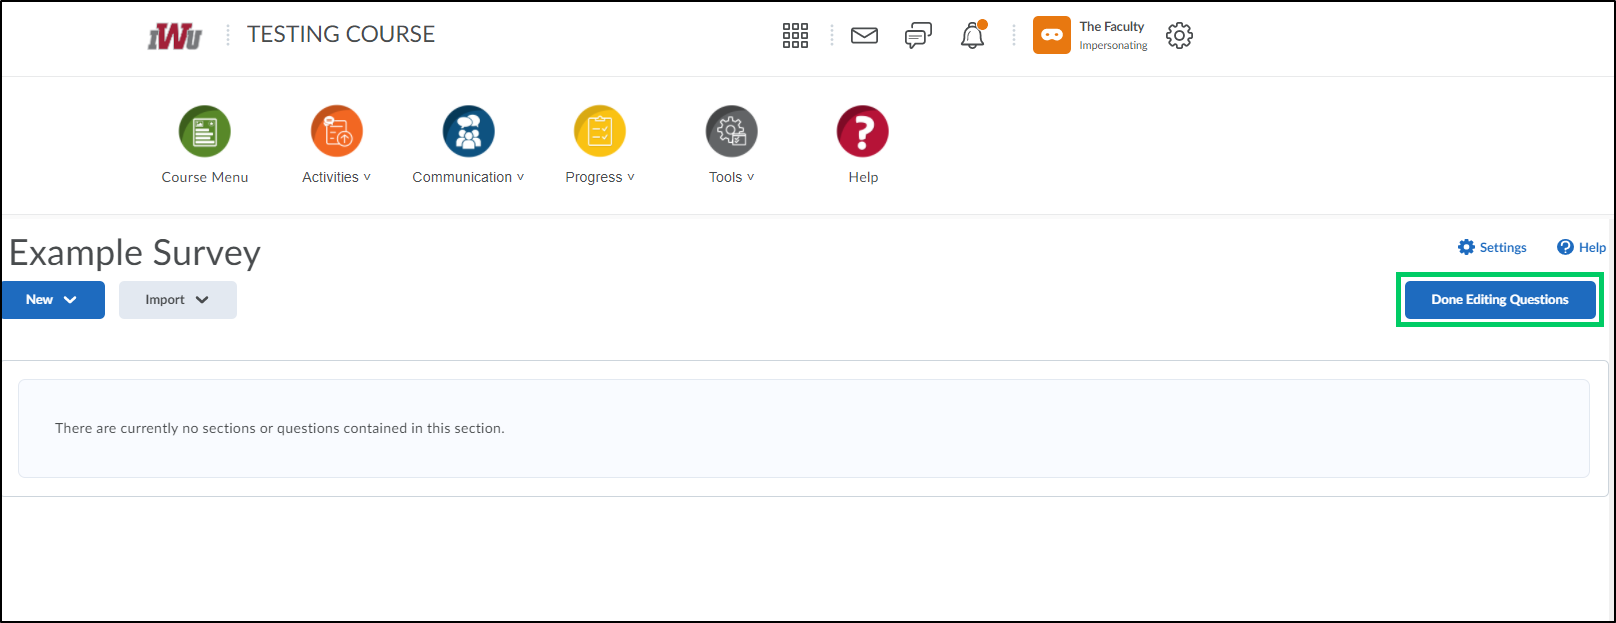
iii. Once all survey questions have been added, select the "Done Editing Questions" button.
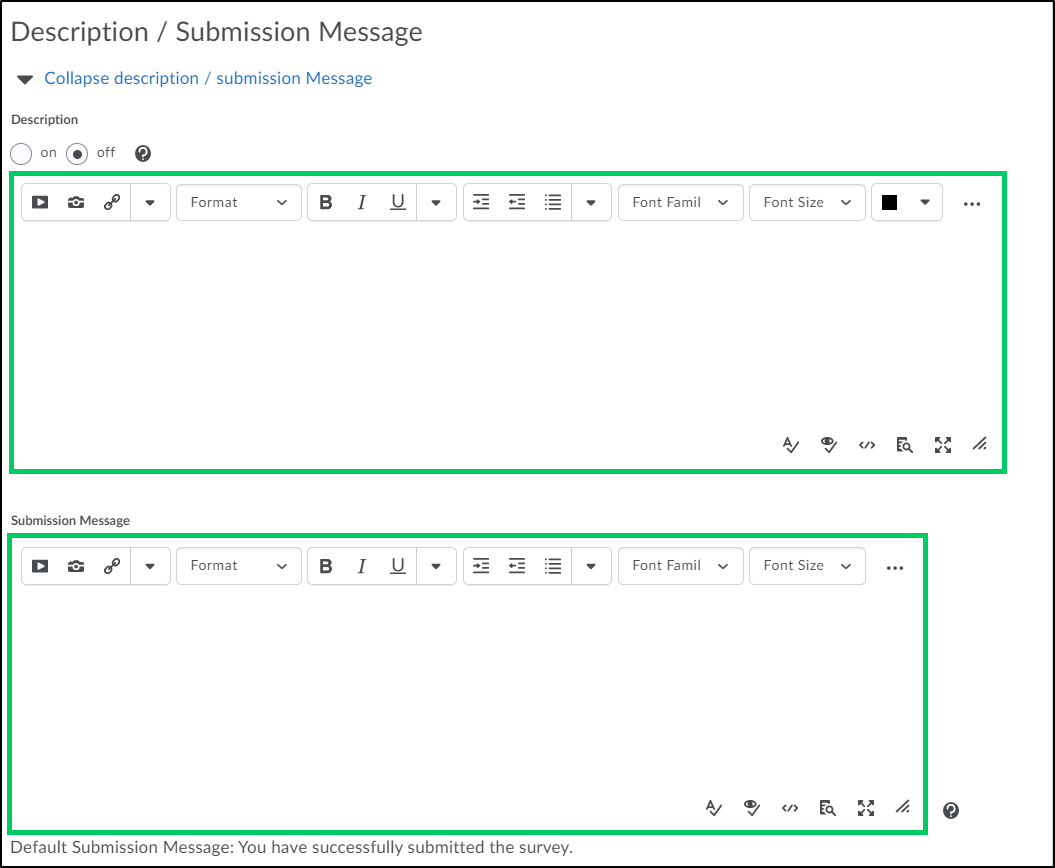
5f. In the "Description/Submission Message" area, faculty can enter a description for the survey as well a message that will appear when the student submits the survey. The description and submission message can be turned on by selecting the "On" radio button. **NOTE** If no custom submission message is created, the user will see the message "You have successfully submitted the survey".**
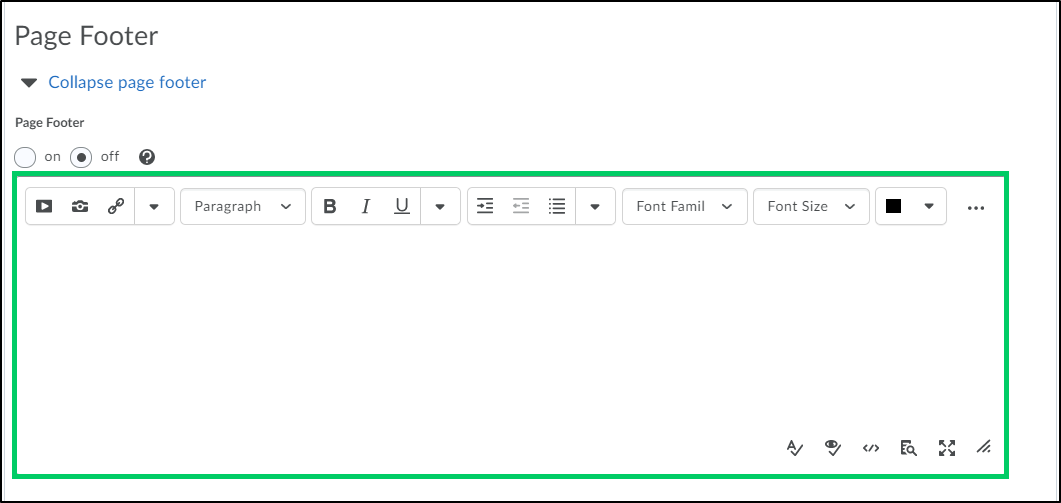
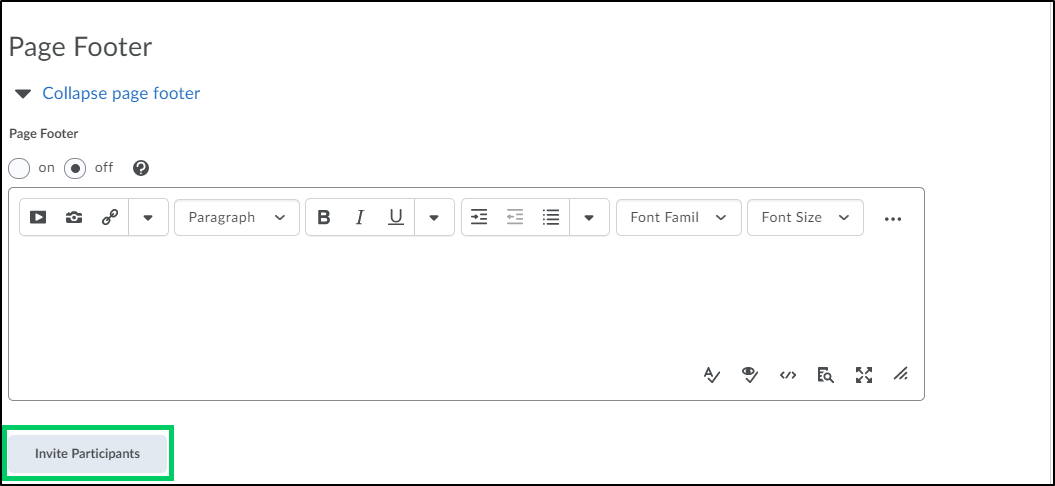
5g. The "Page Footer" section is optional and appears at the bottom of every page within the survey. The footer can be turned on by selecting the "On" radio button.
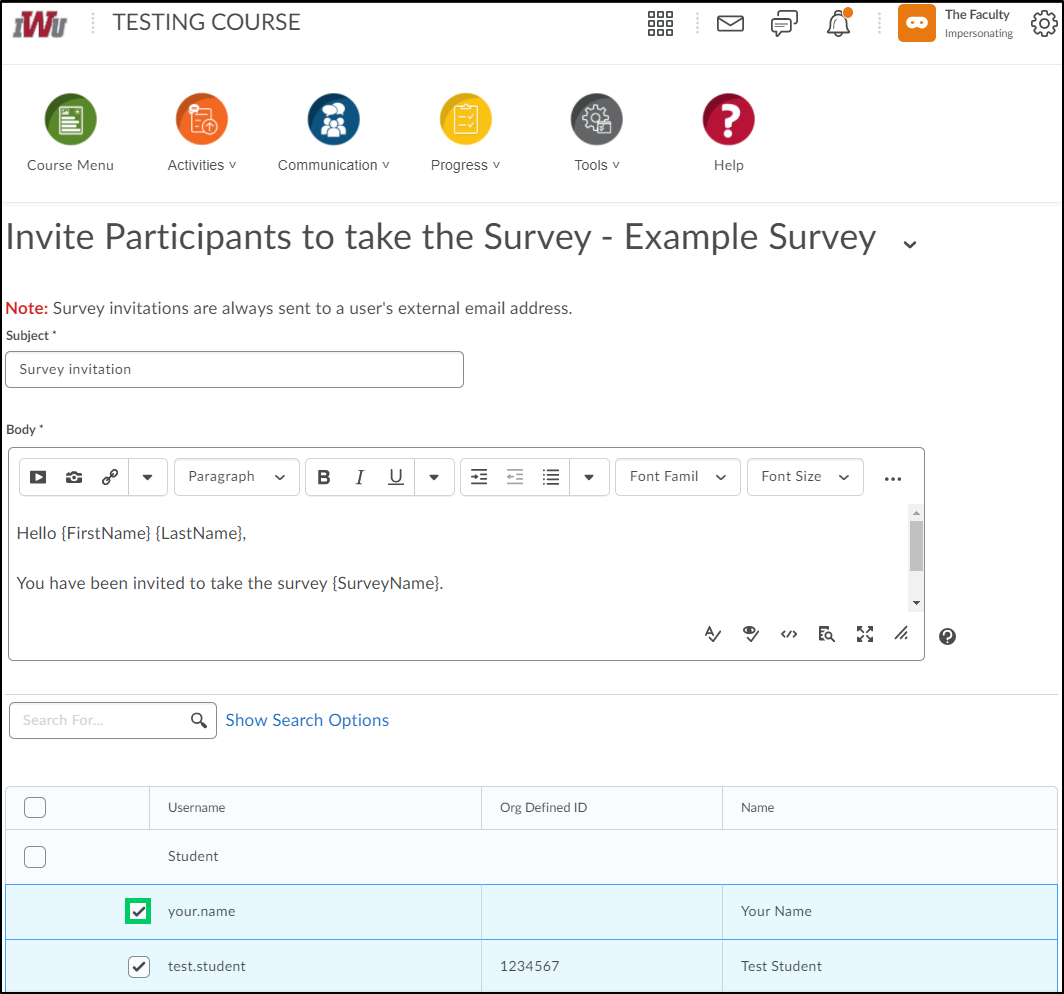
5h. By selecting the "Invite Participants" button, faculty can choose which students to send a survey invitation to. Faculty can place a checkmark by each student who is to receive a survey invitation. This is not required. If all students are to participate in the survey, a link to the survey can be placed within an announcement, course menu, or activity HTML page.
i. By placing a checkmark in the checkbox next to a student's name, the student will receive an email invitation to participate in the survey.
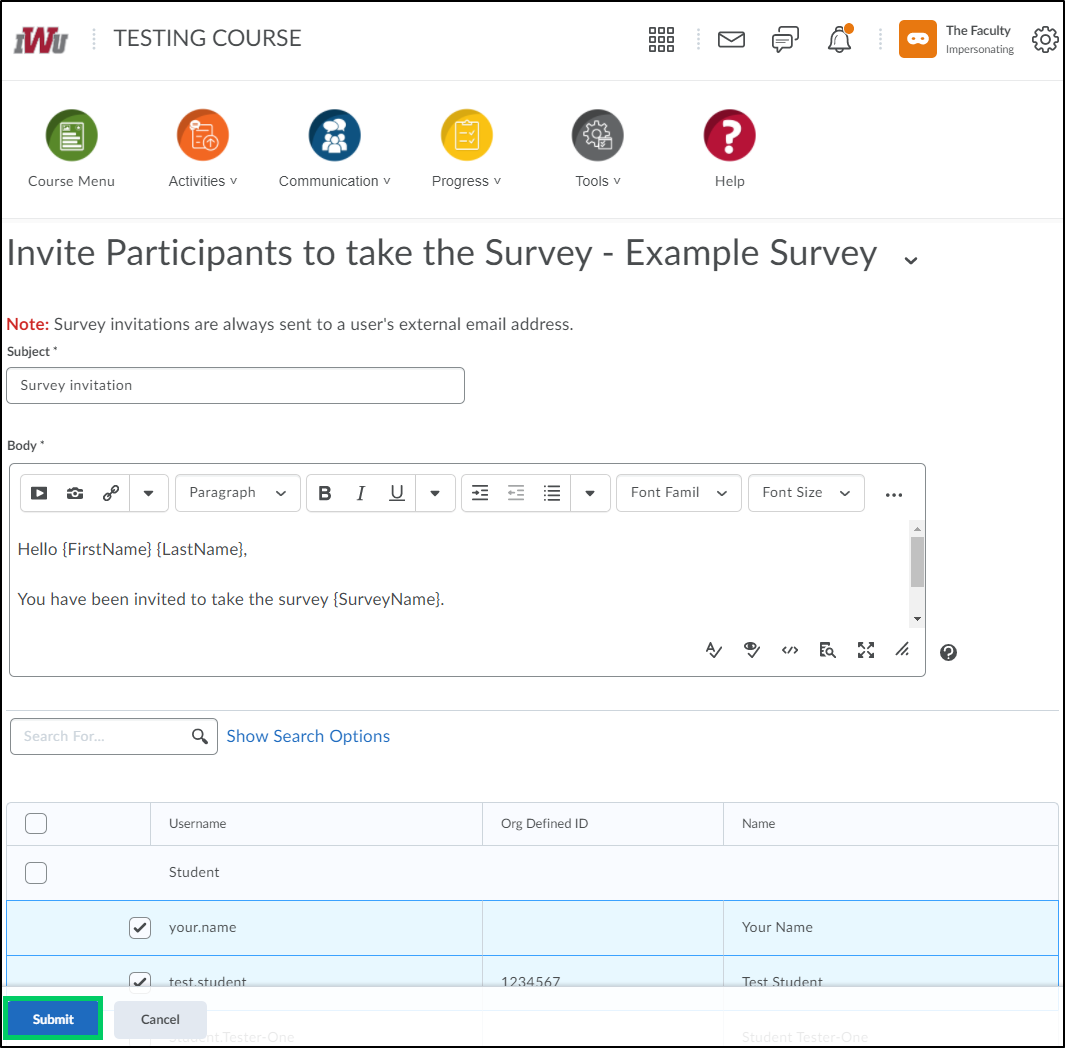
ii. Once all students have been chosen, select the "Submit" button to send out the email invitation.
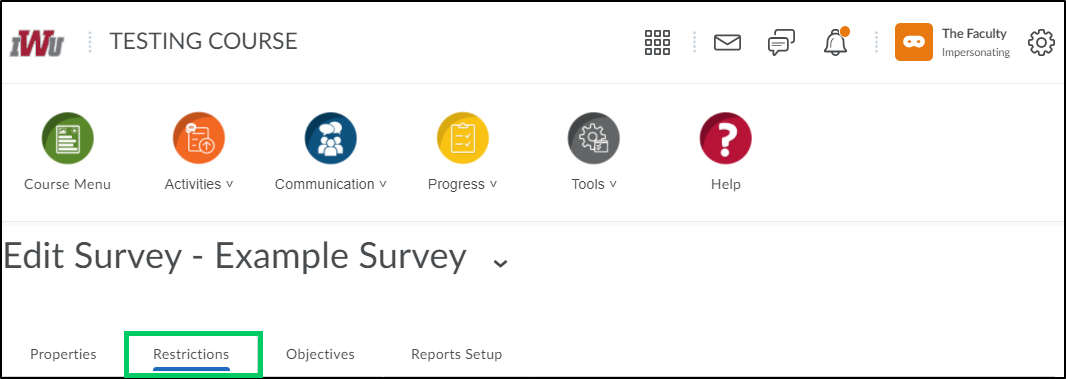
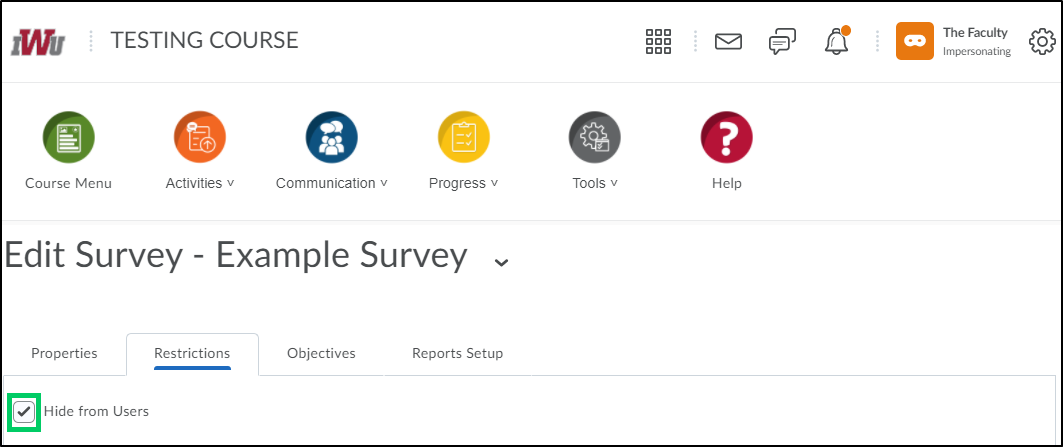
6. The "Restrictions" tab will allow faculty to set certain restrictions on the survey.
6a. Checking or unchecking the "Hide from Users" checkbox will determine whether the survey is visible to the survey participants.
6b. Within the "Availability" section, faculty can set the start and/or end date that determines the timeframe that the survey will be available for students as well as have the dates displayed within the Calendar tool.

6c. Within the "Attempts Allowed" dropdown, faculty can determine how many times students may take the survey. Each user attempt is recorded separately.
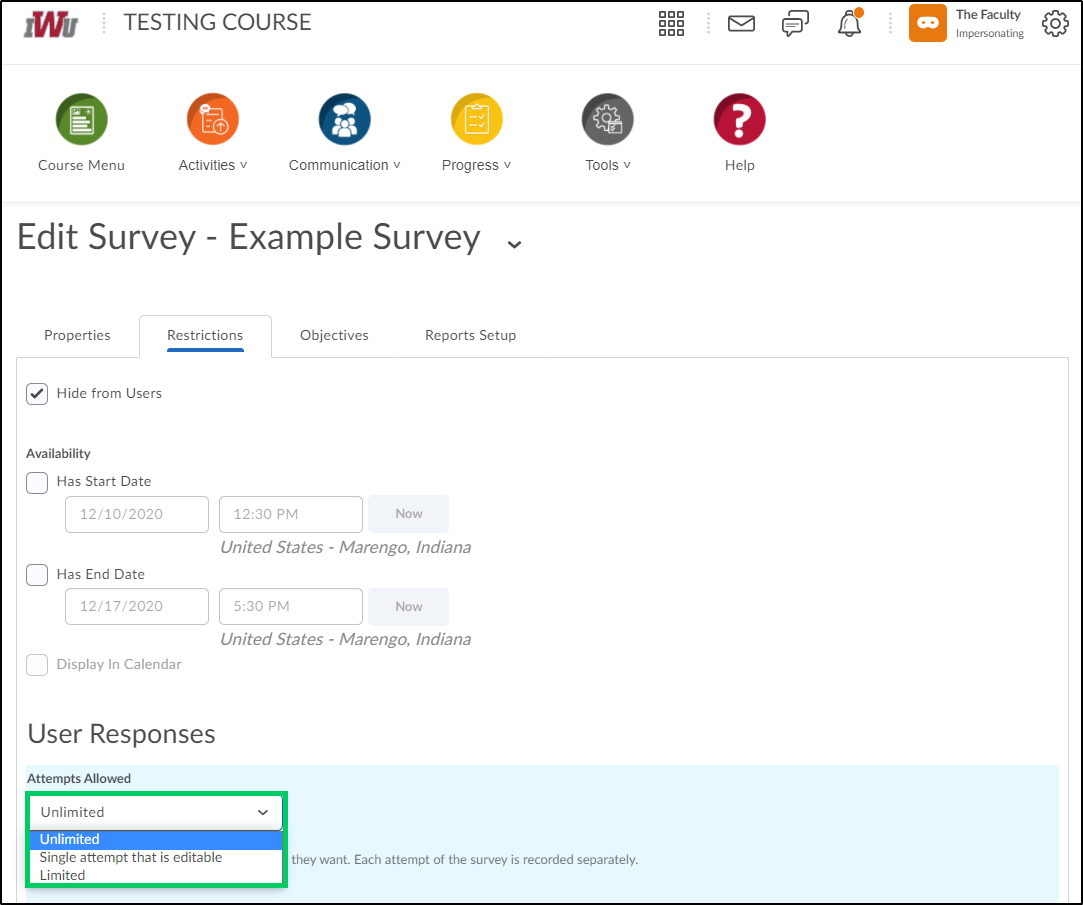
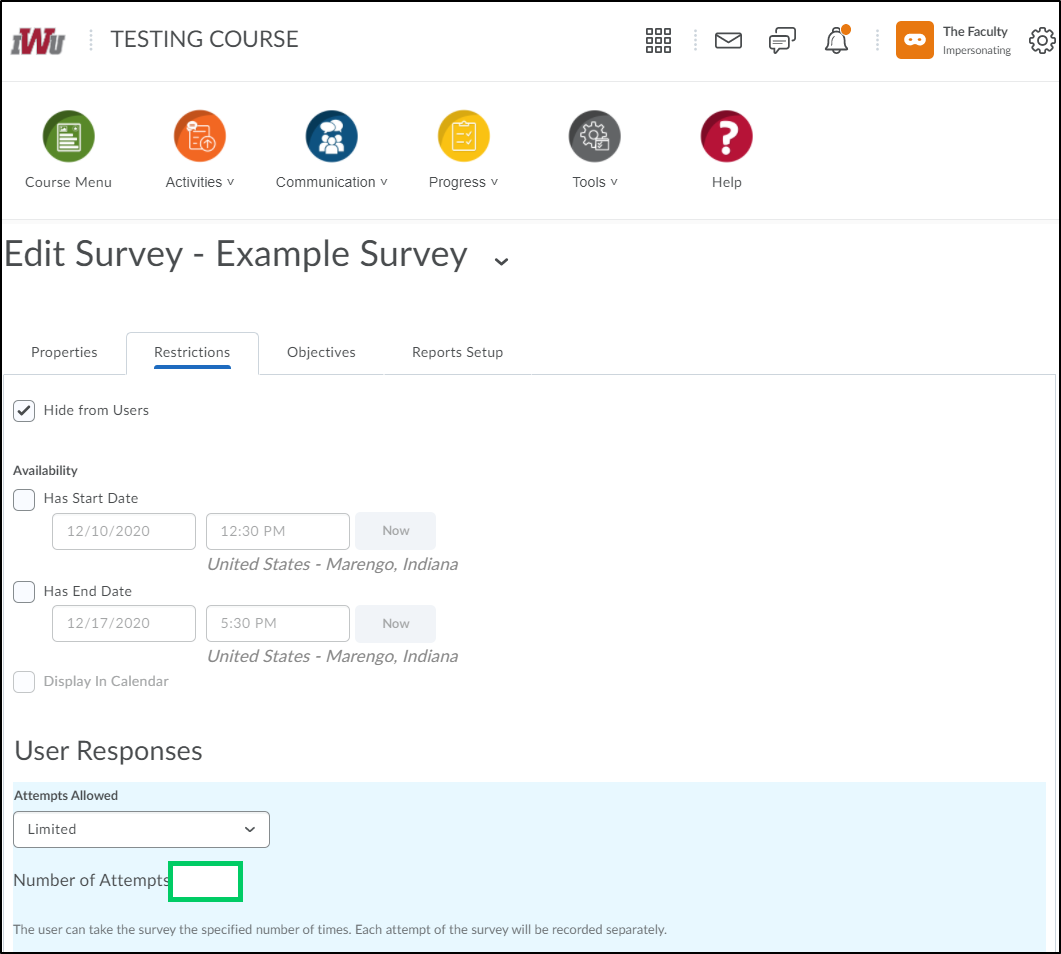
i. If "Limited" is chosen, faculty will be required to enter the number of attempts allowed.
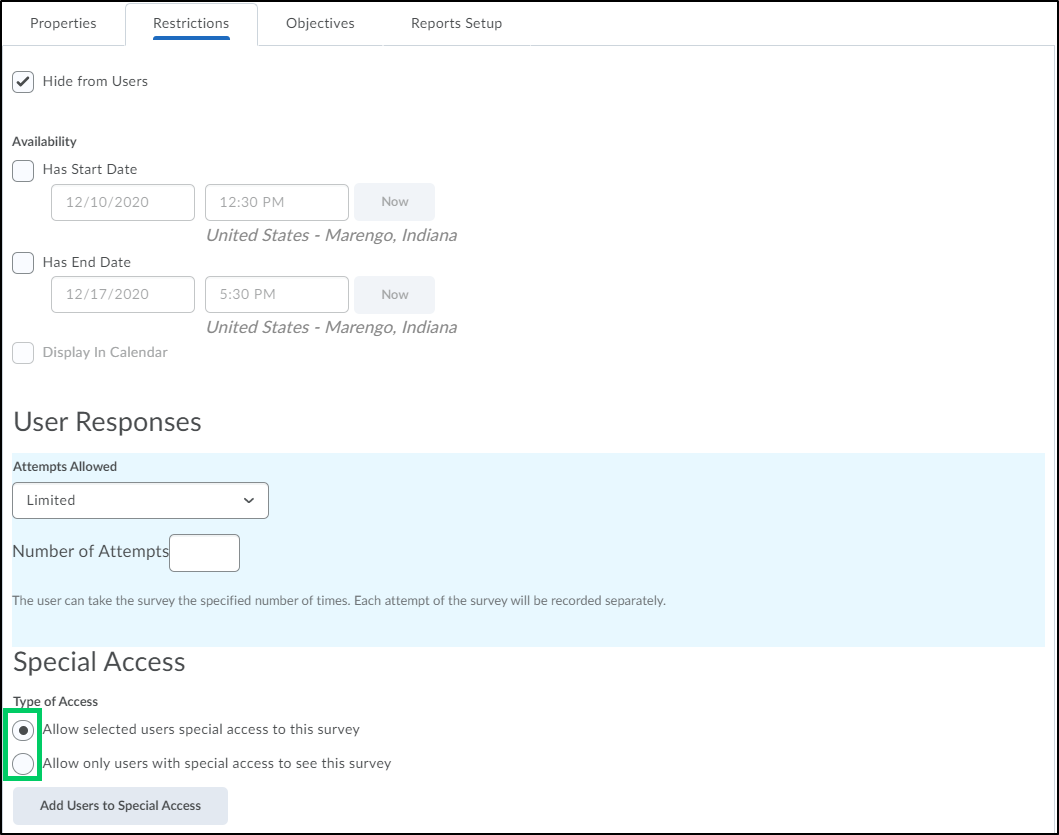
6d. Within the "Special Access" section, faculty can determine the type of access by choosing the correct radio button to allow selected users special access to the survey or allow only users with special access the ability to see the survey. For more information on granting special access, see the How to Grant Special Access guide.
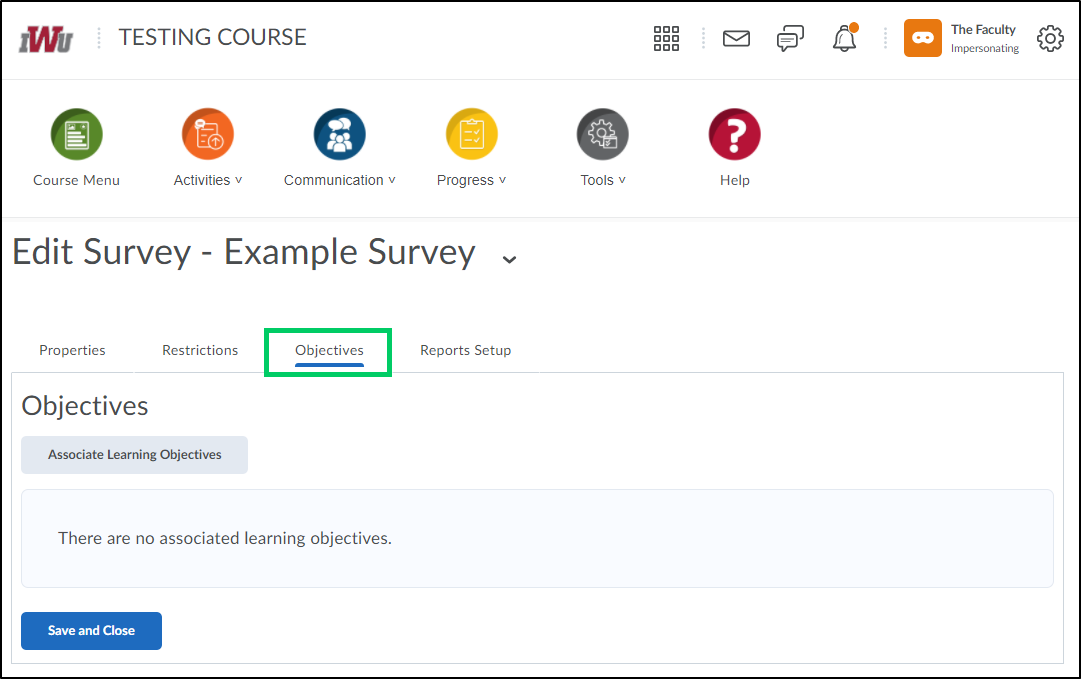
7. The "Objectives" tab allows faculty to associate learning objectives to the created survey.
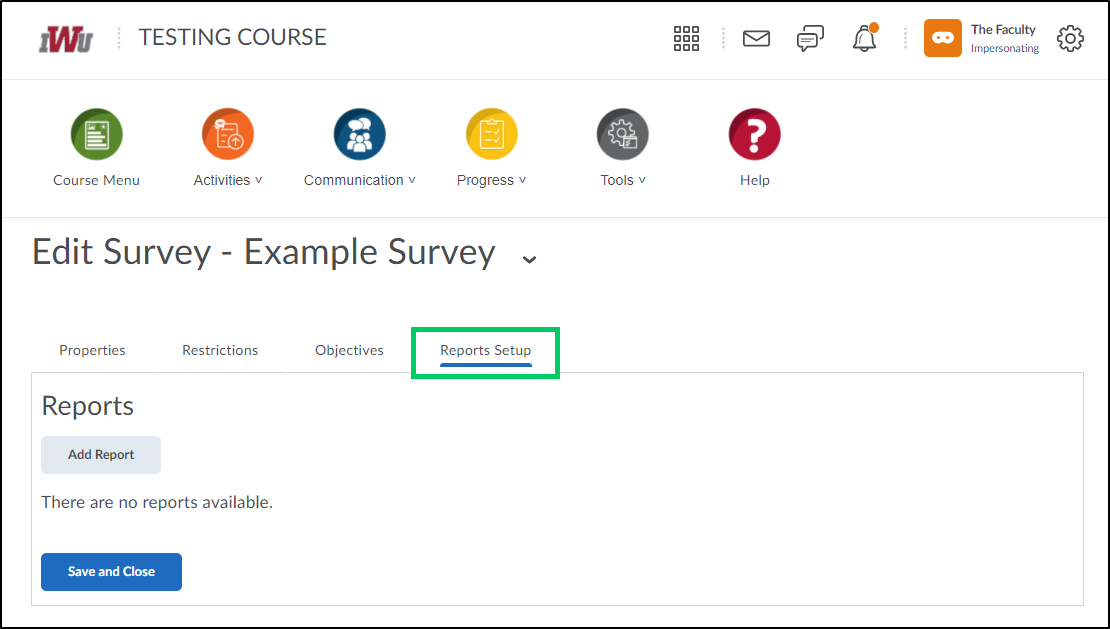
8. The "Reports Setup" tab allows faculty to setup reports based on survey information. For more information, access the How to Create a Report in the Quiz/Survey Tool.
9. Once the survey has been created and all selections have been made, select the "Save and Close" or "Save" button.
