How to Utilize the Locker Tool
Goal
After completing this how-to you will have knowledge needed to utilize the Locker tool within Brightspace. The Locker tool is a tool within the Brightspace learning platform that is used to store files remotely. Files can be accessed from anywhere via an internet/intranet connection. **NOTE** Each user's locker is distinct, and only accessible by that user. For more information on other tools in Brightspace, review the Tools topic page.
Navigation
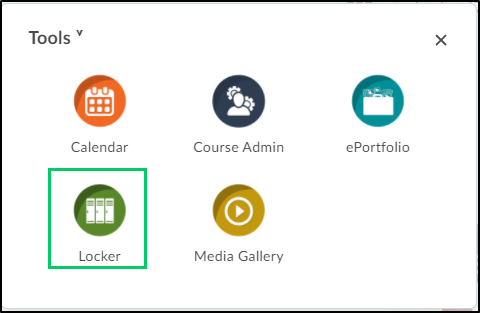
1. Within a course, select the "Tools" icon.

2. From the "Tools" menu, select "Locker".
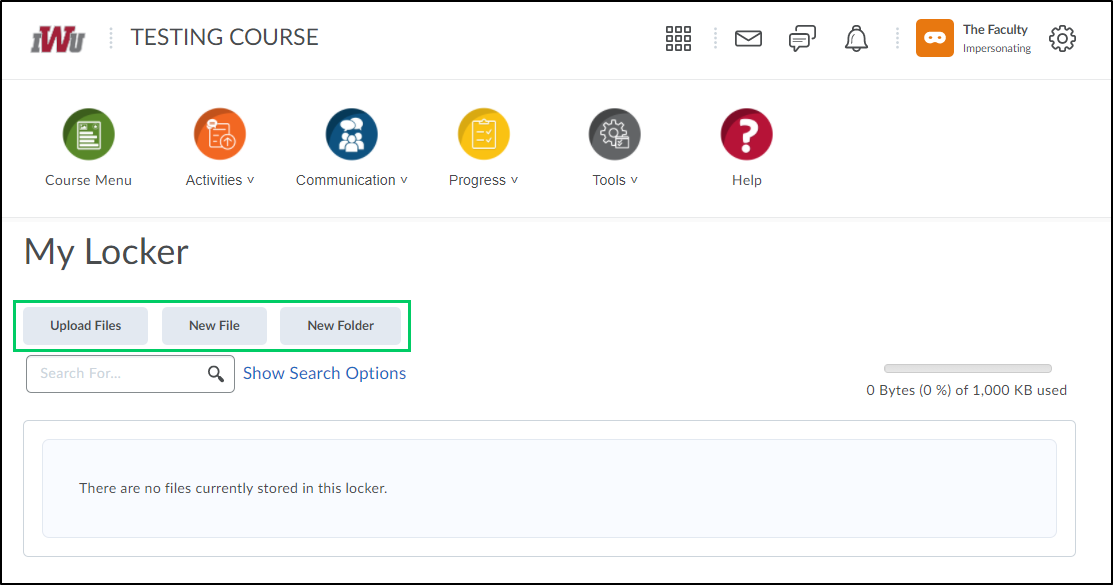
3. There are three options for adding materials to the Locker tool: Upload Files, New File, New Folder.
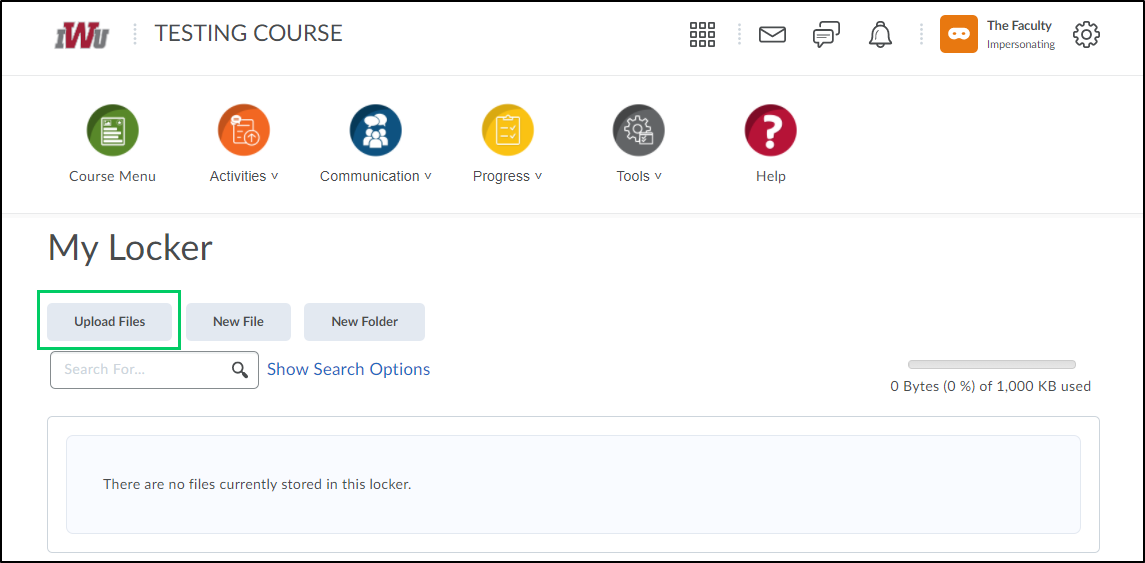
3a. To add existing files, select the "Upload Files" button.
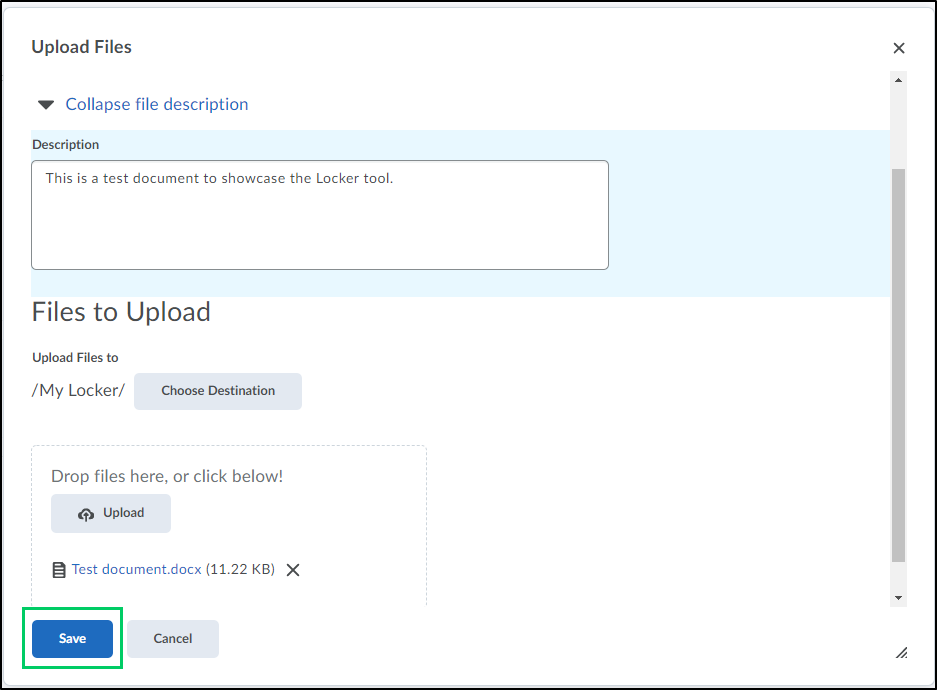
i. In the "Upload Files" pop-up box, within the optional "Description" field, add information to help identify the file and its contents.
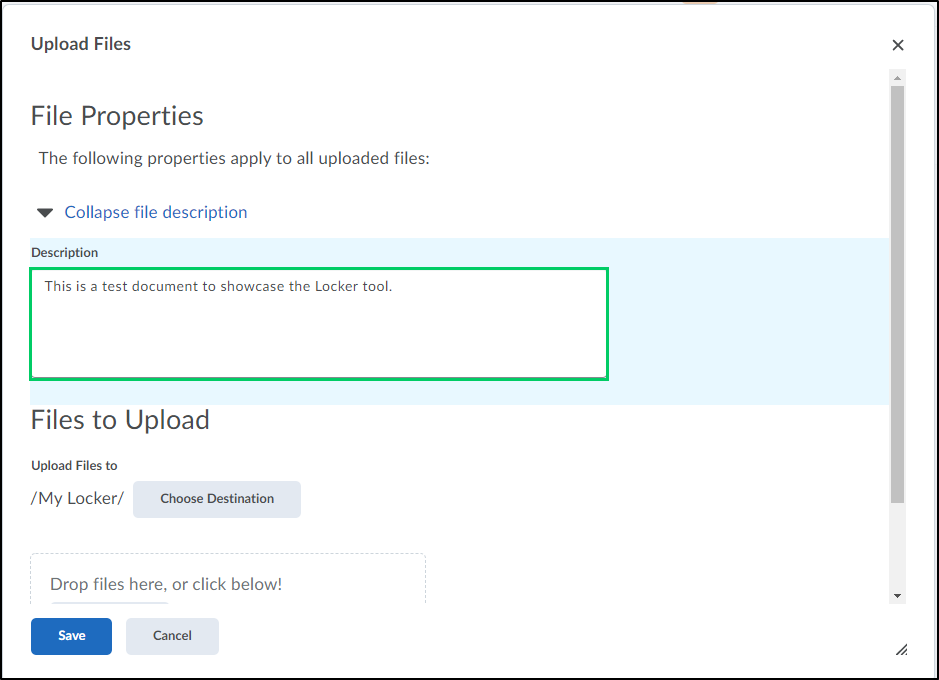
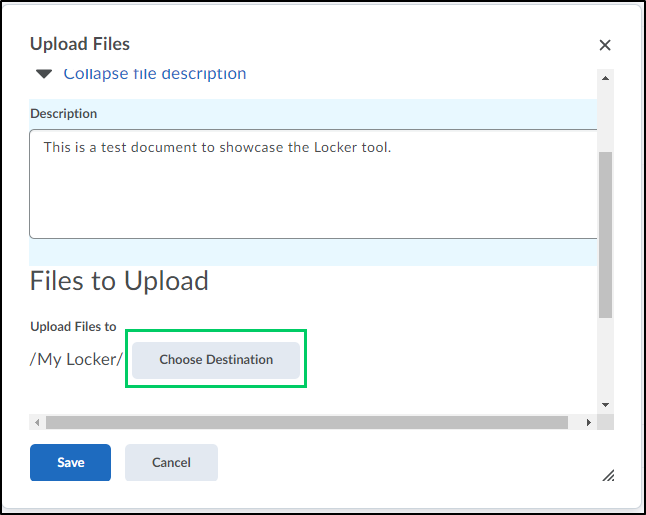
ii. In the "Files to Upload" area, select the "Choose Destination" button to designate a destination for the file.
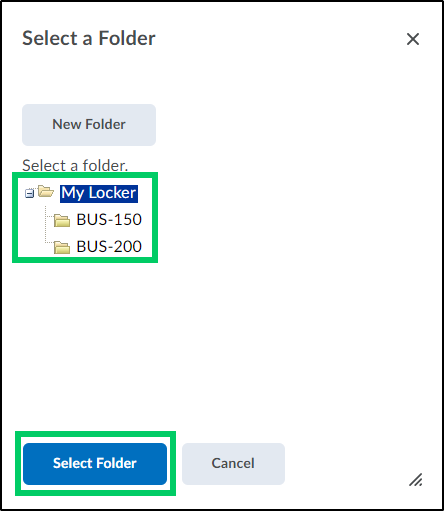
iii. Under the "Select a Folder" heading, select a destination for the file. All files can be saved under the "My Locker" destination or individual folders can be created to separate and organize the files. Highlight the preferred destination and select the "Select Folder" button.
iv. Add the file by selecting the "Upload" button or dragging and dropping the file into the designated area.
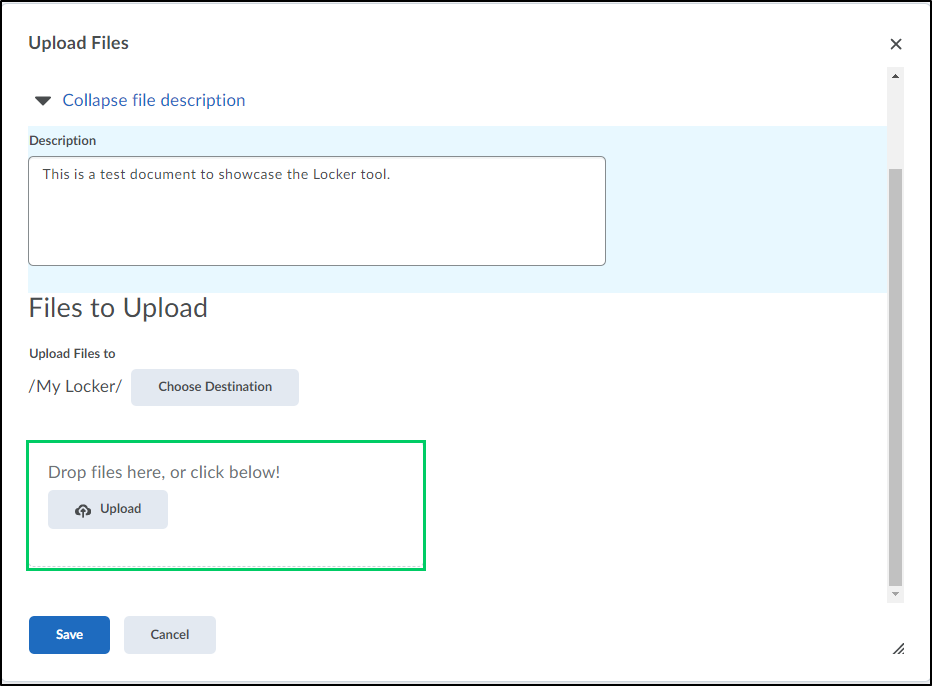
v. Once the file has been uploaded, select the "Save" button.
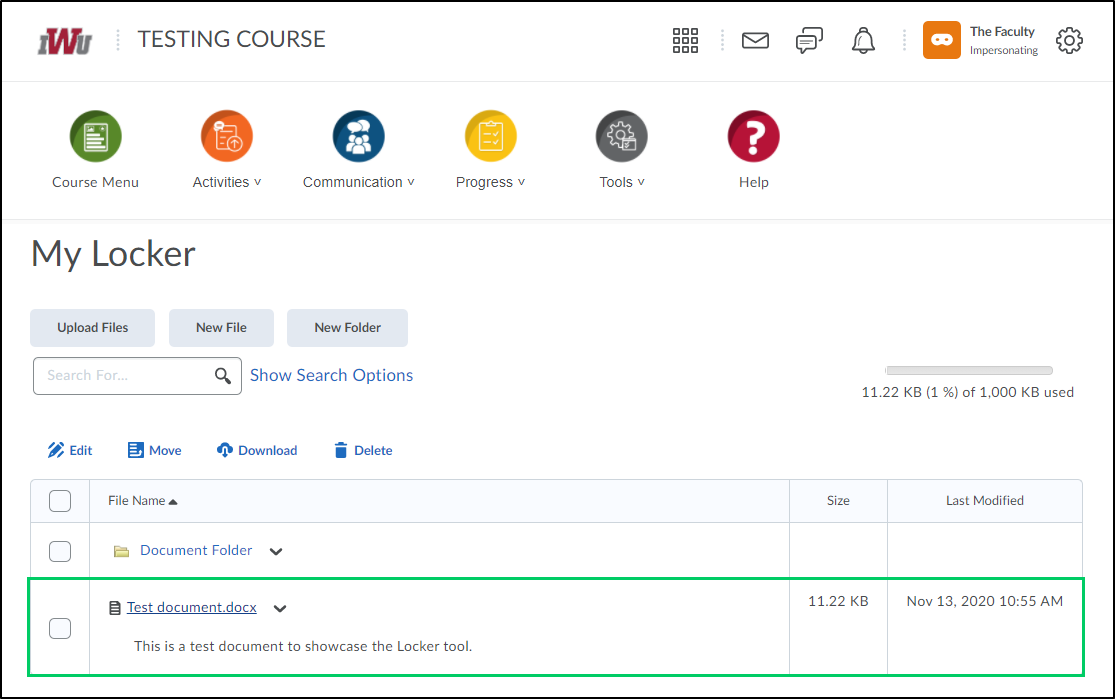
vi. The file will now appear either within the locker or within the folder created by the user.
3b. To create a file, select the "New File" button.

i. In the "New HTML File" pop-up box, within the "File Name" field, add a name to help identify the file.
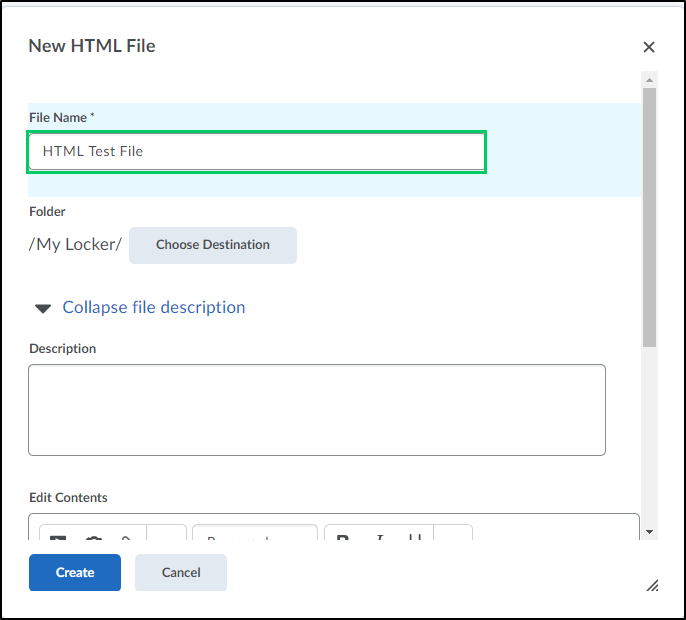
ii. Select the "Choose Destination" button to designate a destination for the file.

iii. Under the Select a Folder heading, select a destination for the file. All files can be saved under the "My Locker" destination or individual folders can be created to separate and organize the files. Highlight the preferred destination and select the "Select Folder" button.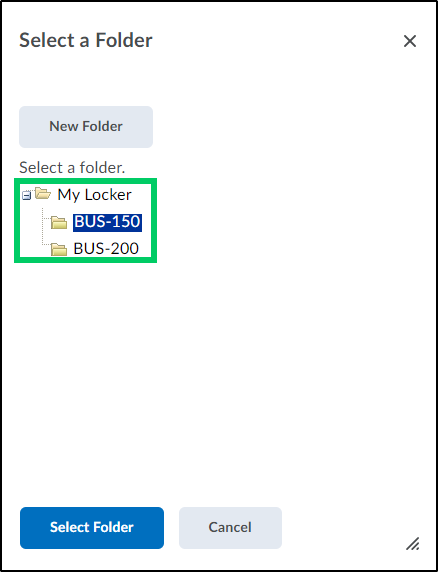
iv. Within the optional "Description" field, add a description to help identify the file and its contents.
v. In the "Edit Contents" field, add the content for the HTML file.
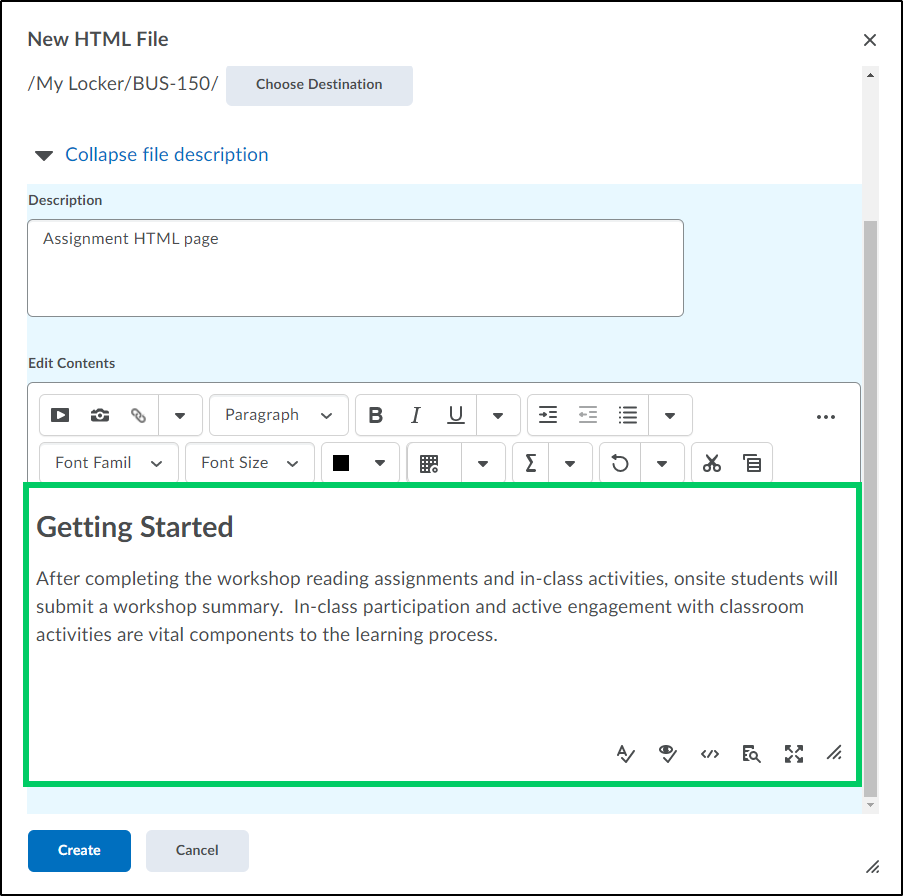
vi. To save the HTML file, select the "Create" button.

vii. The file will now appear either within the locker or within the folder created by the user.

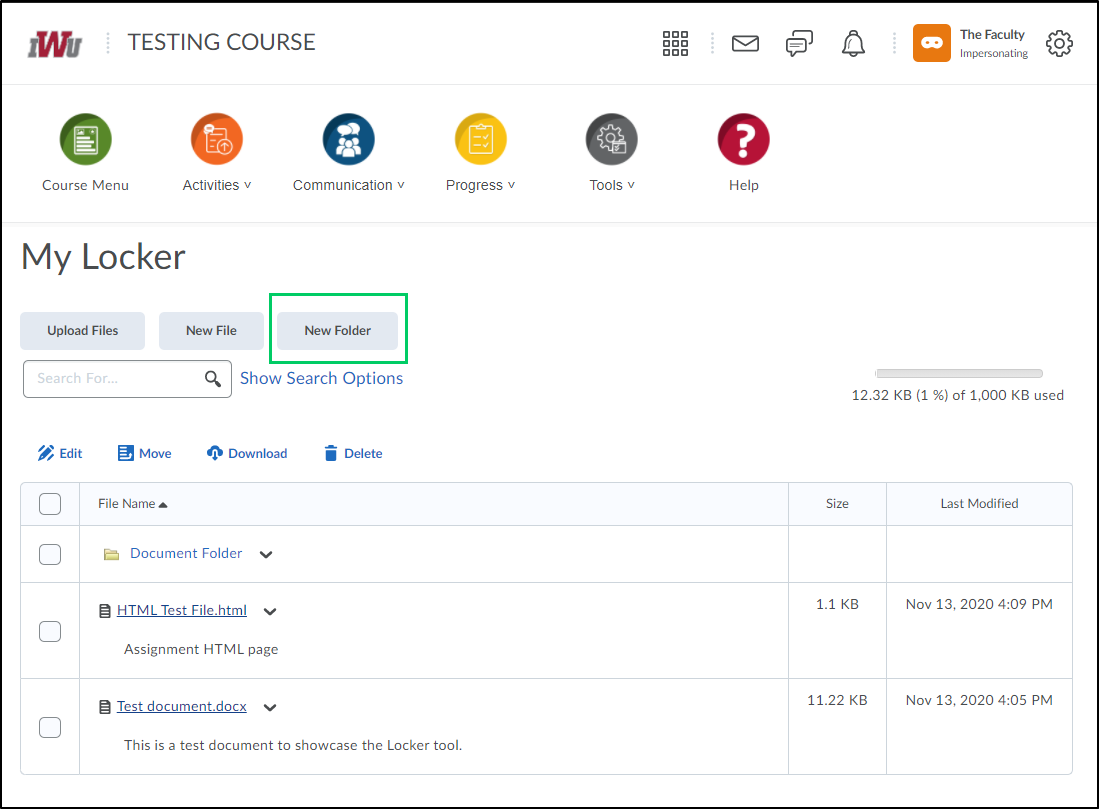
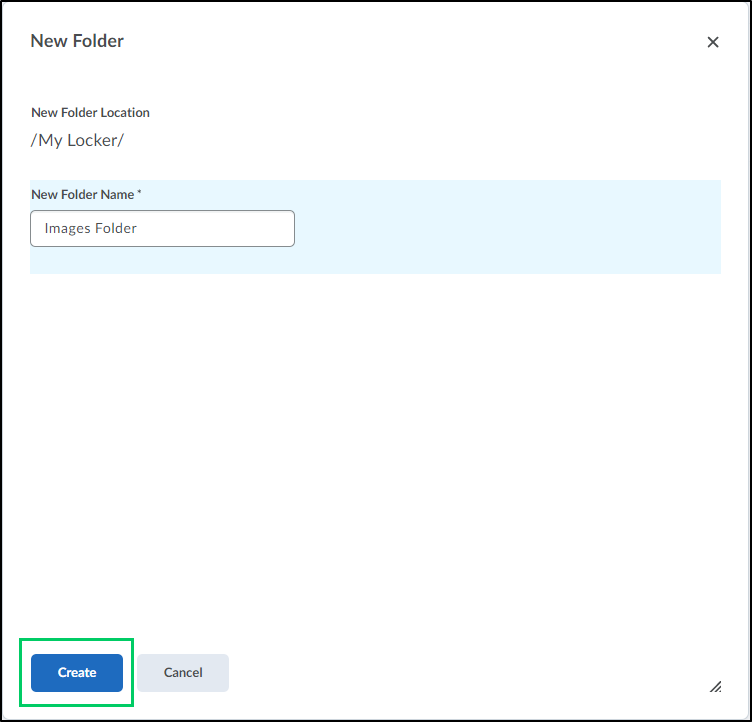
3c. To create a new folder, select the "New Folder" button. New folders can be created to organize the files according to the user's preference.
i. In the "New Folder" pop-up box, within the "New Folder Name" field, add a name to help identify the folder.
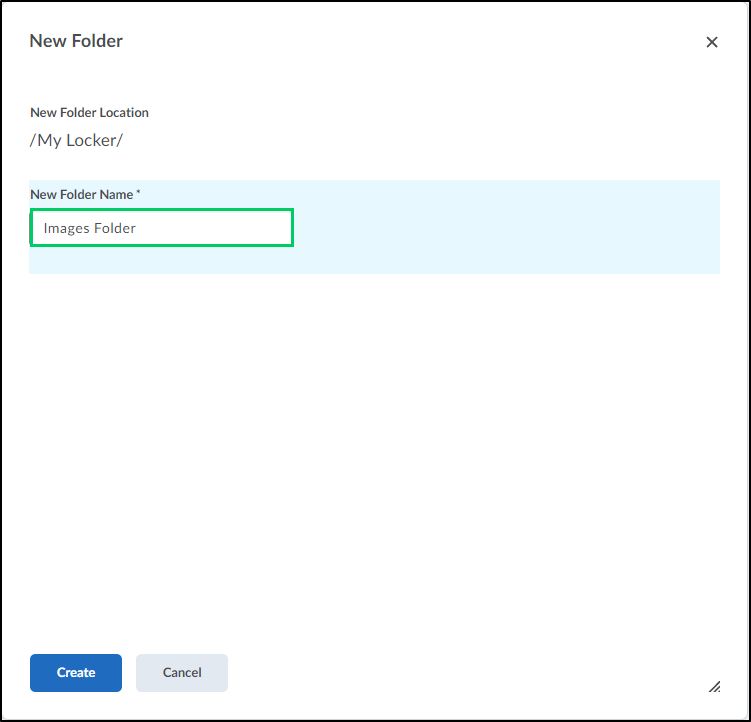
ii. To save the folder, select the "Create" button.
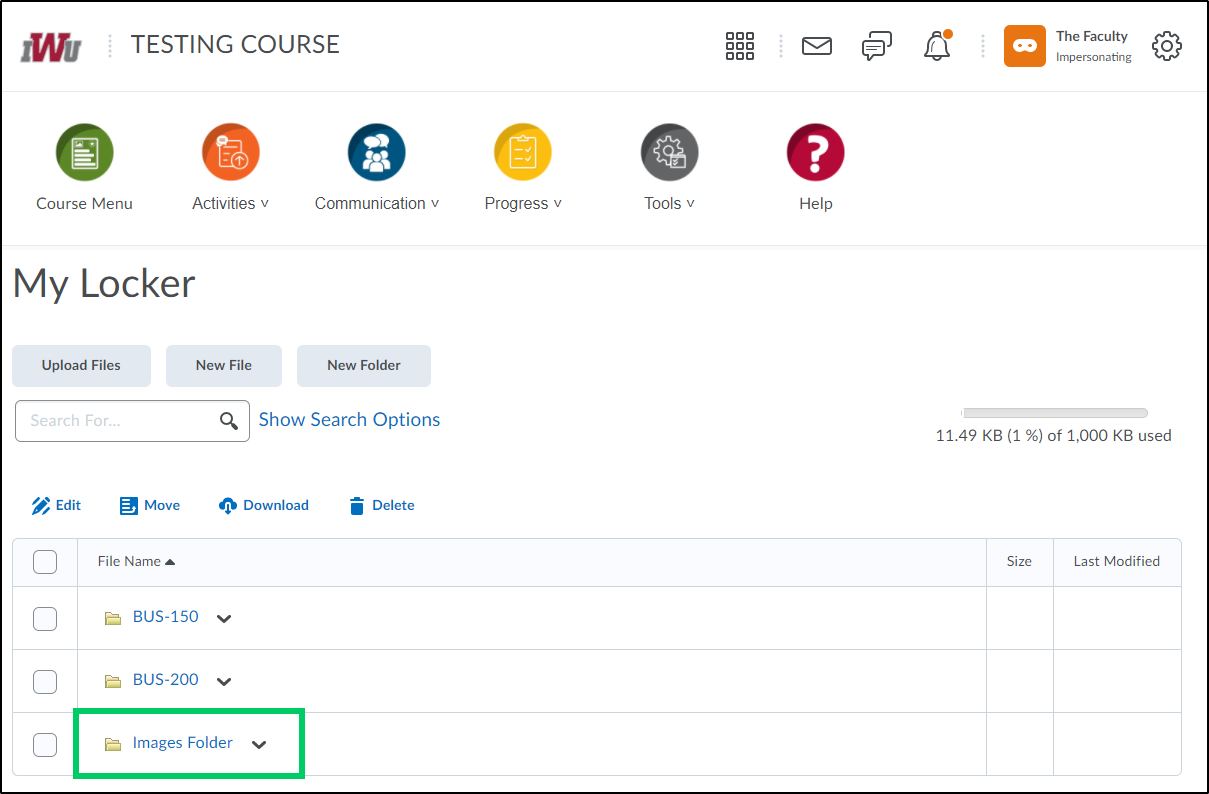
iii. The folder will now appear within the locker.
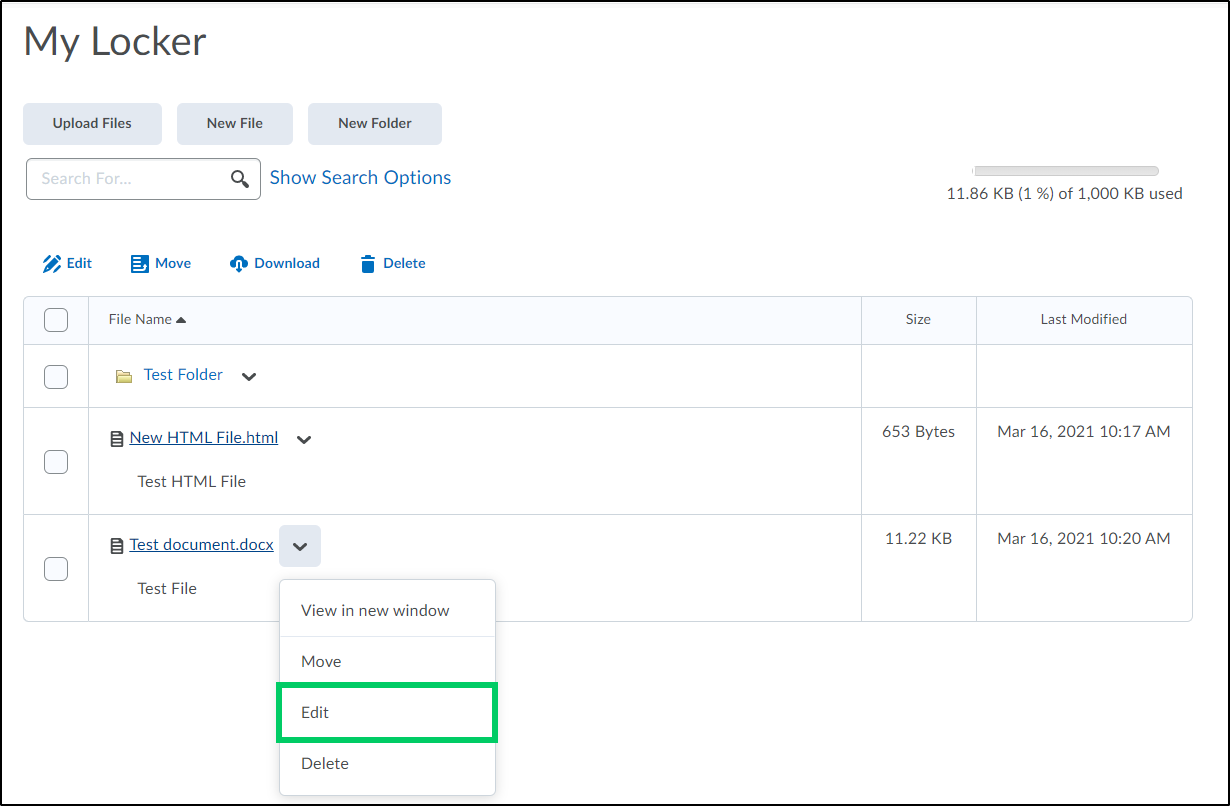
4. The menu bar within the Locker tool allows you to perform various functions. To select an item(s) to edit, move, download, or delete place a checkmark next to the desired item(s).
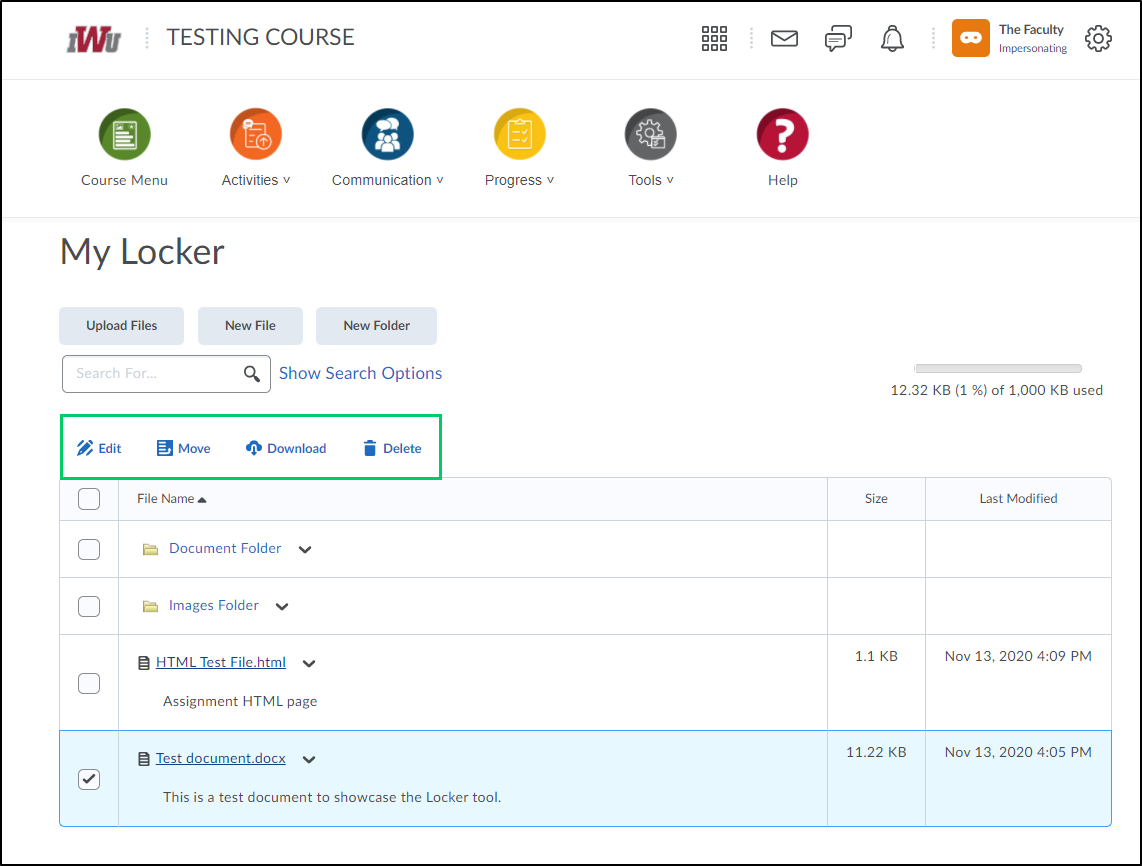
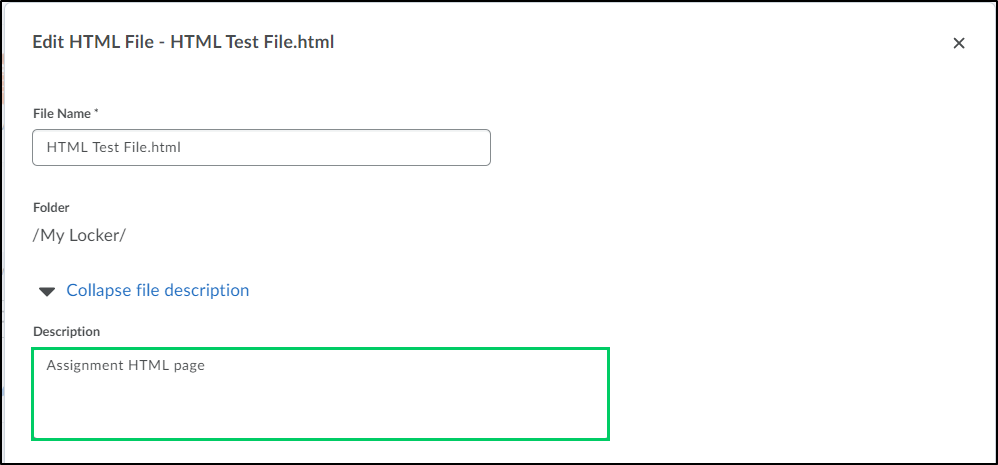
4a. "Edit" within the menu bar only allows you to edit only the description of files. It does not allow you to edit folders or the file name or destination of files. After edits have been made to the description of the file, select the "Save" button. To make other edits to files or folders, see the additional steps that follow.
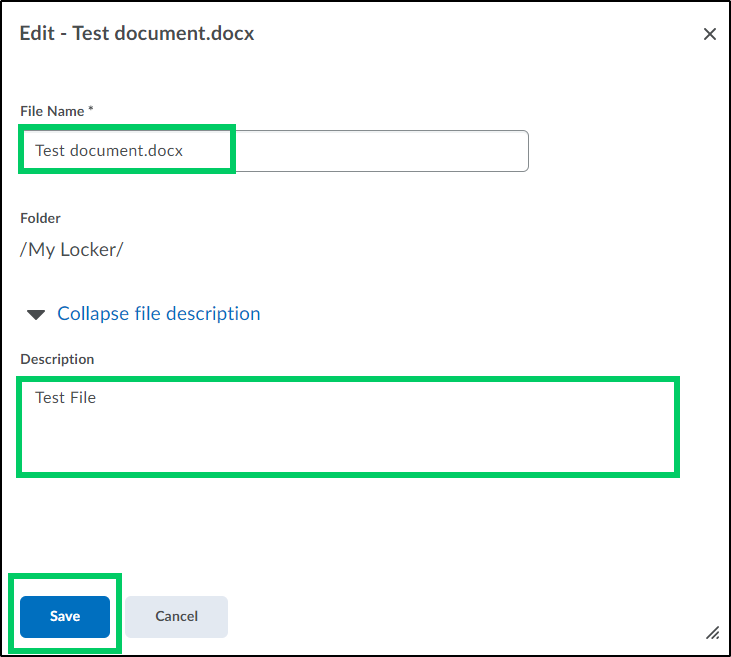
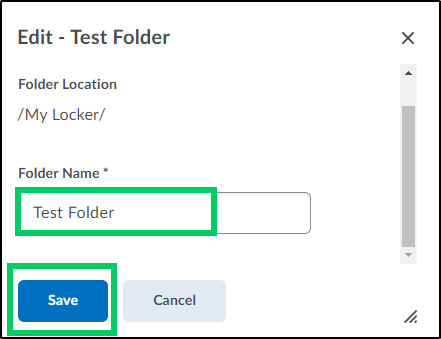
i. To make edits to the description of an uploaded file or to the file name of an uploaded file or user created folder, select the dropdown menu next to the file or folder and choose "Edit".
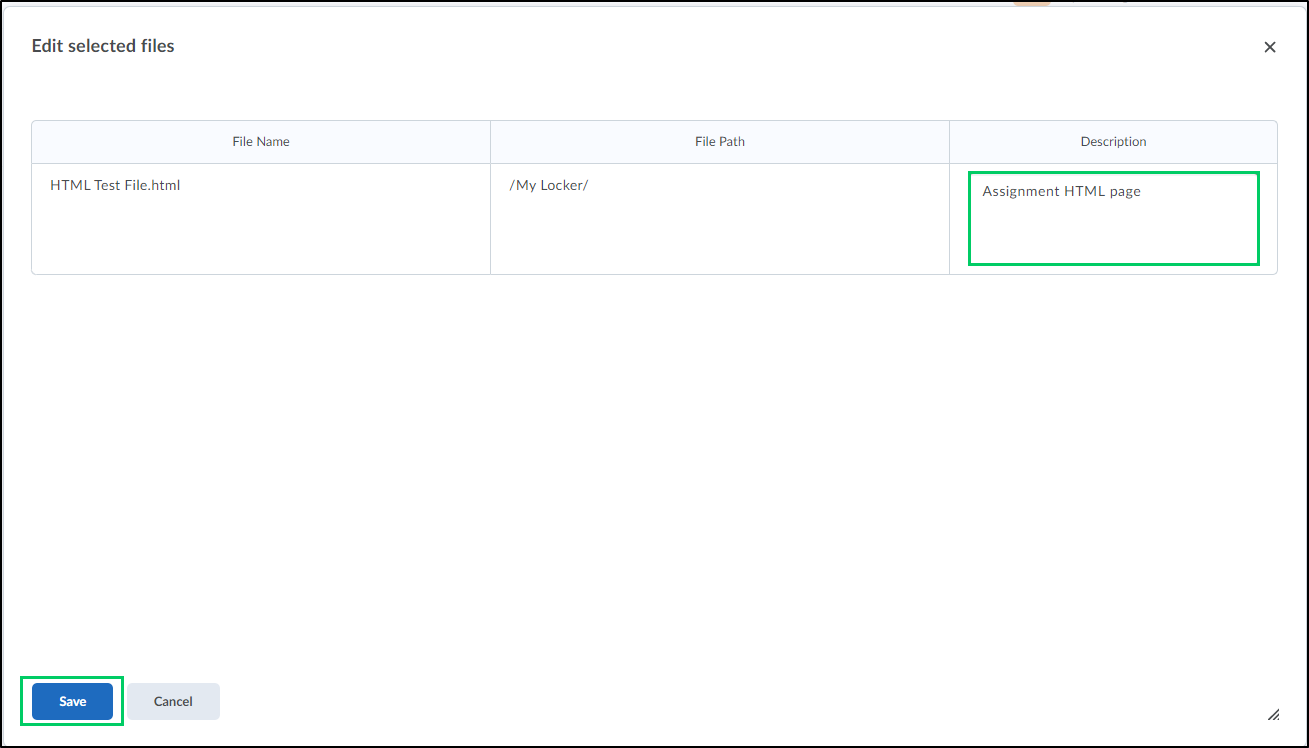
ii. Make desired edits to "File Name" or "Description" of the uploaded file or to the "Folder Name" of the folder and select the "Save" button.
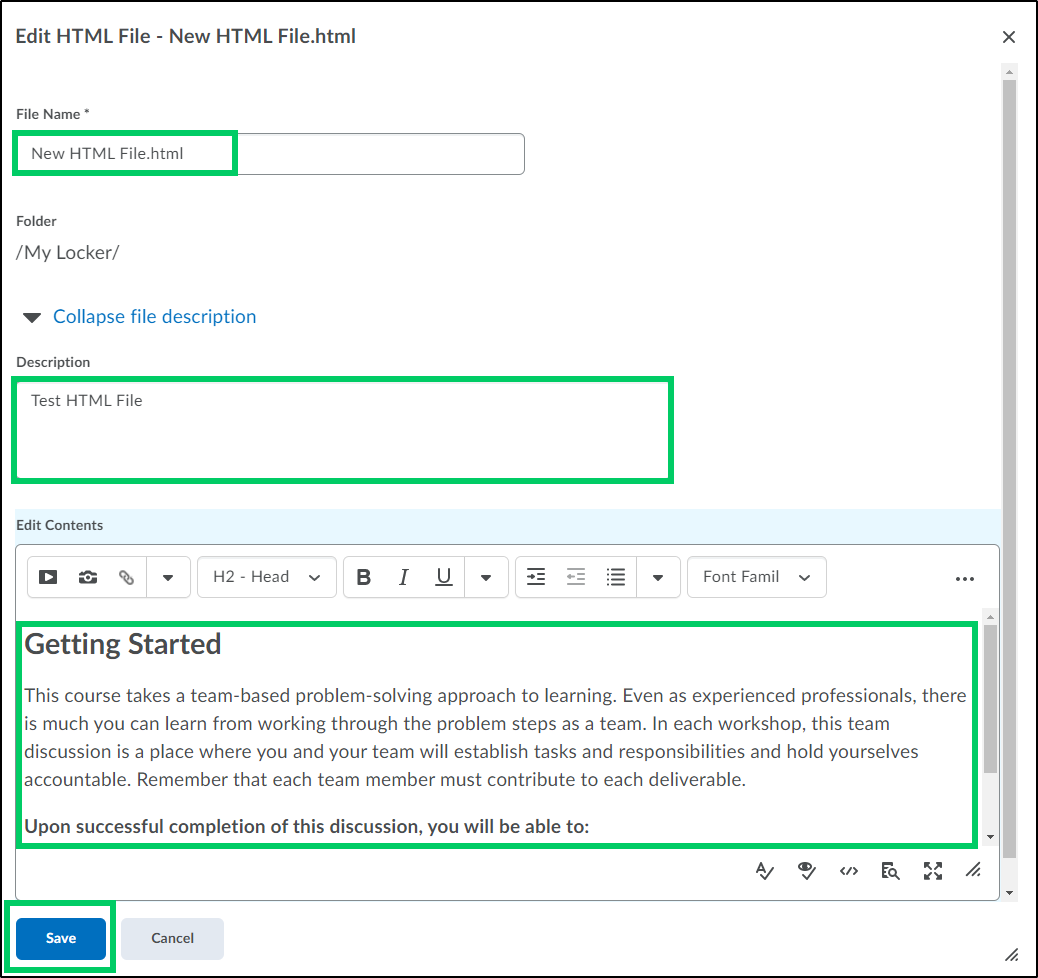
iii. Selecting edit next to a newly created file, will allow you to edit the "File Name", the "Description" or the HTML content and save the changes.
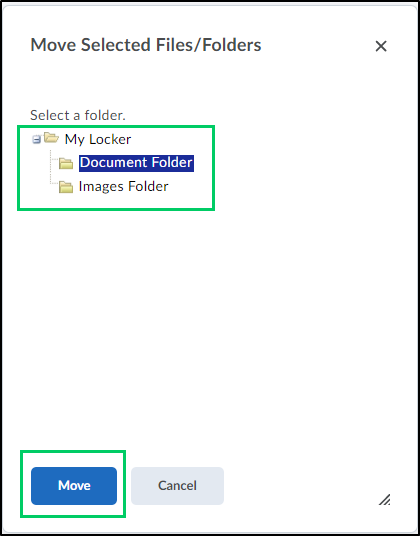
4b. Move allows you to change the destination folder. After the new folder has been chosen, select "Move" to save the changes.
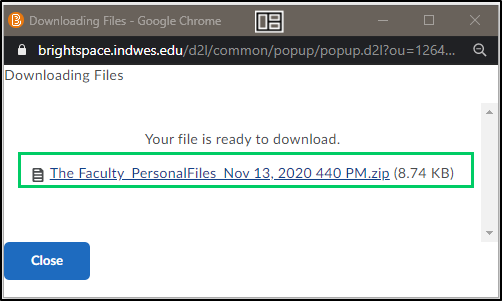
4c. Download allows you to download files and folders into a zip file.
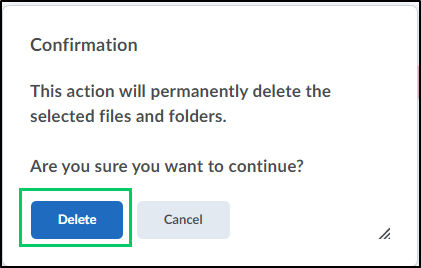
4d. Delete allow you to permanently delete files or folders and their contents.