MediaCentral Express Capture
Overview
Describes how to use the MediaCentral 'Express Capture' function to record a video that will end up in MediaCentral.
Steps
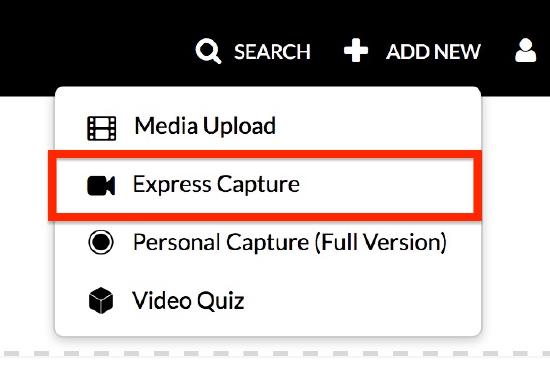
1. Once logged into the MediaCentral website select the 'Add New' button followed by 'Express Capture'. Please note that after selecting 'Express Capture' you may receive a pop-up message prompting you to select from your available webcams and microphones, and click 'Allow' to permit MediaCentral to access the webcam or microphone. Your browser may need to be instructed to allow pop-up messages for this site.
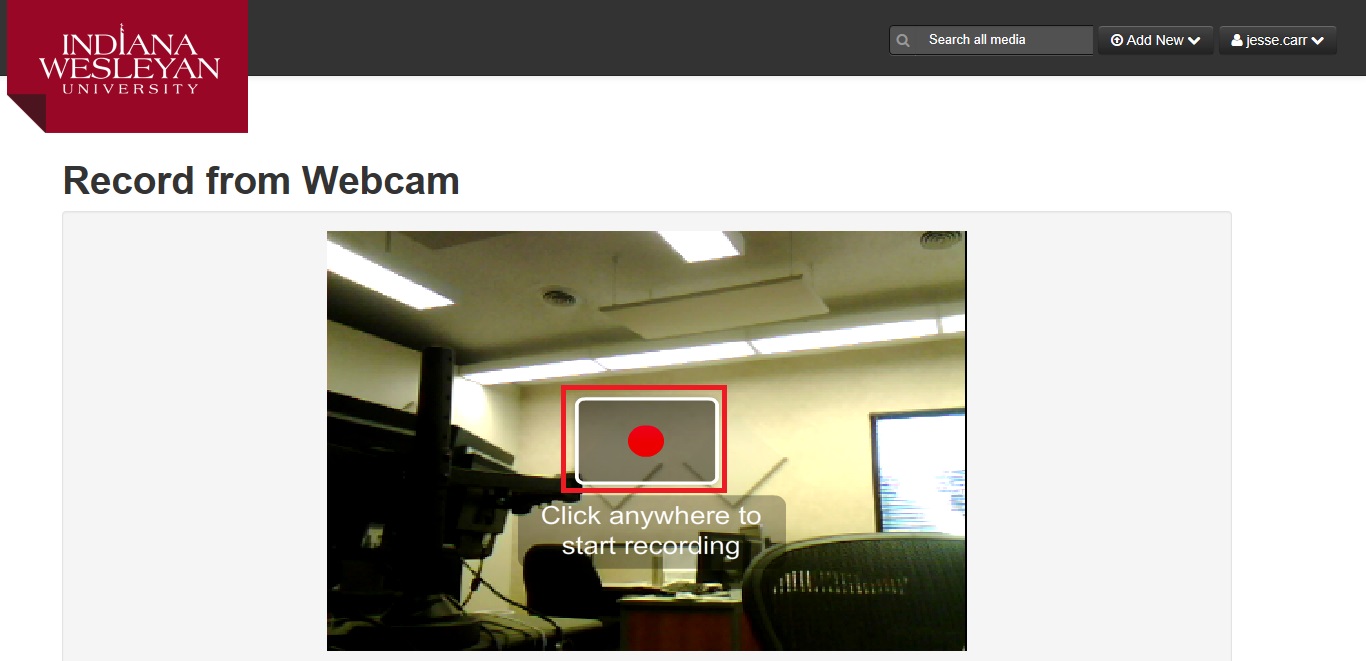
2. To begin recording select the red 'record' icon.
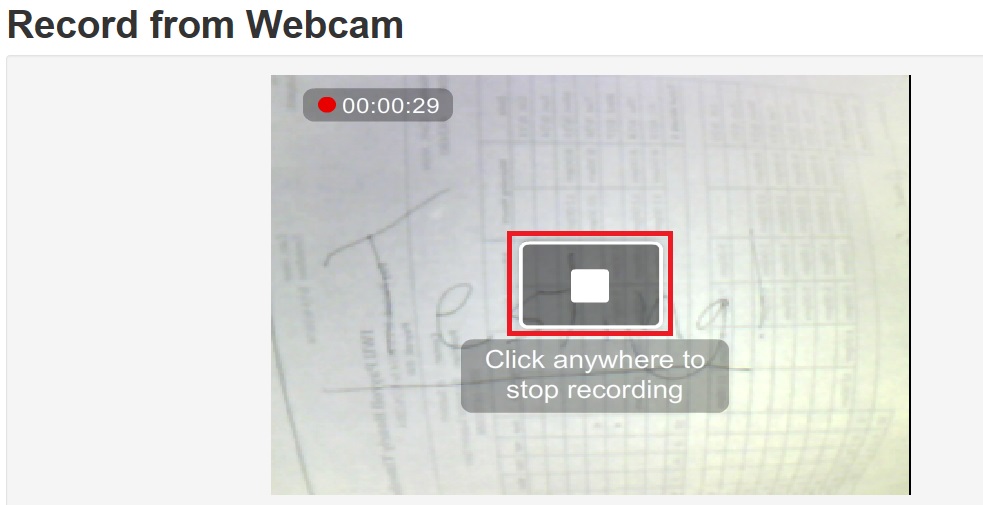
3. One you have recorded as much as desired, select the 'stop' icon.
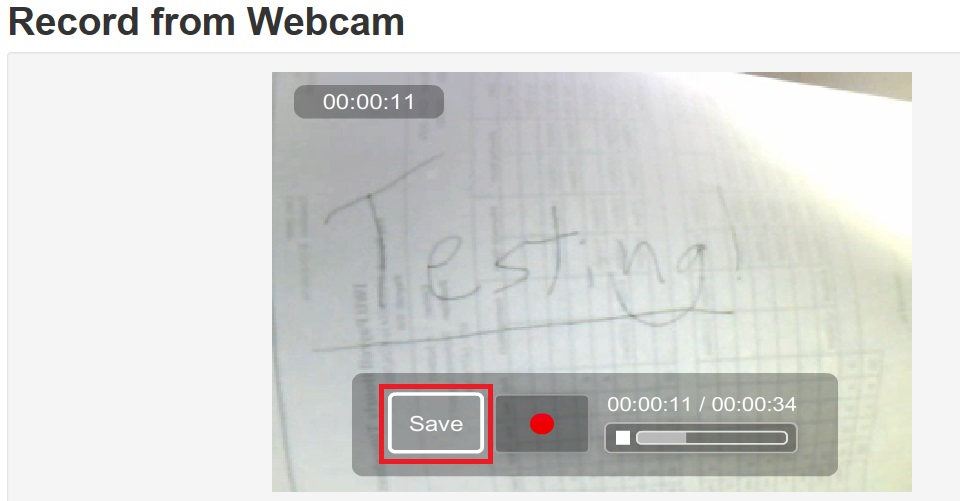
4. After selecting 'stop' you will be presented with a screen that allow you to watch a preview of the video. If satisfied with the recording select the 'Save' button.
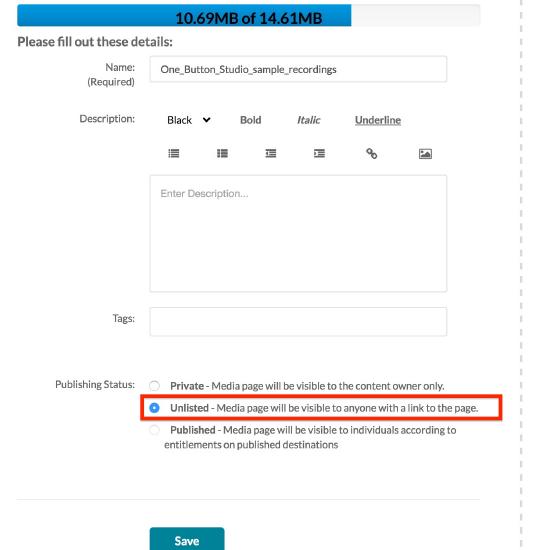
5. To finish the process and upload the recording, Enter a name for the recording, Select the Publishing Status (Unlisted is recommended), and press the 'Save' button. Description and Tags are optional, and recommended.
What's Next
For information on uploading media files directly from your computer to MediaCentral, please click here.
Next, you may wish to share the links to your MediaCentral content. There are two primary means of sharing: 'Link,' and 'Embed.'
'Linking' gives you a web address which you can copy and paste into a message or web page, for others to click on, so they may view your video in a new browser window.
'Embedding' gives you a paragraph of code, which can be copied and pasted into an appropriate field in your web page, that includes a media player so viewers can view your video file without leaving your web page.
For BrightSpace users, this is how you embed your new video within a course.