Maxwell Classrooms
Display
This classroom has a fully equipped teaching station with one large display.
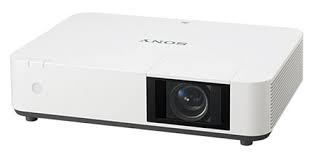
- A ceiling-mounted Sony Laser Projector
- Projects onto manual screen on the front wall of the room.
- Resolution: 1920 x 1200 (16:10 Aspect Ratio)
Maxwell 124 also has a short throw interactive projector mounted above the whiteboard on the side wall. This is not the primary projector in 124.
Audio
- Ceiling speakers
-
Volume control knob on control panel
Control
The control panel is where you
- turn on and off the display, or temporarily blank the screen
- adjust the volume through the speakers,
- select available sources.

Find further instructions here.
Sources
The teaching station provides multiple ways to share a computer or mobile device to the projection screen and ceiling speakers.
- Wireless: casting from a mobile device without the use of cables. Note, some restrictions apply.

- USB-C cable for connecting a mobile device (Laptop, tablet or smart phone)
- HDMI cable for connecting a laptop computer or BluRay player
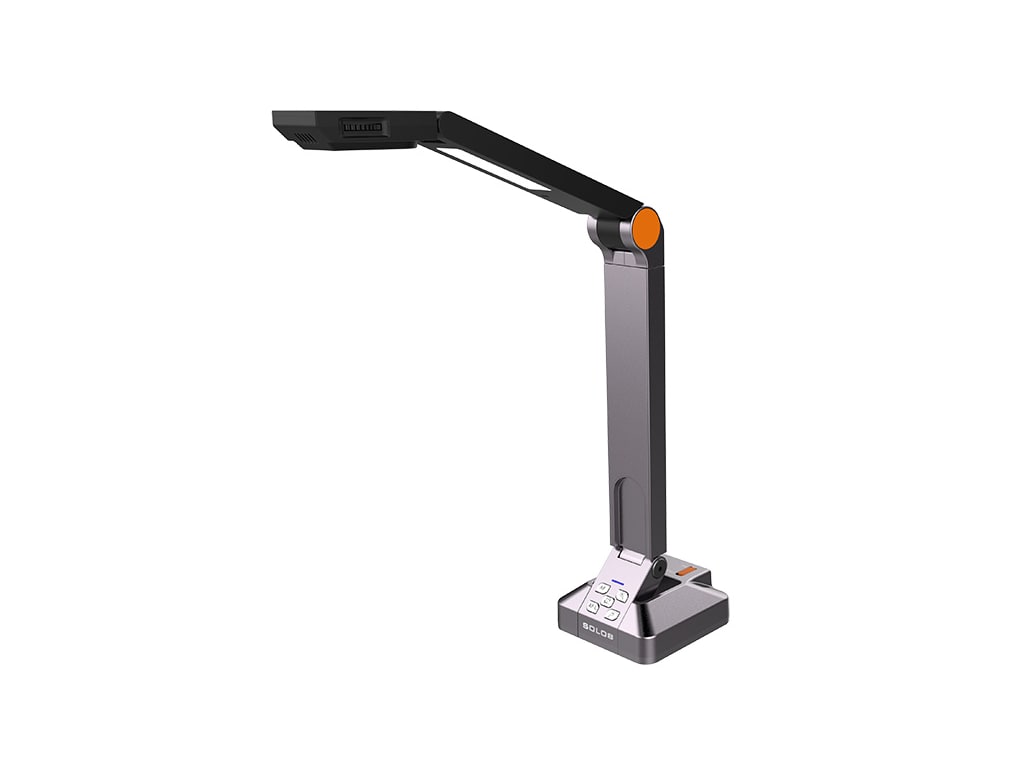
- USB; plug in a USB flash drive or a USB document camera to this port. Then press the PC button and browse to the connected peripheral.
- The Network cable is provided for laptops which are hosting or joining a video conference.
- Desktop PC
- HoverCam USB document camera, connected to the Desktop PC
Equipment Location
Located in the Spectrum Link Lectern
