Creating an Intelligent Agent to Welcome Students to a Course
Goal
After reviewing this how-to you will have the knowledge needed to create an Intelligent Agent which sends an email notification to welcome students to the first day of class. For information on how to navigate to Intelligent Agents within a Brightspace course, please review the Navigating to Intelligent Agents article. For a more in-depth explanation of the Agent List and its functionality, please review the Intelligent Agent List Overview article. For other guides on Intelligent Agents, see the Intelligent Agent topic page.
Navigation
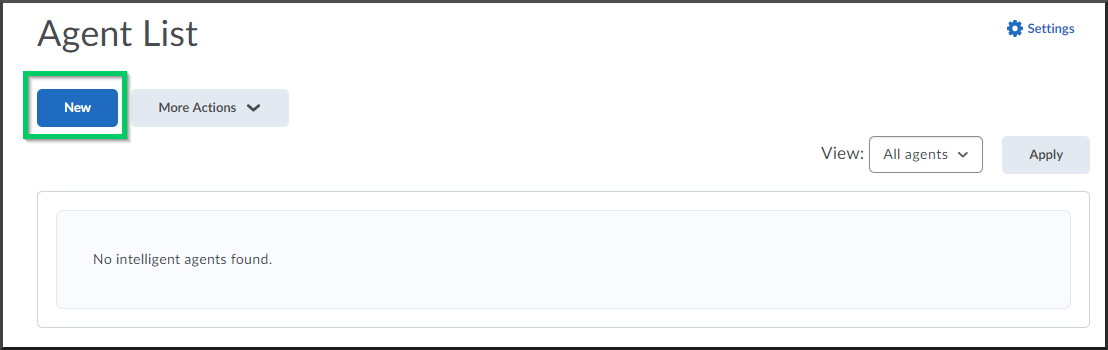
- Navigate to Intelligent Agents within your course and select the "New" button.
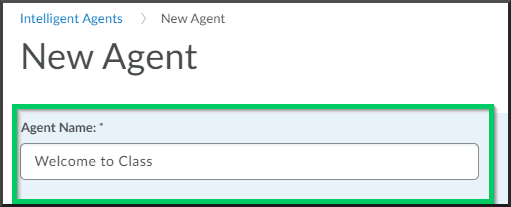
- In the Agent Name field, create a name for the Intelligent Agent.
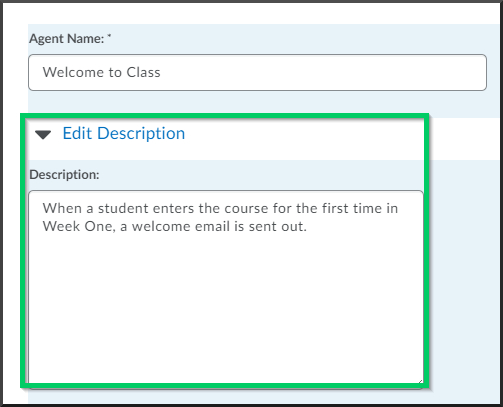
- In the Description field, enter a description that describes what the agent does upon a glance.
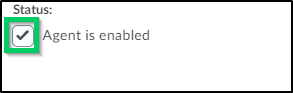
- In the Status field, select the "Agent is enabled" checkbox to enable the intelligent agent.
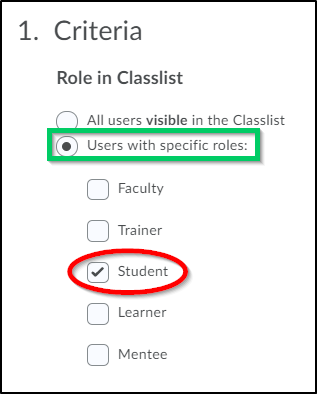
- Under the "Criteria" category and within the "Role in Classlist" subcategory, select the radio button that determines what role the intelligent agent should pertain to. This should typically be set to "All users visible in the Classlist". However if there are mentees or teaching assistants assigned to the course and who are visible in the classlist, select the "Users with specific roles" radio button to specify the roles that the agent should pertain to. In this scenario, the "student" role should be chosen.
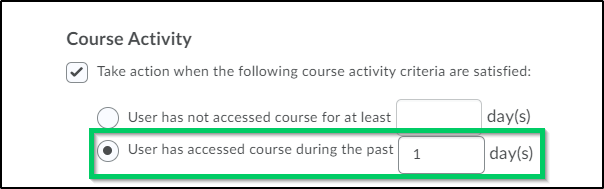
- In the Course Activity subcategory, select the checkbox to "Take action when the following course activity criteria are satisfied:"
- Select the criteria needed for this agent.
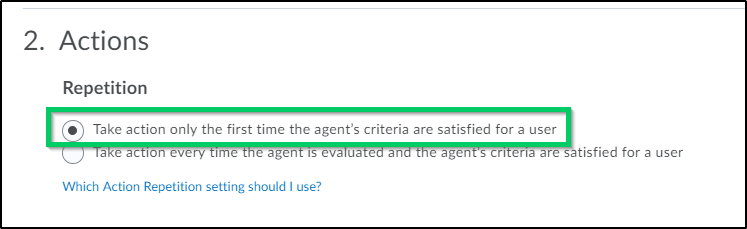
- Under the Actions category and within the "Repetitions" subcategory, select the appropriate Action Repetition setting. **For this scenario, it is recommended that the "Take action only the first time the agent's criteria are satisfied for a user" radio button is chosen because the instructor will only want to send a welcome to a student the very first time they access the course in week one**
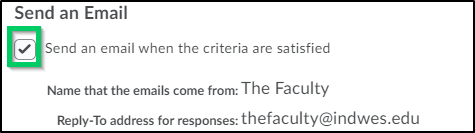
- In the "Send an Email" subcategory, select the checkbox to "Send an email when the criteria are satisfied". The "Name that the emails come from" and the Reply-To address for responses" should prefill with the name and email address set up previously in the Settings. To review how to set email preferences for Intelligent Agents within a course, review the Setting Email Preferences for Intelligent Agents within a Course article.
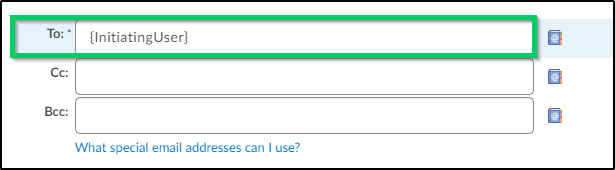
- In the "To" line of the email using a replacement string of {InitiatingUser} will allow the student's email to be automatically pulled in the first time they access the course in Week One. For more information on replacement strings, see the Using Replace Strings in the Email Notifications Used Within an Intelligent Agen article. **Note: Failure to put the replacement string in exactly may result in the intelligent agent not functioning properly**
- Enter a subject line for the email such as "Welcome to Sample Course".
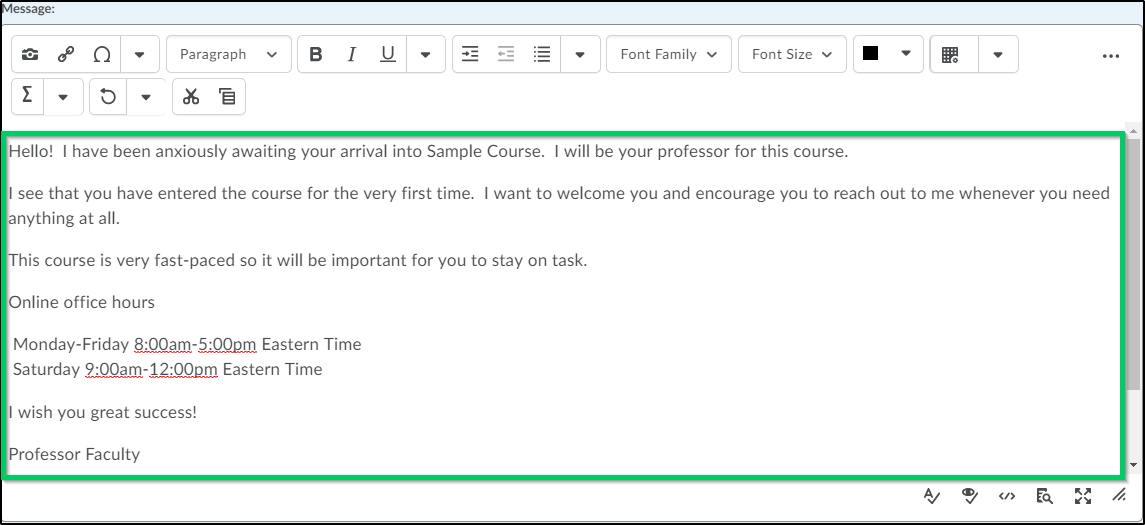
- Compose an email message to welcome students to the course.
- In the Attachments subcategory, the faculty can upload any materials that they would like for the students to have, such as a copy of the syllabus.
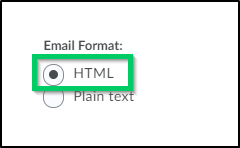
- The Email format subcategory will default to "HTML". This setting can be left to the default.
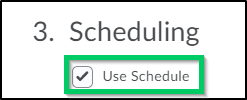
- In the Scheduling category, choose the checkbox to "Use the Schedule."
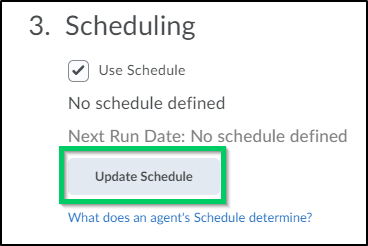
- Choose the "Update Schedule" button to set up the frequency that the agent should run.
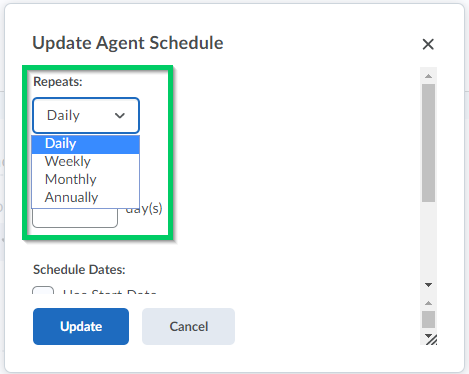
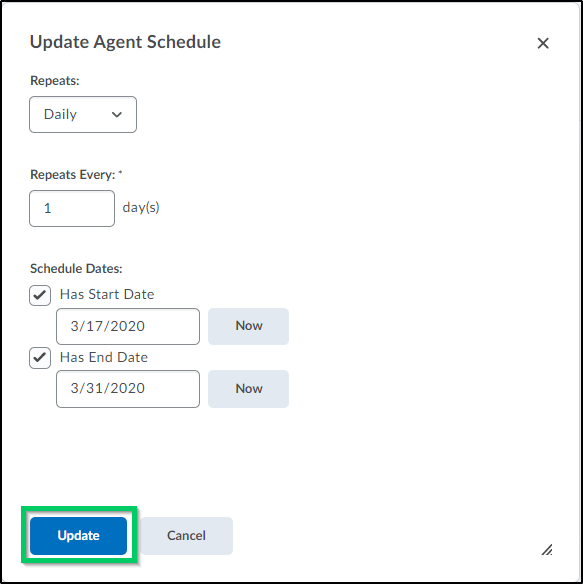
- The "Update Agent Schedule" box will allow faculty to choose how often the agent repeats. In this instance, the faculty would want the agent to run daily.
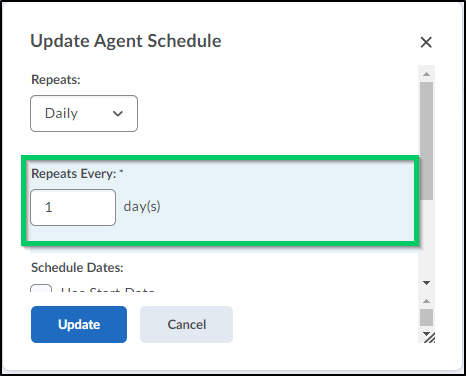
- The "Repeats Every:*" box will allow faculty to set how often the agent repeats. For this agent, it would repeat every day.
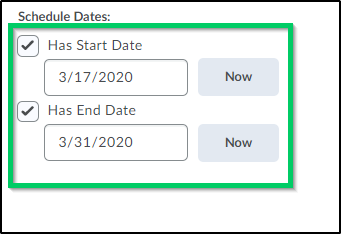
- The Schedule Dates field will allow faculty to enter the start and end dates for the agent. For example, faculty may want to set the start date for the first date that students gain access to the course which is 7 days prior to the start date. The end date could be set for one day after the end of Workshop One. For example if the course starts on 3/24/2020, the start date would be 3/17/2020. The end date of Workshop One would be 3/30/2020 so the end date of the agent would be set for 3/31/2020.
- Once parameters are set, select the "Update" button.
- Select the "Save and Close" button to complete the setup.