How to Import Grades
Goal
After completing this how-to you will have knowledge needed to use the "Import Grades" feature within the gradebook. This will allow you to enter grades within another application and import them back in Brightspace using a CSV or TXT file. It will also allow for a new grade item to be created by adding an additional column into the file. For other guides on the gradebook, access the Grades topic page.
Navigation
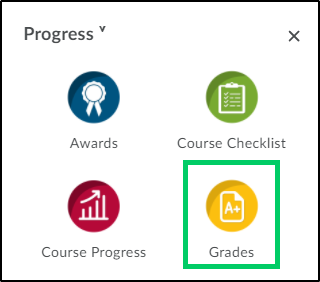
1. From the course navbar, select the "Progress" icon.

2. From the "Progress" menu, select "Grades".
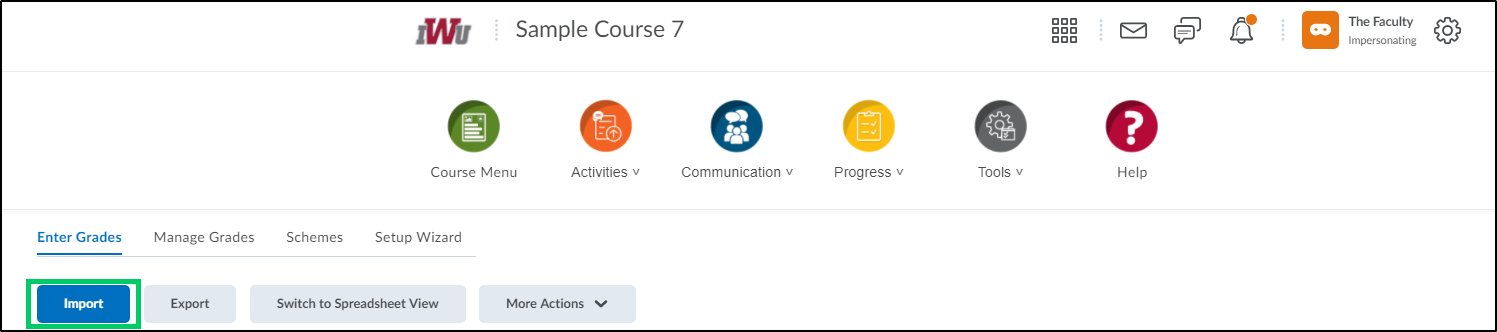
3. Within the "Enter Grades" tab, select the "Import" button.
4. Download the "Grades_Sample_Import_Files.csv" file to review how your file will need to be formatted.
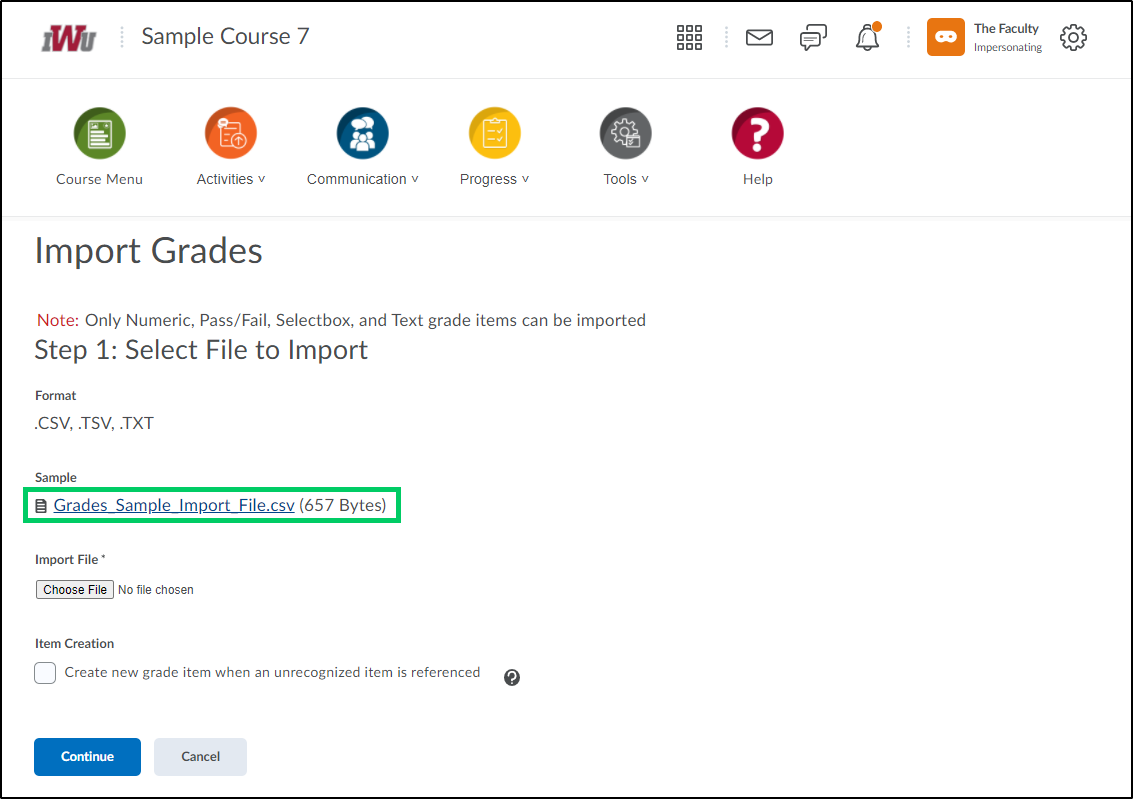
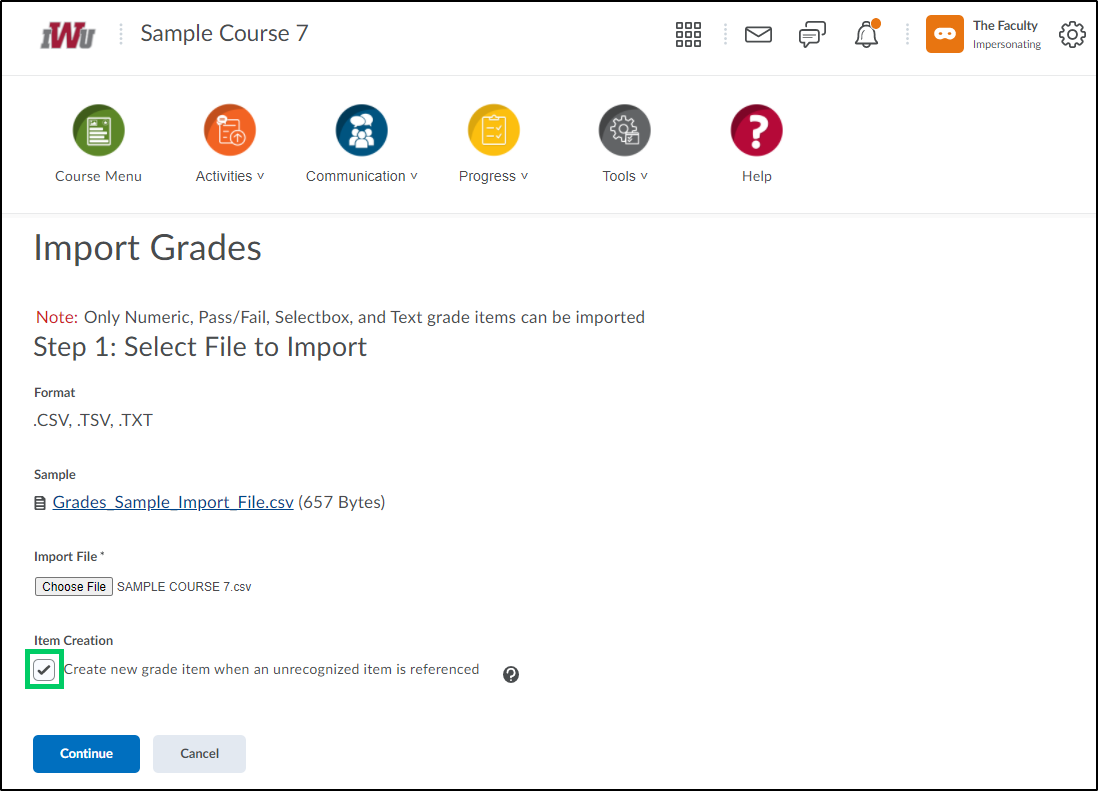
5. Once you have formatted your file according to the example, import your file by selecting the "Choose File" button and navigating to the area where the file is saved on your device.
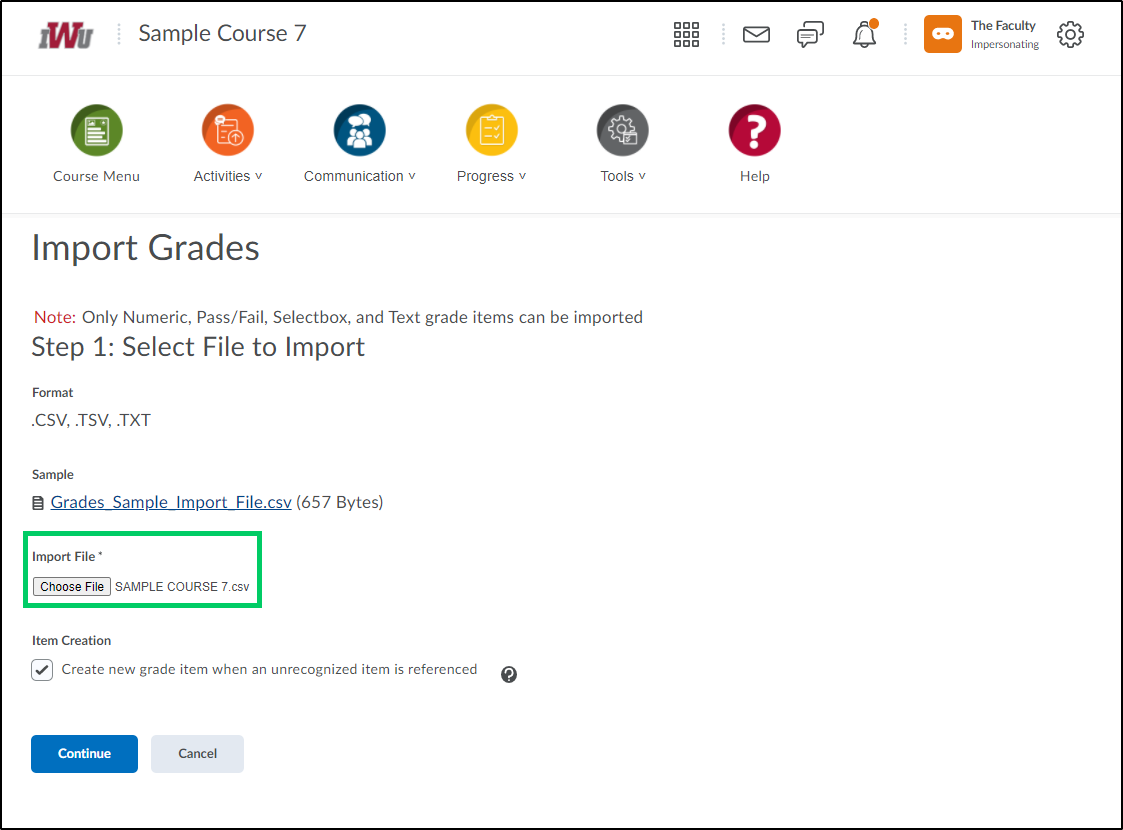
6. Within the "Item Creation" section, the option is provided to create a new grade item whenever an unrecognized item is referenced within the uploaded file. This can be done by selecting the check box next to "Create new grade item when an unrecognized item is referenced". For more information on creating a new grade item, refer to the How to Create a Grade Item and Category.
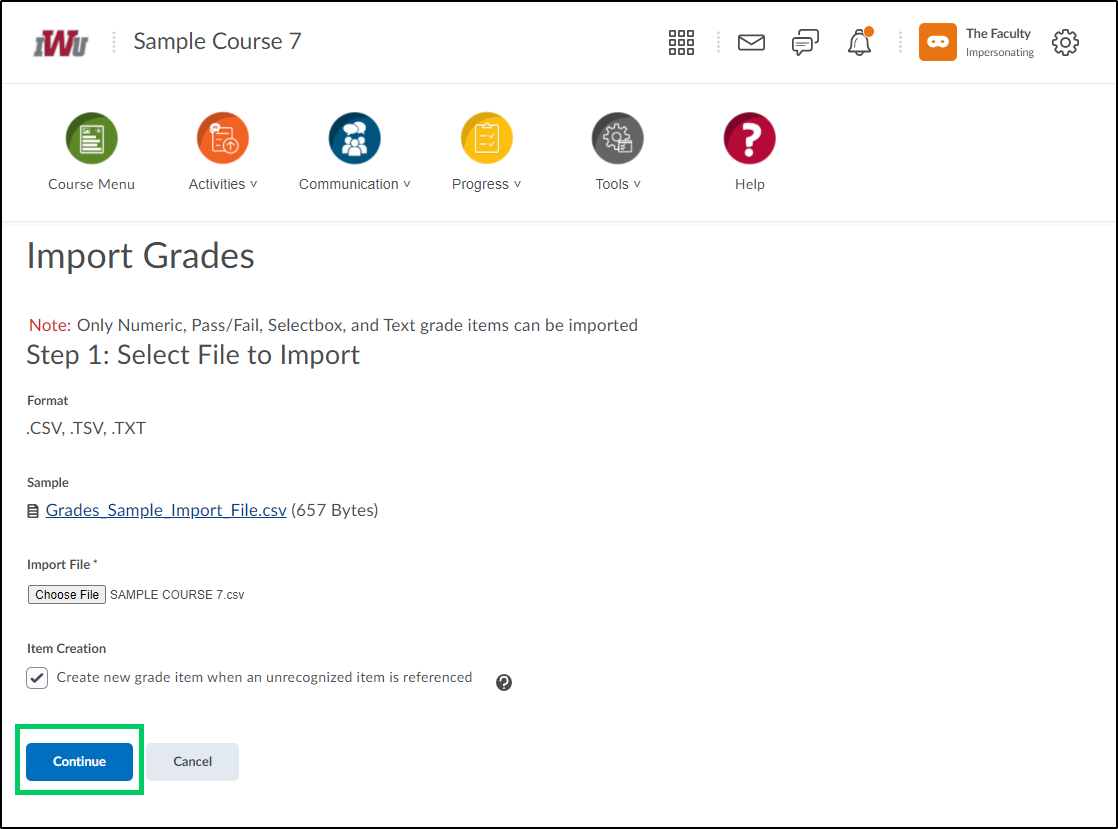
7. Select the "Continue" button to move to the next step.
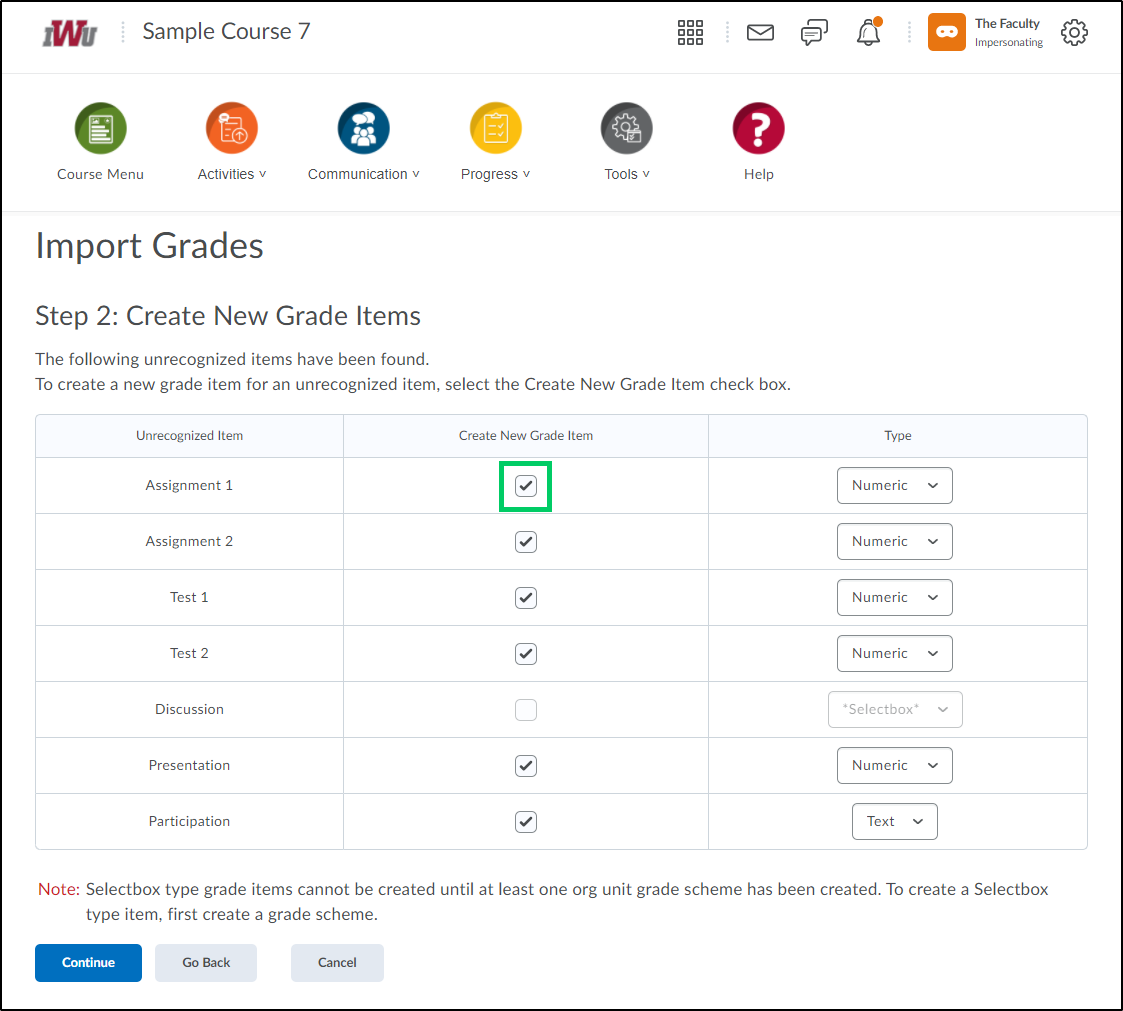
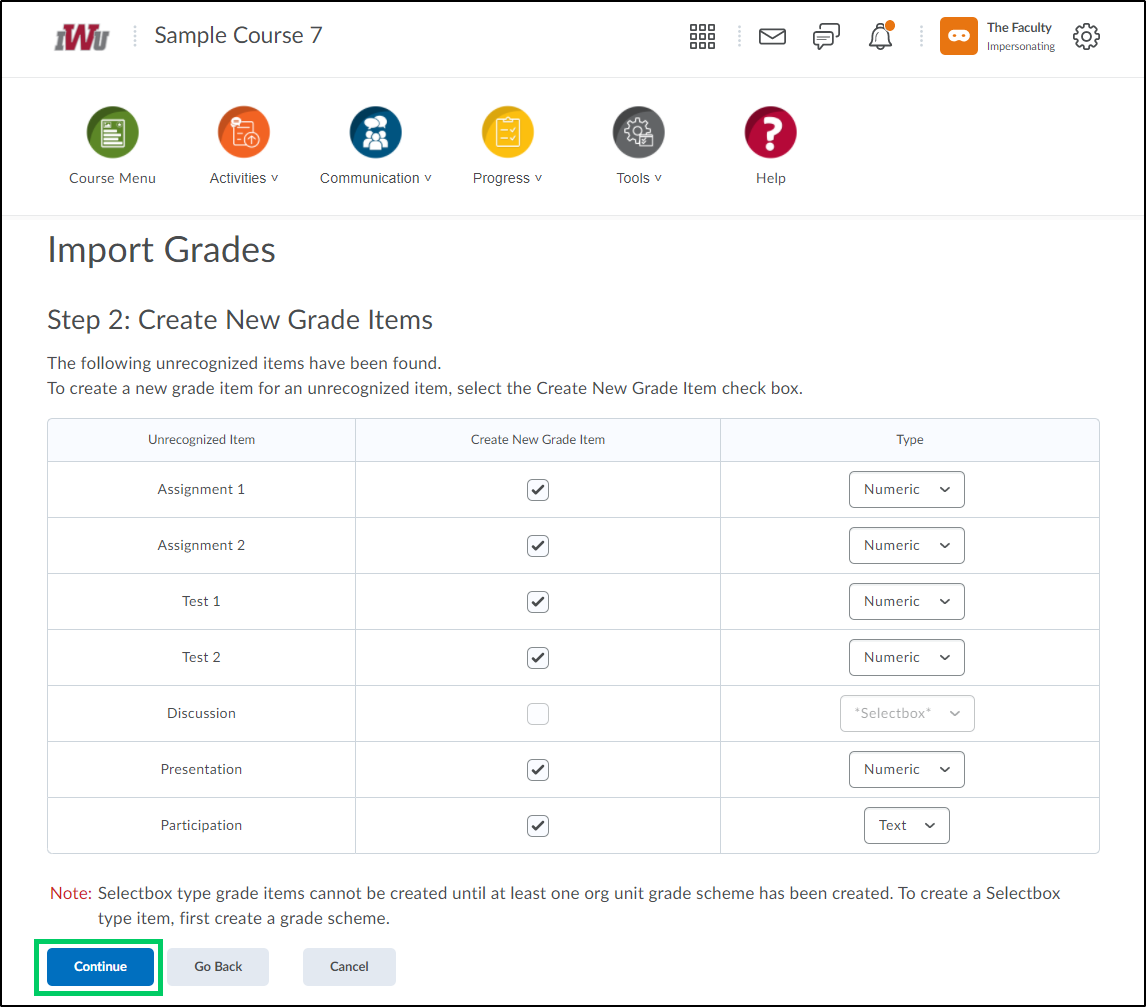
8. The file will then be reviewed to find if there are any items which need to have a new grade item created. You will be given the opportunity to opt of the grade item creation for each item by selecting or unselecting the checkbox.
9. You will also given the opportunity to choose the grade type for each item.
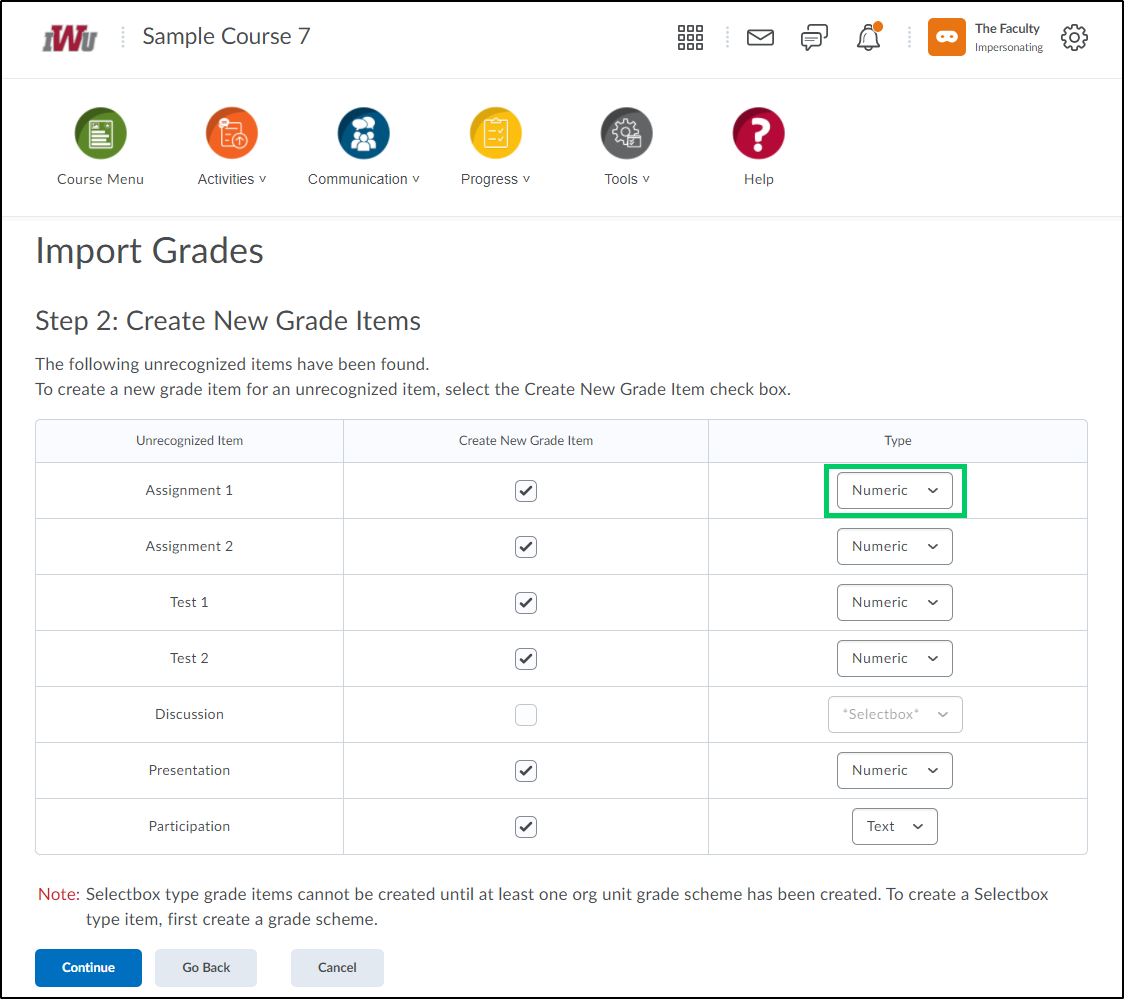
10. Once all choices have been made, select the "Continue" button.
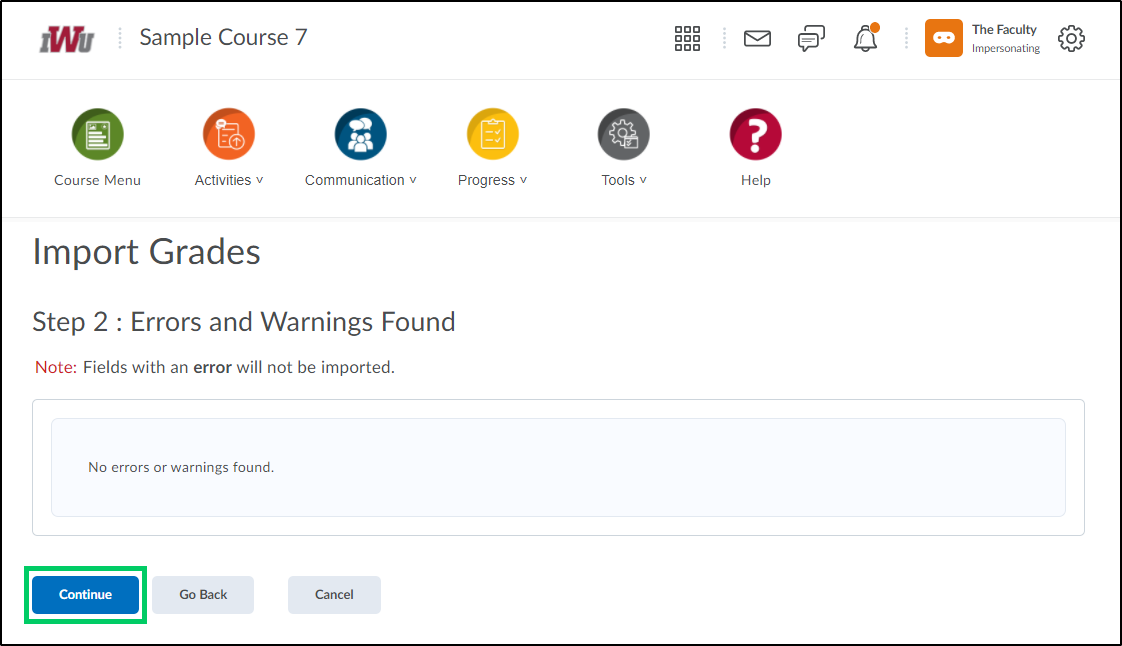
11. If there are no grade items to be created, the file will be reviewed for errors. Any errors must be corrected before proceeding. If there are no errors, select the "Continue" button to proceed.
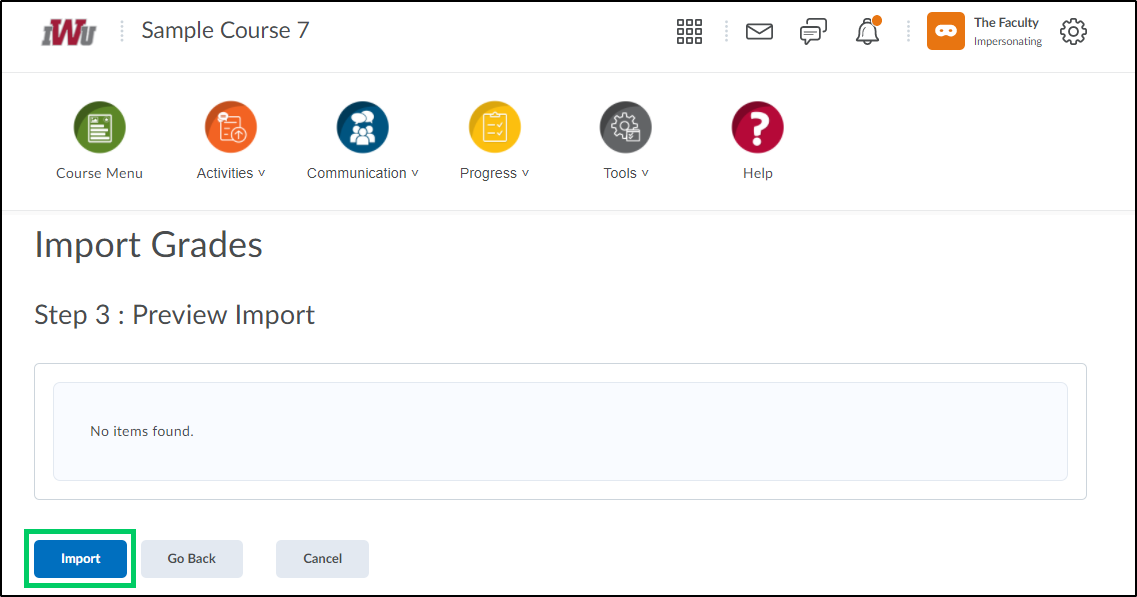
12. A preview of the import will be provided if everything looks correct. Select the "Import" button if all items are correct.
13. If the import was successful, you will be navigated to the main page of the Grades tool and a "Import Successful" message will be displayed.
