How to Navigate the Gradebook
Goal
After completing this how-to you will have knowledge needed to navigate to and understand some of the functionality within the gradebook. For other guides on the Gradebook, see the Grades topic page.
Navigation
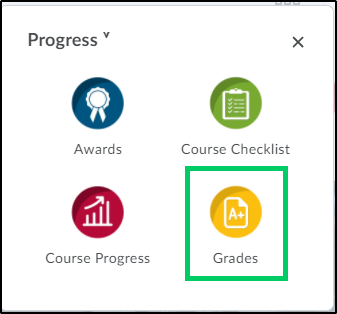
1. Select the "Progress" icon from the course navbar.

2. From the "Progress" menu, select "Grades".
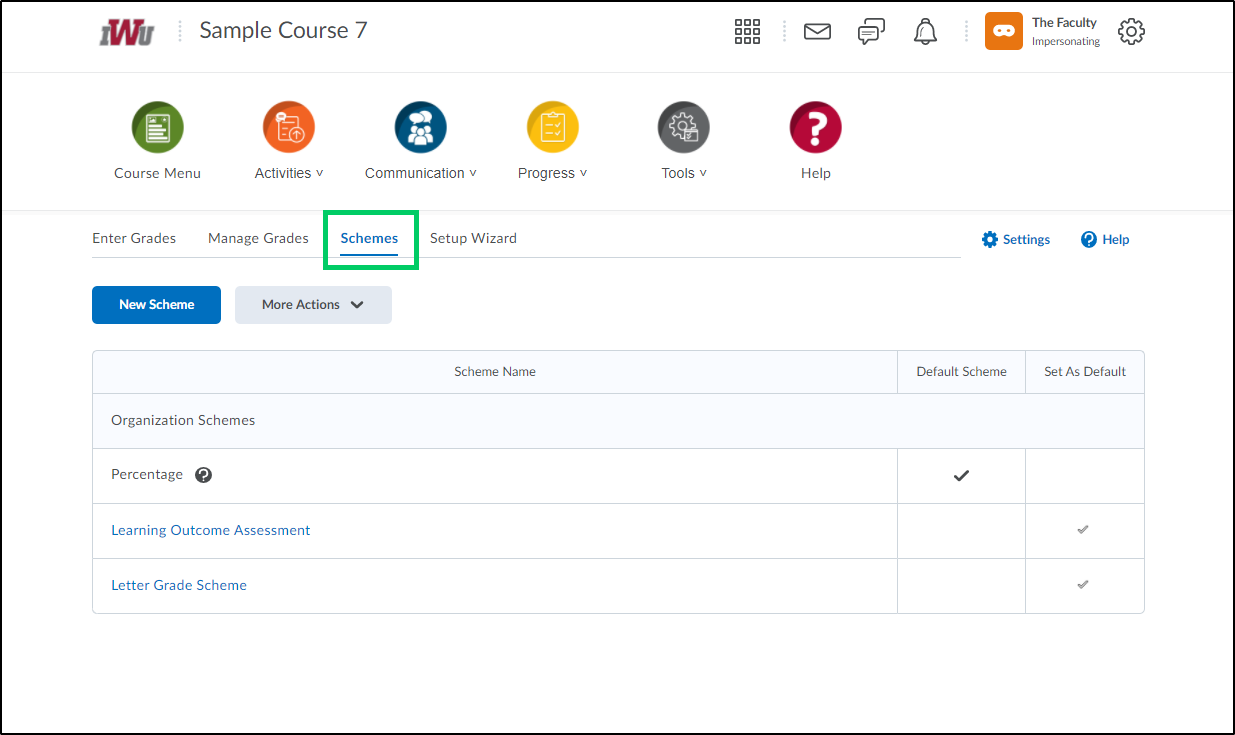
3. There are four tabs within the gradebook: Enter Grades, Manage Grades, Schemes, and Setup Wizard.

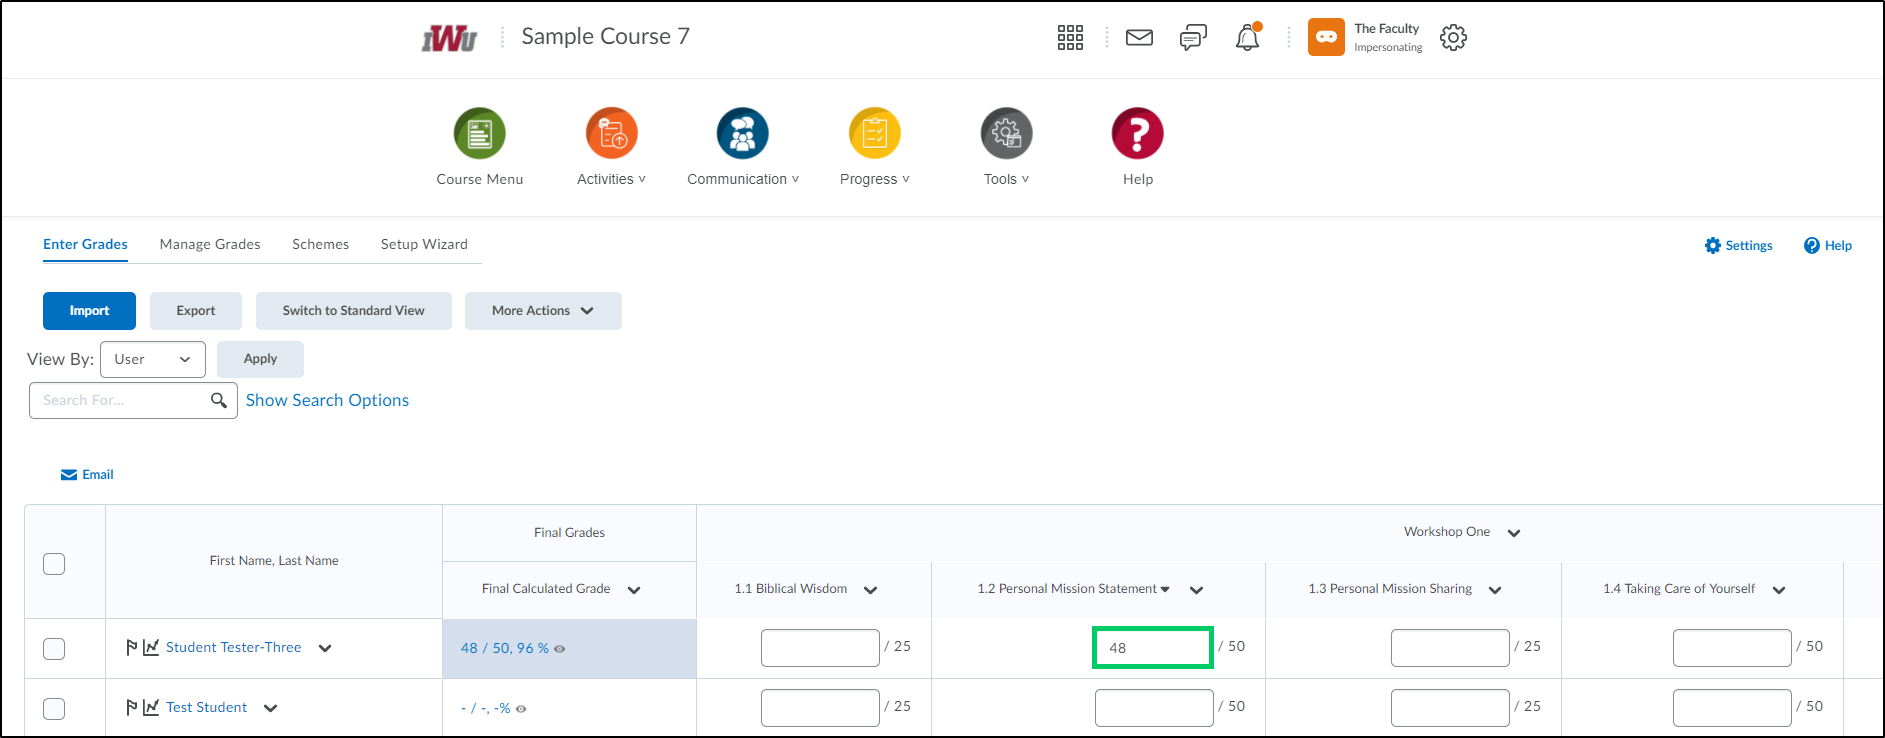
a. The "Enter Grades" tab allows the faculty to manually enter the number of points awarded for each activity.
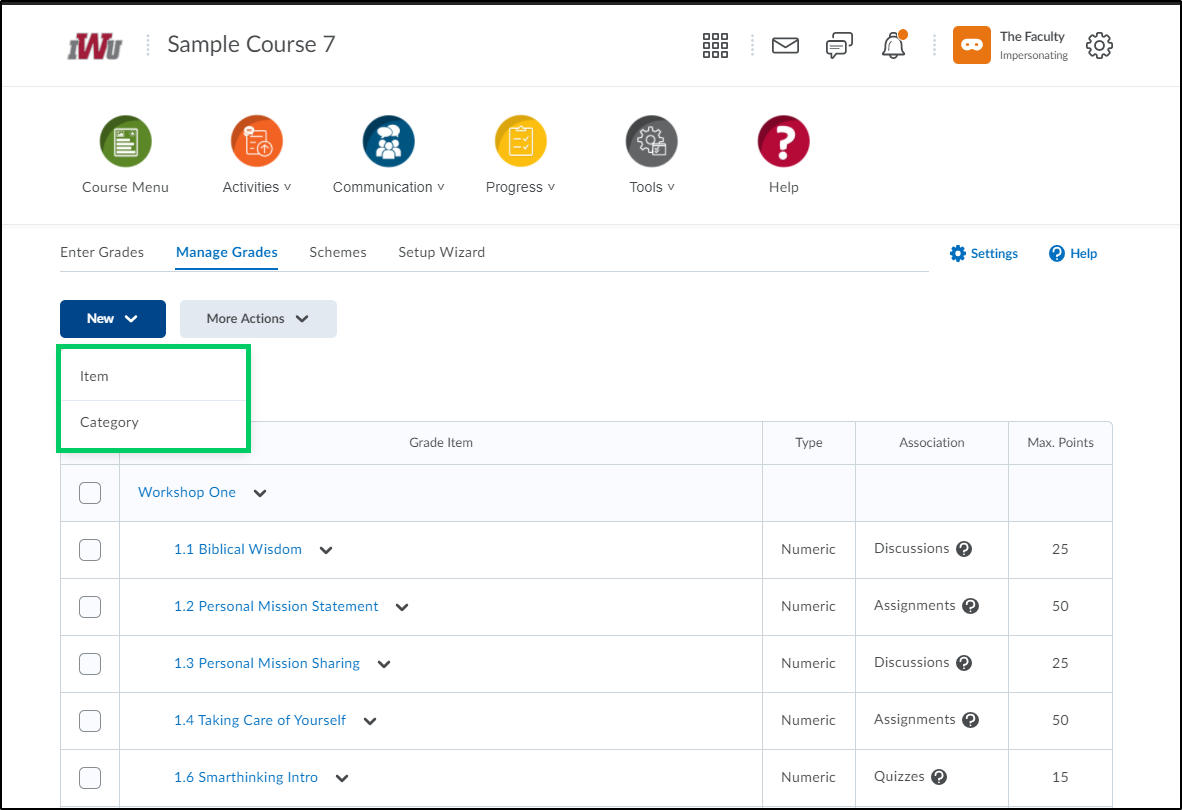
b. In the "Manage Grades" tab, the faculty can create new grade categories and grade items. For additional information on creating a grade item or grade category, see the "How to Create a Grade Item or Grade Category" guide.
c. In the "Schemes" tab, faculty can create a new grade scheme, view the default grade scheme, or change the default grade scheme.
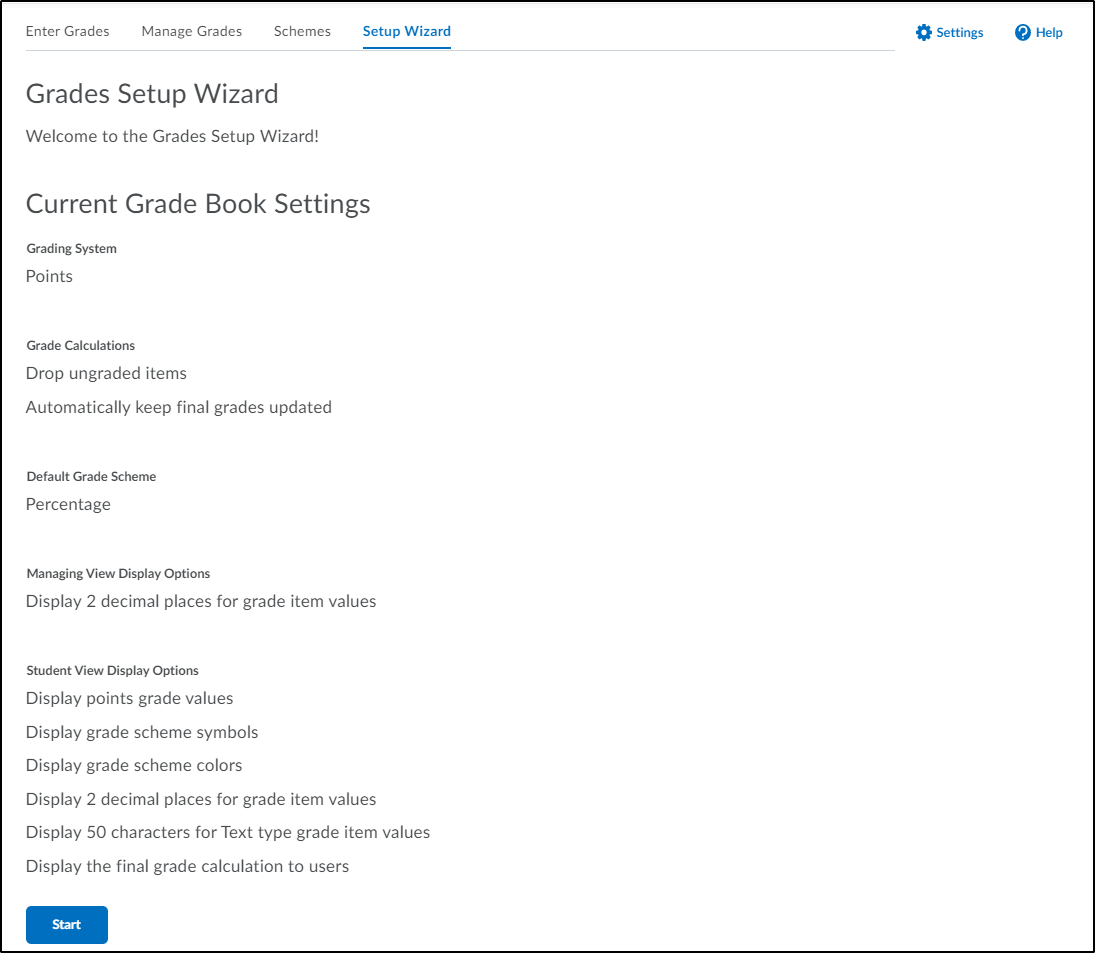
d. In the "Setup Wizard", faculty can view the current grade book settings and allow the faculty to walk through a step-by-step process to make changes to the various gradebook settings.
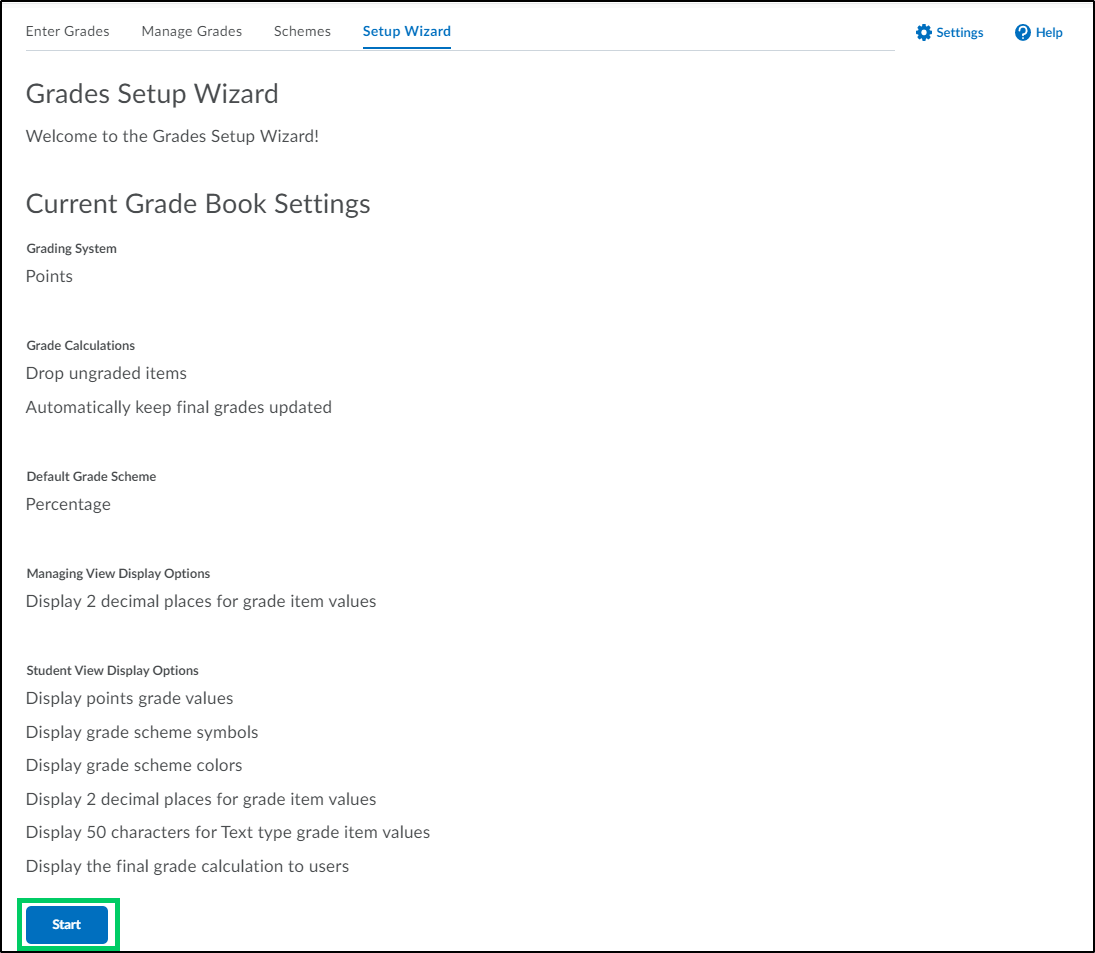
i. To walk through the process of changing of the gradebook settings, select the "Start" button.
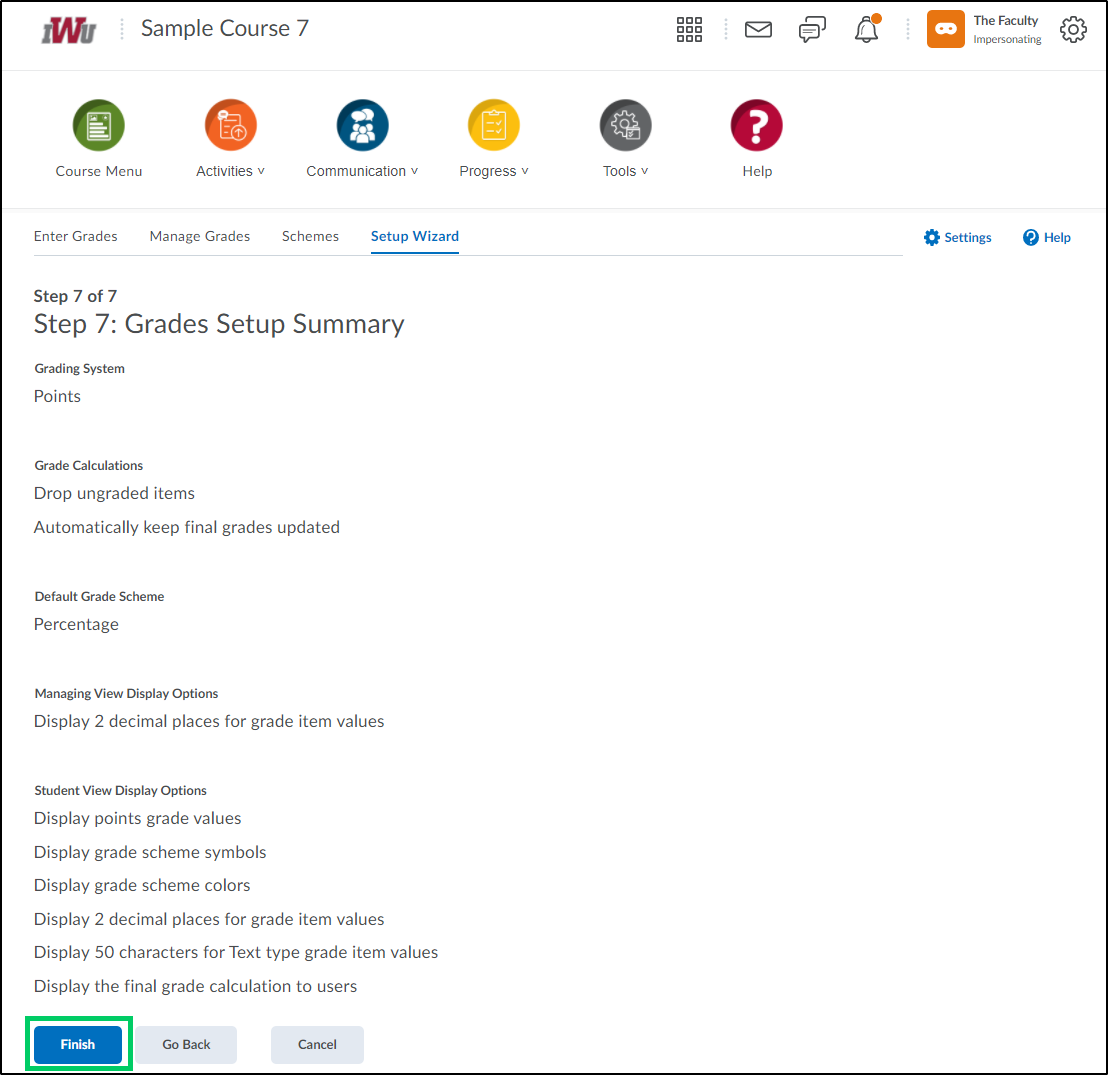
ii. On each step, fill in the blank or select the radio button or checkbox next to the appropriate gradebook setting selecting the "Continue" button on each step until you reach the last step where a summary of the choices is displayed and the "Finish" button can be selected.
4. There are also four buttons on the "Enter Grades" tab: Import, Export, Switch to.., and More Actions.
a. The "Import" button allows the import of numeric, pass/fail, selectbox, and text grade items via.CSV, .TSV, or .TXT files into the gradebook.

b. The "Export" button allows the export of grade items from a course into a CSV or Excel file.

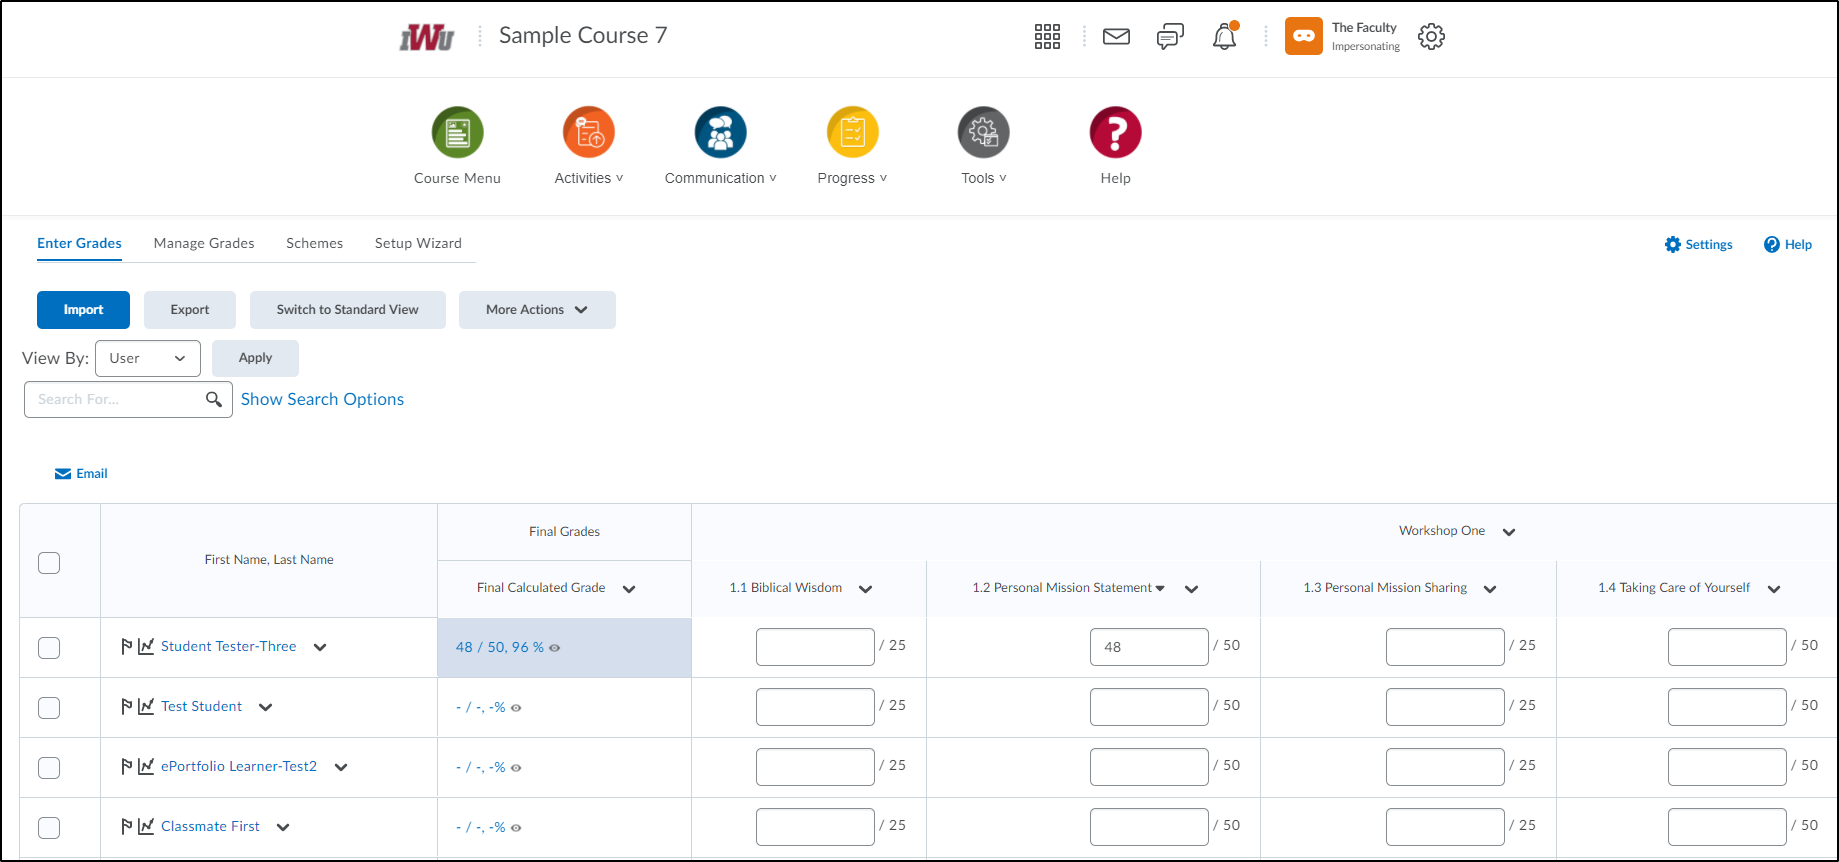
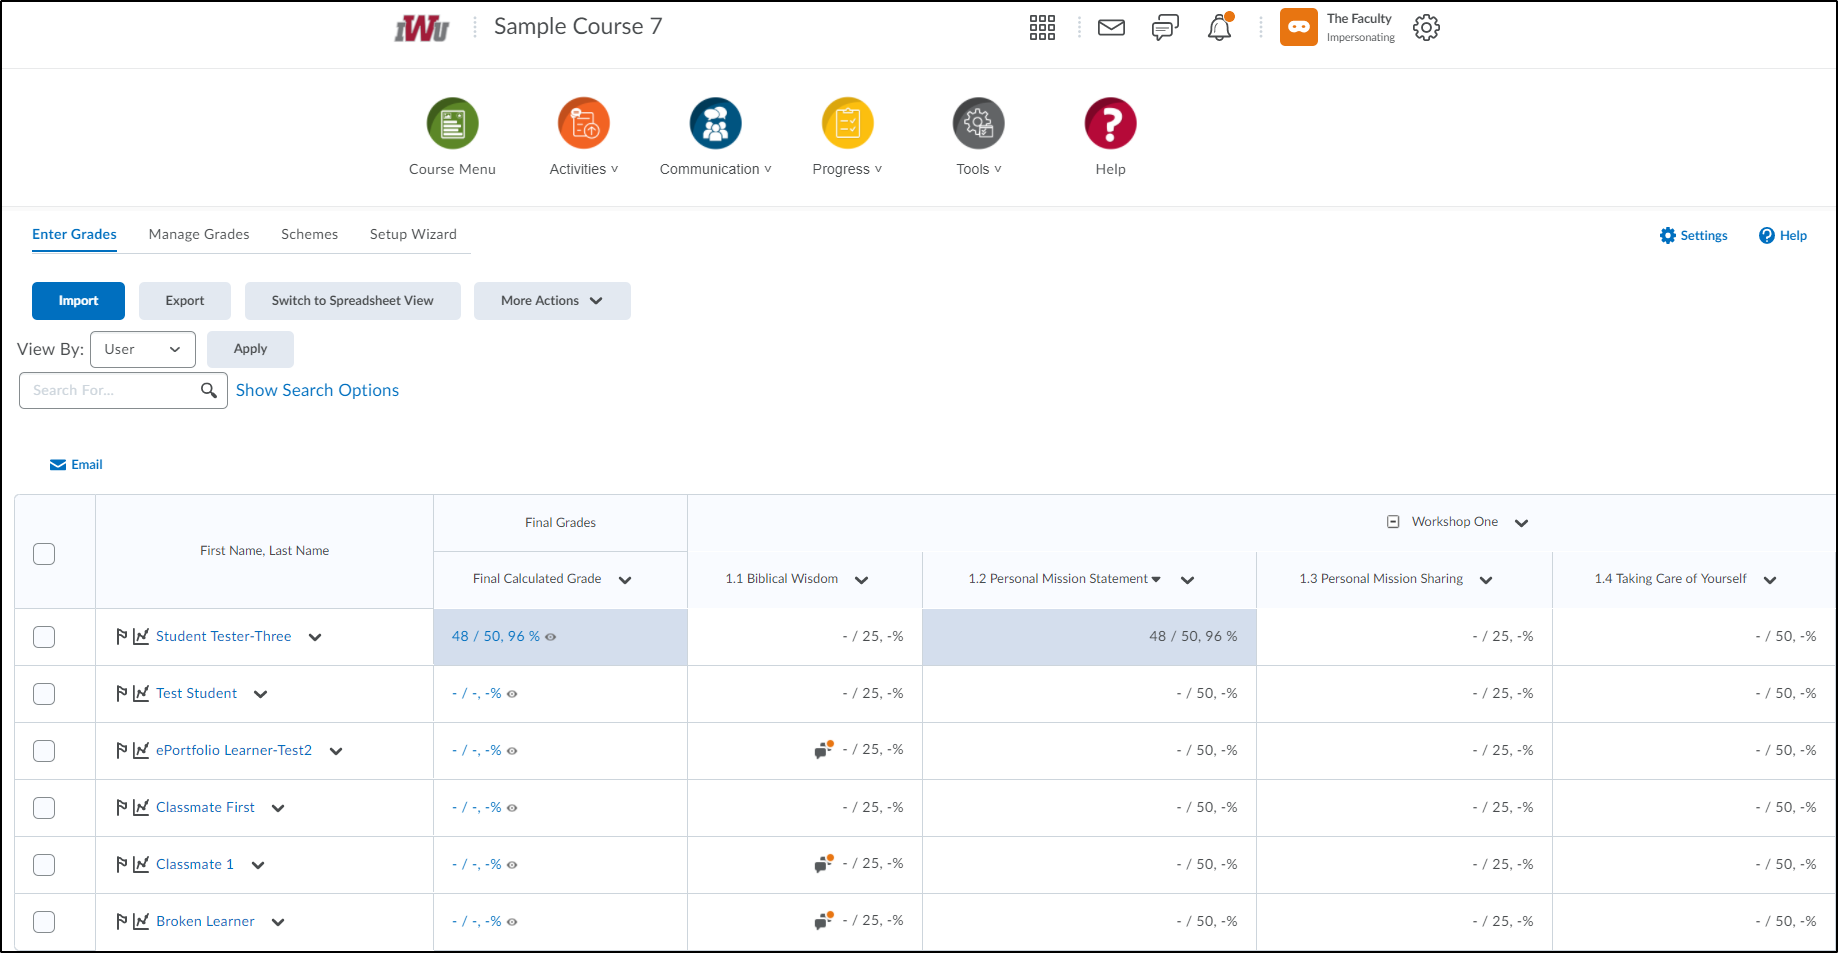
c. The 'Switch to...' button allows you to toggle between the Standard View and the Spreadsheet View.

i. Spreadsheet View:
ii. Standard View:
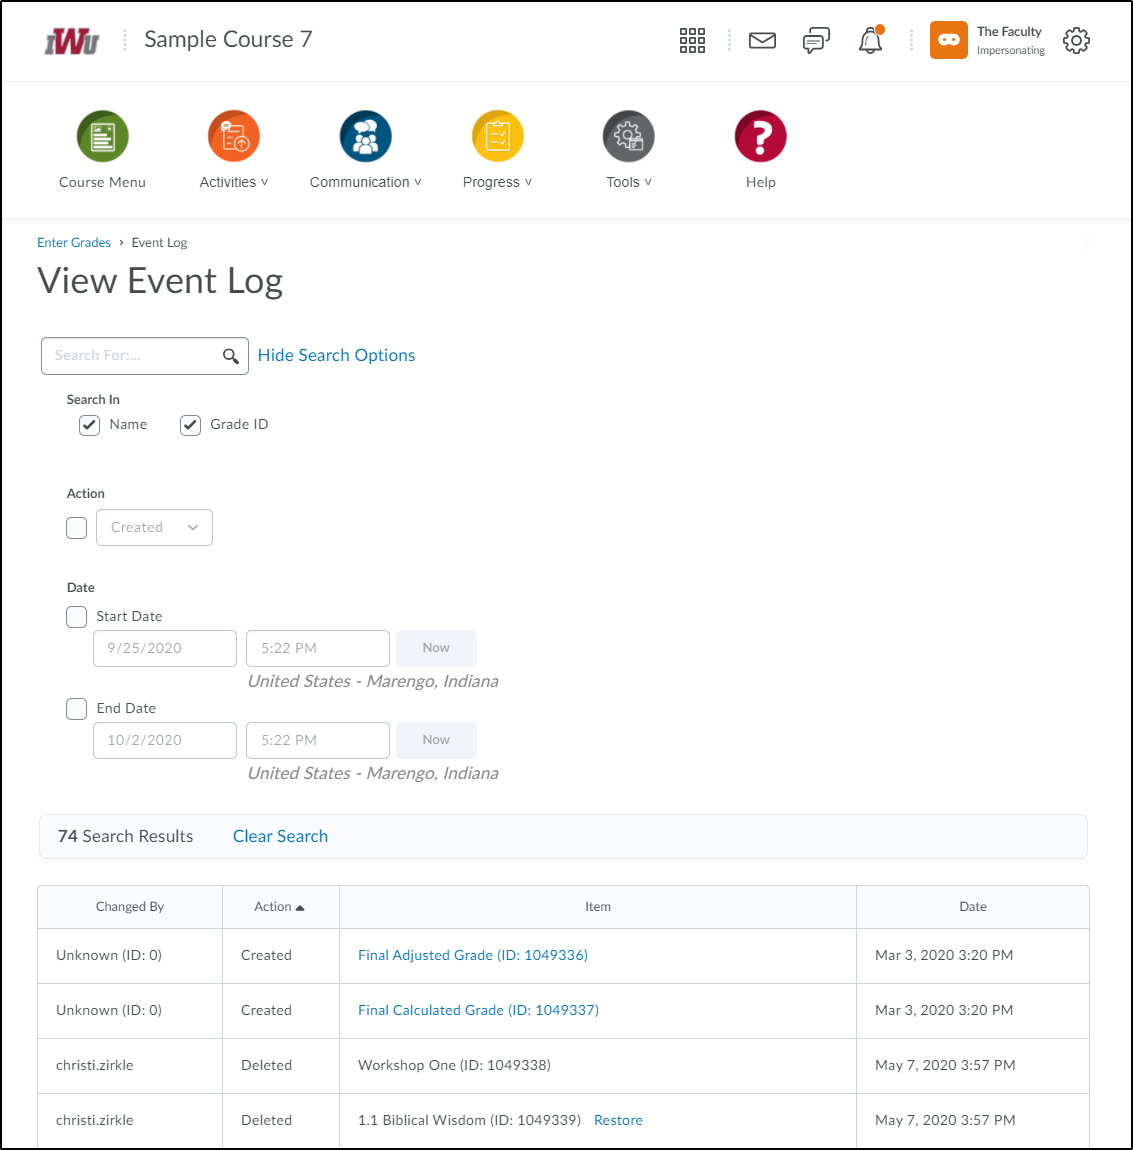
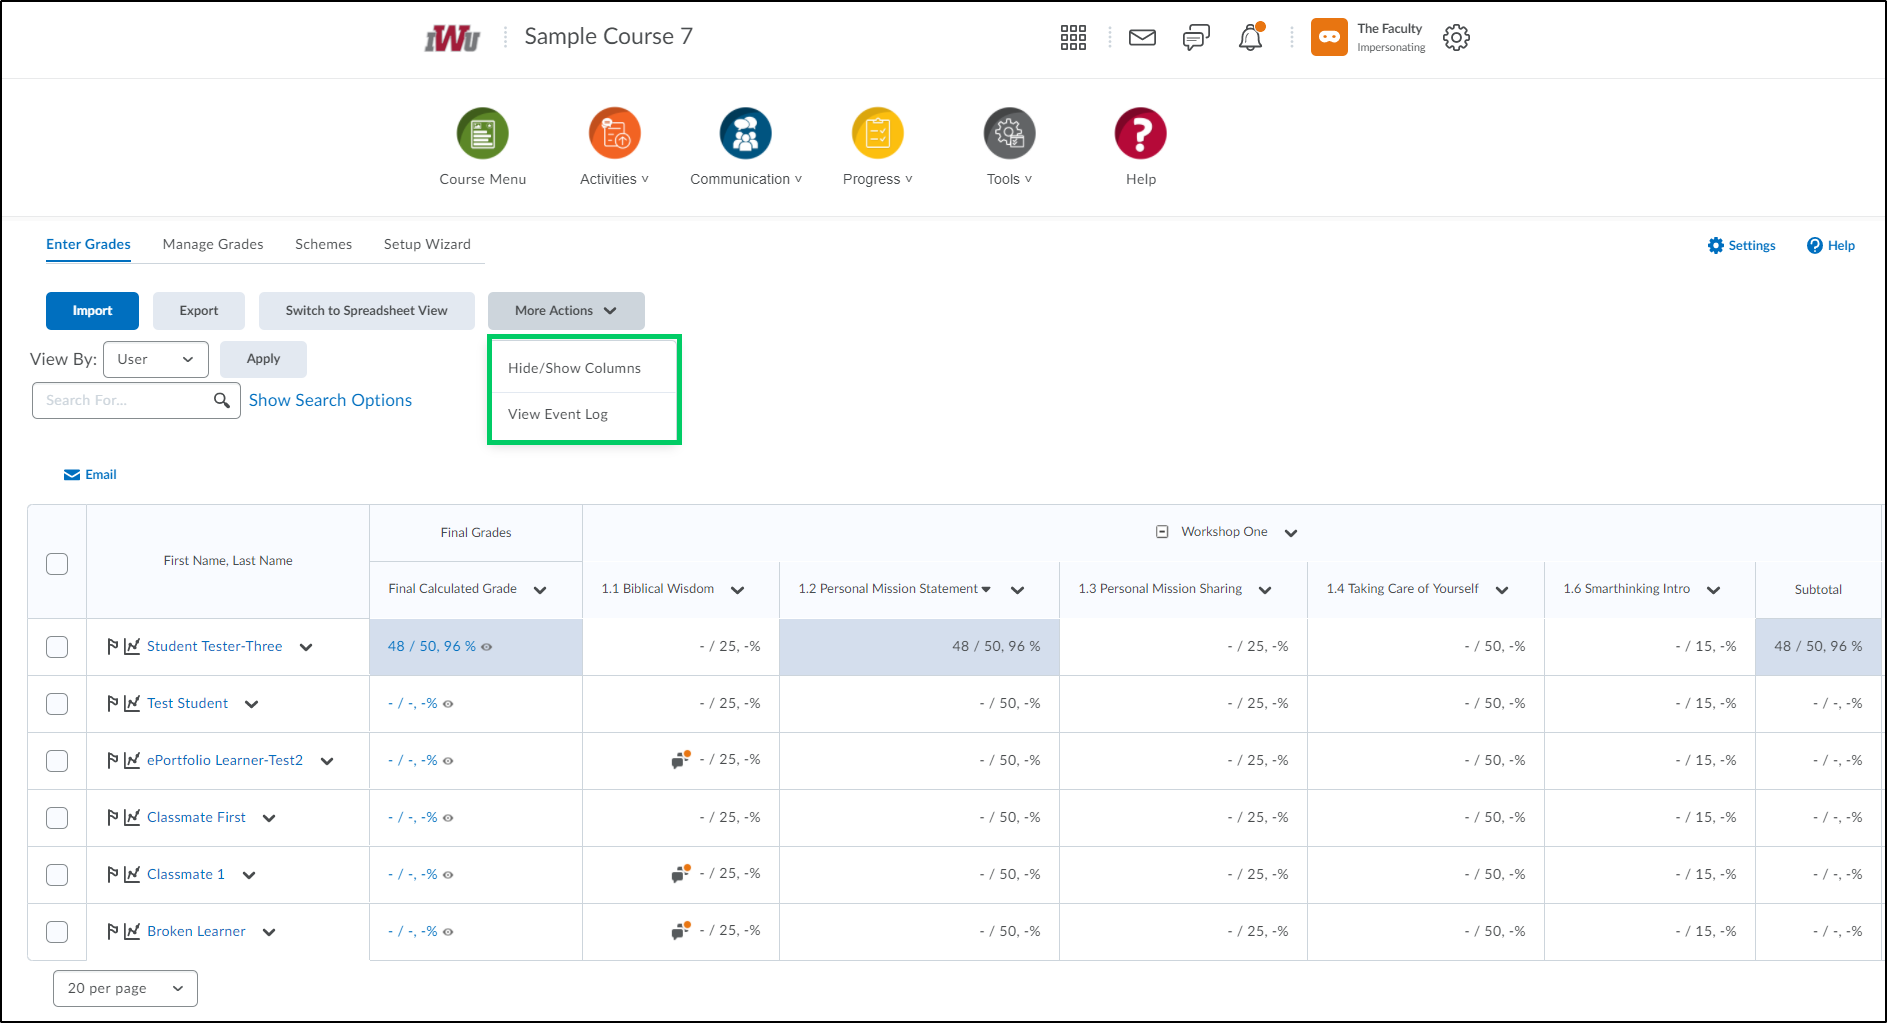
d. The "More Actions" dropdown menu allow you to hide and show specific grade columns. It also allows you to you to the view event log where you can see created items, restored items, and deleted items and restore them.
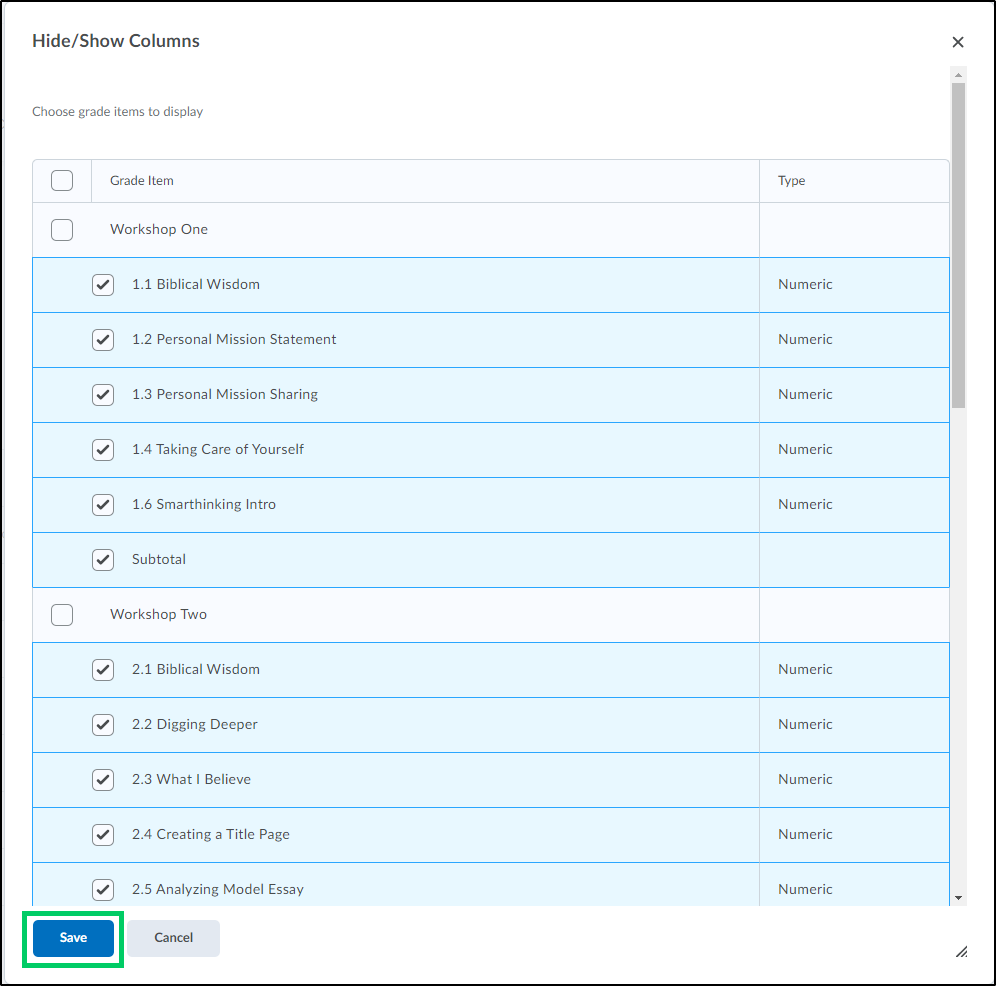
i. The "Hide/Show Columns" popup box allows you to check and uncheck grade items to be displayed in the gradebook. Once all selections have been made, they can be saved by selecting the "Save" button.
ii. The "View Event Log" allows you to search for created items, items that had been deleted but have now been restored, as well restore any deleted item.