How to Extend Time on a Quiz
Goal
After completing this how-to you will have the knowledge needed to extend time on a quiz to accommodate specific student's special needs. For other guides on the Quizzes tool, review the Quizzes topic page.
Navigation
1. Select the "Activities" icon from the course navbar.

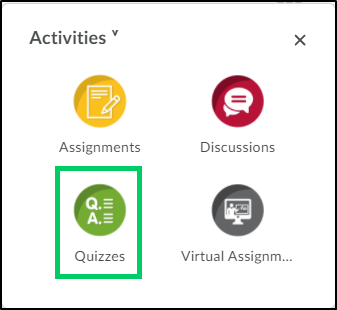
2. From the "Activities" menu, select "Quizzes".
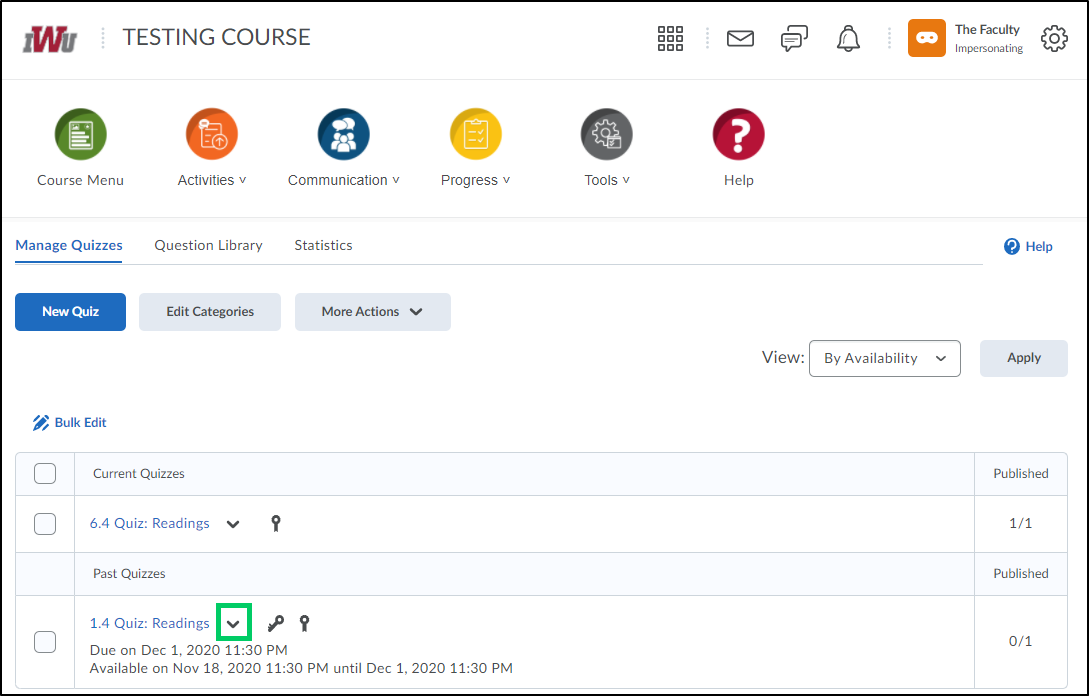
3. Select the dropdown menu beside the quiz where special access is needed.
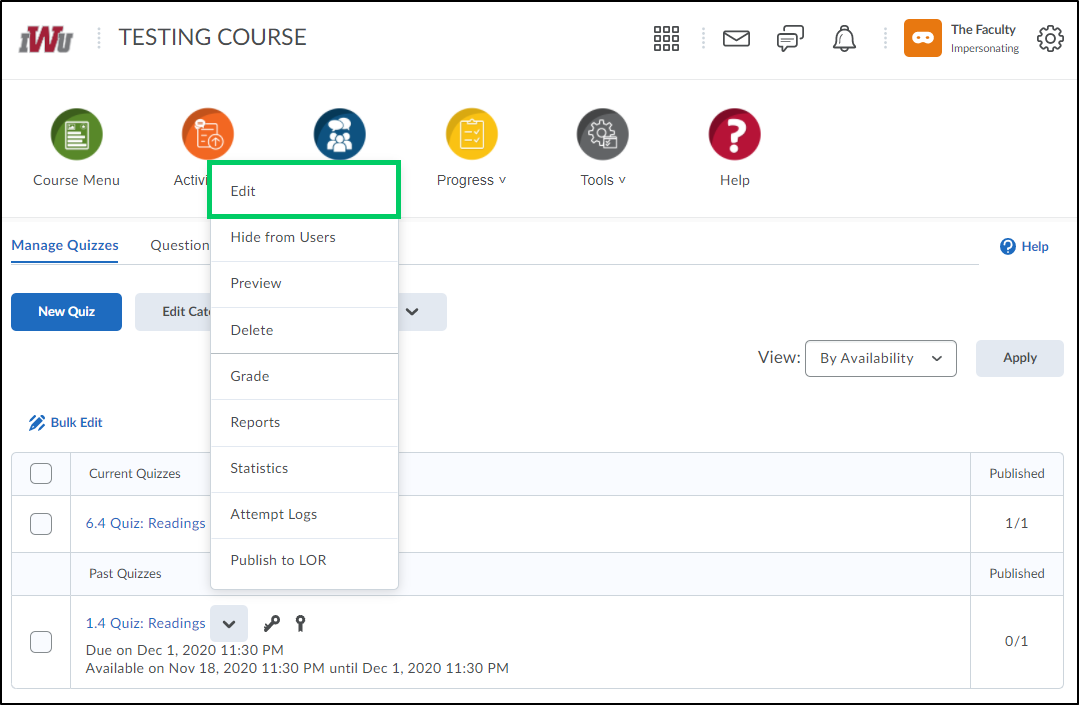
4. From the dropdown menu, choose "Edit".
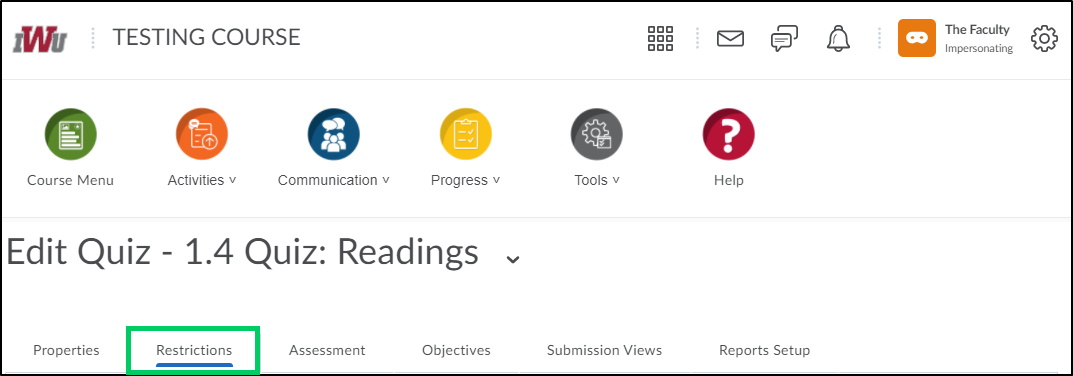
5. Navigate to the "Restrictions" tab.
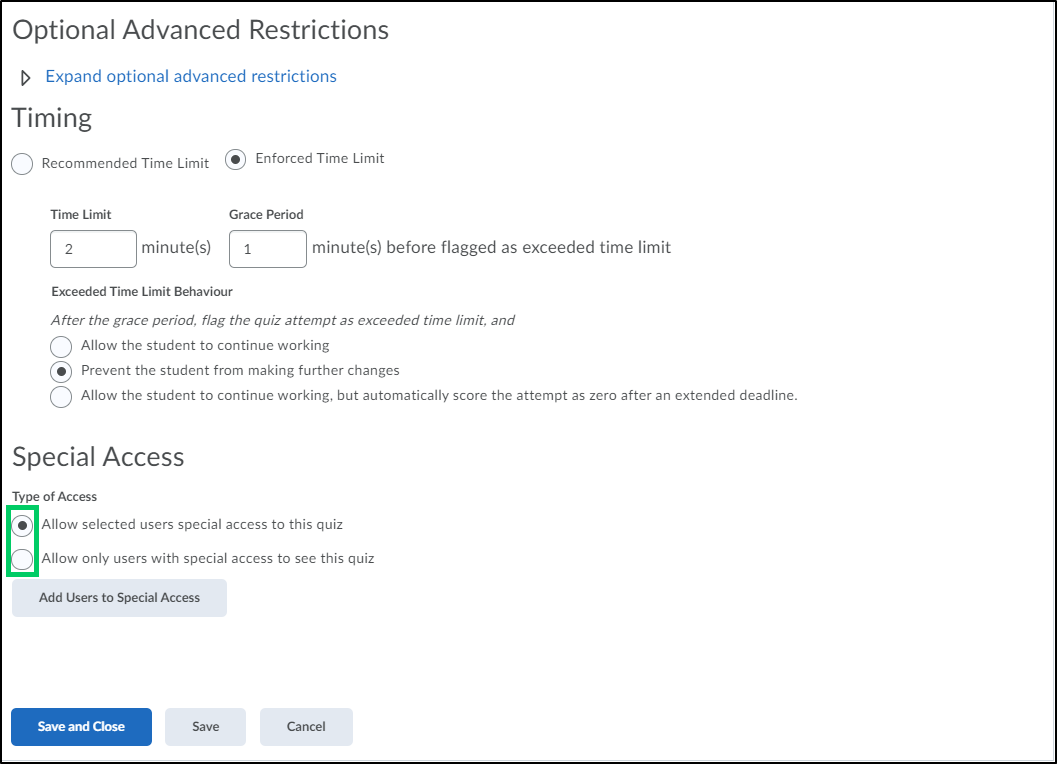
6. Scroll down to "Special Access" and select the appropriate radio button within the "Type of Access" section.
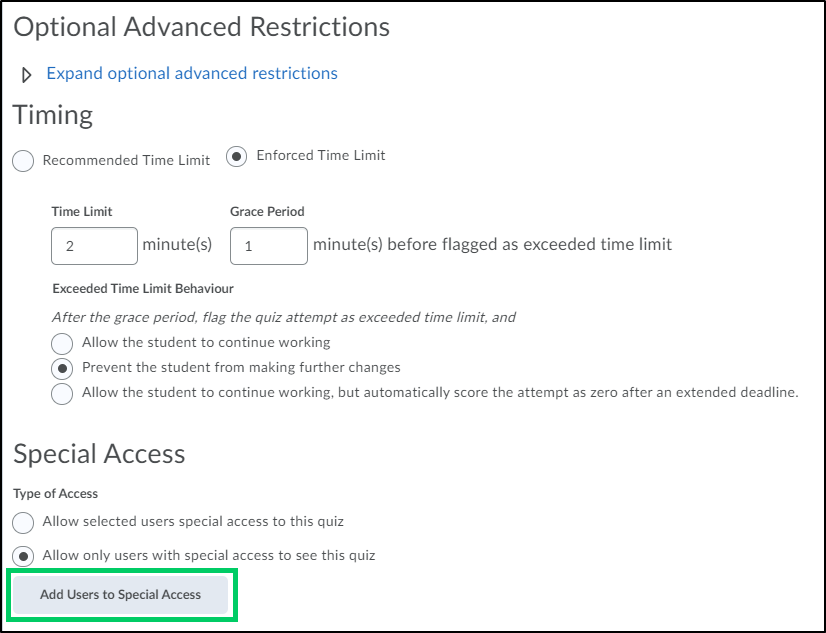
7. Select the "Add Users to Special Access" button.
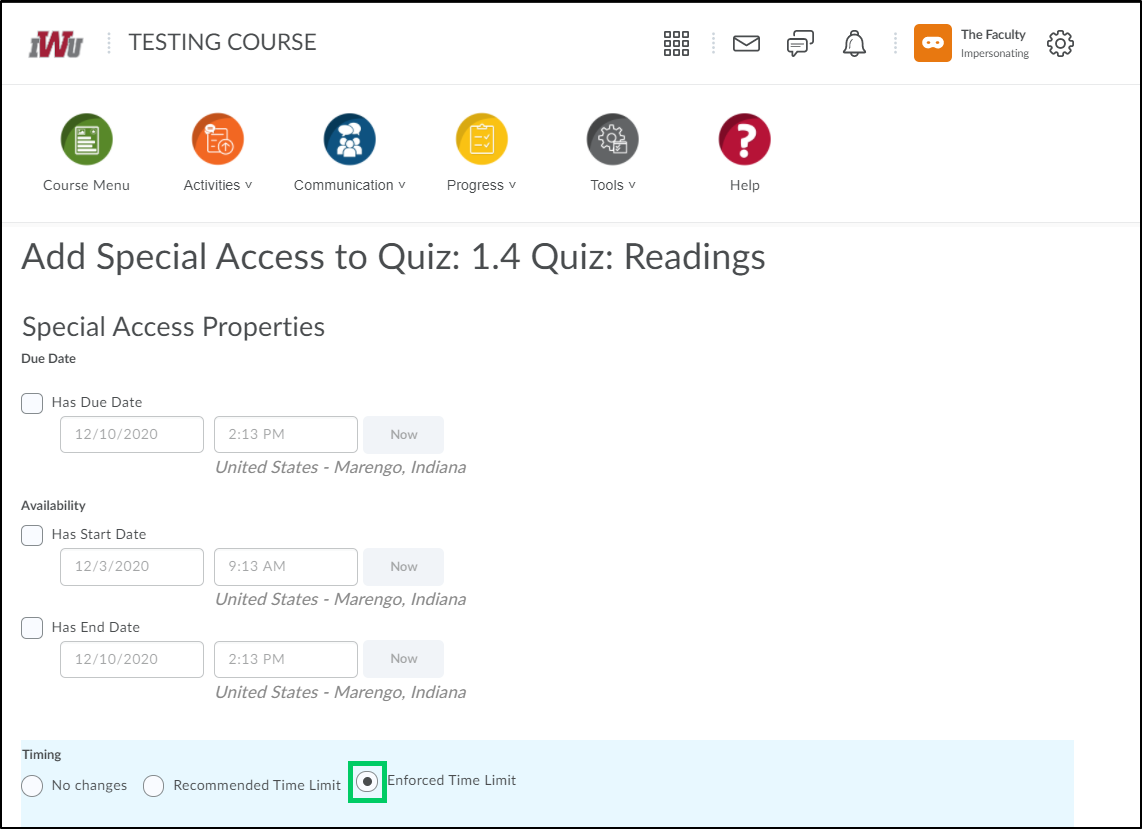
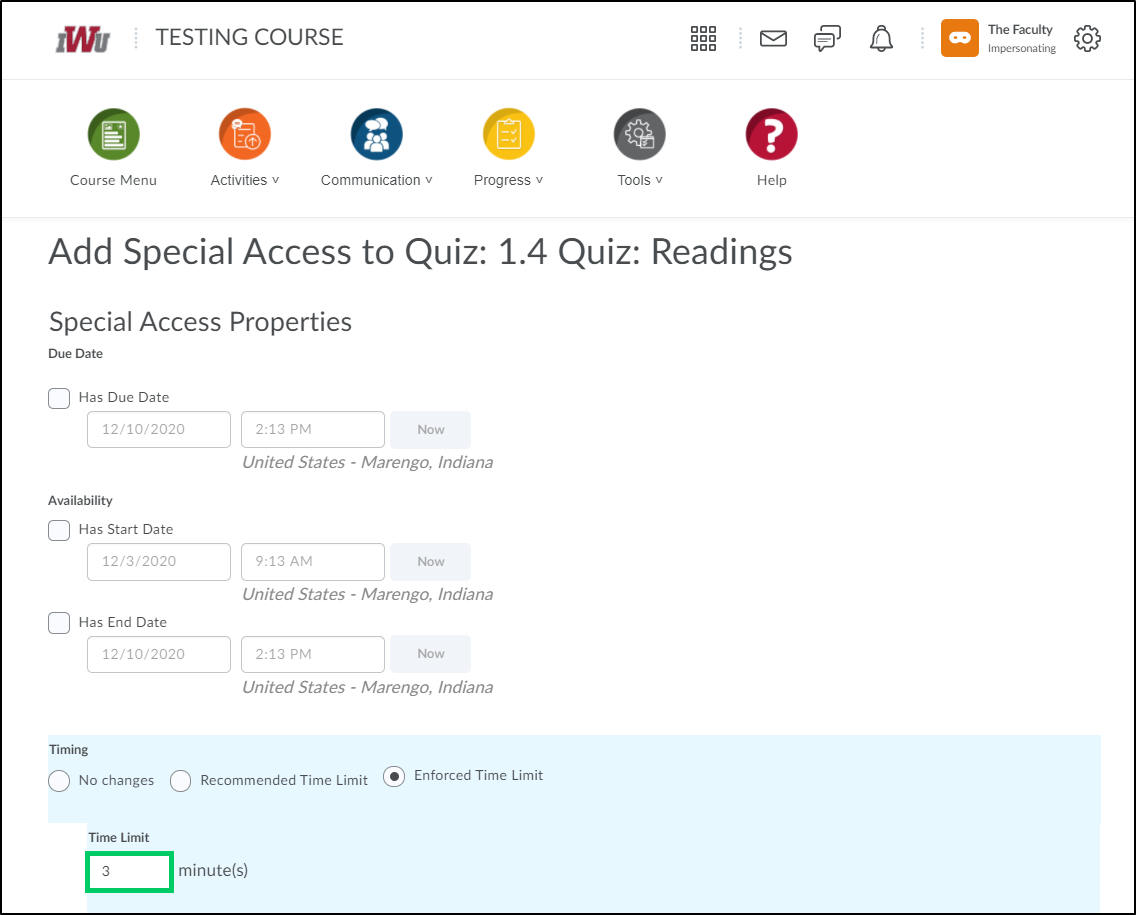
8. Within the "Timing" section, select the radio button next to "Enforced Time Limit". For more information on other types of special access in quizzes and other activities and tools, see the How to Grant Special Access guide.
9. In the "Time Limit" field, enter the number of minutes being given to the student(s) who needs extended time to complete the quiz. For example, if the time limit for the quiz was 2 minutes and you wanted to give them 3 minutes, you would enter a "3" in the Time Limit minutes field.
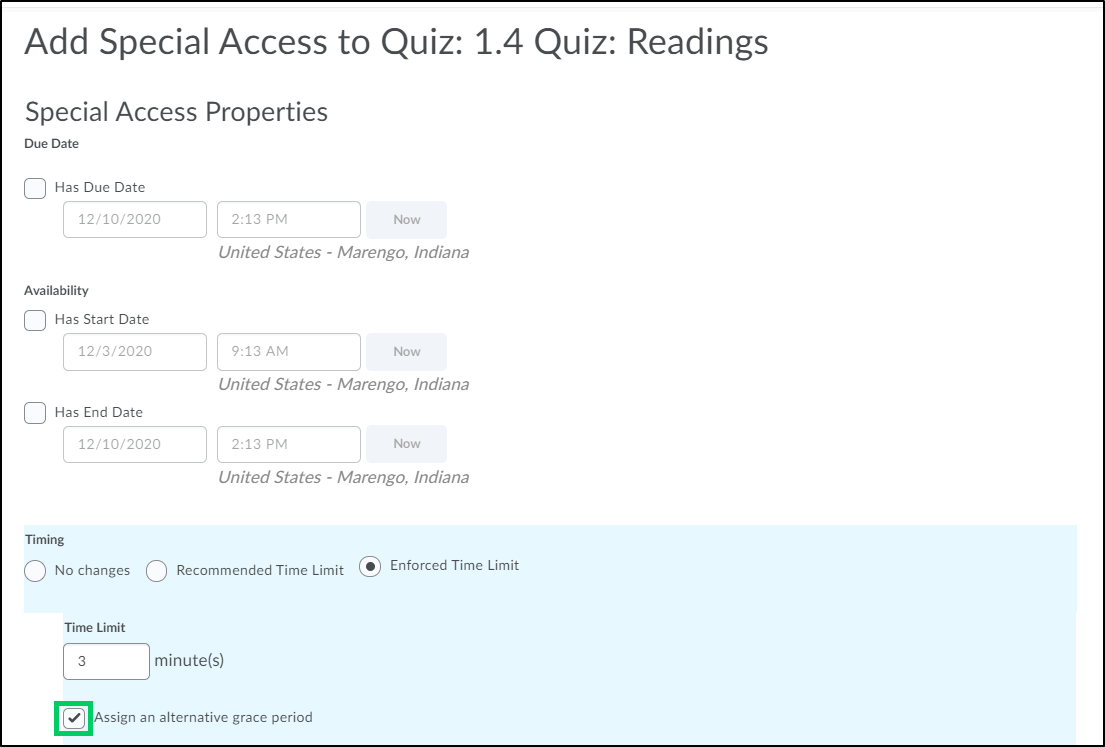
10. Select the checkbox next to "Assign an alternative grace period" if you are allowing a grace period that differs from the originally set grace period.
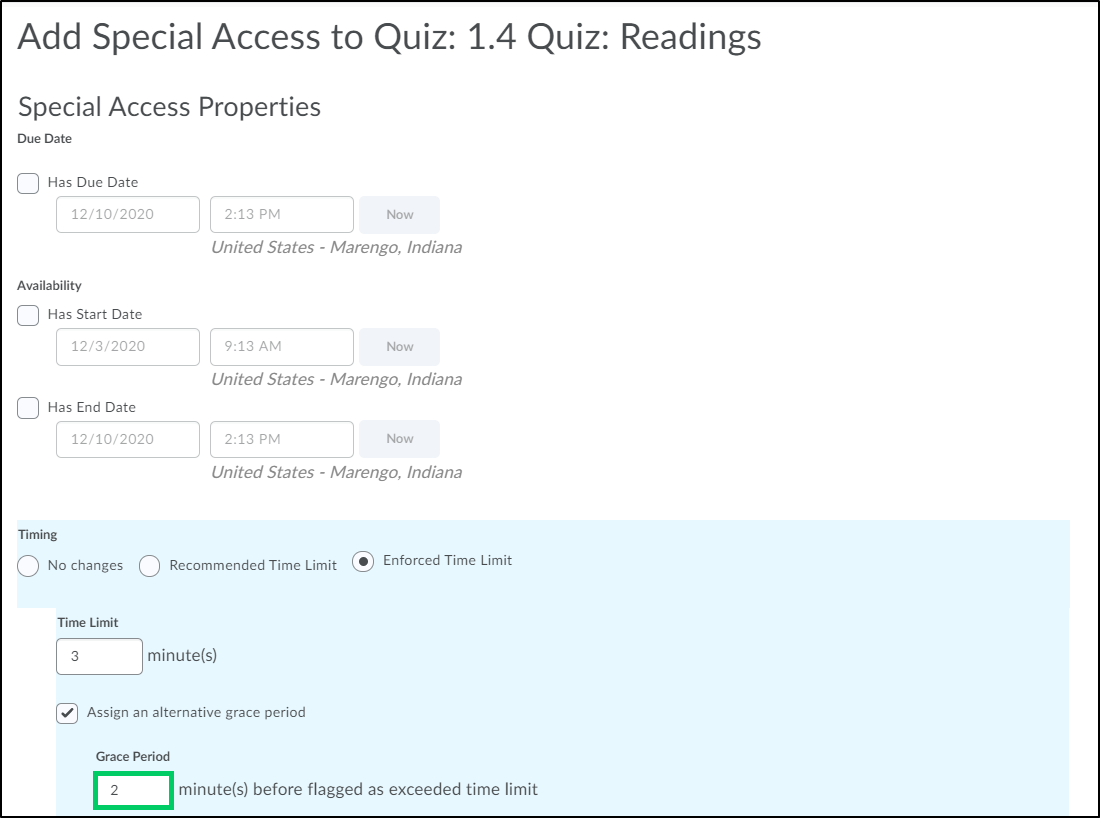
10a. If allowing a grace period different from the originally set grace period, enter the number of minutes in the "minute(s) before flagged as exceeded time limit" field.
11. If assigning an alternative behavior for exceeding the time limit than originally set, select the checkbox next to "Assign an alternative behaviour for exceeding the time limit".
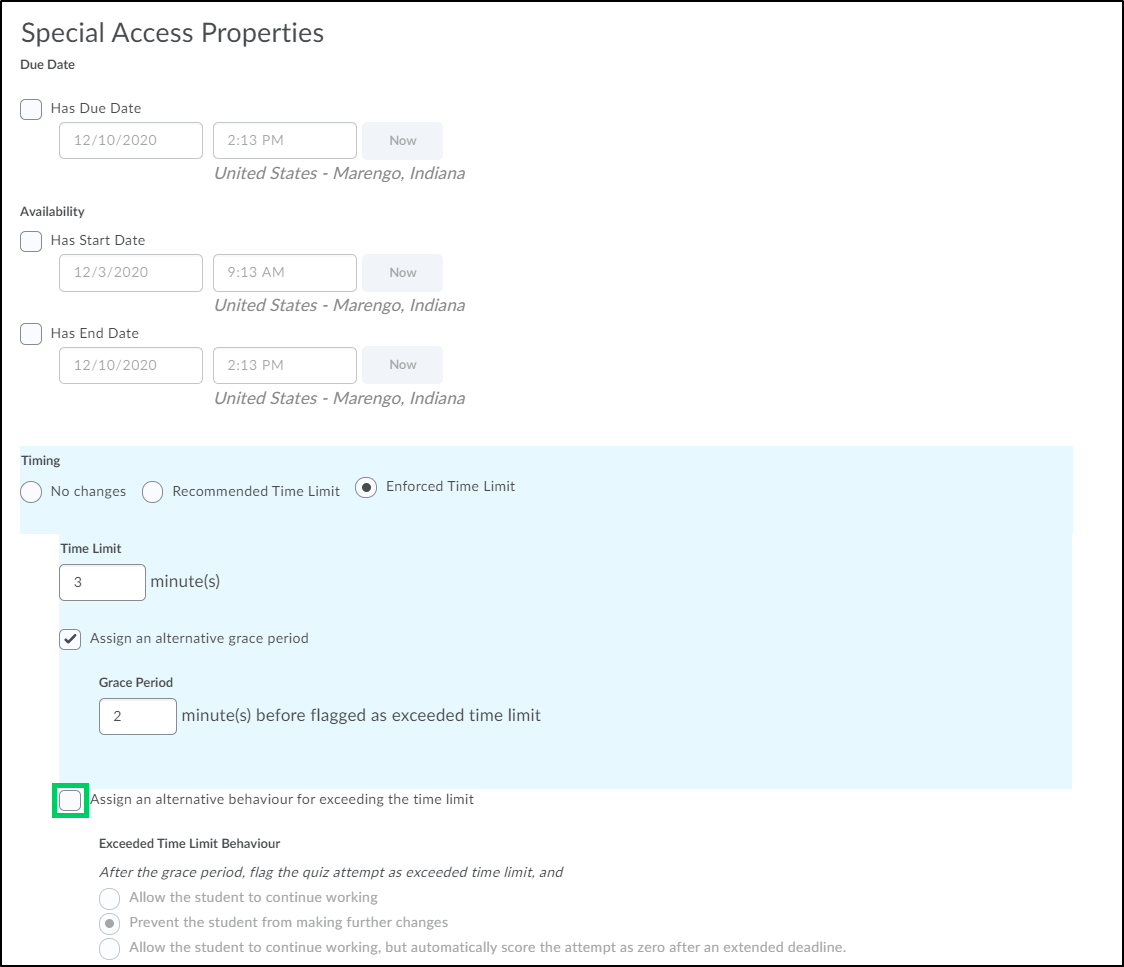
11a. Select the appropriate radio button within the "Exceeded Time Limit Behaviour" section.

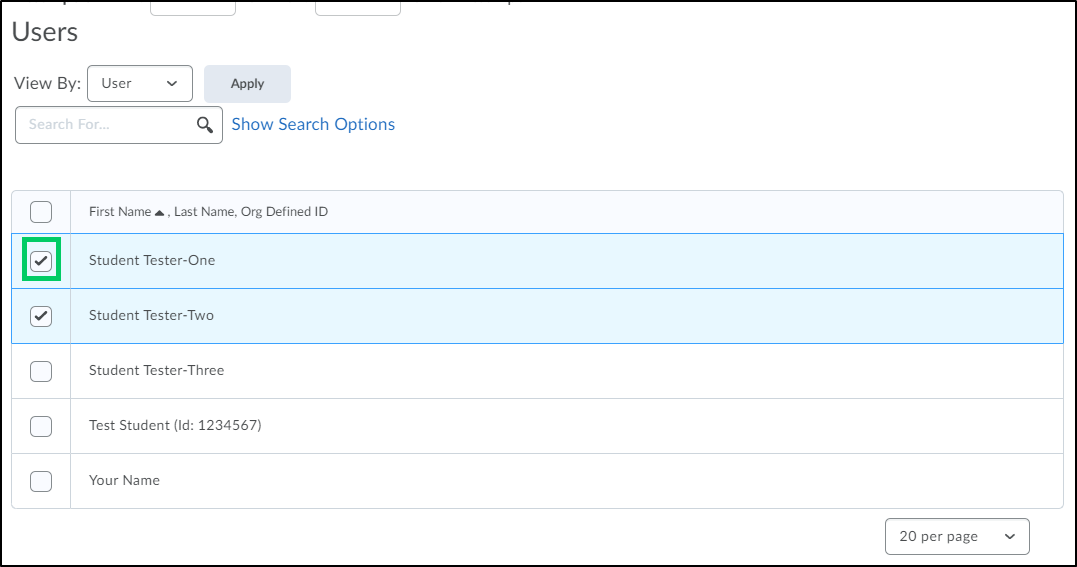
12. Under the "Users" section, select the students being given extended time by selecting the checkbox next to the student's name.
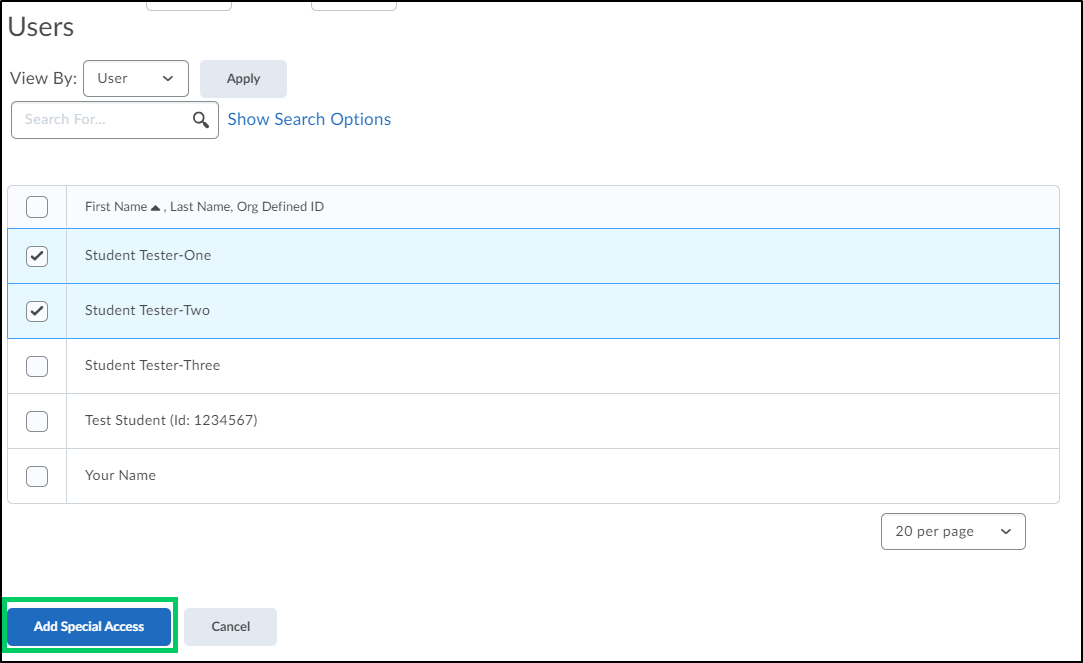
13. Once all students have been chosen, select the "Add Special Access" button.
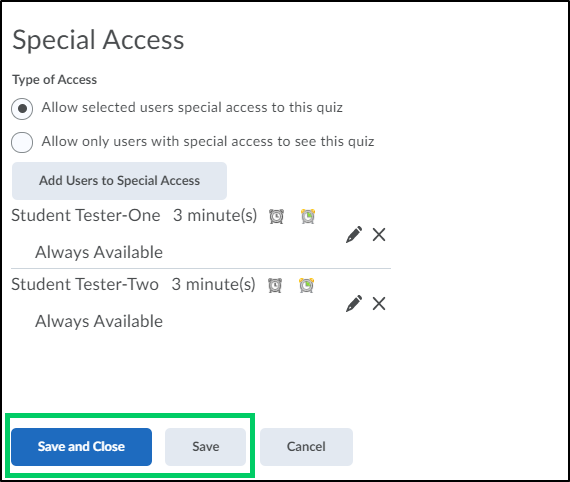
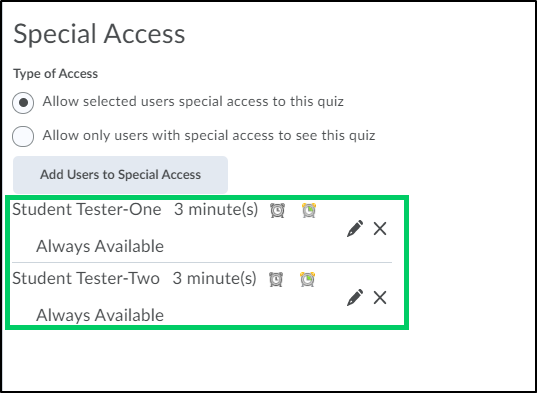
14. The students with special access will appear within the Restriction tab under Special Access heading.
15. Select the "Save and Close" button or the "Save" button to preserve the selections made.