How to create a Webinar in Microsoft Teams
Overview
Steps
Once signed into Microsoft Teams, you can follow the steps below to create a Webinar and adjust its settings to meet your specific needs. The steps below can be performed either from the web interface for Teams (https://teams.microsoft.com) or from the Desktop Application.
First Step - Creating the Webinar
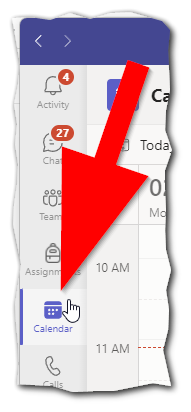
- Click on your Calendar on the left hand side of Microsoft Teams
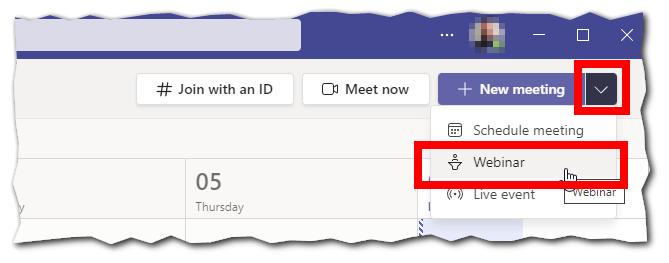
- Click the dropdown next to the New meeting button and select Webinar
 Tip:
Tip:
Don't see the Webinar option? Try using the web version of Teams at https://teams.microsoft.com. If the option is available there, then you will need to clear your Microsoft Teams cache to get the option available in the Desktop App.
Second Step - Setting up the webinar
After following the steps above, you'll be taken to the webinar creation screen. You can then configure the basic details for your webinar:
- Add a descriptive Title for your webinar
- Set the start date & time as well as the end date & time
- Adjust the Require registration to fit your needs
- By default, webinars require registration for all attendees (but not for presenters)
Your next steps will vary from here based on what you have set for the Require registration option. Click on the heading below that matches your scenario.
Require registration: Everyone
This is the default option, and the recommended way to run a true webinar. This also allows outside attendees (those without an IWU account) to join the webinar as an attendee if they register in advance.
Configuring webinar details
- Add required presenter to your webinar by using their name to search and locate them
- If you wish to add optional speakers you may click the Optional presenters option and add them
Tip:
You may invite an optional or required guest presenter from outside IWU by typing in their full email address - If you need your presenters to be at a specific physical location, you may add that in the location field
- In the details area, you may add details to the invite that will be sent to the speakers
- Attendees will have their invite configured on the registration page (see below for configuring the registration page)
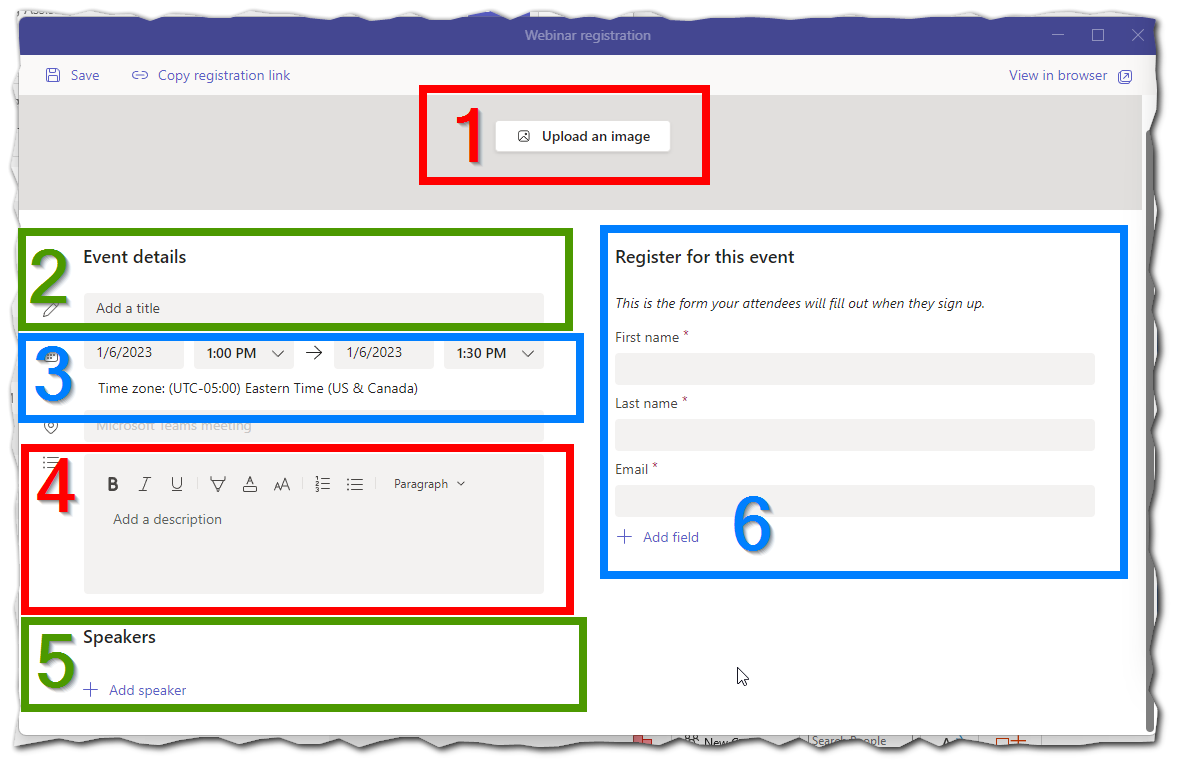
Configuring your registration page
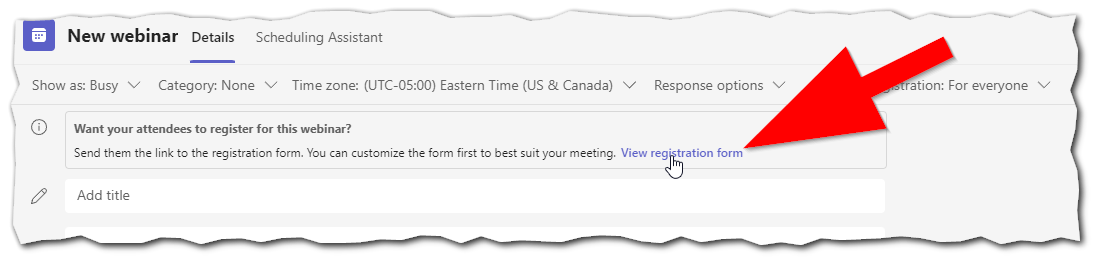
Click on the view registration form at the top of the page:
|
 |
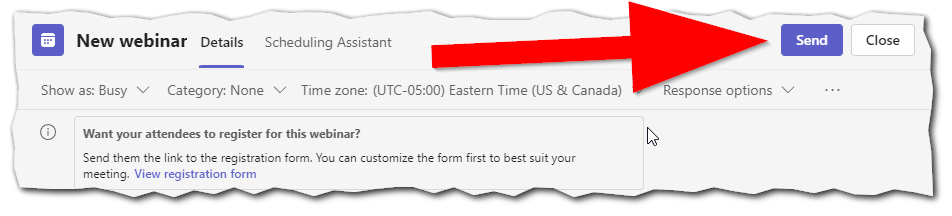
You may now send your webinar invite to your speakers as well by clicking send in the upper right corner of the initial webinar creation screen:
Require registration: For people in your org
Choosing this option will limit your attendees to only those with an IWU email address.
Configuring webinar details
- Add required presenter to your webinar by using their name to search and locate them
- If you wish to add optional speakers you may click the Optional presenters option and add them
Tip:
You may send an invite a optional or required guest presenter from outside IWU by typing in their full email address - If you need your presenters to be at a specific physical location, you may add that in the location field
- In the details area, you may add details to the invite that will be sent to the speakers
- Attendees will have their invite configured on the registration page (see below for configuring the registration page)
Configuring your registration page
Click on the view registration form at the top of the page:
|
|
You may now send your webinar invite to your speakers as well by clicking send in the upper right corner of the initial webinar creation screen:
Do not require registration
If you do not require a registration, then the webinar is not the desired solution for your meeting (Webinars require registration). Instead, select a New meeting. (maximum number of attendees/participants is still the same as a webinar: 1000)
For a webinar-like experience without registration, schedule a Teams Meeting.
In the New meeting detail window, next to the Require registration option, click the drop down arrow, and select None.
Invite someone to the scheduled meeting.
Click on Meeting Options (which doesn't appear until you invite someone to the meeting); this will open a browser window to the Meeting Options page for your new meeting.
in order to make the experience more like a webinar than a meeting, select the following Meeting settings:
- Who can bypass the lobby...EVERYONE
- Who can present...ONLY ME AND CO-ORGANIZERS, or SPECIFIC PEOPLE (whom you have already invited to the meeting)
- Allow Mic for attendees...NO
- Allow Camera for attendees...NO
- Allow meeting chat...Enabled
- Allow reactions...YES
- Enable Q&A...YES
- Allow attendance report...YES
These settings can be changed during the meeting, by accessing the Meeting Options page.
Check back soon