BHSN 220
Burns Hall of Science & Nursing Classroom 220
Displays
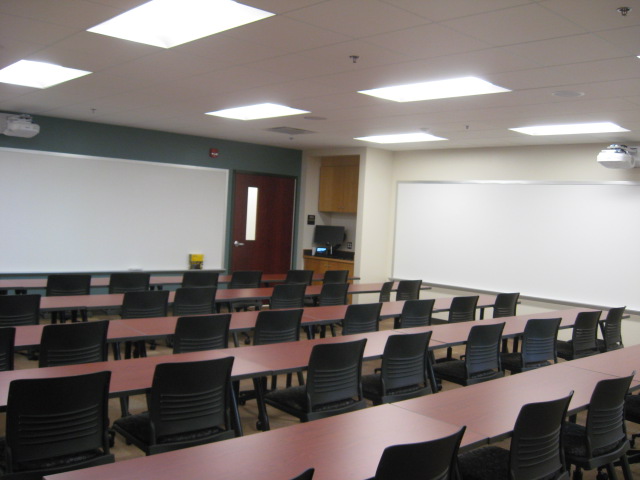
This classroom has a teaching station connected to a high definition display.
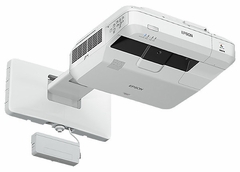
- a 5000-lumen Short Throw Interactive laser Projector
- Projects onto the dry erase whiteboard
- on the front wall
- Resolution: 1920 x 1080 (16:9 aspect ratio)
- a 5000-lumen Short Throw Interactive laser Projector
- Mounted on Wall above the Whiteboard
- on the side wall, opposite the entrance
- displays independent image, using the local HDMI laptop connection below the display
- Resolution: 1920 x 1080 (16:9 aspect ratio)
Sources
- The teaching station will allow computers and mobile devices to be shown on the front projection screen:
-
HDMI cable with adapters for connecting a mobile device (Laptop, tablet or smart phone)
-
Wirelessly cast/mirror mobile device, using Airplay, Miracast, or Chromecast (no apps required)
-
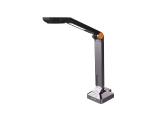
HoverCam USB document camera, can be connected to Desktop PC or to laptop with a USB 3.0 type A connection.
Audio
- Ceiling Speakers (main system)
- Volume control knob on Extron controller
- Audio from devices connected beneath the projector on the side wall will instead utilize the projector's built in speakers
Control
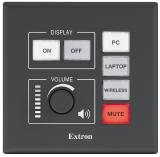
- Extron MLC push-button controller
- Projector On and Off
- Volume control
- Source Selection
- Wireless cast/mirror a mobile device, using Airplay, Miracast, or Google cast (no apps required)
- Desktop PC (to use this, plug the laptop HDMI cable into the jack beneath the desktop PC)
- USB document camera
- USB webcam
- Browser
- Digital Whiteboard
HDM