How to Create an Assignment
Goal
After completing this how-to you will have knowledge needed to create an assignment in the Assignment activity tool. For other guides on the Assignment tool, navigate to the Assignments topic page.
Navigation
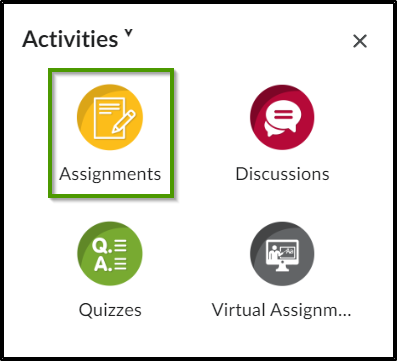
- To create an assignment in the Activities tool, select the "Activities" icon located within the course navbar.
- Choose "Assignments" from the "Activities" menu.
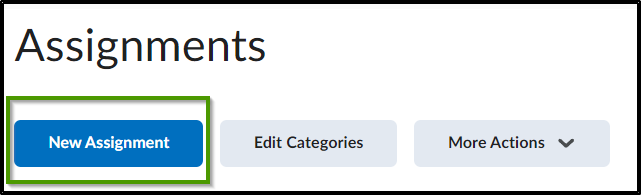
- Select the "New Assignment" button.
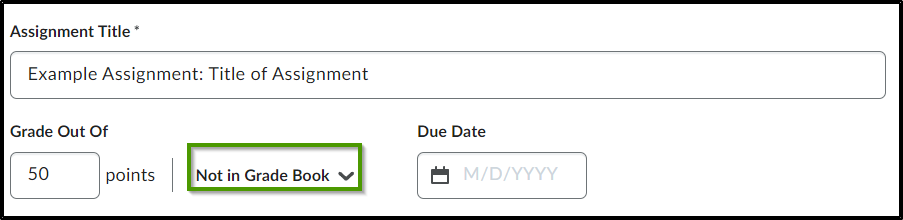
- In the "Assignment Title" field, enter the title of the assignment. This should match the title given to the assignment HTML page located within the Course Menu.

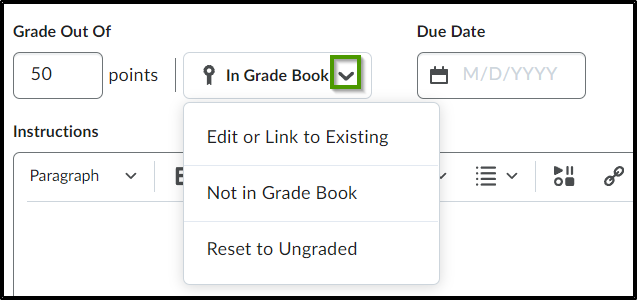
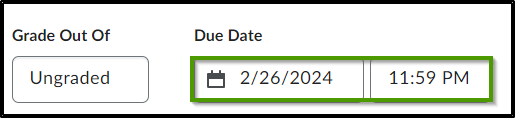
- In the "Grade Out Of" field, enter the total number of points being assigned to the activity.
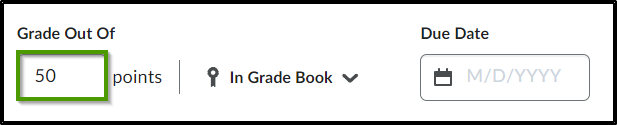
- Opening the "In Gradebook" dropdown will allow the user to create and link the assignment to a new grade item, link the assignment to an existing grade item, remove the grade item from the gradebook, or reset the assignment to be ungraded.
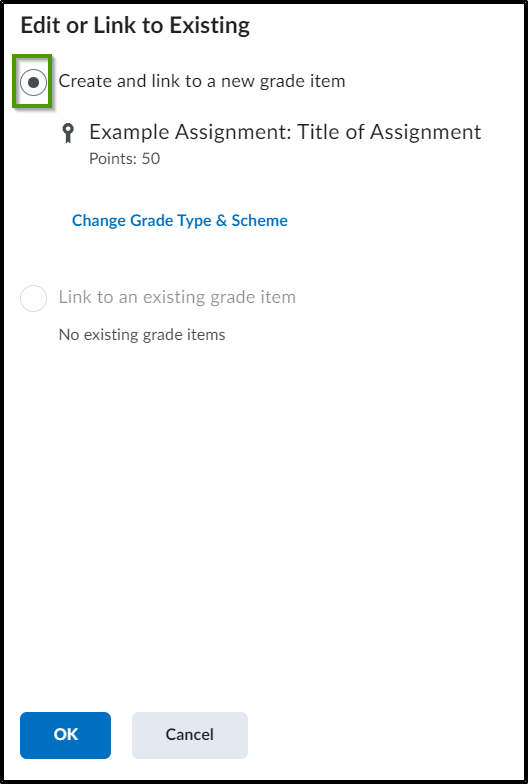
- Selecting "Edit or Link to Existing" will open a pop-up box.
- A new grade item can be created and the assignment can be linked to it by choosing the "Create and link to a new grade item" radio button.
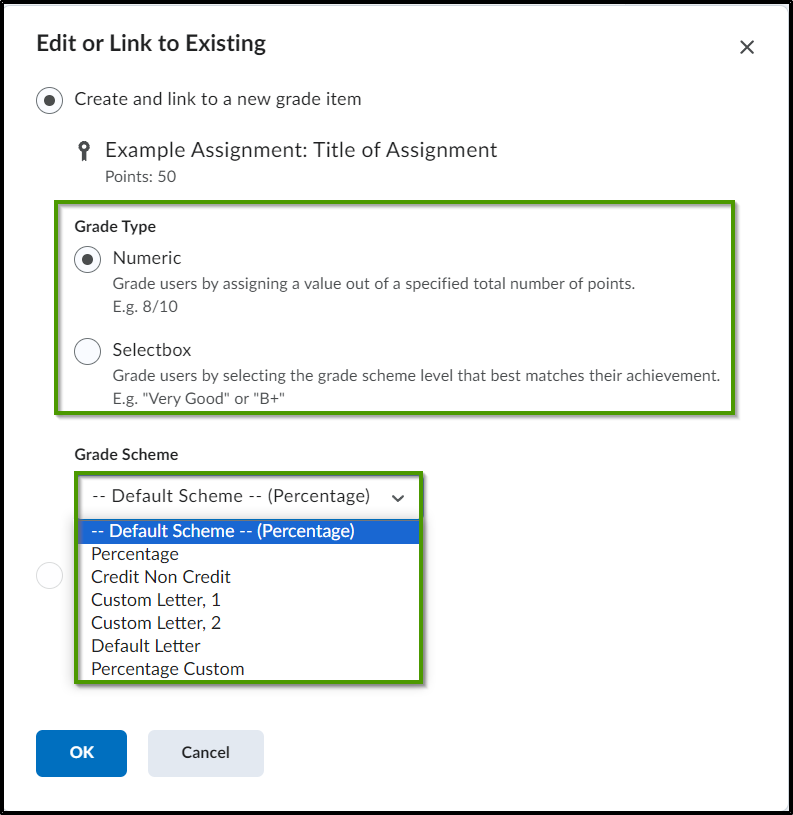
- Select the "Change Grade Type & Scheme" link to set the Grade Type and Grade Scheme for the grade item.
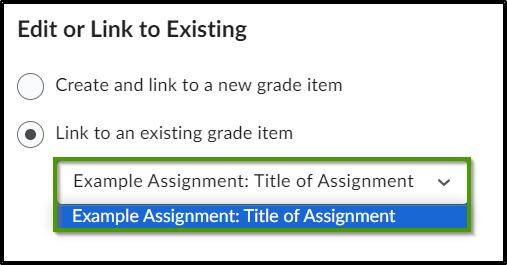
- The assignment can also be tied to an existing grade item, by selecting the radio button next to "Link to an existing grade item".
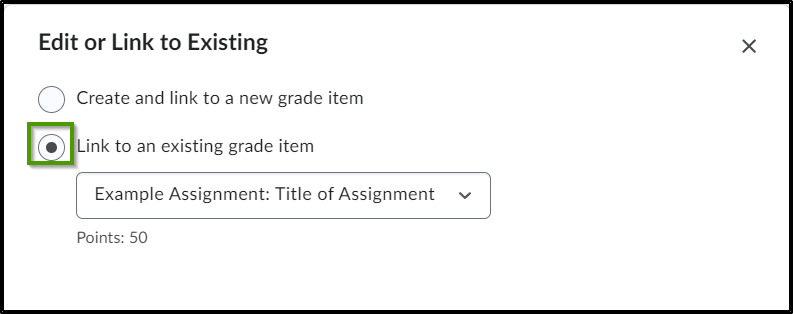
- Select the assignment from the dropdown menu.
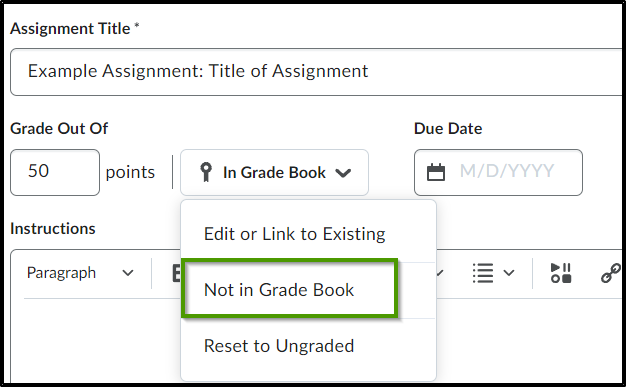
- Selecting "Not in Gradebook" will remove the assignment from the gradebook.
- The assignment will now show that it is "Not in Gradebook".
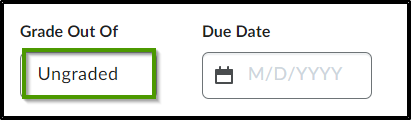
- Choosing "Reset to Ungraded" will remove the point total assigned to the assignment within the "Grade Out Of" field.
- The "Grade Out Of" field will now show as Ungraded.
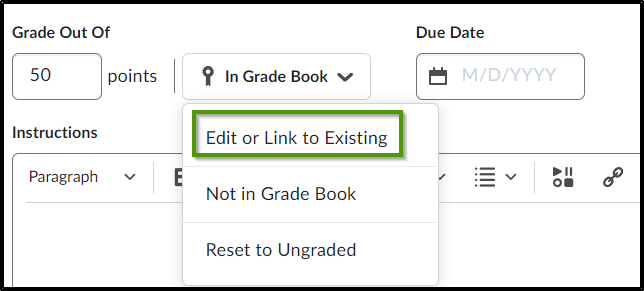
- Selecting "Edit or Link to Existing" will open a pop-up box.
- A date and time can be placed into the optional "Due Date" field to provide students with a date on which the assignment must be submitted.
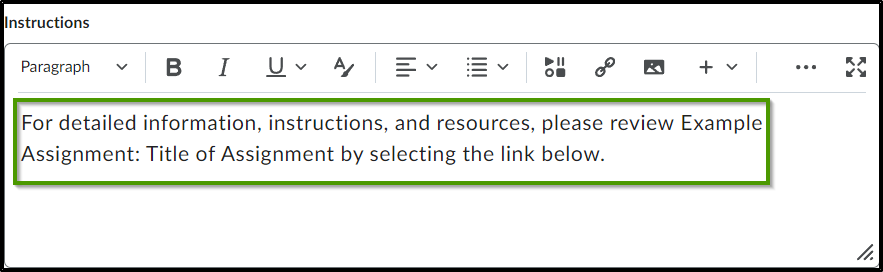
- The "Instructions" text box should contain information directing students to the corresponding assignment HTML page in the course menu for students to review that will contain more in-depth instructions. Paste the following text into the Instruction text box: For detailed information, instructions, and resources, please review [Title of Assignment] by selecting the link below. See example below. This will guide students to the HTML page where the full instructions, resources, background, etc. live.
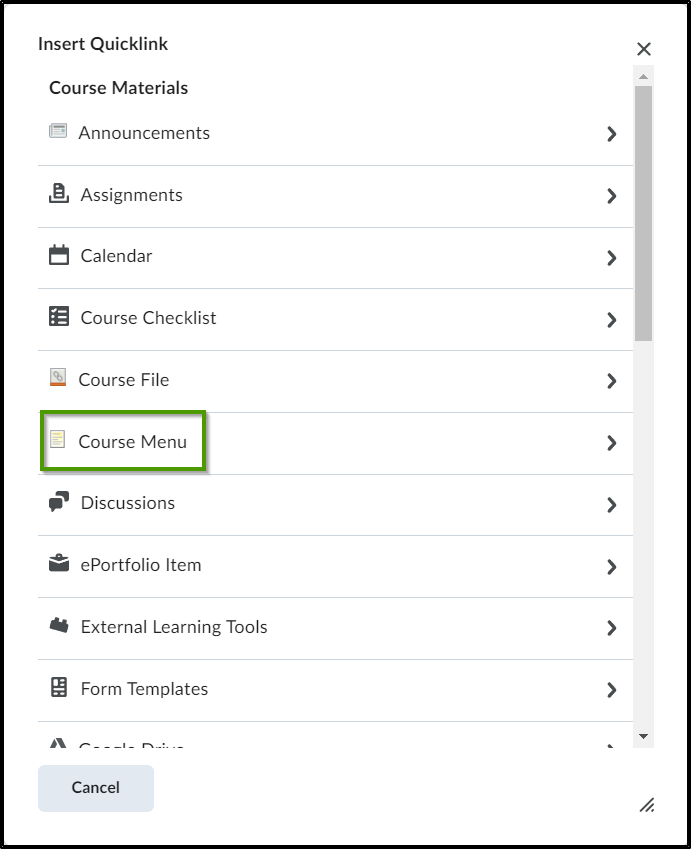
- To create a link to the corresponding assignment HTML page, select the "Attach Link to Existing Activity" icon.
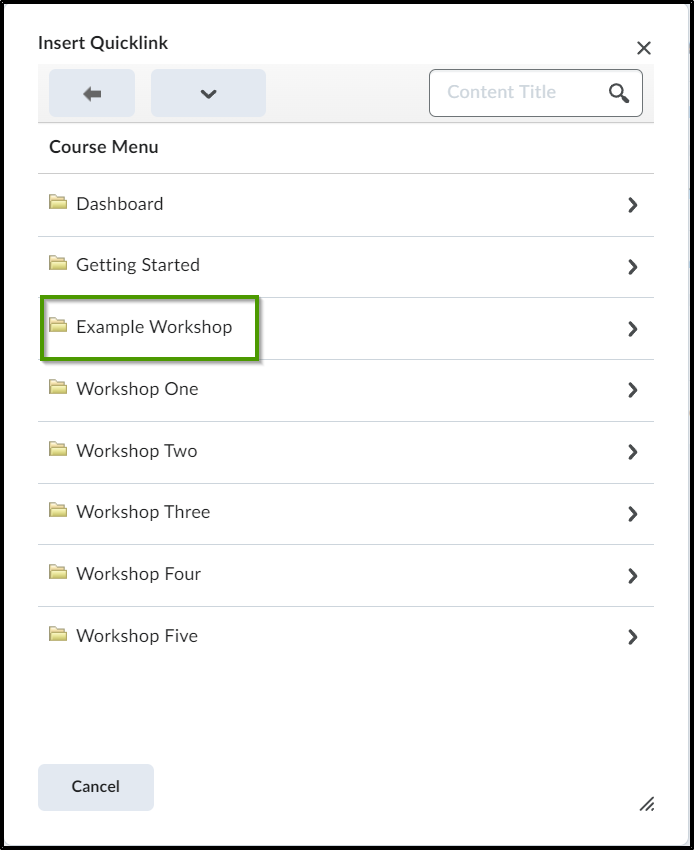
- Select "Course Menu."
- Select the workshop/module containing the HTML page for the assignment.
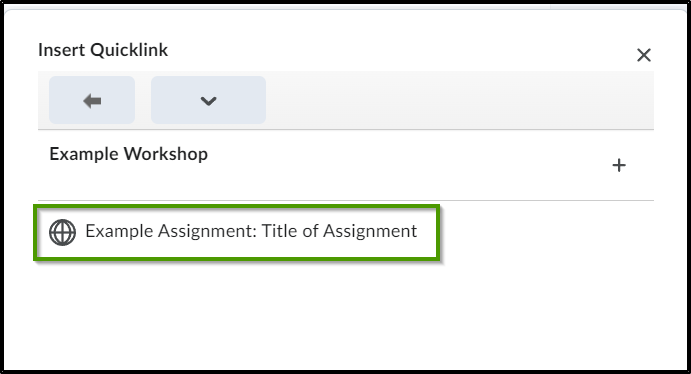
- Select the corresponding HTML page.
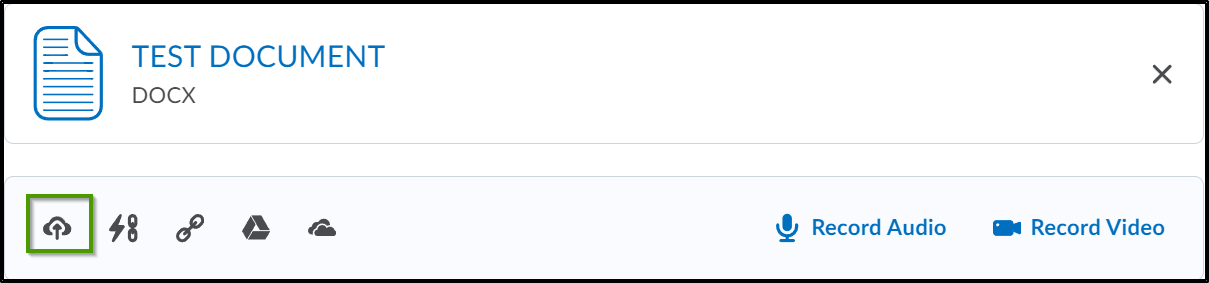
- There are several different items that can be attached to an assignment such as files, links to existing activities, weblinks, Google docs, and documents from OneDrive as well as recorded audio and video files.
- In addition to creating a link to an existing activity, the ability exists to upload files.
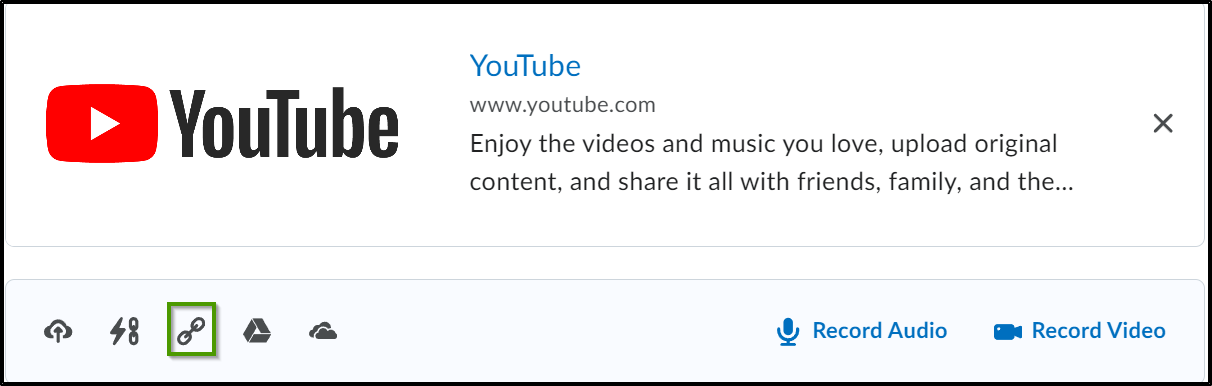
- Attach weblinks.
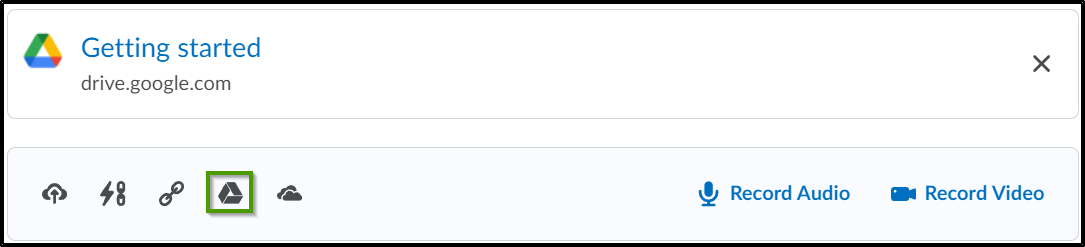
- Attach documents from Google Drive.
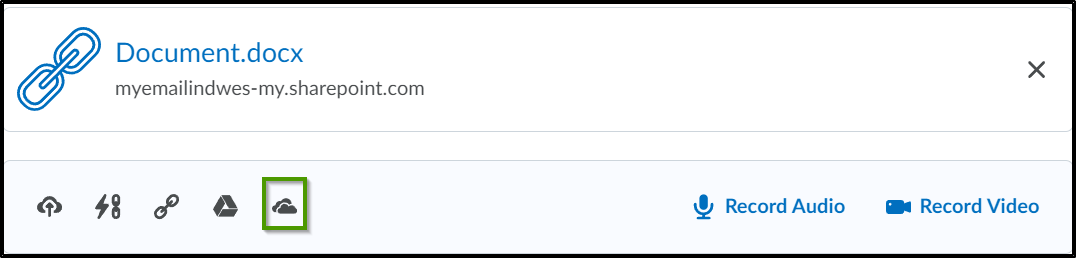
- Attach documents from OneDrive.
- Record audio and video.
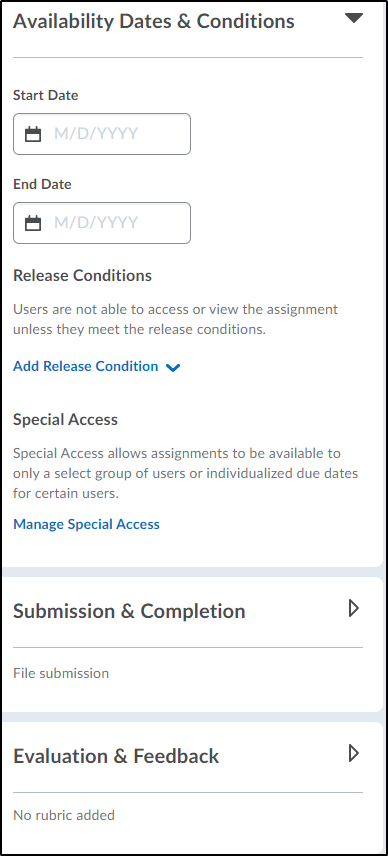
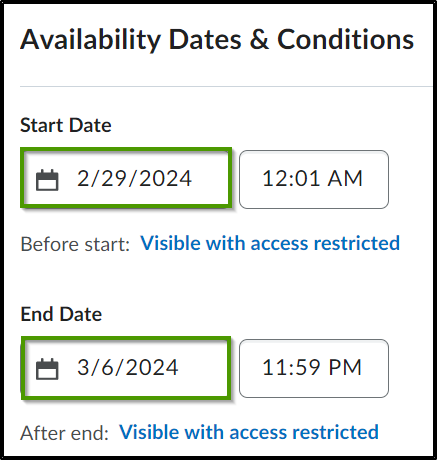
- In the "Availability Dates & Conditions" section, faculty can set a start date and/or end date for the assignment, add release conditions, and add special access.
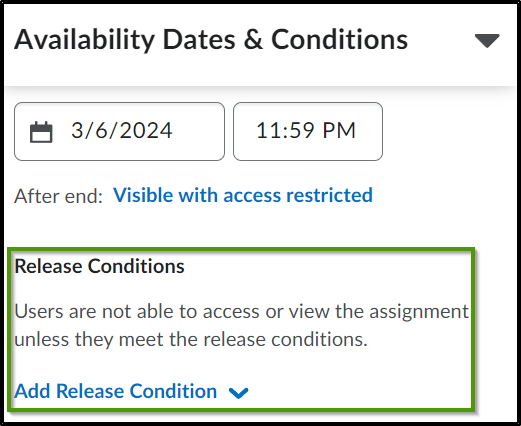
- A start and/or end date can be added by selecting the date picker. If a start date is set, the assignment will not be accessible to the student until that date. If an end date is set, the assignment will not be accessible to the student after that date. However, faculty can select whether the assignment is visible with access restricted, visible with submission restricted, or hidden from view. There is also an option to add the availability dates to the course calendar.
- Within the "Release Conditions" area, faculty can set release conditions. An existing release condition can be attached or a new release condition may be created. Release conditions are conditional requirements that restrict access or visibility to a specific area. Users are required to satisfy the release conditions before the restrictions are removed. Review the Release Conditions article for more information.
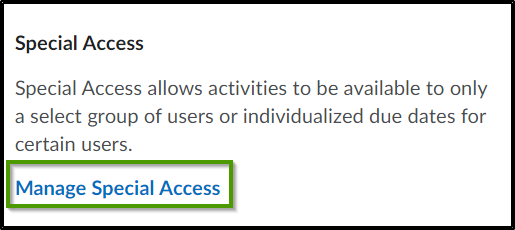
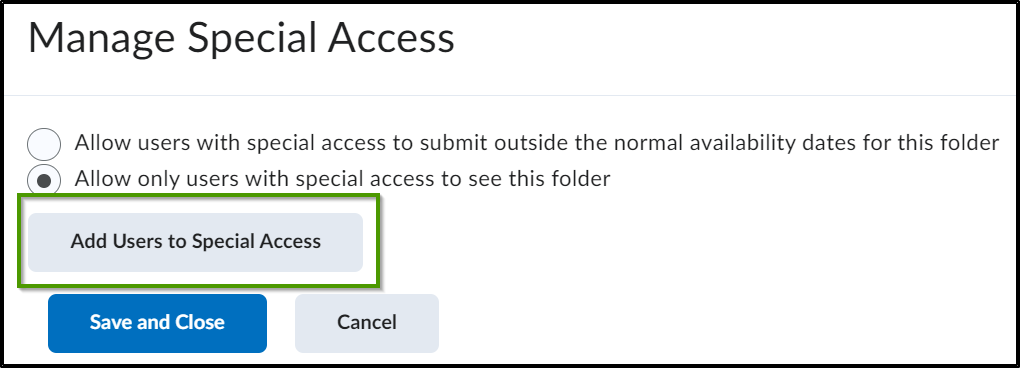
- Within the "Special Access" area, faculty can allow assignments to be available to only a select group of students.
- To set up special access, select the "Manage Special Access" link.
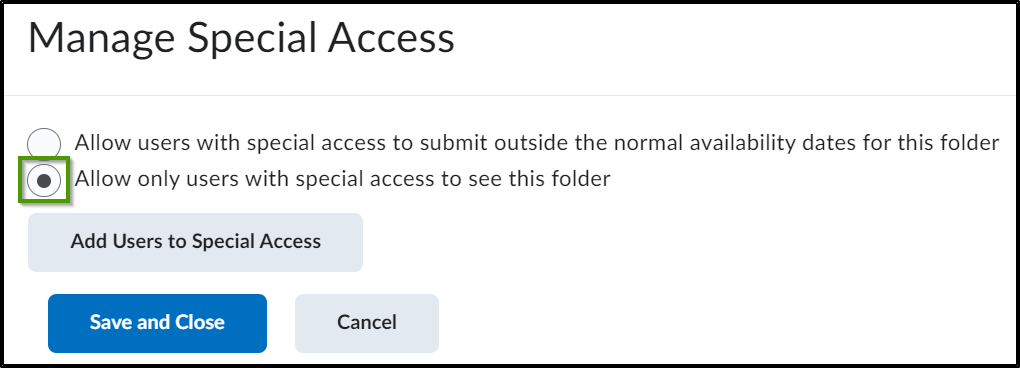
- Select the first radio button to allow the designated students to submit their assignment outside of the start and end dates.
- Or select the second radio button to allow only the specific students access to the assignment.
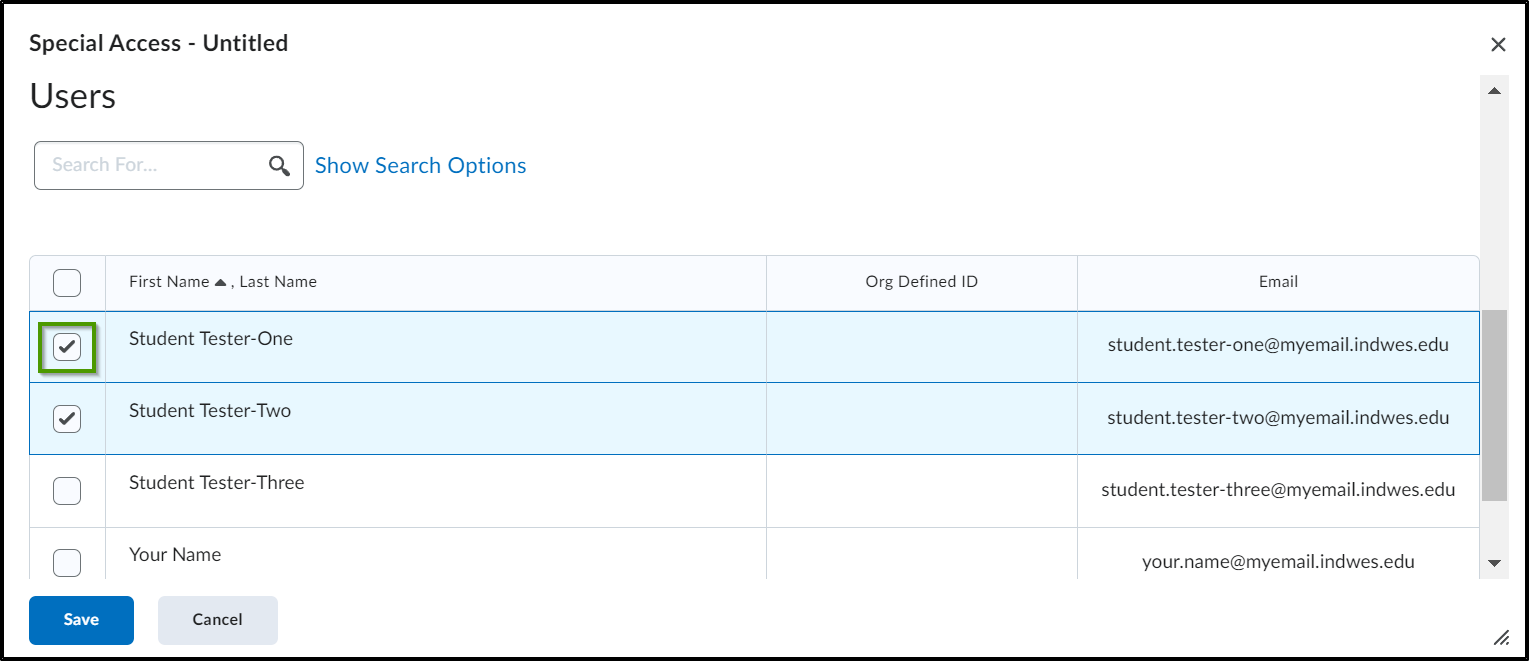
- Once the appropriate radio button has been chosen, select the "Add Users to Special Access" button to grant the special access to specific students.
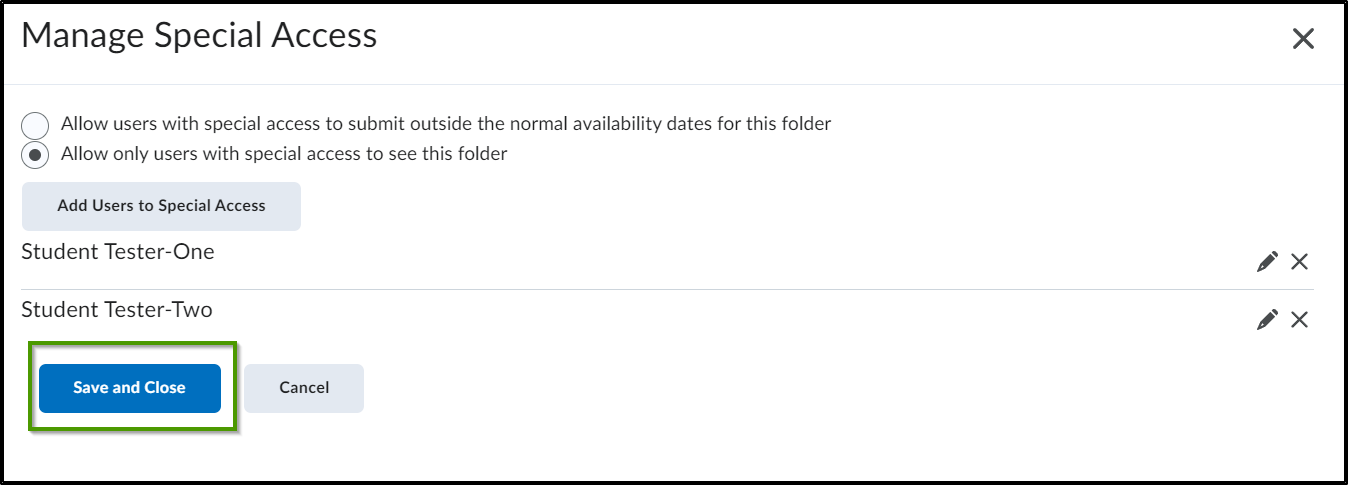
- When the Special Access window opens, choose the students to grant special access to by selecting the appropriate checkboxes and select the "Save" button once they have all been selected.
- Review the choices and make any edits necessary, then select the "Save and Close" button.
- A start and/or end date can be added by selecting the date picker. If a start date is set, the assignment will not be accessible to the student until that date. If an end date is set, the assignment will not be accessible to the student after that date. However, faculty can select whether the assignment is visible with access restricted, visible with submission restricted, or hidden from view. There is also an option to add the availability dates to the course calendar.
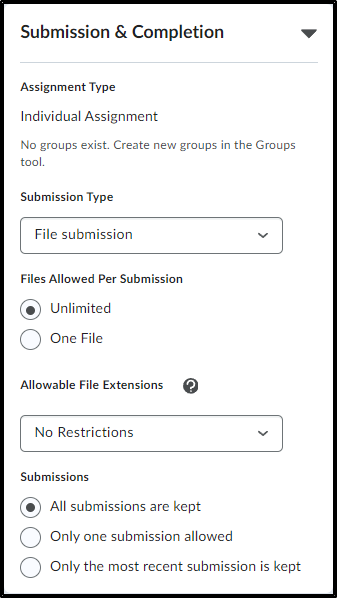
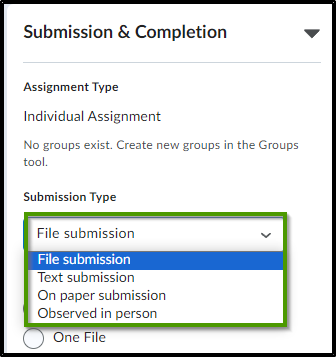
- In the "Submission and Completion" section, faculty can determine the assignment type, submission type, files allowed, and notification preferences.
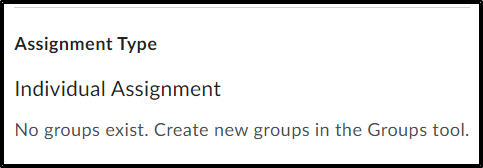
- The assignment type can be chosen by selecting the appropriate radio button. The assignment type will default to "individual assignment" which will allow for students to submit their work on an individual basis. If groups exist, choosing "Group Assignment" will allow students to submit their work as a group, but the assignment must be associated with a Group category. Any student in a group can submit and view files for their group.
- In the "Submission Type" area, choose the type of file needed for this specific assignment.
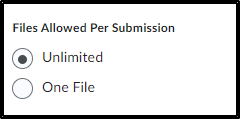
- In the "Files Allowed Per Submission" area, choose the number of files that will be permitted per submission.
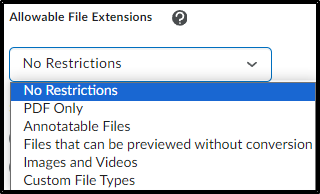
- In the "Allowable File Extensions" dropdown, chose the type of file extension that can be submitted. **NOTE: Selecting the ? icon provides additional information on restricted file extensions.**
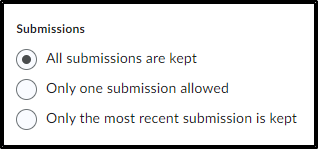
- In the "Submissions" area, chose whether all submissions will be kept, only the recent submission will be kept, or to allow only one submission to be made.
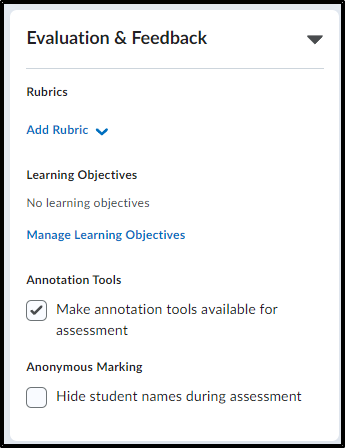
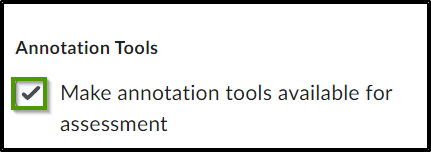
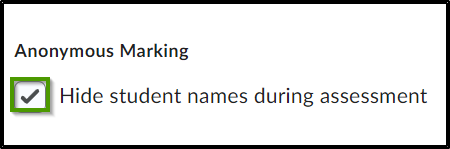
- In the Evaluation & Feedback section, faculty can attach a rubric, manage learning objectives, enable the annotation tools for assessment, and hide student names during assessment.
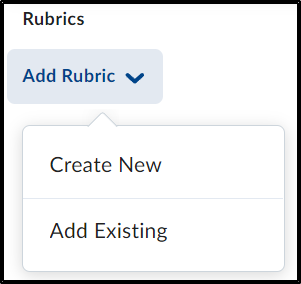
- Attach a rubric to the assignment by selecting the "Add rubric" dropdown menu. A new rubric can be created or an existing rubric can be attached. For more information on creating a new rubric, see the How to Create a Rubric article.
- Selecting the "Annotation Tools" checkbox, will allow faculty to utilize the annotation tools when evaluating an assignment.
- Selecting the "Anonymous Marking" checkbox will allow student names to be hidden during assessment.
- Selecting the "Visible" toggle button will allow faculty to decide whether students can see the assignment or if the assignment will be hidden from students. New assignments default to being hidden from students, so faculty will need to select this button if they want it to be visible to students once the assignment is created.
- Once all setup is complete, select the "Save and Close" or "Save" button to save the selections or the "Cancel" button to disregard selections.